Gluten-Free Apple Pie Crumble
BY Brimly.November 9, 2025
Photo By Editors @ the Brimly Test Kitchen


Skilled Cook50 minutesGluten-freesweet Treat Now, Why This Recipe and What Makes It Special?
So this apple crumble recipe is one that I came up with because of the season we’re in. It’s Thanksgiving season, just about that time when cozy desserts take over your kitchen. I figured it was only right to create something that feels festive but still easy enough to make on a weeknight. Something you can share with your family or friends that’s gluten-free, gum-free, and honestly just delicious.
It comes together very quickly, similar to our Blueberry-Blackberry Skillet Schlumpf (our very-berry crumble recently shared here on the blog). The crust here is completely different though, you still get deep flavor, but the texture is its own thing. I tried something new with this one: flaxseed meal in the crust. And that very small addition made all the difference. It adds moisture, structure, and just a bit of nuttiness that works out just fine with the apples.
Of course, I brought in some cinnamon. Because can you really call it apple crumble without cinnamon? That warm spice enhances the flavors in this recipe and it also adds that classic fall taste.
You’d never guess this recipe is gluten-free. That’s kind of my mission here at the Brimly Test Kitchen, making things so good you wouldn’t even know they’re gluten-free, and all without xanthan gum, guar gum, or any gums at all. It’s what really sets our recipes apart.
I’m really proud of this one. You can easily halve it for a smaller batch just to test it out. But just know, once you taste it, you’ll wish you made the full version. I was completely sold after the first bite, it’s perfectly balanced.
I finish the crust with turbinado sugar for a gentle crunch, and if you’re cutting back on sugar, you can skip it or scale the sweetness down a bit. I love serving mine with a scoop of vanilla ice cream—the cold meets the warm crumble and it’s perfect. Whipped cream works too, but the ice cream does something extra. The crust came out so good!
Lessons Learned
When making the filling, I suggest peeling and coring your apples for the best texture. I used medium Honeycrisp apples, about nine in total, and they were more juicy, slightly tart, and not too soft.
The filling gets its flavor from lemon juice, dark brown sugar, cinnamon, salt, unsalted butter, and tapioca starch. Cooking the apples on the stove first makes a big difference. It softens them slightly and lets the butter and sugar caramelize, so the flavor deepens before it goes in the oven.
Here’s one thing I learned the hard way, go easy on the tapioca starch. Two tablespoons made the filling a bit too glossy for my taste. One tablespoon (or even half, if you like it saucier) gives just enough thickness without turning sticky.
For the crumble topping, I used almond flour, cornstarch, tapioca starch, flaxseed meal, kosher salt, maple syrup, vanilla, and shortening. The shortening keeps it from spreading too much, so your crumbles stay distinct instead of melting into the filling. I added two teaspoons of water to the mix since gluten-free flours need more moisture than usual. That small tweak gave the crumble the perfect balance.
Before baking, I drizzled a little maple syrup and sprinkled turbinado sugar on top. Totally optional, but it does make a difference. The syrup gives a light sheen, and the sugar caramelizes crunchy.
How to Make It Your Own
If you want a lighter sweetness, do coconut sugar or even half brown, half white sugar.
If you prefer honey, go for it, just know honey gives a slightly softer texture.
If you don’t have shortening, coconut oil can work too, but the crumble will spread a little more.
As for apples, Honeycrisp was my choice, but Pink Lady, Fuji, or Gala would all bake beautifully. You could even mix a tart and sweet variety, that would be tasty as well.
For serving, nothing beats vanilla ice cream, but if you’re keeping it dairy-free, a creamy oat-based or coconut ice cream works perfectly. A dollop of whipped cream on the side also works great.
Pro Tip:
For that golden sparkle, sprinkle turbinado sugar right before baking. It adds crunch and a light caramel flavor that brings the whole thing together.
Summary Notes:
This Apple Pie Crumble is everything you want on your thanksgiving menu and more. It’s buttery, and full of that caramelized apple flavor. The flaxseed meal gives the crust structure without drying it out, and the balance of almond flour and starches makes it tender and golden.
It’s one of those bakes that feels effortless and comforting, it’s a recipe you can make quickly before dinner but still serve proudly at a holiday table. You’ll never miss the gluten, or the gums.
Tried it? Let us know how it went in the comments below.
At Brimly, we take pride in presenting you with the finest products that our editors independently handpicked. In the spirit of transparency, we want you to know that we may earn an affiliate commission when you purchase something through the retail links below.
Essentials you’ll need:


view:
LISTENIngredients
Filling:
9 medium Honeycrisp apples, peeled, cored, sliced
2 Tbsp dark brown sugar
1 Tbsp white sugar
1 Tbsp unsalted butter
½ Tbsp tapioca starch [BUY]
½ Tbsp fresh lemon juice
1 tsp cinnamon powder
¼ tsp fine sea salt
Crumble Topping:
½ cup almond flour [BUY]
¼ cup cornstarch
¼ cup tapioca starch [BUY]
1 Tbsp flaxseed meal [BUY]
¼ tsp fine sea salt
3 Tbsp maple syrup
1 tsp vanilla extract
¼ cup shortening [BUY]
2 tsp water
maple syrup, for drizzling, optional
turbinado sugar, for sprinkling
Recipe Steps
Step 1
Preheat oven to 350°F (175°C). Lightly butter or grease your pie dish or an 8-inch baking dish.
Step 2
In a large bowl, mix together almond flour, cornstarch, tapioca starch, flaxseed meal, salt, maple syrup, vanilla, shortening, and water. Use your fingers or a whisk to combine until small, crumbly clumps form, then set aside.
Step 3
In a medium bowl, combine apples, brown sugar, white sugar, lemon juice, cinnamon, and salt. Set aside.
Step 4
In a saucepan, melt butter over medium-low heat, then add the apple filling. Cook over medium heat until the apples begin to soften and the mixture looks slightly caramelized, about 5–6 minutes. Sprinkle in the tapioca starch and fold it in for about 1 minute on low heat. Remove from heat and set aside to cool slightly.
Note: Ensure to keep stirring the mixture for the entire cook time to prevent the apples from over caramelizing and burning.
Step 5
Pour the apple filling into your prepared pie dish. Evenly crumble the topping over the apples. Drizzle with maple syrup then sprinkle turbinado sugar lightly over the top.
Step 6
Bake for 30–35 minutes, or until the top turns golden brown and the filling bubbles around the edges.
Step 7
Cool for at least 10 minutes before serving. Top with a scoop of vanilla ice cream and enjoy.
Storage:
Store in an airtight container at room temperature for up to 2 days, or refrigerate for up to 4 days. To re-warm, bake lightly at 350°F for 8–10 minutes.
More From Brimly.

by Brimly kitchen
by Brimly kitchen
by Brimly kitchen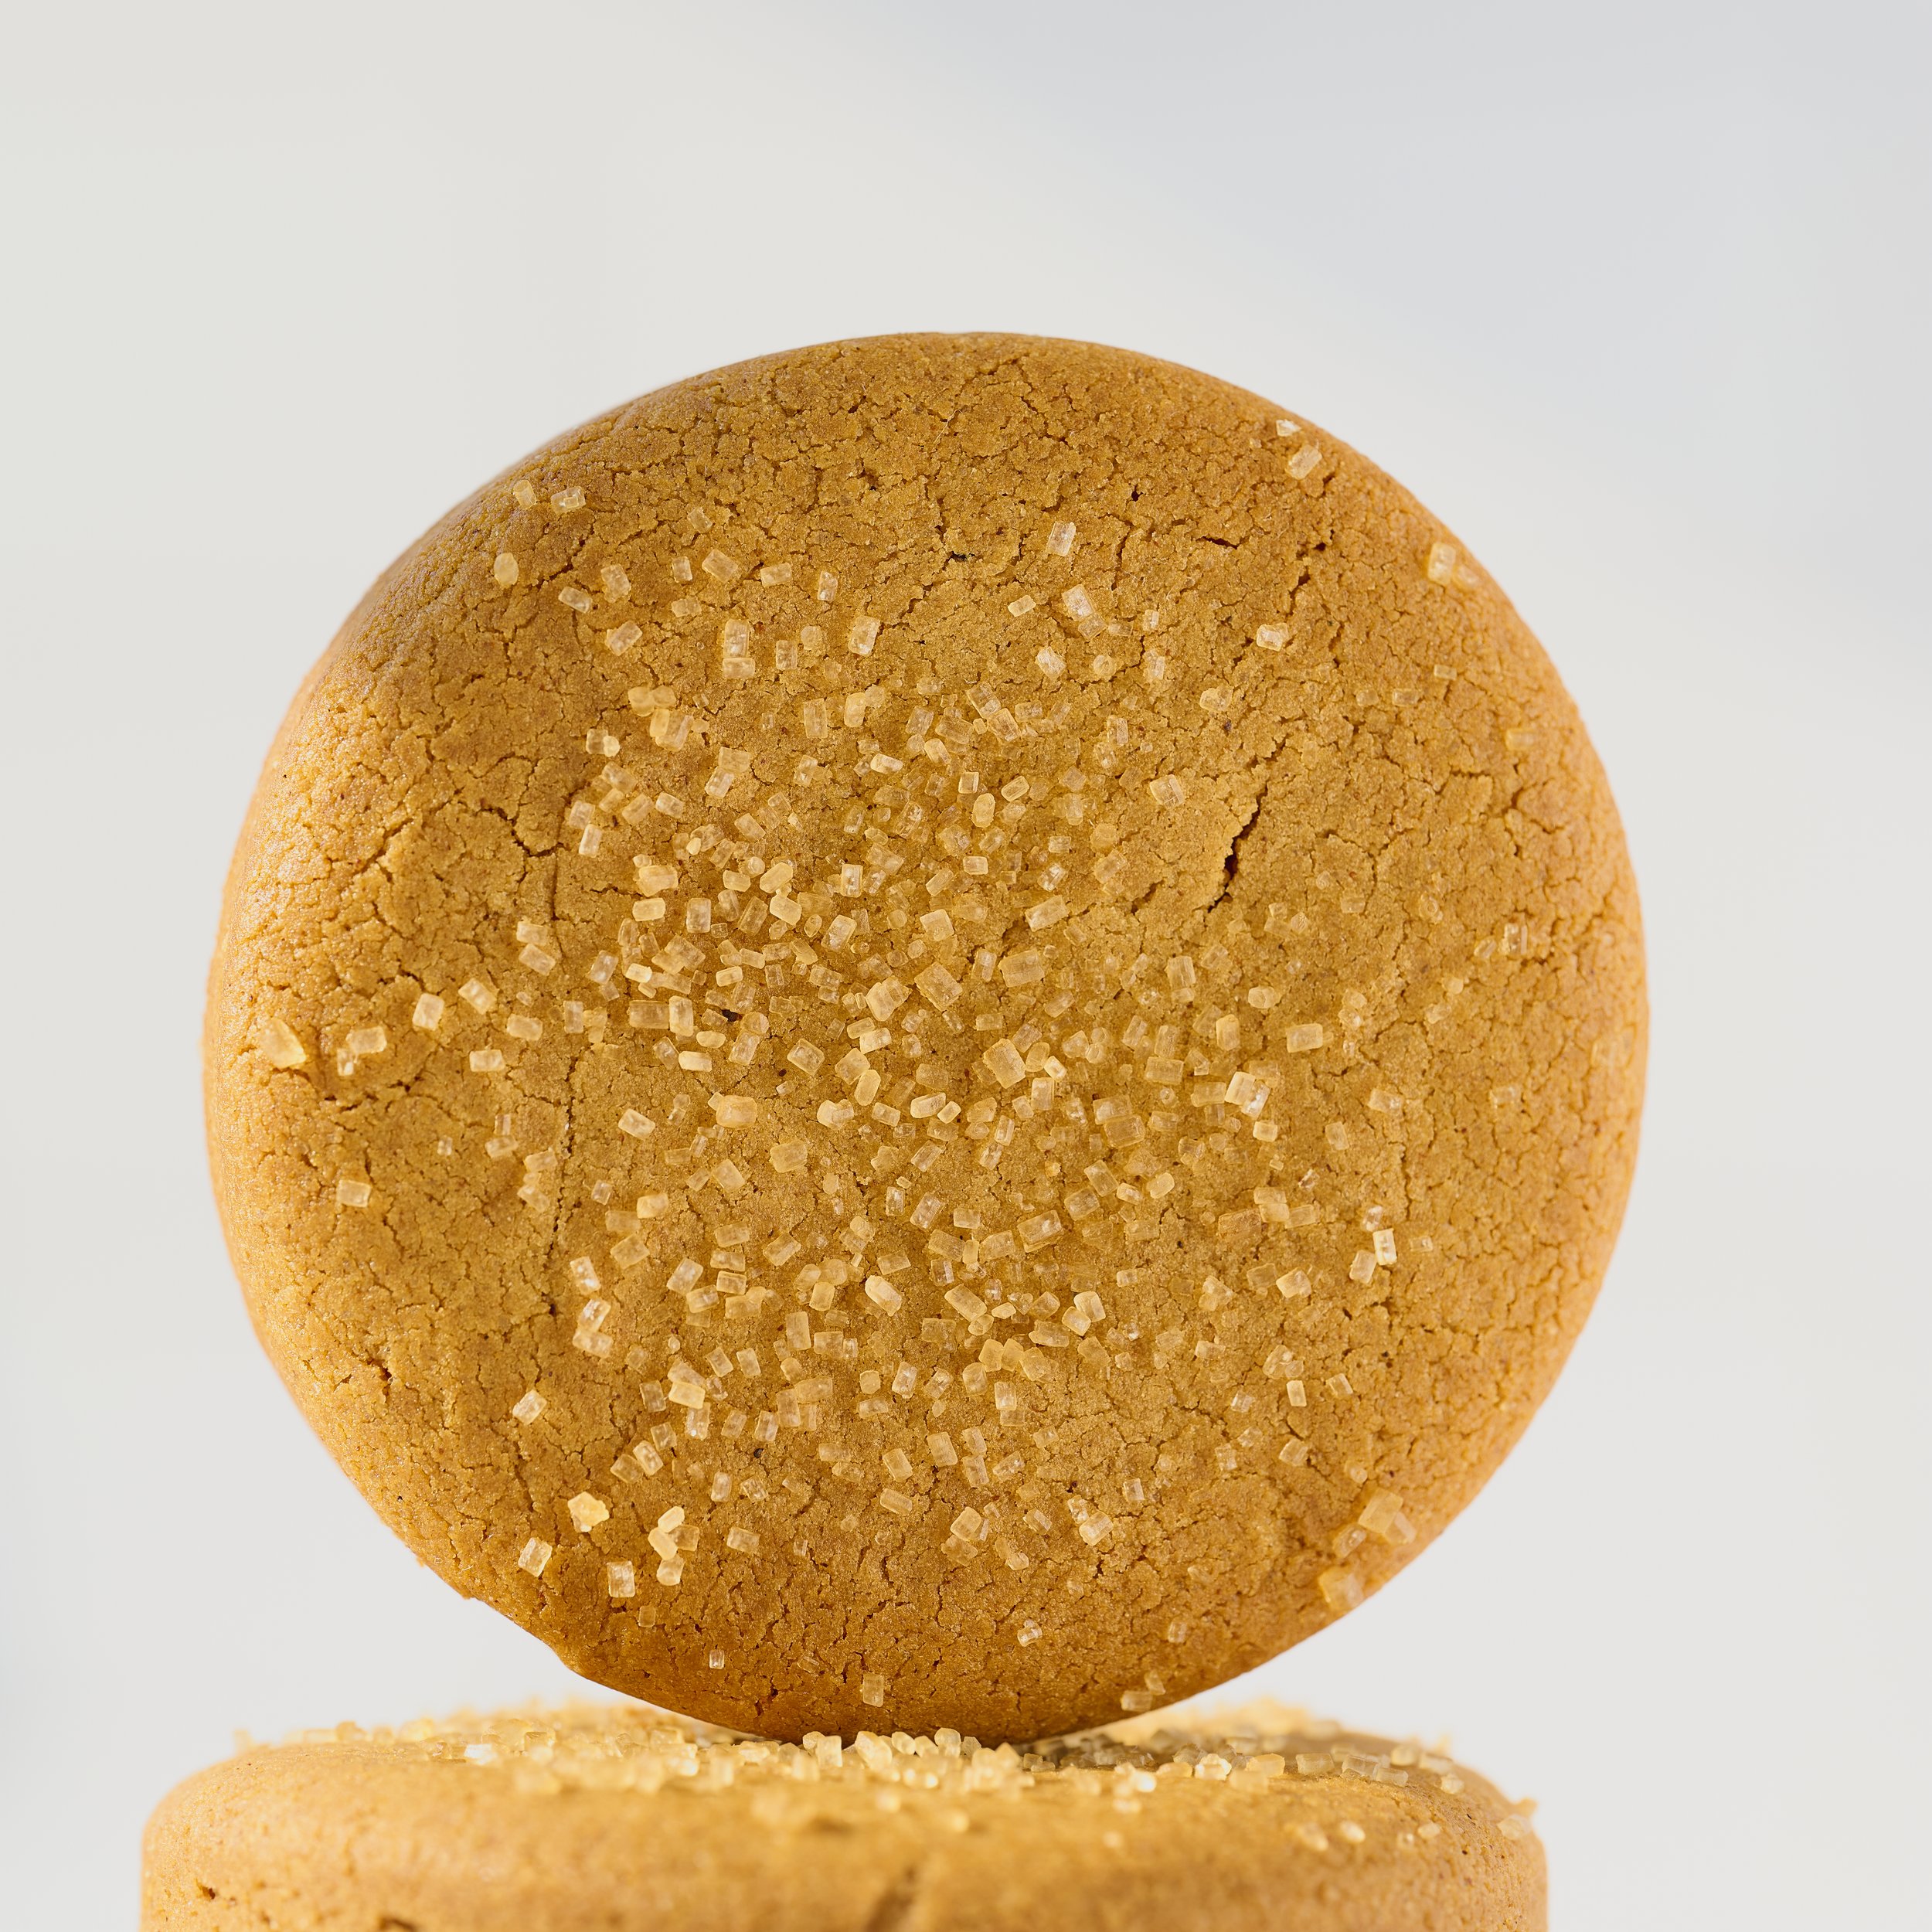
by Brimly kitchen
$10.95 AT AMAZON