BY Brimly.August 24, 2025Gluten-Free Bakery Style Banana Bread
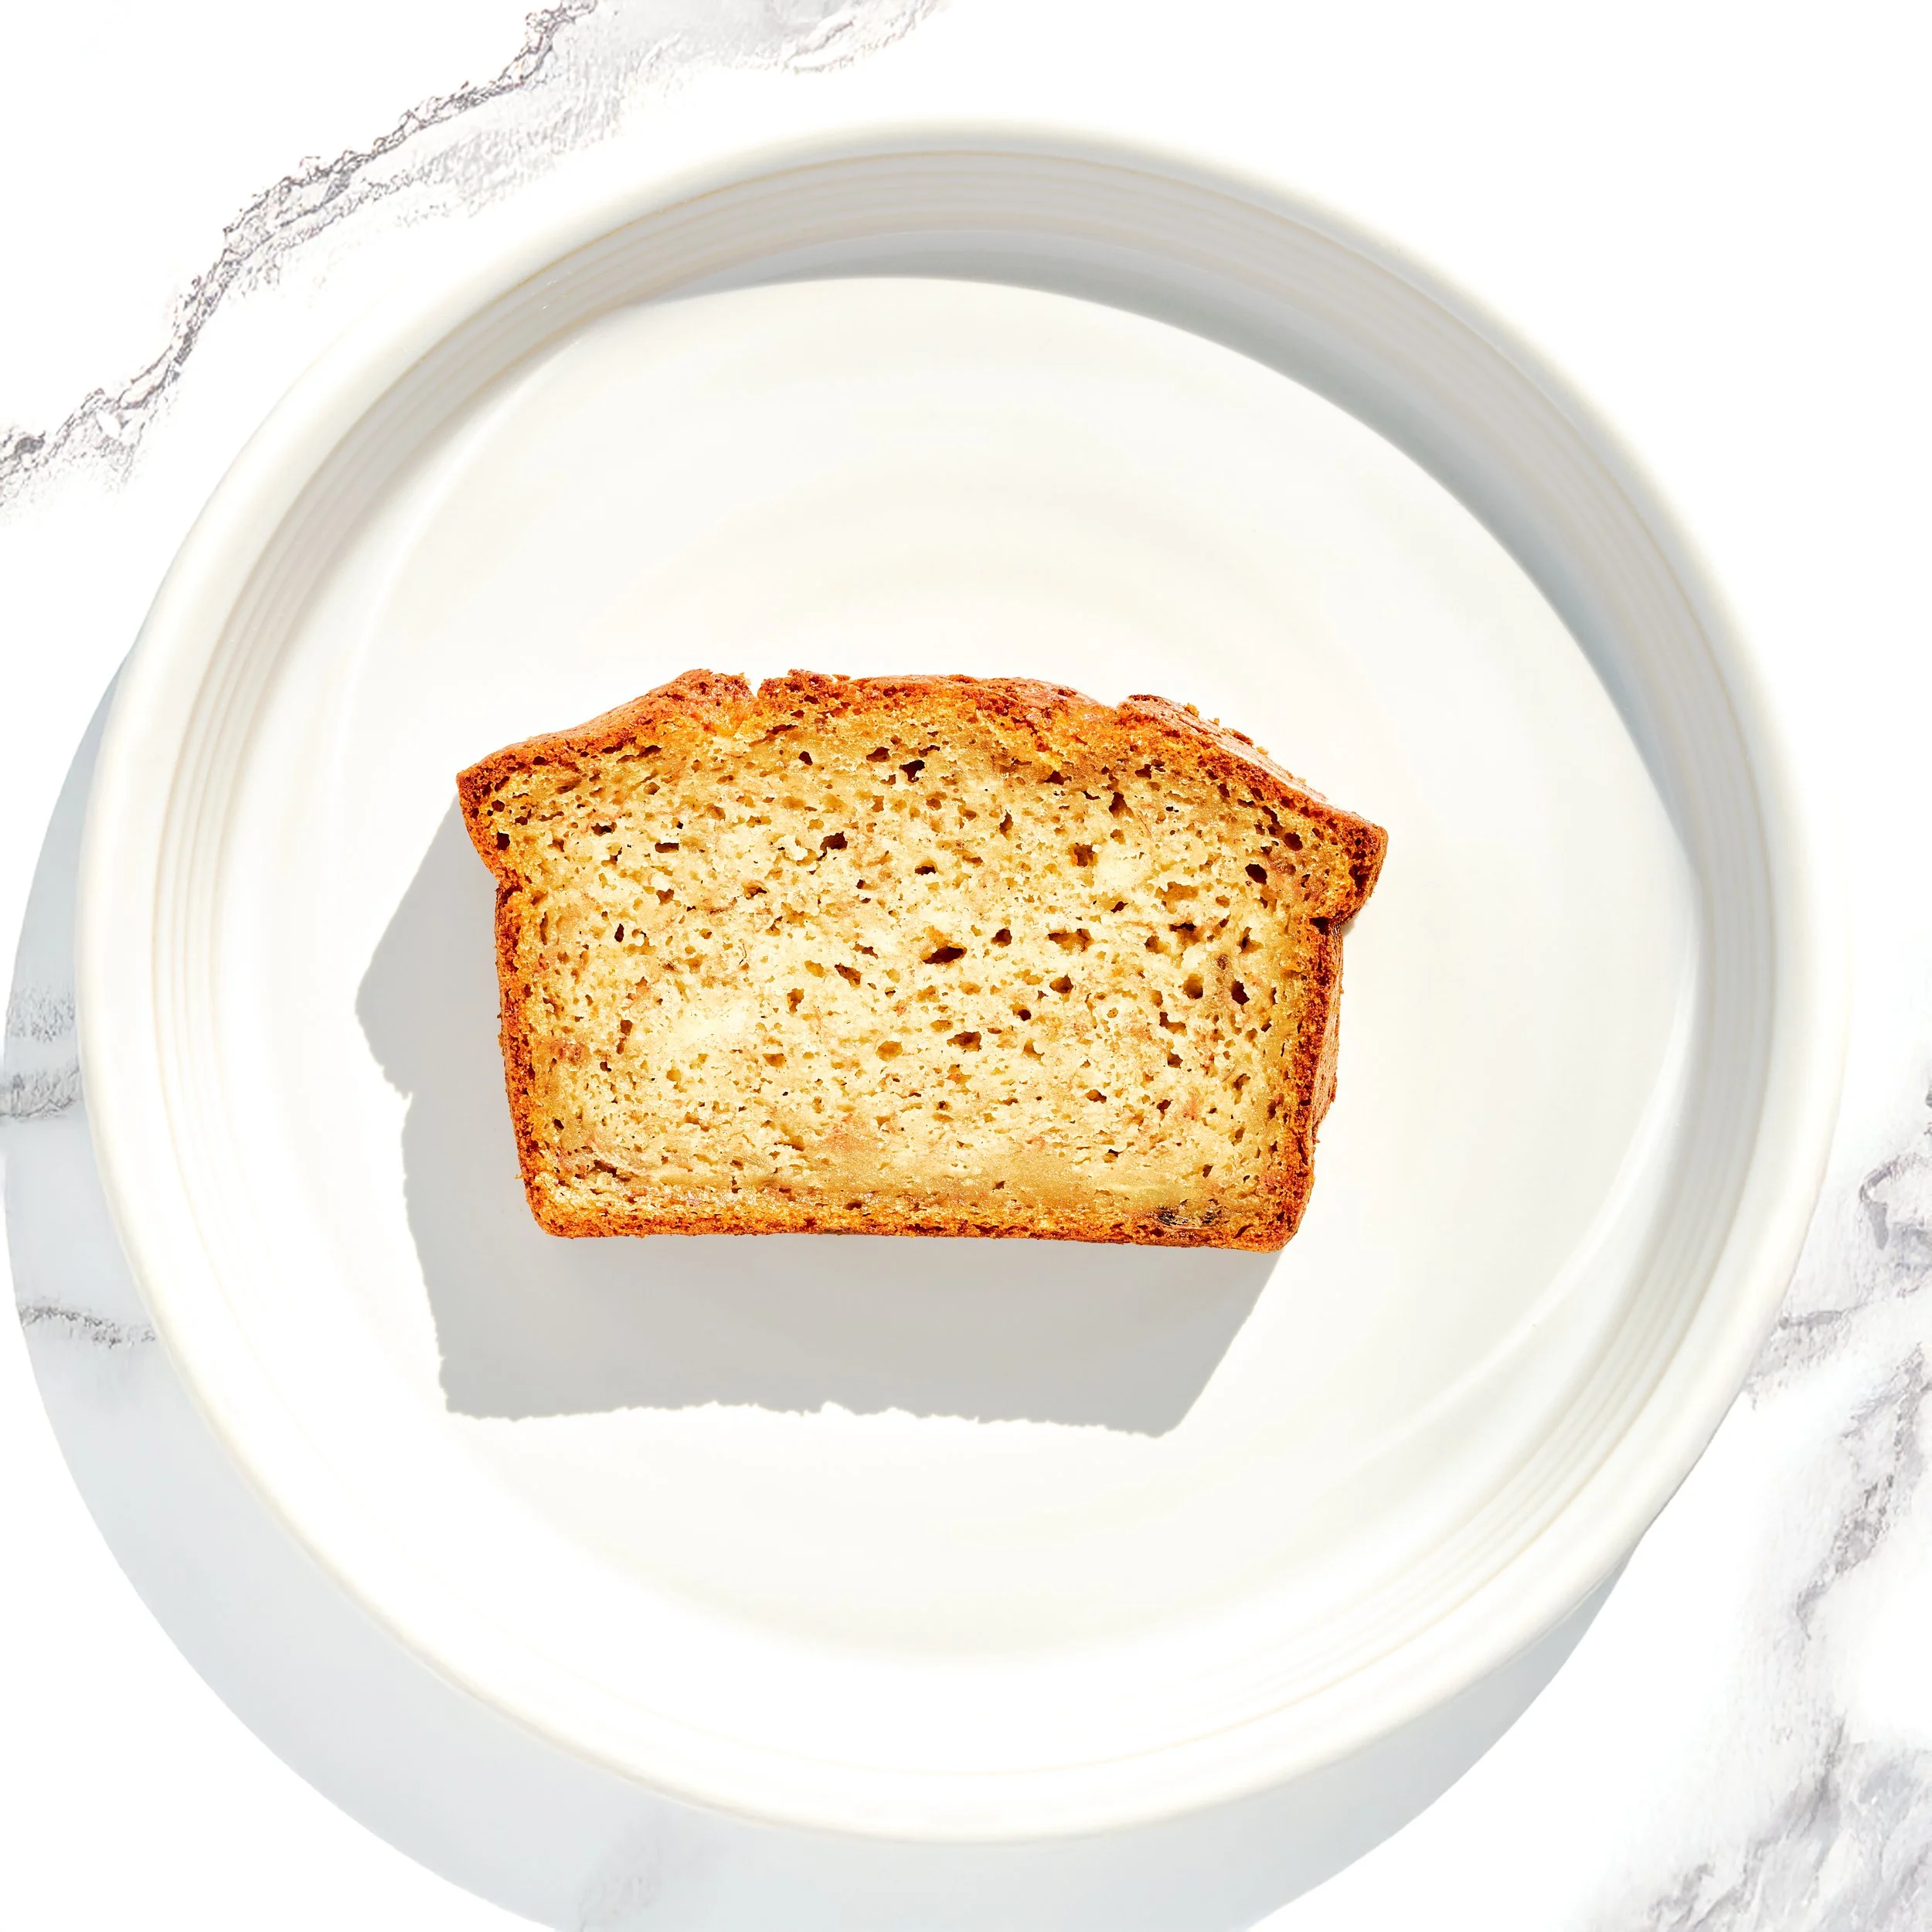
Photo By Editors @ the Brimly Test Kitchen


NOVICE Cook70 MinutesGluten-freesweet Treat Now, Why This Recipe and What Makes It Special?
This recipe came out of me wanting a banana bread that actually worked. I’ve seen a lot of banana bread recipes out there, and I’ve tried a few in the past, but none of them felt right to me. Either the texture wasn’t what I wanted, or the loaf would fall apart, or it just didn’t have the kind of moisture I was looking for. So I decided to take the cake recipe I already trust and build from there. I removed the chocolate, added ripe bananas, adjusted the liquid, and gave it a try. I also added one extra tablespoon of yogurt, and that gave it exactly what it needed. What I ended up with is a banana bread that’s incredibly moist, not crumbly, not dense, and definitely not dry. It’s gluten-free, soy-free, and gum-free, but you wouldn’t be able to tell from the way it tastes or holds up. It slices well, it bends without breaking, and the texture is exactly what I’ve been working toward in my baking. The batter is naturally runny—that’s intentional—and it bakes into something that tastes finished just the way it is. You don’t need toppings. You don’t need add-ins. You don’t need to fix it. This is the one.
Lessons Learned
The most important thing I learned from making this recipe is that the bananas really matter. You want bananas that are well past ripe—soft, dark, and maybe even a little too far gone for eating fresh. That’s what gives this loaf the sweetness and the flavor it needs. I also learned that this recipe does need the full hour in the oven. Not more, not less. A full 60 minutes at 350°F gives you a clean bake without drying anything out. When I tested this, I didn’t open the oven or shift anything, and the result was a clean top, even browning, and a fully baked center. I also learned that the batter being runny is not something to worry about. That’s what gives the final result its moisture, and it holds together just fine. And lastly, I noticed that the flavor and texture get even better the next day. After sitting overnight, the bread becomes softer, sweeter, and easier to slice, without losing any of its structure.
How to Make It Your Own
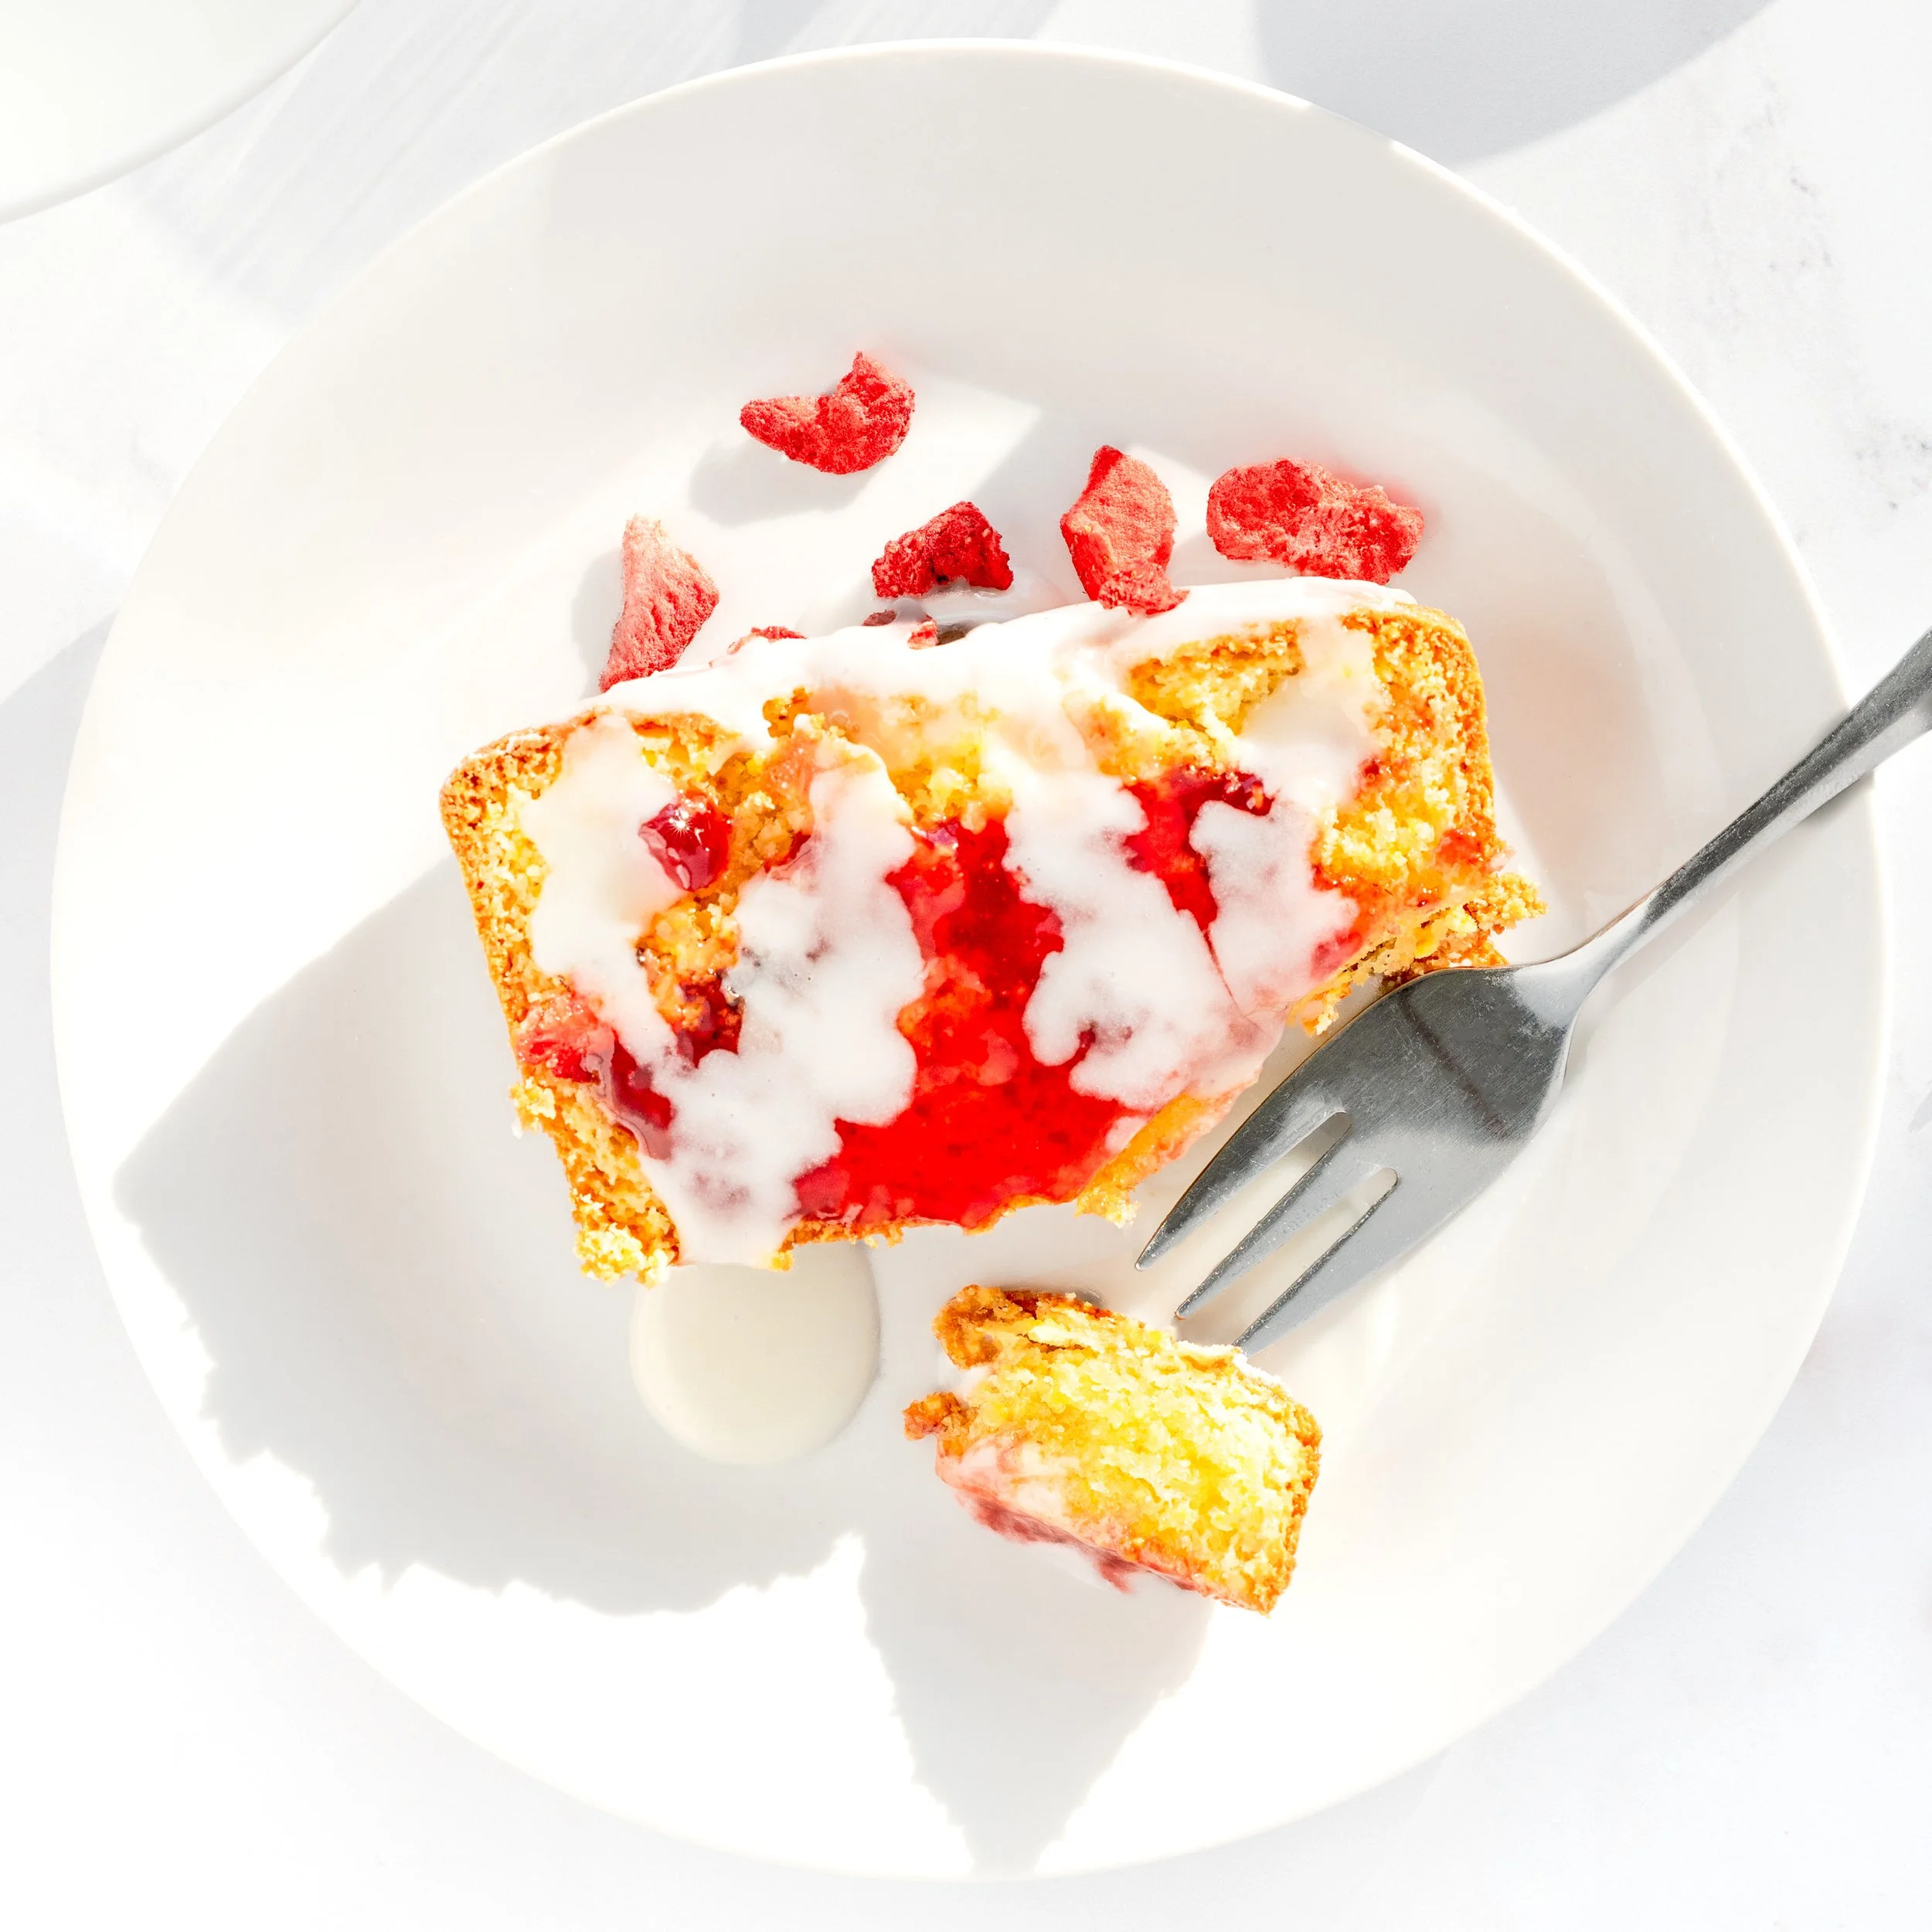
This recipe doesn’t need anything added to it, but if you want to customize it, there are a few things to keep in mind. Because the batter is very loose, anything heavy like chocolate chips or chopped nuts will sink to the bottom if added at the beginning. I’ve tested that, and I don’t recommend doing it. If you really want to add something in, it’s better to wait until the loaf is halfway through baking and then gently place your toppings on the surface. Even then, I would only do that if you’re absolutely sure it’s worth the risk, because opening the oven midway can change the temperature and affect the bake. I personally prefer to leave it alone. If you want to add warm spices like cinnamon or nutmeg, that’s fine, but I chose not to because I wanted the banana flavor to stay clean and simple. You can also swap the yogurt and milk for dairy-free alternatives if you need to, but just make sure they’re plain and unsweetened so they don’t change the texture too much. Overall, this recipe holds up best when kept simple.
Pro Tip:
Use the ripest bananas you can find. If you have ones that are fully blackened on the outside, those are perfect. If all you have are a mix—some that are really ripe and some that are just softening—you can still use them together, but the more ripe bananas you can include, the better your loaf will turn out. Another thing to keep in mind is the bake time: this loaf needs a full hour. Start checking at 55 minutes if you want, but for me, one hour exactly has worked every time. Once it’s out of the oven, don’t rush to slice it. Let it cool completely so the structure can set and the crumb stays together. You can enjoy a slice while it’s warm, but it really is better once it’s fully cooled—or even the next day.
Summary Notes:
This banana bread is gluten-free, soy-free, and gum-free. It uses a high-moisture batter that bakes into a soft, structured loaf without falling apart. It’s made in a standard loaf pan and bakes at 350°F for exactly one hour. The recipe doesn’t need any mix-ins or toppings, and the texture improves after resting overnight. It holds together, slices cleanly, and has the kind of taste and feel that doesn’t remind you it’s gluten-free. It’s simple, reliable, and easy to make again and again.
Tried it? Let us know how it went in the comments below.
At Brimly, we take pride in presenting you with the finest products that our editors independently handpicked. In the spirit of transparency, we want you to know that we may earn an affiliate commission when you purchase something through the retail links below.
Essentials you’ll need:


view:
LISTENIngredients
2 large eggs
½ cup corn oil
¼ cup whole milk or more yogurt
⅓ cup + 1 Tbsp plain yogurt
1 tsp vanilla extract
½ cup dark brown sugar
1 Tbsp honey
3 ripe banana, mashed
1 cup gluten-free flour, no xanthan gum [BUYF]
1 tsp baking powder
½ tsp baking soda
½ tsp fine sea salt
¼ tsp ground nutmeg
Recipe Steps
Step 1
Preheat oven to 350°F. Grease a loaf pan and line with parchment paper.
Step 2
In a large bowl, whisk together the eggs, oil, milk, yogurt, vanilla, and honey until smooth.
Step 3
Stir in the brown sugar and mashed banana until fully combined.
Step 4
In a separate bowl, whisk together the flour, baking powder, baking soda, salt, and nutmeg. Add to the wet ingredients and mix until just combined—do not overmix.
Step 5
Pour the batter into the prepared loaf pan and smooth the top.
Step 6
Bake for 50–60 min, or until a toothpick inserted in the center comes out with moist crumbs.
Step 7
Let cool in the pan for 10–15 min on a wire rack. Then lift out using the parchment and cool completely on a wire rack.
Step 8
For best texture, wrap and let rest overnight before slicing.
Storage:
Store in an airtight container at room temperature for 2 days, or refrigerate for up to 1 week.
More From Brimly.
by Brimly kitchen
by Brimly kitchen
by Brimly kitchen
by Brimly kitchen
$10.95 AT AMAZON