BY Brimly.August 10, 2025Lemon Butter Madeleines
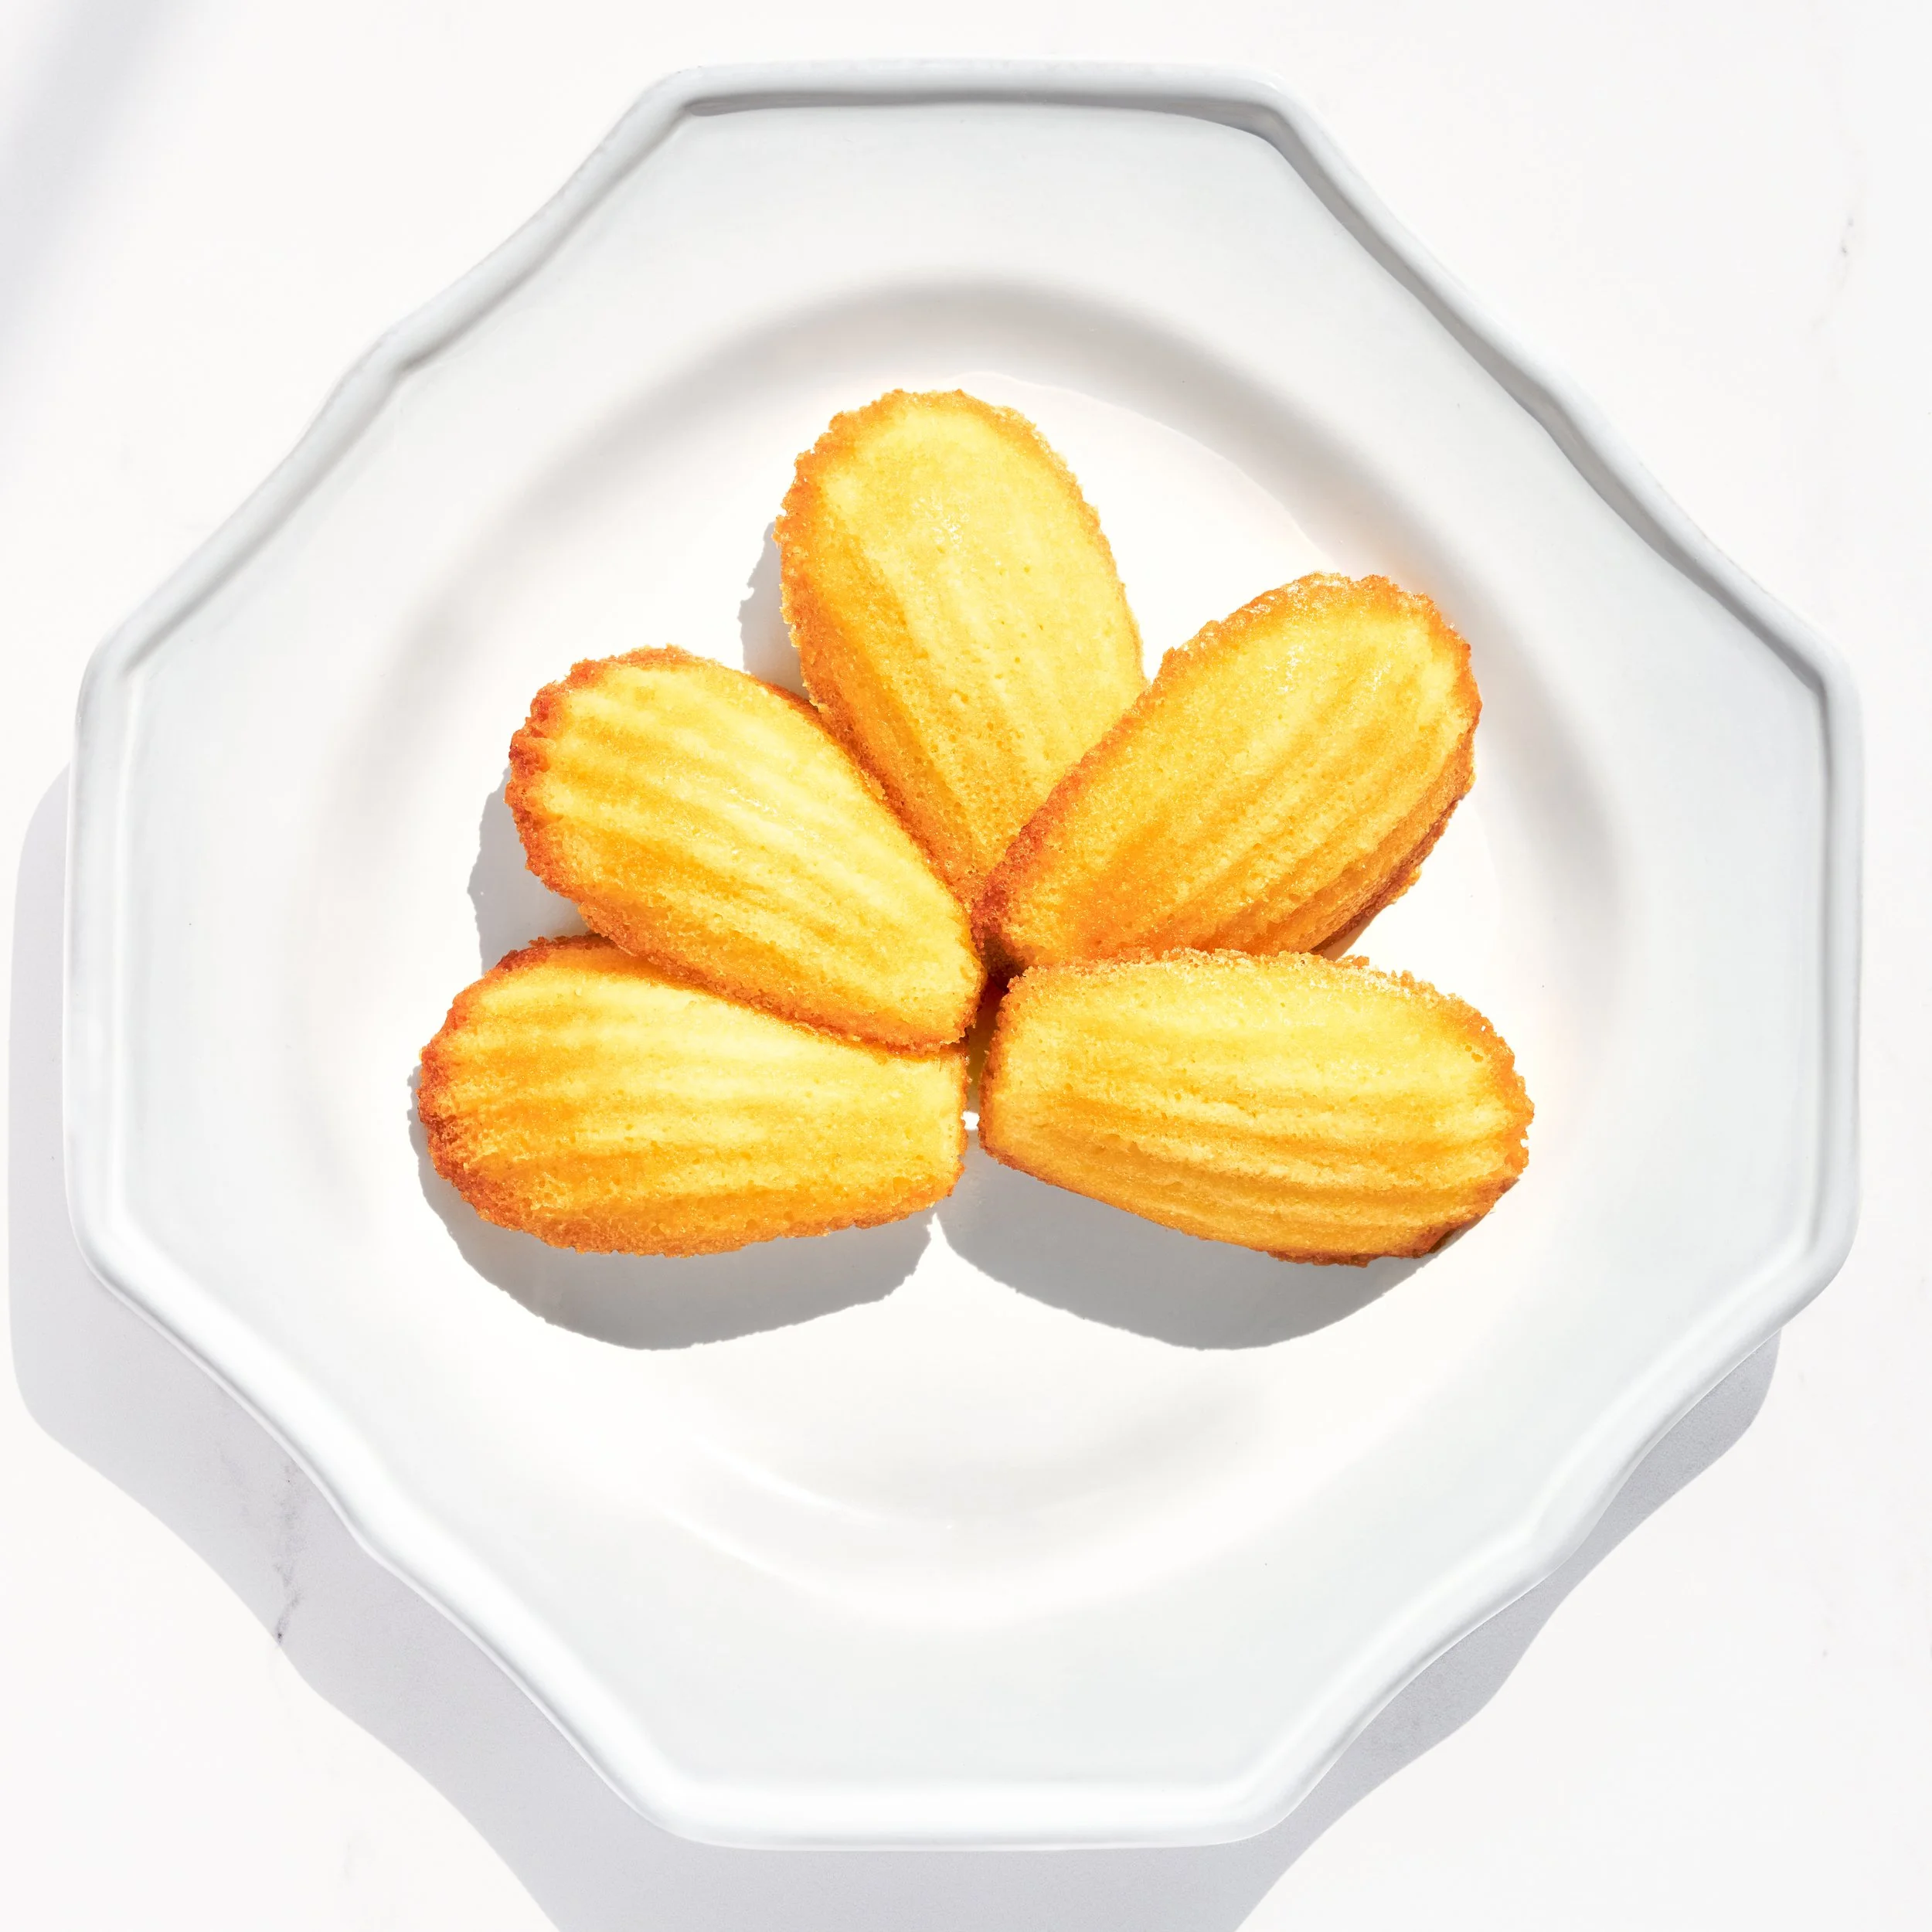
Photo By Editors @ the Brimly Test Kitchen


NOVICE Cook95 minutesGluten-freesweet Treat Now, Why This Recipe and What Makes It Special?
For this recipe, I decided to go with gluten-free madeleines that just feel like madeleines. I didn’t want them tasting grainy, dry, or off in any way. A lot of gluten-free baked goods have this strange texture or aftertaste, and honestly, I’ve gotten to the point where I just won’t settle for that anymore. I also don’t use gums in my baking—no xanthan, no psyllium husk—because I’ve found that if you really understand the balance of ingredients, you don’t need them. Here at Brimly, we’ve been committed to gum-free baking, and it’s been working out beautifully. This recipe uses King Arthur’s gluten-free flour—the one without xanthan gum—and I find it performs best in recipes that are naturally soft and cakey. These madeleines don’t fall apart, they have the right lift, the right texture, and a beautiful golden edge. By the next day, they’re even better. The shape holds, the taste holds, and there’s nothing about them that signals they’re gluten-free. We kept the flavor simple, but you can always build from here if you’d like to customize them. Overall, this is one of those solid base recipes that does exactly what it should, and I’m really happy with how it turned out. yay!
Lessons Learned
A few small things made a big difference here. First, chilling the batter for at least 30 minutes helped with consistency and rise. It just gave the batter structure, and I wouldn’t skip that step. We tested this recipe with and without a cold pan, and both worked—but if you want that extra pop in texture and shape, chilling your greased pan does help. That said, the key is making sure your pan is well-buttered—don’t skimp there. These madeleines release best with a thorough coating. I also learned not to underfill or overfill the wells. This batter rises upward, not outward, so you can be slightly generous, but you still don’t want to go too far or you’ll lose that clean shell pattern. One heaping tablespoon is the ideal amount. And finally, oven temperature matters. Preheat fully, and if possible, use an oven thermometer to check that your oven is really at 375°F before you begin.
How to Make It Your Own
This is a really solid base recipe, and you can definitely adjust the flavor depending on what you like. You can swap the lemon zest for orange or add a little almond extract to bring in a different note. If you want something slightly richer, you could even add a splash of rum extract. I wouldn’t recommend adding anything bulky like fresh fruit or large chocolate chunks because it could affect the structure, but a few mini chocolate chips could work. The key is to make small adjustments that won’t weigh the batter down. These madeleines bake quickly and evenly, so you don’t need to do much to change the flavor and still get a great result.
Pro Tip:
A good quality pan makes a big difference. I used the USA Pan madeleine tray, and I highly recommend it. The wells are well-defined, and the madeleines come out with that signature shell shape, no sticking, no tearing. Also, when you preheat your oven, give it more time than you think it needs. I usually let mine sit for an extra 20–30 minutes after it says it's ready to go. That little step can help prevent underbaked centers or over-browned edges. And if you’re unsure, just leave an oven thermometer in there so you can double-check.
Summary Notes:
Stick to the chill time. Don’t skip preheating. Butter your pan thoroughly. One level tablespoon per well is the sweet spot. Let them rest a few minutes before removing from the pan, and they should pop right out. These madeleines keep well for a day or two at room temperature and taste even better the next day. You can freeze them if you need to, but they’re best eaten fresh or within the first 48 hours. Simple, reliable, and they don’t taste like a gluten-free workaround—they just taste good!
Tried it? Let us know how it went in the comments below.
At Brimly, we take pride in presenting you with the finest products that our editors independently handpicked. In the spirit of transparency, we want you to know that we may earn an affiliate commission when you purchase something through the retail links below.
Essentials you’ll need:


view:
LISTENIngredients
Recipe Steps
Step 1
Butter the madeleine pan and chill the pan in the fridge.
Step 2
In a mixing bowl, beat the eggs and sugar for 5–7 minutes until pale and thick.
Step 3
Add the vanilla, lemon zest, and salt. Stir to combine.
Step 4
In a separate bowl, whisk together the gluten-free flour, almond flour, and baking powder. Add to the egg mixture in two additions, folding gently.
Step 5
Slowly fold in the melted butter until the batter is smooth.
Step 6
Cover and refrigerate the batter for at least 1 hour or overnight.
Step 7
Preheat oven to 375°F (190°C). Add 1 heaping tablespoon of batter to each well of the cold pan.
Step 8
Bake for 10–12 minutes, until edges are golden.
Step 9
Cool in the pan for 2 minutes, then gently remove and transfer to a wire rack. Dust with powdered sugar if using.
Storage:
Store madeleines in an airtight container at room temperature for up to 2 days. For longer storage, freeze and reheat gently before serving.
More From Brimly.
by Brimly kitchen
by Brimly kitchen
by Brimly kitchen
by Brimly kitchen
$10.95 AT AMAZON