Gluten-Free Raisin Crumble Muffins
BY Brimly.March 15, 2026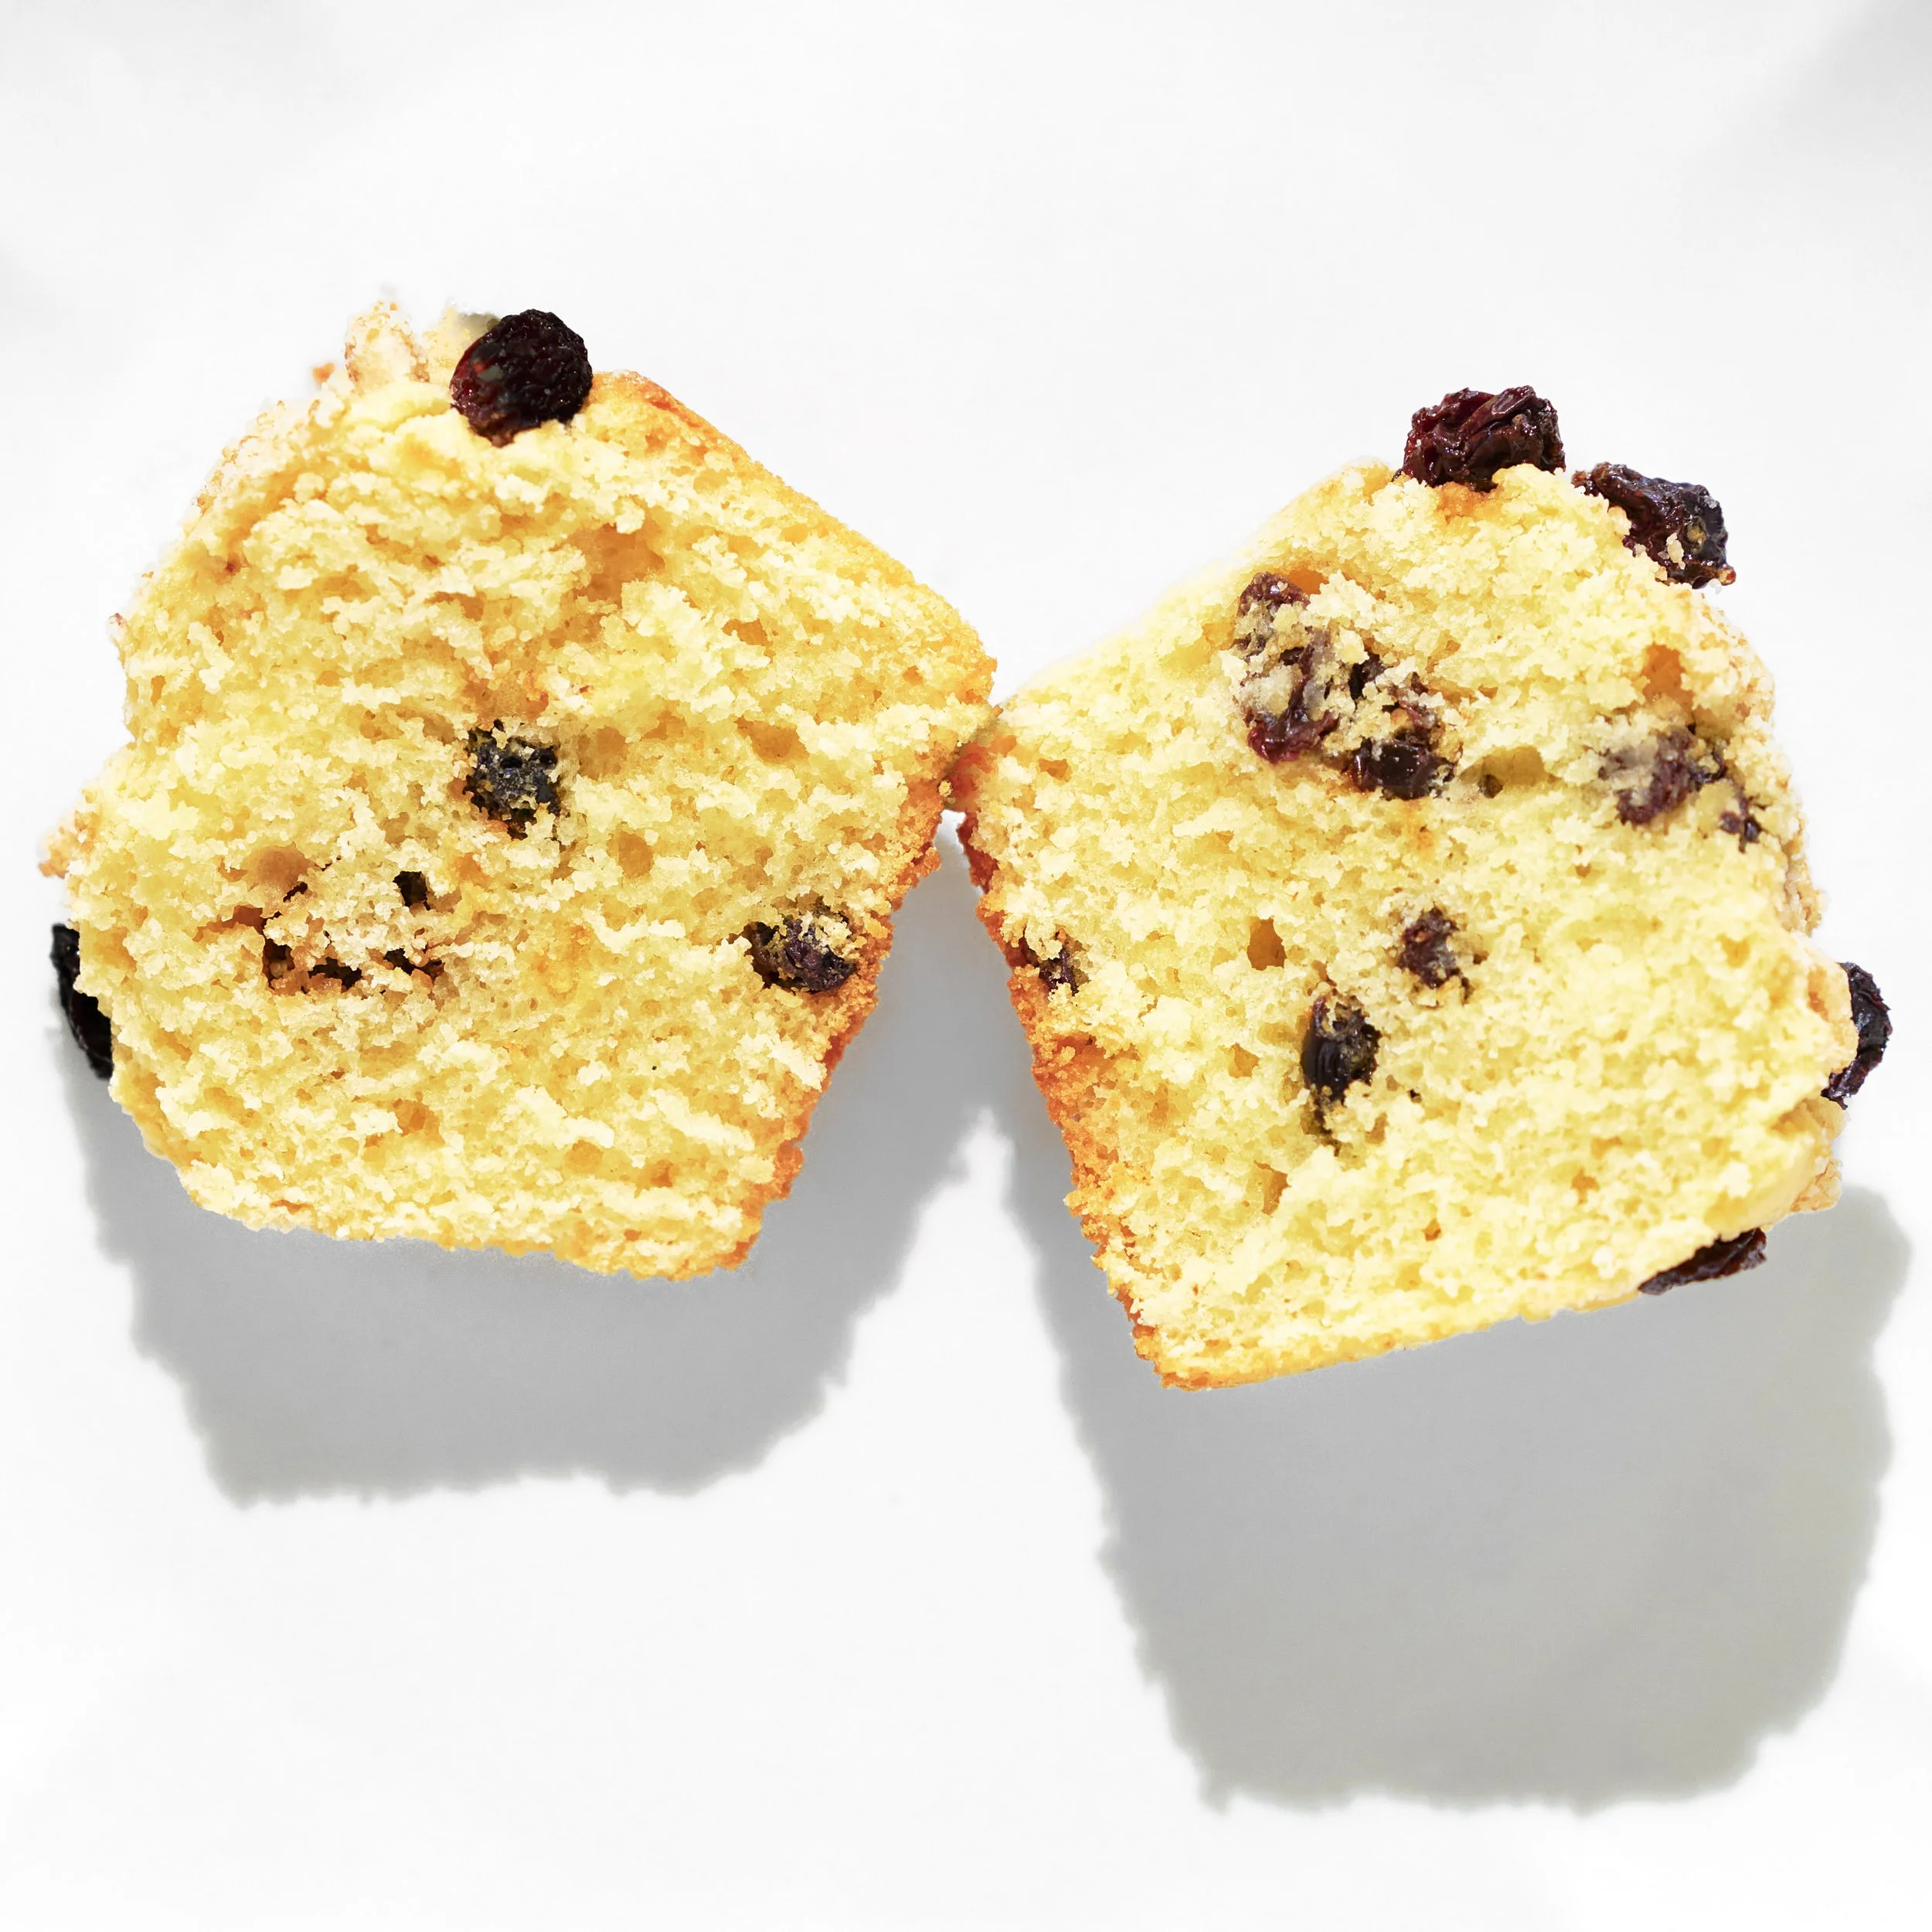
Photo By Editors @ the Brimly Test Kitchen


EASY TaskPREP: 15 minGluten-freesweet Treat Now, Why This Recipe and What Makes It Special?
So I basically came up with this recipe because I wanted to make a raisin muffin. That’s it. I wanted something that felt bright and just right for the season, and since almond flour is the main ingredient this month, I knew I had to build something around it.
It’s kind of based off another muffin recipe we’ve made before, but honestly? These came out, in my opinion, perfect. And I don’t even know how that happened. I was just adjusting things, adding a little more here, reducing something there, increasing structure where I felt it needed support, and I ended up landing on something that tastes like a completely traditional muffin. And I didn’t see that coming.
I was just going off the skills I’ve developed over time. I’ve learned a lot about gum-free baking. I’ve learned how almond flour behaves. I’ve learned how moisture works in these kinds of recipes. So I trusted that. I made small tweaks. And indeed, it worked.
They’re not crumbly. They’re not dense. They don’t have that “gluten-free” feel. They’re soft, balanced, and honestly taste like something you’d pick up at a bakery. That part makes me really proud. Because this is gluten-free, gum-free, soy-free, and it still feels completely normal. And that’s the goal.
Lessons Learned
One thing I will always say, and I mean always, is that your oven temperature matters. It really matters.
When you bake these at 375°F for those first five minutes, you’re giving them lift. That initial heat helps the structure set quickly so they rise the way they’re supposed to. Then when you lower it to 350°F without opening the oven, it allows the inside to finish baking gently without drying out.
If your oven runs low, these could take longer and maybe dry out. If it runs hot, the tops could brown too fast before the inside is ready. So I truly recommend a simple oven thermometer. It saves you stress and helps you get the exact texture you’re hoping for.
My sweet spot is 15 minutes after lowering the temperature, but that only works if your oven is actually at the temperature it says it is.
How to Make It Your Own
You can absolutely skip the crumble topping if you want. These muffins stand on their own without it. The crumble just adds that little extra something, a little texture, a little contrast but it’s not required.
If you want to warm them up a bit flavor wise, you could add a small pinch of cinnamon. The raisins could be swapped for chopped dates if that’s what you have. You could even do dried cranberries if you want something slightly more tart.
And if you don’t feel like making a crumble at all, you could just sprinkle a bit of coarse sugar on top and call it a day. The base of this recipe is stable. It holds up. That’s something I really love about it. It gives you room to adjust.
Pro Tip:
When you add the egg and wet ingredients, mix thoroughly. Because this is gum-free, you actually want to make sure everything is fully incorporated. There’s no xanthan gum doing extra work here. Structure comes from proper mixing and ingredient balance.
Once the raisins go in, switch to a spatula and fold gently. That keeps the batter smooth without overworking it.
And please don’t skip the temperature shift. That first five minutes at the higher heat is part of why these rise the way they do. It’s a small step, but it makes a difference.
Summary Notes:
These muffins are simple. They’re easy. They come together in one bowl with a mixer, or even just a whisk if that’s what you have. They’re not overly sweet, but the raisins give them that natural sweetness that makes them feel complete.
They don’t taste like a “special” muffin. They don’t feel dense. They don’t crumble in your hands. They just feel right.
And honestly, I can’t wait to bake these again and share them with family and friends. Because when something turns out this good, especially in gluten-free, gum-free baking you want other people to experience it too. To me, they’re just a really great muffin that makes me happy!
Tried it? Let us know how it went in the comments below.

At Brimly, we take pride in presenting you with the finest products that our editors independently handpicked. In the spirit of transparency, we want you to know that we may earn an affiliate commission when you purchase something through the retail links below.
Essentials you’ll need:


view:LISTENIngredients
Muffin Batter:
½ cup almond flour [BUY]
2 Tbsp tapioca starch [BUY]
½ cup gluten-free flour, no xanthan gum [BUY]
3 Tbsp milk powder [BUY]
1 tsp baking powder
¼ tsp fine sea salt
1 extra-large egg
4 Tbsp white sugar
¼ cup plain yogurt
2 Tbsp corn oil
2 Tbsp maple syrup
1 tsp vanilla extract
¼ cup raisins
Streusel Topping:
¼ cup almond flour [BUY]
¼ cup gluten-free flour, no xanthan gum [BUY]
1 Tbsp granulated sugar
1 Tbsp dark brown sugar
2 Tbsp softened butter
⅛ tsp fine sea salt
Recipe Steps
Step 1
Preheat oven to 375°F (190°C). Line a 6-cup muffin tin with paper liners.
Step 2
In a medium bowl, combine almond flour, gluten-free flour, milk powder, baking powder, salt and tapioca starch. Mix using an electric hand mixer (or whisk well) until evenly combined.
Step 3
Add the egg, white sugar, yogurt, corn oil, maple syrup, and vanilla extract directly into the dry mixture. Using an electric hand mixer, mix thoroughly until fully combined and smooth.
Step 4
Gently fold in the raisins using a spatula.
Step 5
Using a cookie scoop, divide the batter evenly into the 6 muffin liners (about 1½ scoops each).
Step 6
Generously top each muffin with the crumble topping. Add a few extra raisins on top if desired.
Step 7
Bake at 375°F (190°C) for 5 minutes. Without opening the oven, reduce temperature to 350°F (175°C) and continue baking for 14–16 minutes (15 minutes is the best timing if your oven runs accurately). Muffins are done when a toothpick inserted comes out clean.
Step 8
Let muffins cool in the pan for about 5 minutes, then transfer to a cooling rack and allow to cool completely before serving.
Streusel Topping: To make the streusel topping, add the almond flour, gluten-free flour, white sugar, dark brown sugar, and salt to a bowl and mix together until evenly combined. Then add the softened butter and either use a hand mixer or your hands to work everything together until it forms a crumbly, sandy texture. Once it looks like rough, buttery crumbs, it’s ready to use.
Storage:
Store in an airtight container at room temperature for up to 2 days. For longer storage, refrigerate up to 5 days and warm slightly before serving.
More From Brimly.
by Brimly kitchen
by Brimly kitchen
by Brimly kitchen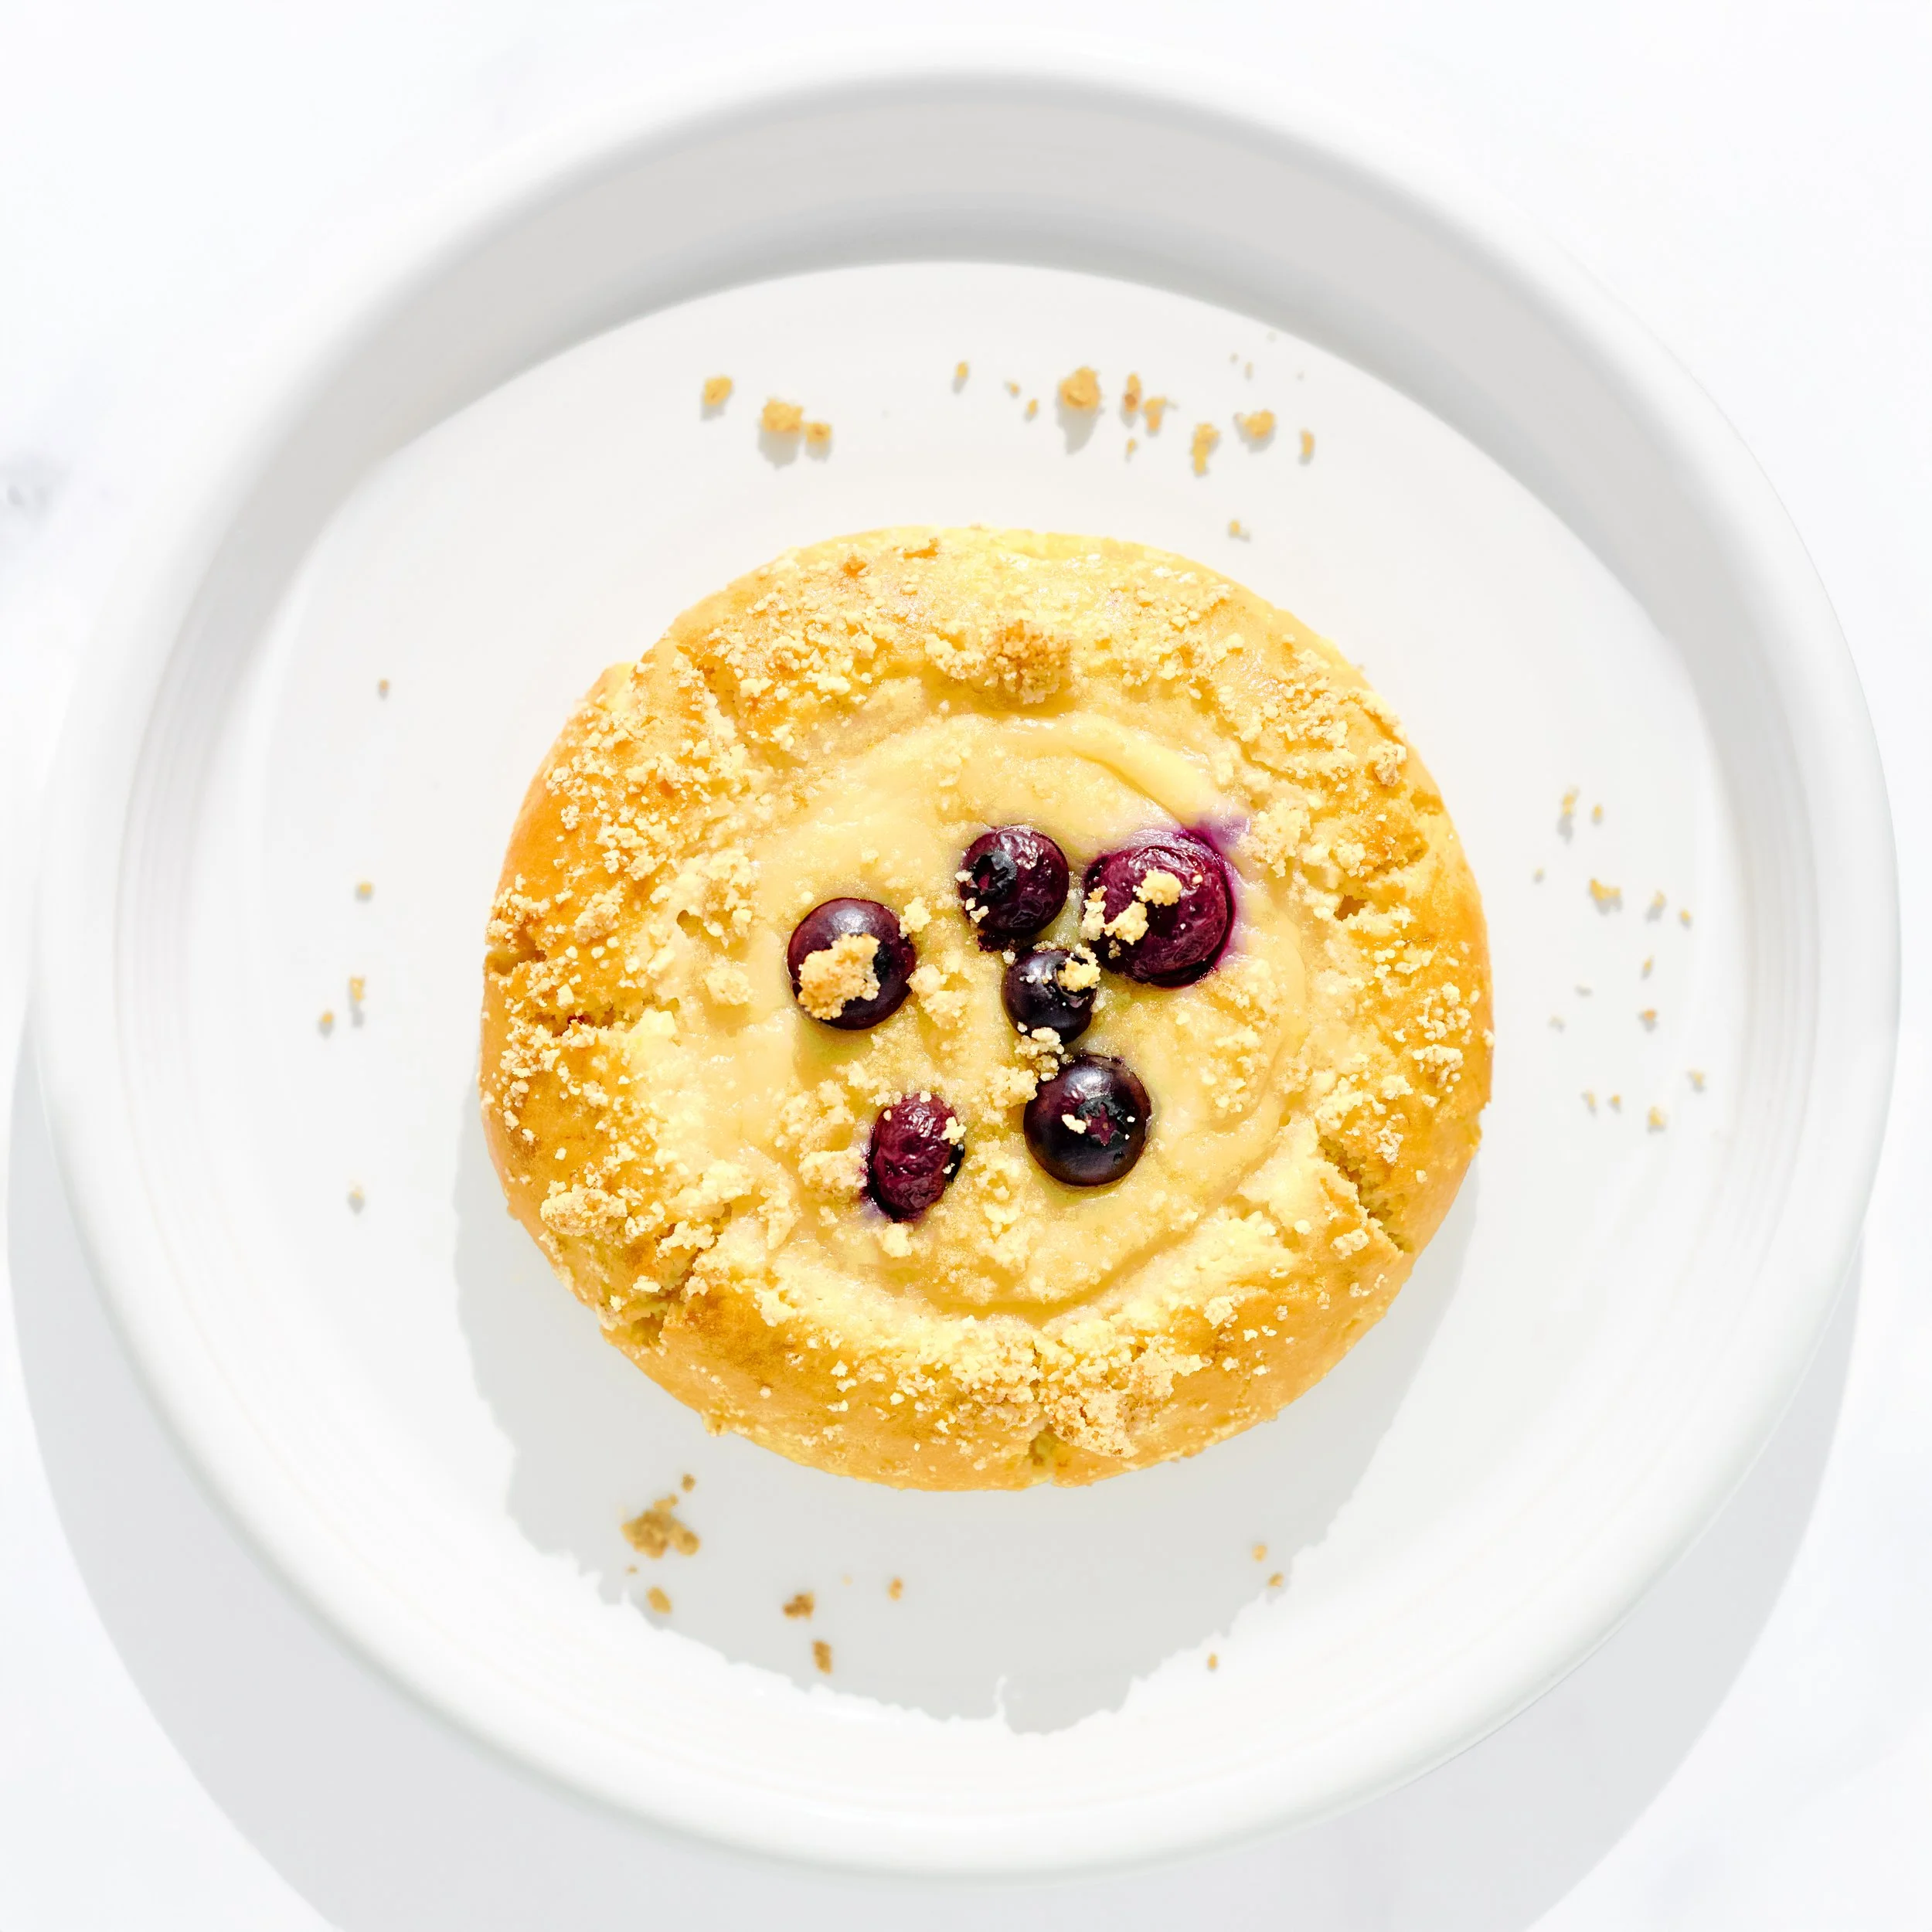
by Brimly kitchen
$10.95 AT AMAZON