Brimly’s Gluten-Free Savory Biscuits
BY Brimly.January 11, 2026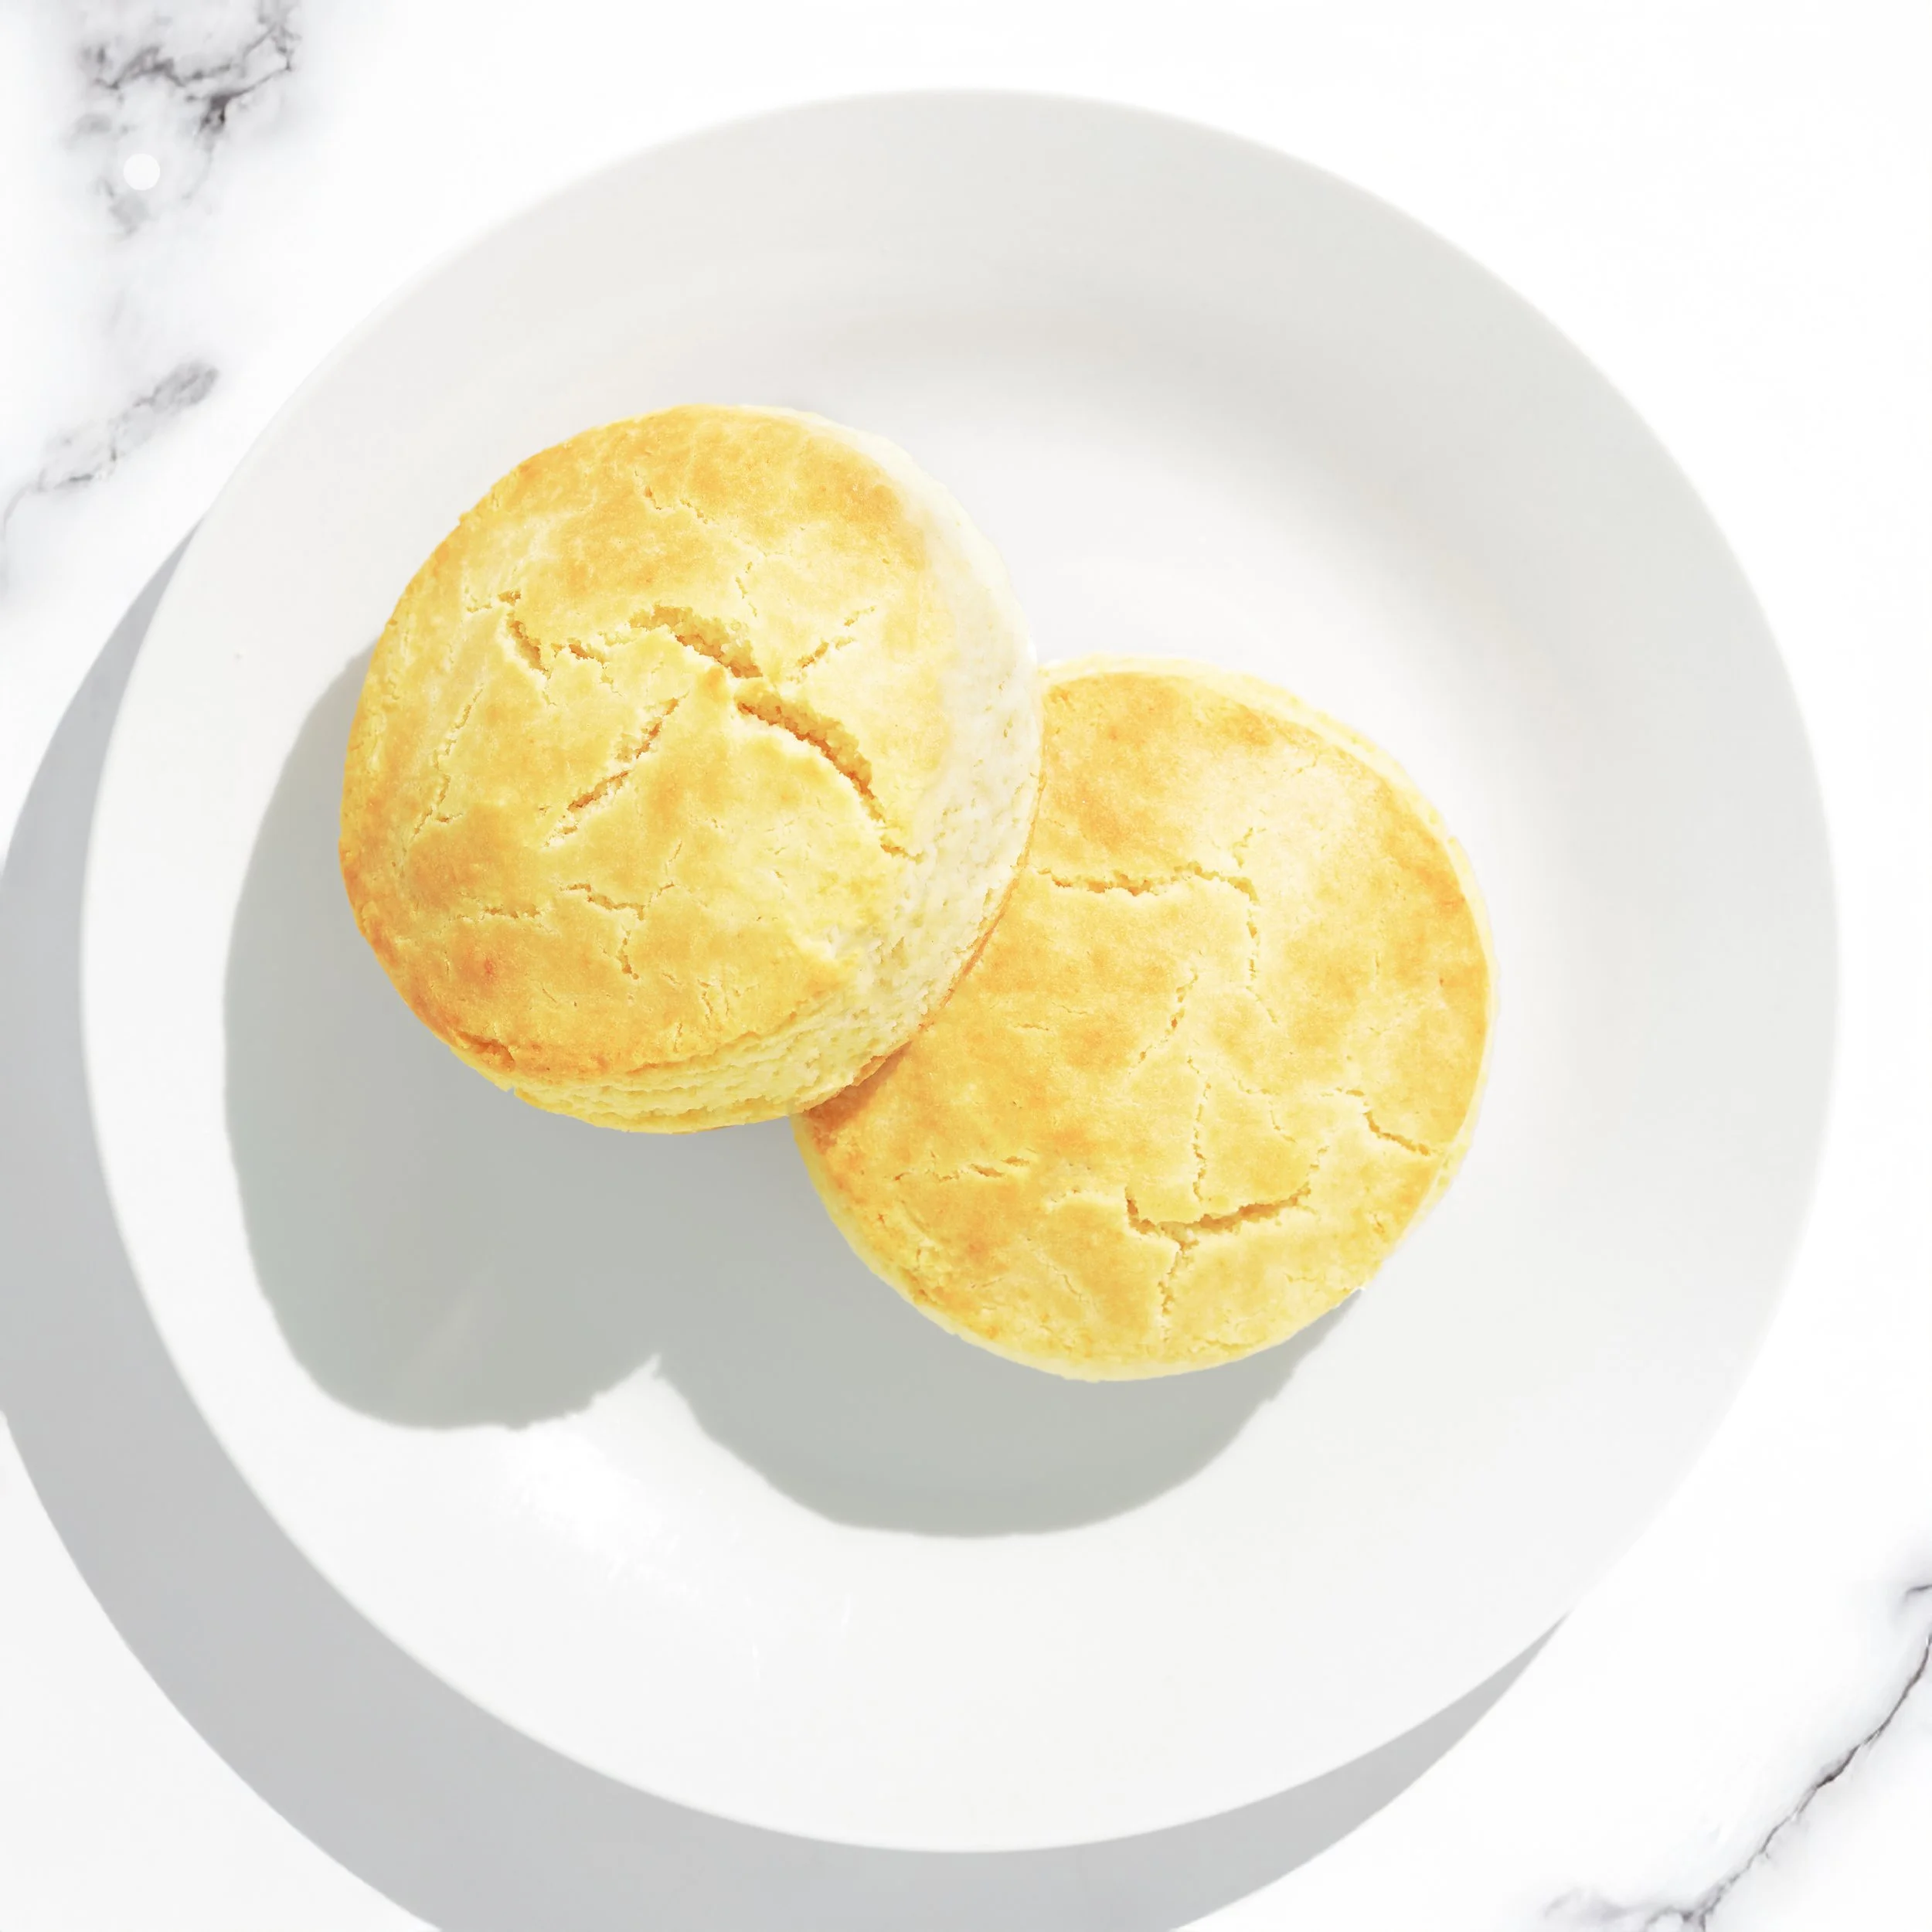
Photo By Editors @ the Brimly Test Kitchen


MID TaskTime: 25 minGluten-freesweet Treat Now, Why This Recipe and What Makes It Special?
This recipe exists because I wanted a gluten-free biscuit that actually felt reliable. Not fragile. Not overly precious. Just something savory, sturdy, and soft in the middle that didn’t rely on gums or eggs to hold itself together. I wanted a biscuit I could make, understand, and repeat without guessing how it might behave that day. This version came together slowly through testing, adjusting hydration, playing with fats, and paying close attention to how the dough behaved both before and during baking. Each small change mattered more than I expected, and eventually the pieces started to fall into place.
What makes this recipe special is the balance. A mix of shortening and butter gives structure without sacrificing flavor. A small amount of almond flour softens the crumb just enough without making it cake-like. And the combination of milk and yogurt adds moisture in a way that feels supportive, not heavy. Nothing here is doing too much on its own, and that’s what finally made it work. This biscuit isn’t trying to be a copy of a traditional gluten biscuit. It’s not chasing stretch or layers or drama. It’s its own thing, and once I let it be that, everything started to make sense.
Lessons Learned
Along the way, I learned that timing, moisture, and heat matter just as much as the ingredients themselves, especially when you’re baking without gums. A dough that’s even slightly too dry can bake up tougher than expected, and letting it sit uncovered for too long can undo all the work you put into balancing the recipe. On the flip side, a little extra hydration can make all the difference in how the biscuit rises, sets, and feels once it’s out of the oven.
This recipe also reminded me that gluten-free baking doesn’t reward rushing or forcing things. Paying attention to how the dough feels (soft, cohesive, and easy to handle) was far more useful than sticking rigidly to what I thought it should look like. Once I trusted that feeling and stopped overcorrecting, the results became much more consistent. It’s a forgiving recipe, but it still asks you to be present, and I’ve learned to appreciate that.
How to Make It Your Own
This biscuit works really well as a base, especially if you like savory flavors. You can add fresh or dried herbs, cracked black pepper, or grated cheese without throwing off the structure. If you want a slightly softer biscuit, a touch more yogurt will get you there. If you’re aiming for something sturdier (maybe for sandwiches or toppings) pressing the dough a bit thicker before cutting helps a lot. You can keep the edges clean and sharp or lean into a more rustic shape and handle them by hand. The recipe gives you room to adjust without falling apart, which makes it easy to adapt to how you actually want to eat these biscuits.
Pro Tip:
Don’t overwork the dough, and don’t overthink it. Once the dough comes together, that’s your cue to stop. Press it thick, cut straight down without twisting, and let the oven do its job. Trying to fix things at the last minute usually causes more problems than it solves.
Summary Notes:
These biscuits are best enjoyed warm, the same day they’re baked, when the centers are soft and the edges are just set. This is one of those recipes that feels easy once it clicks, and that’s exactly the point. It’s a biscuit you can come back to, trust, and make part of your food roster.
Tried it? Let us know how it went in the comments below.
At Brimly, we take pride in presenting you with the finest products that our editors independently handpicked. In the spirit of transparency, we want you to know that we may earn an affiliate commission when you purchase something through the retail links below.
Essentials you’ll need:


view:
LISTENIngredients
Recipe Steps
Step 1
Preheat your oven to 425°F. Line a baking tray with parchment paper.
Step 2
In a medium bowl, whisk together the gluten-free flour, almond flour, potato starch, baking powder, and salt until evenly combined.
Step 3
Add the palm shortening and butter. Using a hand whisk or hand mixer on low speed, work the fats into the dry ingredients until the mixture looks sandy and crumb-like, with no visible streaks of fat.
Step 4
Add the milk and yogurt. Mix again just until a soft dough forms.
Step 5
Switch to a spatula and gently bring the dough together into a cohesive ball.
Step 6
Transfer the dough to parchment paper and press it into a round about 1½ inches thick.
Step 7
Use a biscuit cutter to cut out 4 biscuits, pressing straight down without twisting. Place the biscuits onto the prepared baking tray.
Step 8
Lightly brush the tops of the biscuits with milk.
Step 9
Bake for 15 minutes, or until the tops are set and lightly golden.
Storage:
Store biscuits in an airtight container at room temperature for up to 1 day.
For longer storage, refrigerate for up to 3 days and rewarm briefly in the oven before serving.
More From Brimly.

by Brimly kitchen
by Brimly kitchen
by Brimly kitchen
by Brimly kitchen