BY Brimly.June 12, 2025Gluten-Free Sheet Pan German Pancake

Photo By Editors @ the Brimly Test Kitchen


Novice Cook17 minutesGluten-freesweet Treat Now, Why This Recipe and What Makes It Special?
This recipe is simple, quick, and turns out really beautiful every time. It's one of those breakfast ideas you can easily make without needing to plan ahead or prep too much. Everything goes into the blender, or if you prefer, a bowl and whisk will do the job too. I personally use a blender because it's faster and I have one set aside just for baking. The crust puffs up at the edges, giving you that nice golden finish that looks like you did a lot more than you actually did. It’s gluten-free, soy-free, and gum-free—like most things I share—and it holds together really well without feeling dense. The ingredients are simple, the texture is soft with crisp edges, and overall it just works.
Lessons Learned
A few things I’ve learned while making this: first, don’t forget about the butter. Once you pop it in the oven to melt, set a timer—about 2 minutes is enough if it’s cold from the fridge. If it’s room temperature, even less. You don’t want it burning. If you notice golden spots or little bits at the bottom of the pan, that’s just toasted milk solids. Nothing to worry about.
Blending the batter is best, and I like to give it one last blitz right before pouring it into the tray. Sometimes the flour settles at the bottom, especially if it’s been sitting for a minute, and that quick blend evens everything out again. When it comes to pouring into the pan, use oven mitts and be cautious—the tray is hot and the batter is loose, so move with care.
For bakeware, I’d recommend a quarter sheet pan with deeper sides or even a cast iron skillet if you want a thicker result. The batter rises a lot, so a shallow pan can overflow or not give you the best structure. Also, this is one of those things that’s best served right away. It doesn’t hold as well at room temperature, and the texture is better when warm.
How to Make It Your Own
This recipe is easy to adjust. It naturally bakes thinner because we’re using gluten-free flour and not relying on gluten to provide lift. But you can change the outcome by switching your pan—wider and shallower gives you a thinner pancake, while deeper vessels like a cast iron or a Dutch oven will make it puff higher.
As for toppings, you’ll probably want to add something sweet to balance the mild base. I’ve used powdered sugar, honey, sliced almonds, jam, fruit preserves, even a little cream. You can also lean savory—skip the vanilla and sweetener, and try herbs, pepper, or shredded cheese. Just avoid adding anything too wet. The recipe can handle a bit of customizing without falling apart, so you can adjust based on what you have.
Pro Tip:
Don’t forget to blend again right before you pour. Even if the batter looks fine, the flour settles fast. One quick blitz keeps everything consistent and helps it bake evenly.
Summary Notes:
This is a quick, no-fuss Gluten-Free Sheet Pan German Pancake recipe that doesn’t need a lot of cleanup or effort. It’s flexible, dependable, and works with what you already have. No flipping, no standing at the stove—just blend, pour, bake, and it’s ready in under 15 minutes. If you try it, leave a comment below. We’d love to hear what you topped it with or how you made it your own.
At Brimly, we take pride in presenting you with the finest products that our editors independently handpicked. In the spirit of transparency, we want you to know that we may earn an affiliate commission when you purchase something through the retail links below.
Essentials you’ll need:


view:
LISTENIngredients
3 large eggs
½ cup milk
½ cup gluten-free flour (no xanthan gum) [BUY]
½ tsp baking powder
½ tsp fine sea salt
3 Tbsp honey (or 3 Tbsp granulated sugar)
½ tsp vanilla extract
3 Tbsp unsalted butter
Recipe Steps
Step 1
Preheat your oven to 425°F (218°C). Place the butter in a quarter sheet pan and pop it in the oven to melt, 1-2 minutes.
Step 2
While the butter melts, blend the eggs, milk, gluten-free flour, baking powder, salt, honey (or sugar), and vanilla extract until smooth. A blender works great for this.
Step 3
Carefully remove the hot pan from the oven and swirl the melted butter to coat the bottom and edges.
Step 4
Pour the batter into the hot, buttered pan and return it to the oven.
Step 5
Bake for 10–12 minutes, or until puffed and golden around the edges. Keep an eye on it near the end—it rises fast!
Step 6
Serve warm with your favorite toppings like powdered sugar, a drizzle of honey, sliced almonds, or fresh fruit.
Note: This pancake is best enjoyed fresh from the oven, but leftovers can be stored in an airtight container in the refrigerator for up to 2 days. Reheat in a 375°F oven for 5–7 minutes to revive the crisp edges. Avoid microwaving if you want to keep that puffy texture.
More From Brimly.

by Brimly kitchen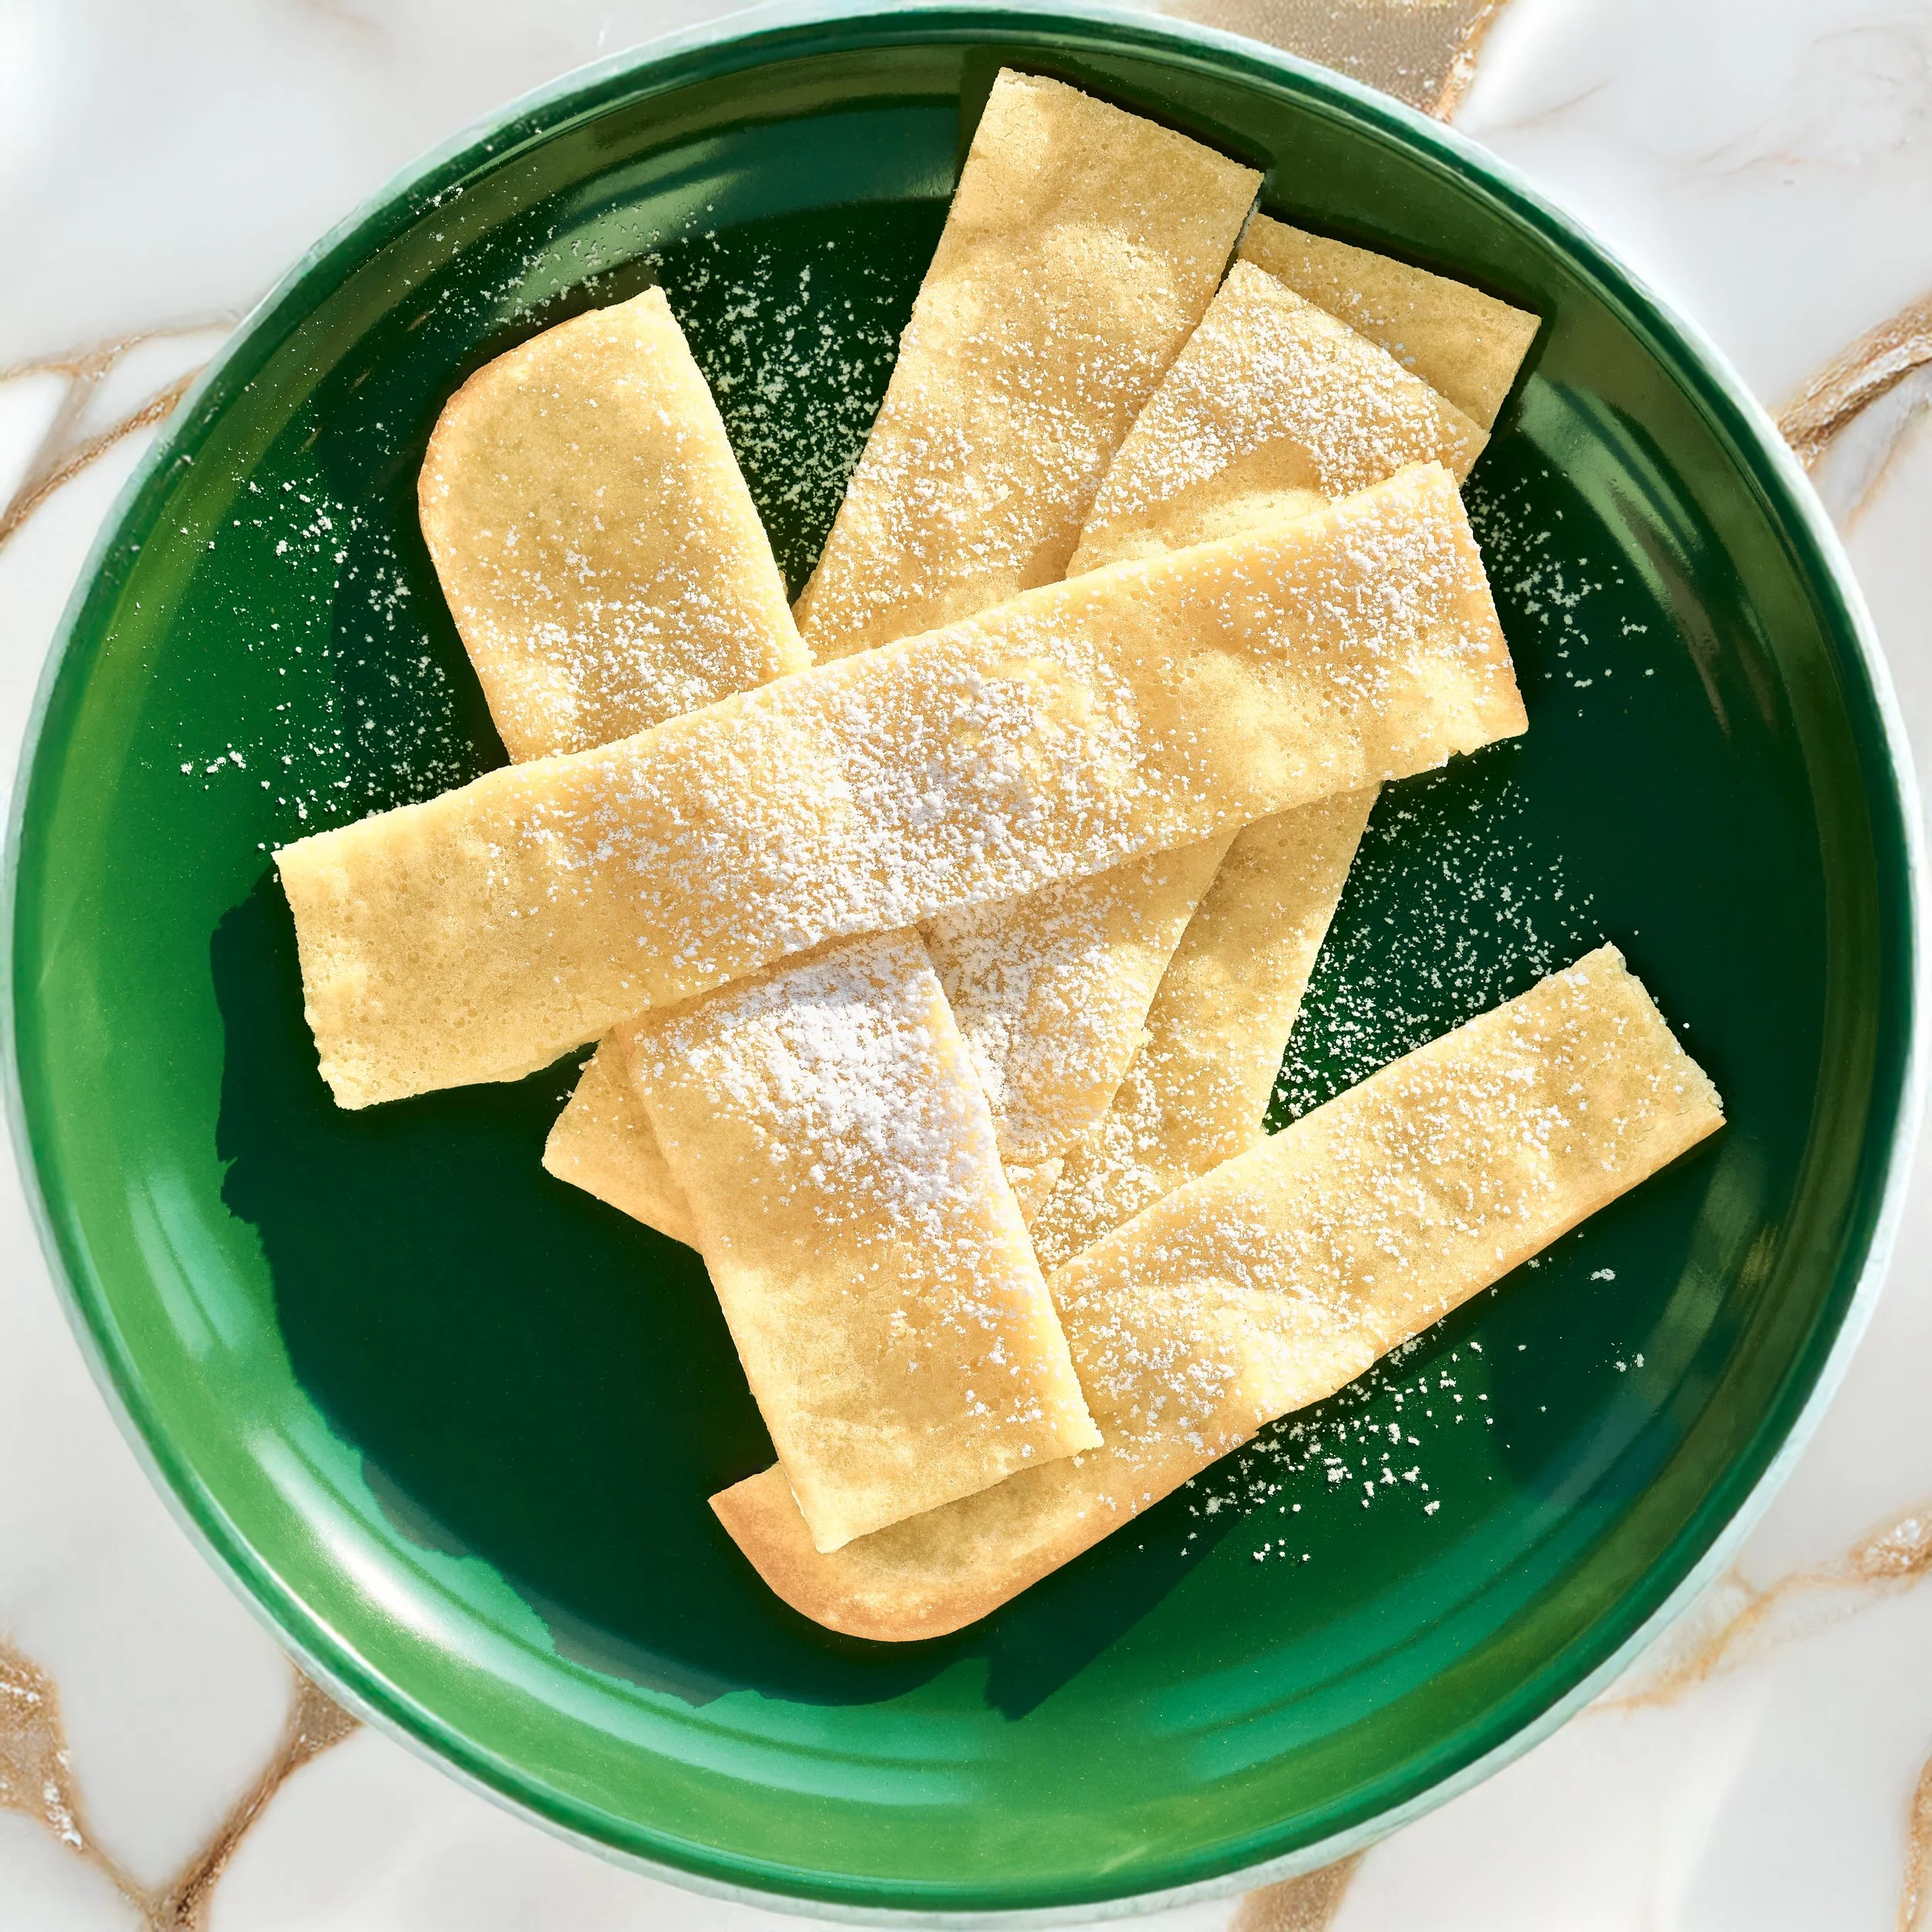
by Brimly kitchen
by Brimly kitchen
by Brimly kitchen
$10.95 AT AMAZON