Gluten-Free Cardamom Cups
BY Brimly.May 24, 2026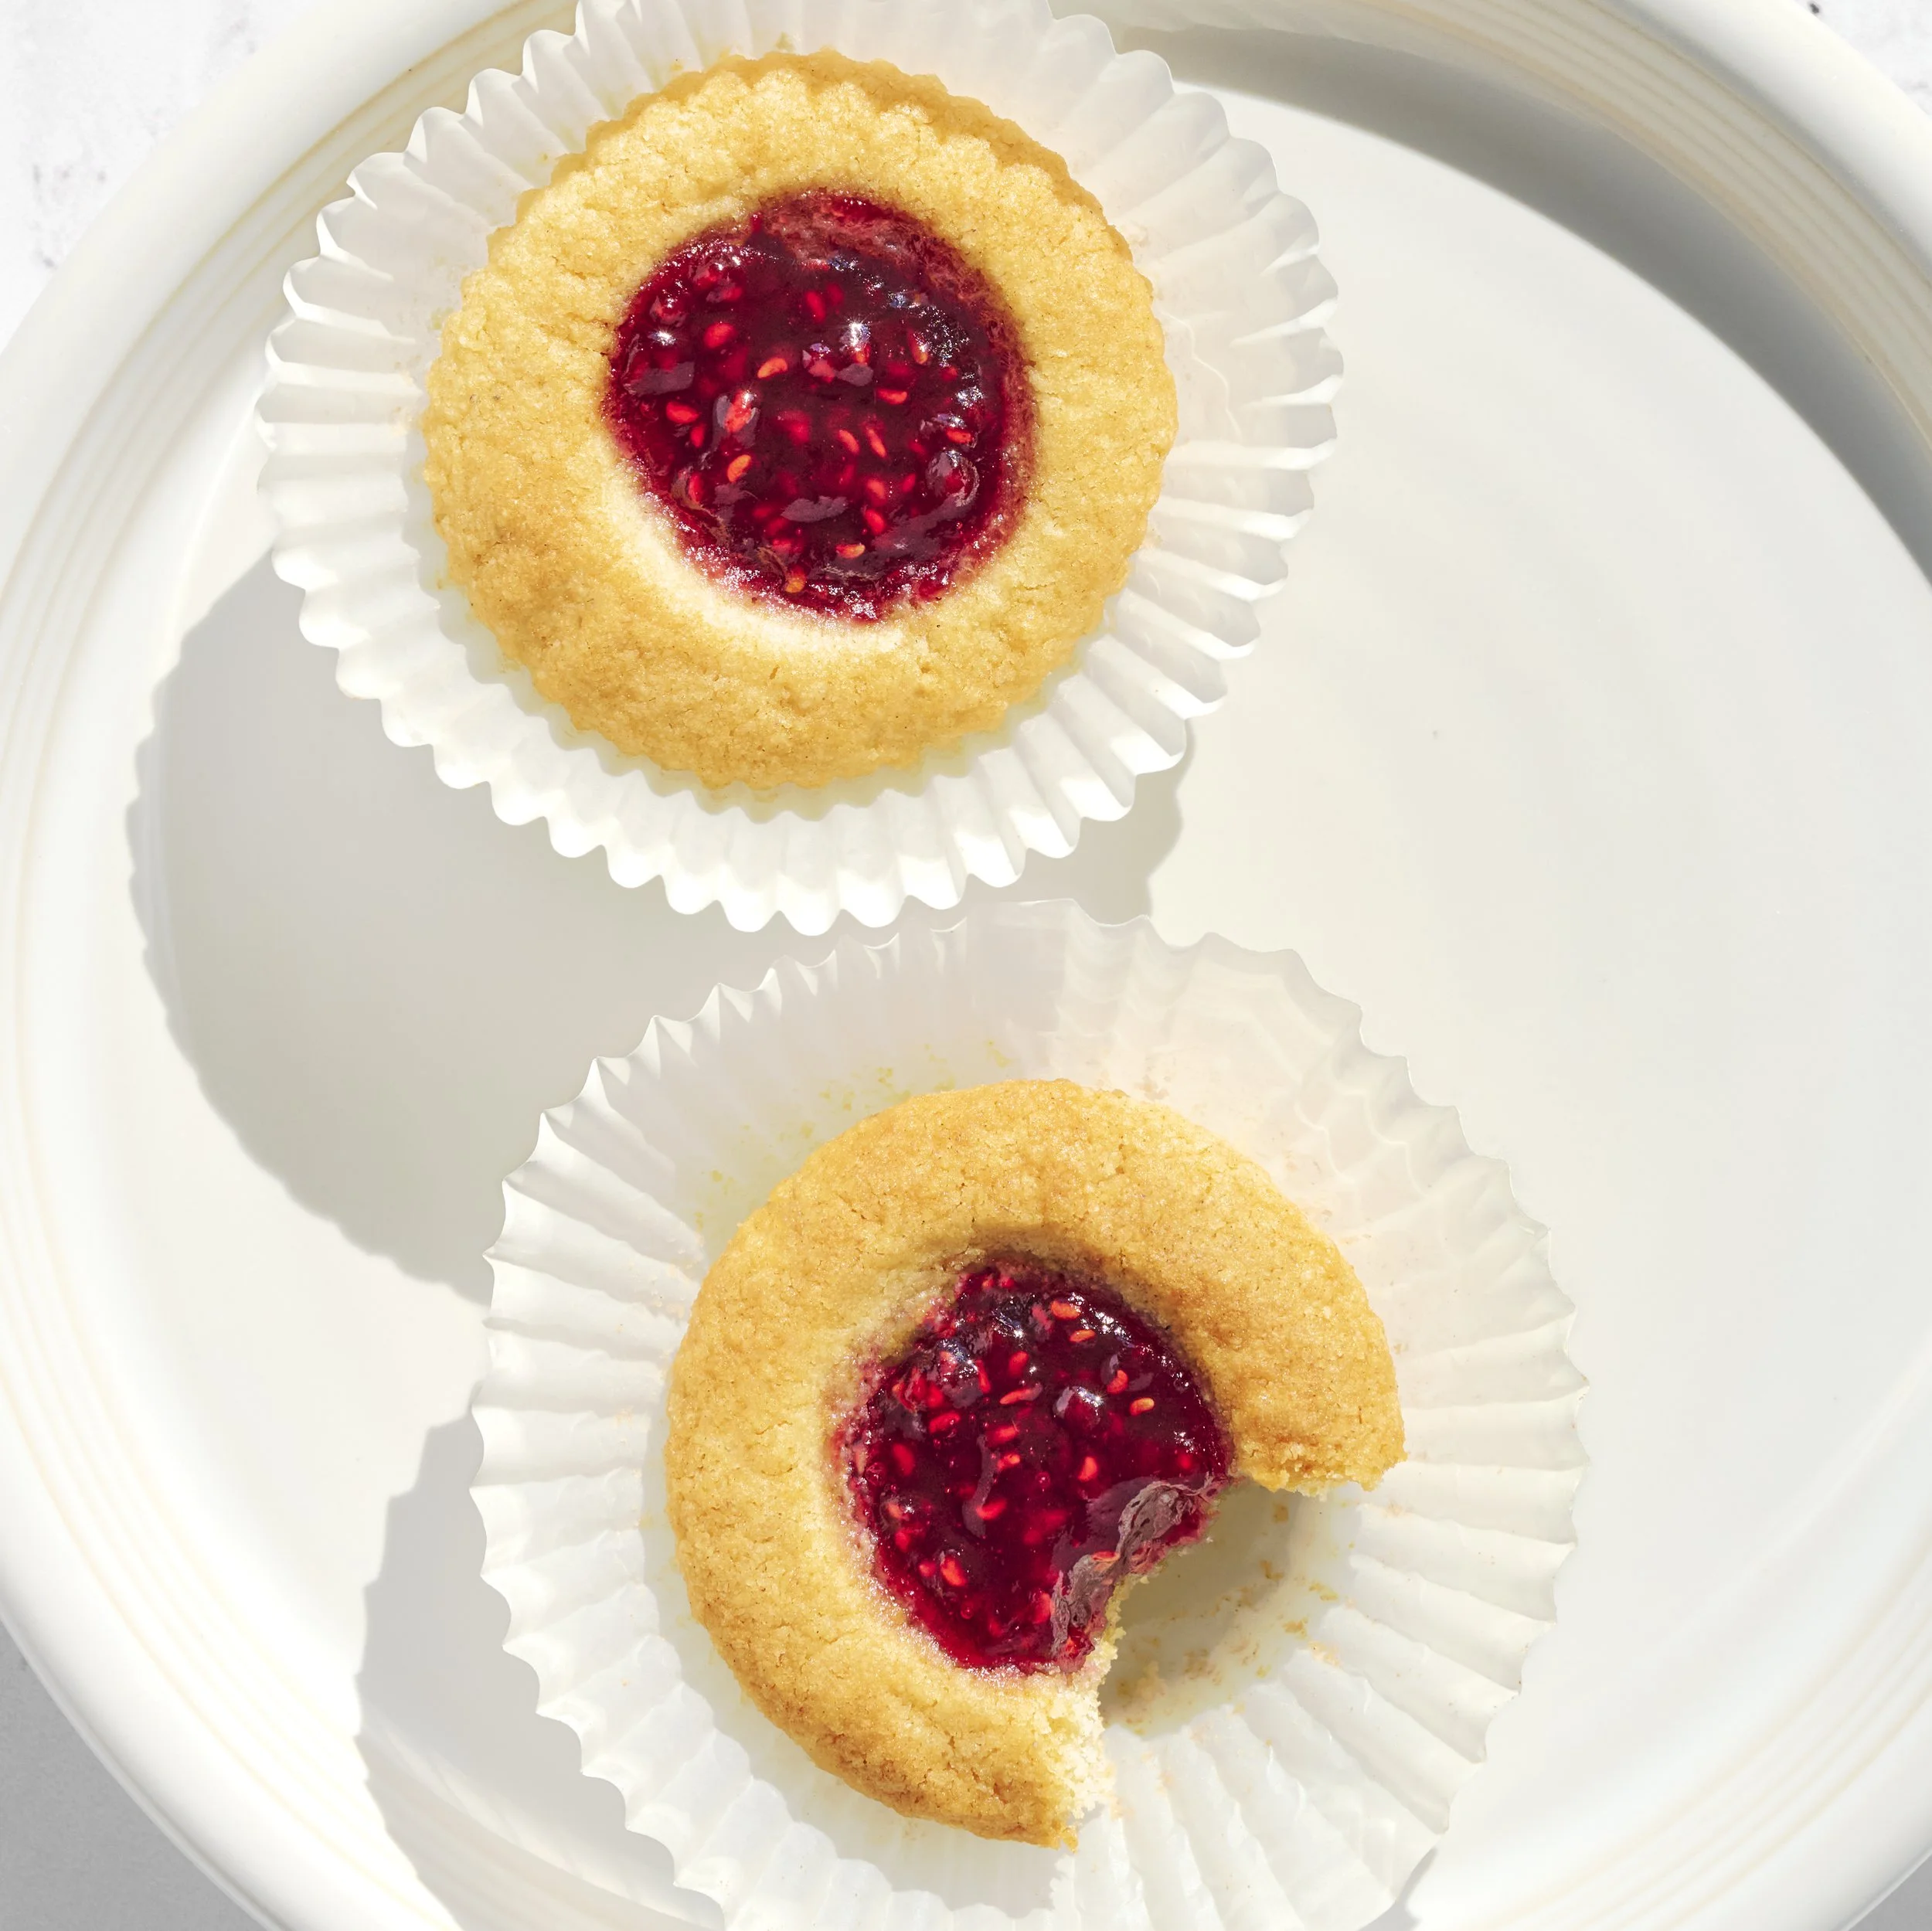
Photo By Editors @ the Brimly Test Kitchen


MID TaskPREP: 25 minGluten-freesweet Treat Now, Why This Recipe and What Makes It Special?
These are our Gluten-Free Cardamom Cups, inspired by hallongrotta, which is a recipe I recently decided I wanted to give a go. I’ve been reading several cookbooks, and I came across a recipe that I really loved. I’ve seen this recipe a couple of times here and there, and I’ve really wanted to make it for myself because it looks so delicious. It kind of reminds me of thumbprint cookies, but realistically, it seems like it’s different because, based on what I read about it, it’s not entirely a thumbprint cookie.
I’ve wanted to try it for a while, and although the recipe in the cookbook I was reading naturally comes gluten-free, I still wanted to make one that I could share with you. So I created my own version of it. This recipe was inspired by Scandinavian baking and fika, which is a tradition I’ve recently been reading about. Fika is basically taking a break from the everyday hustle, enjoying coffee or tea, having something sweet or snacky, and just taking in some precious time with loved ones, friends, or someone you care about. It’s this intentional pause in the day, and I honestly found that really beautiful.
In learning more about that style of life and culture, I became really intrigued by the different bakes they enjoy during fika. One of them was this recipe. They’re really cardamom almond cups, but I call them cardamom cups because that’s what comes to mind the second I smell them. When these came out of the oven, and even while I was still making the dough, the scent was so floral and so nice. Cardamom has such a beautiful smell to it, and it seems like it is used in so many of their bakes. This felt like a really nice recipe to introduce here on the blog from that Scandinavian side of baking.
I found this recipe and decided to tweak it just a little bit and make it my own. If you try it, I’m sure you would really enjoy it because it is honestly a very delicious recipe. It’s made with just a few ingredients that you can easily find in your pantry, like butter, sugar, vanilla extract, ground cardamom, baking powder, oat flour, almond flour, and a gluten-free flour mix. I also added a little bit of yogurt because of how gluten-free goodies can be, and I wanted to help with binding.
I’ve had several different bakes in the course of baking gluten-free, but I’ve never really tried anything just like this one. It was actually my first time baking with cardamom, and I was really impressed by how well it worked in this bake. These cardamom cups are delicious and enjoyable. I would say they’re like a cross between a soft cookie and a cake. You can enjoy them with a cup of tea and just have a good time. I really enjoyed these.

Lessons Learned
The dough is going to be quite sticky, so you do need to oil your hands slightly. I would say be very, very miserly with how you oil your hands. Do not be generous about it. Lightly, very lightly, ever so lightly oil your hands or the food-safe gloves you’re using, and then you can divide the dough into the 18 pieces, roll them into balls, and place them into the little paper cups. Do not go too hard with the oil. If you’re a little too generous, it can end up pooling at the bottom of the cardamom cups, and you’re not going to like it. My recommendation would be to very lightly oil your palms with a neutral cooking oil, and you should be able to get away without too much stickiness happening.
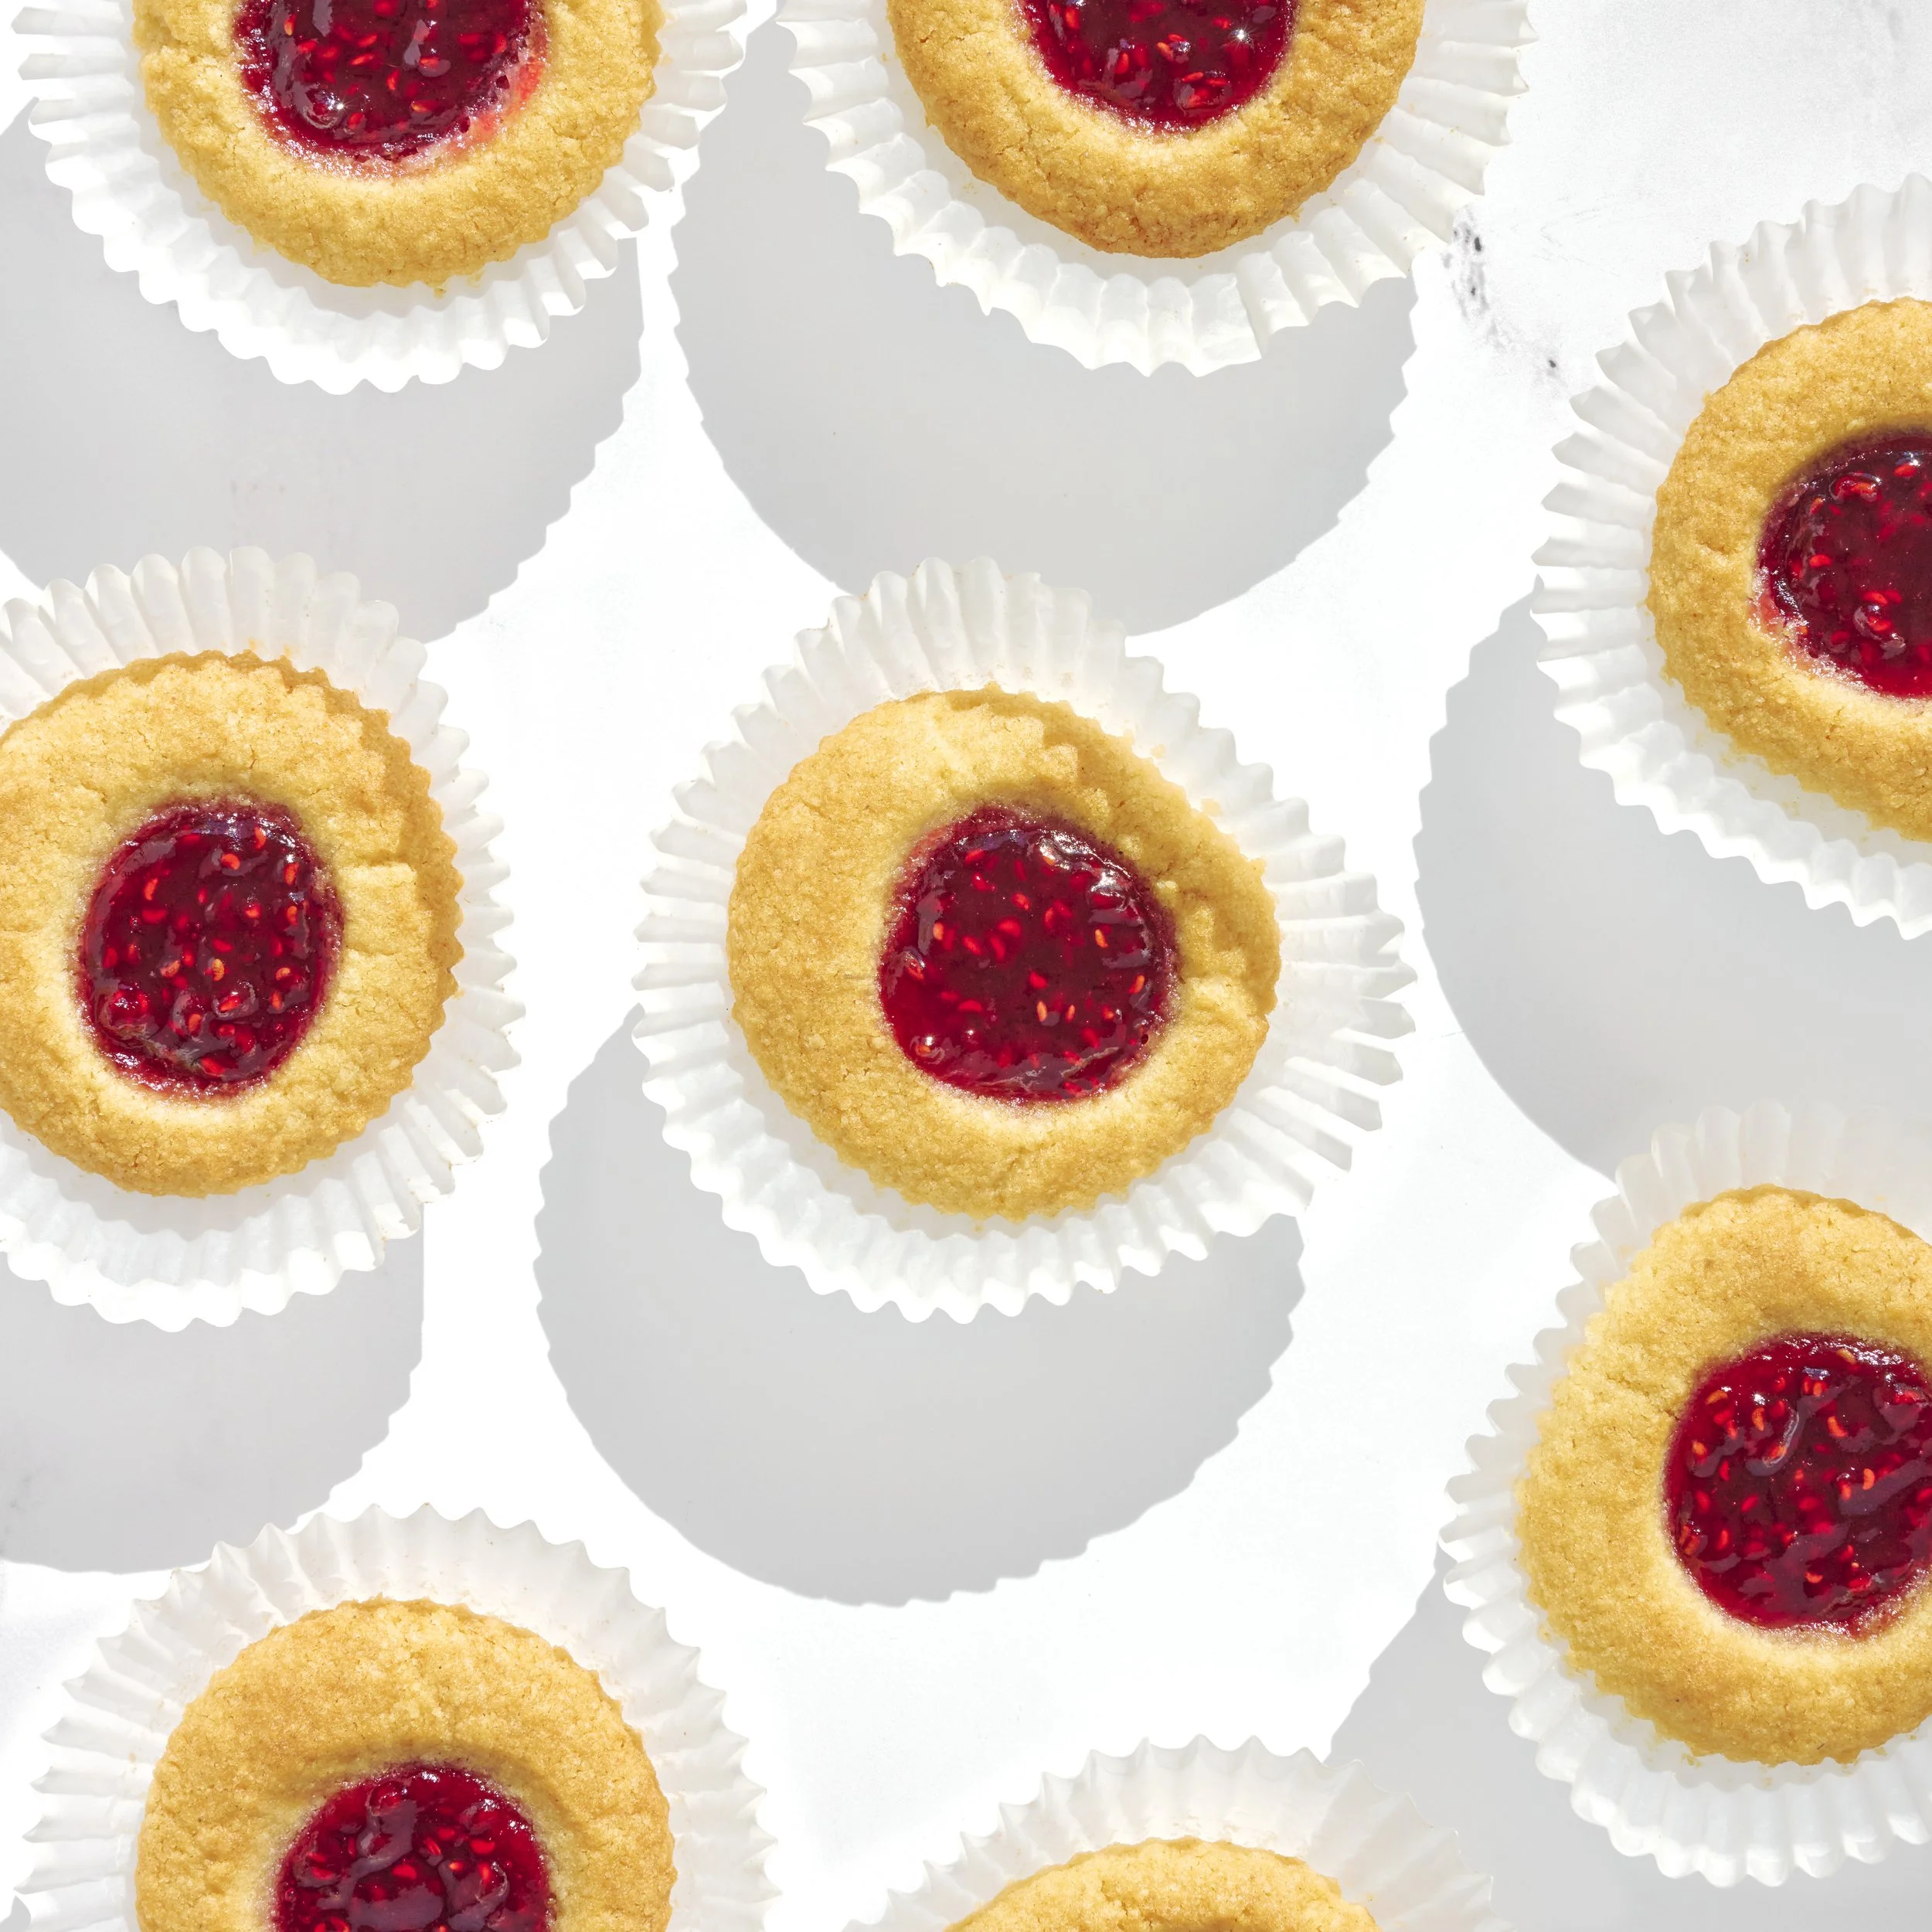
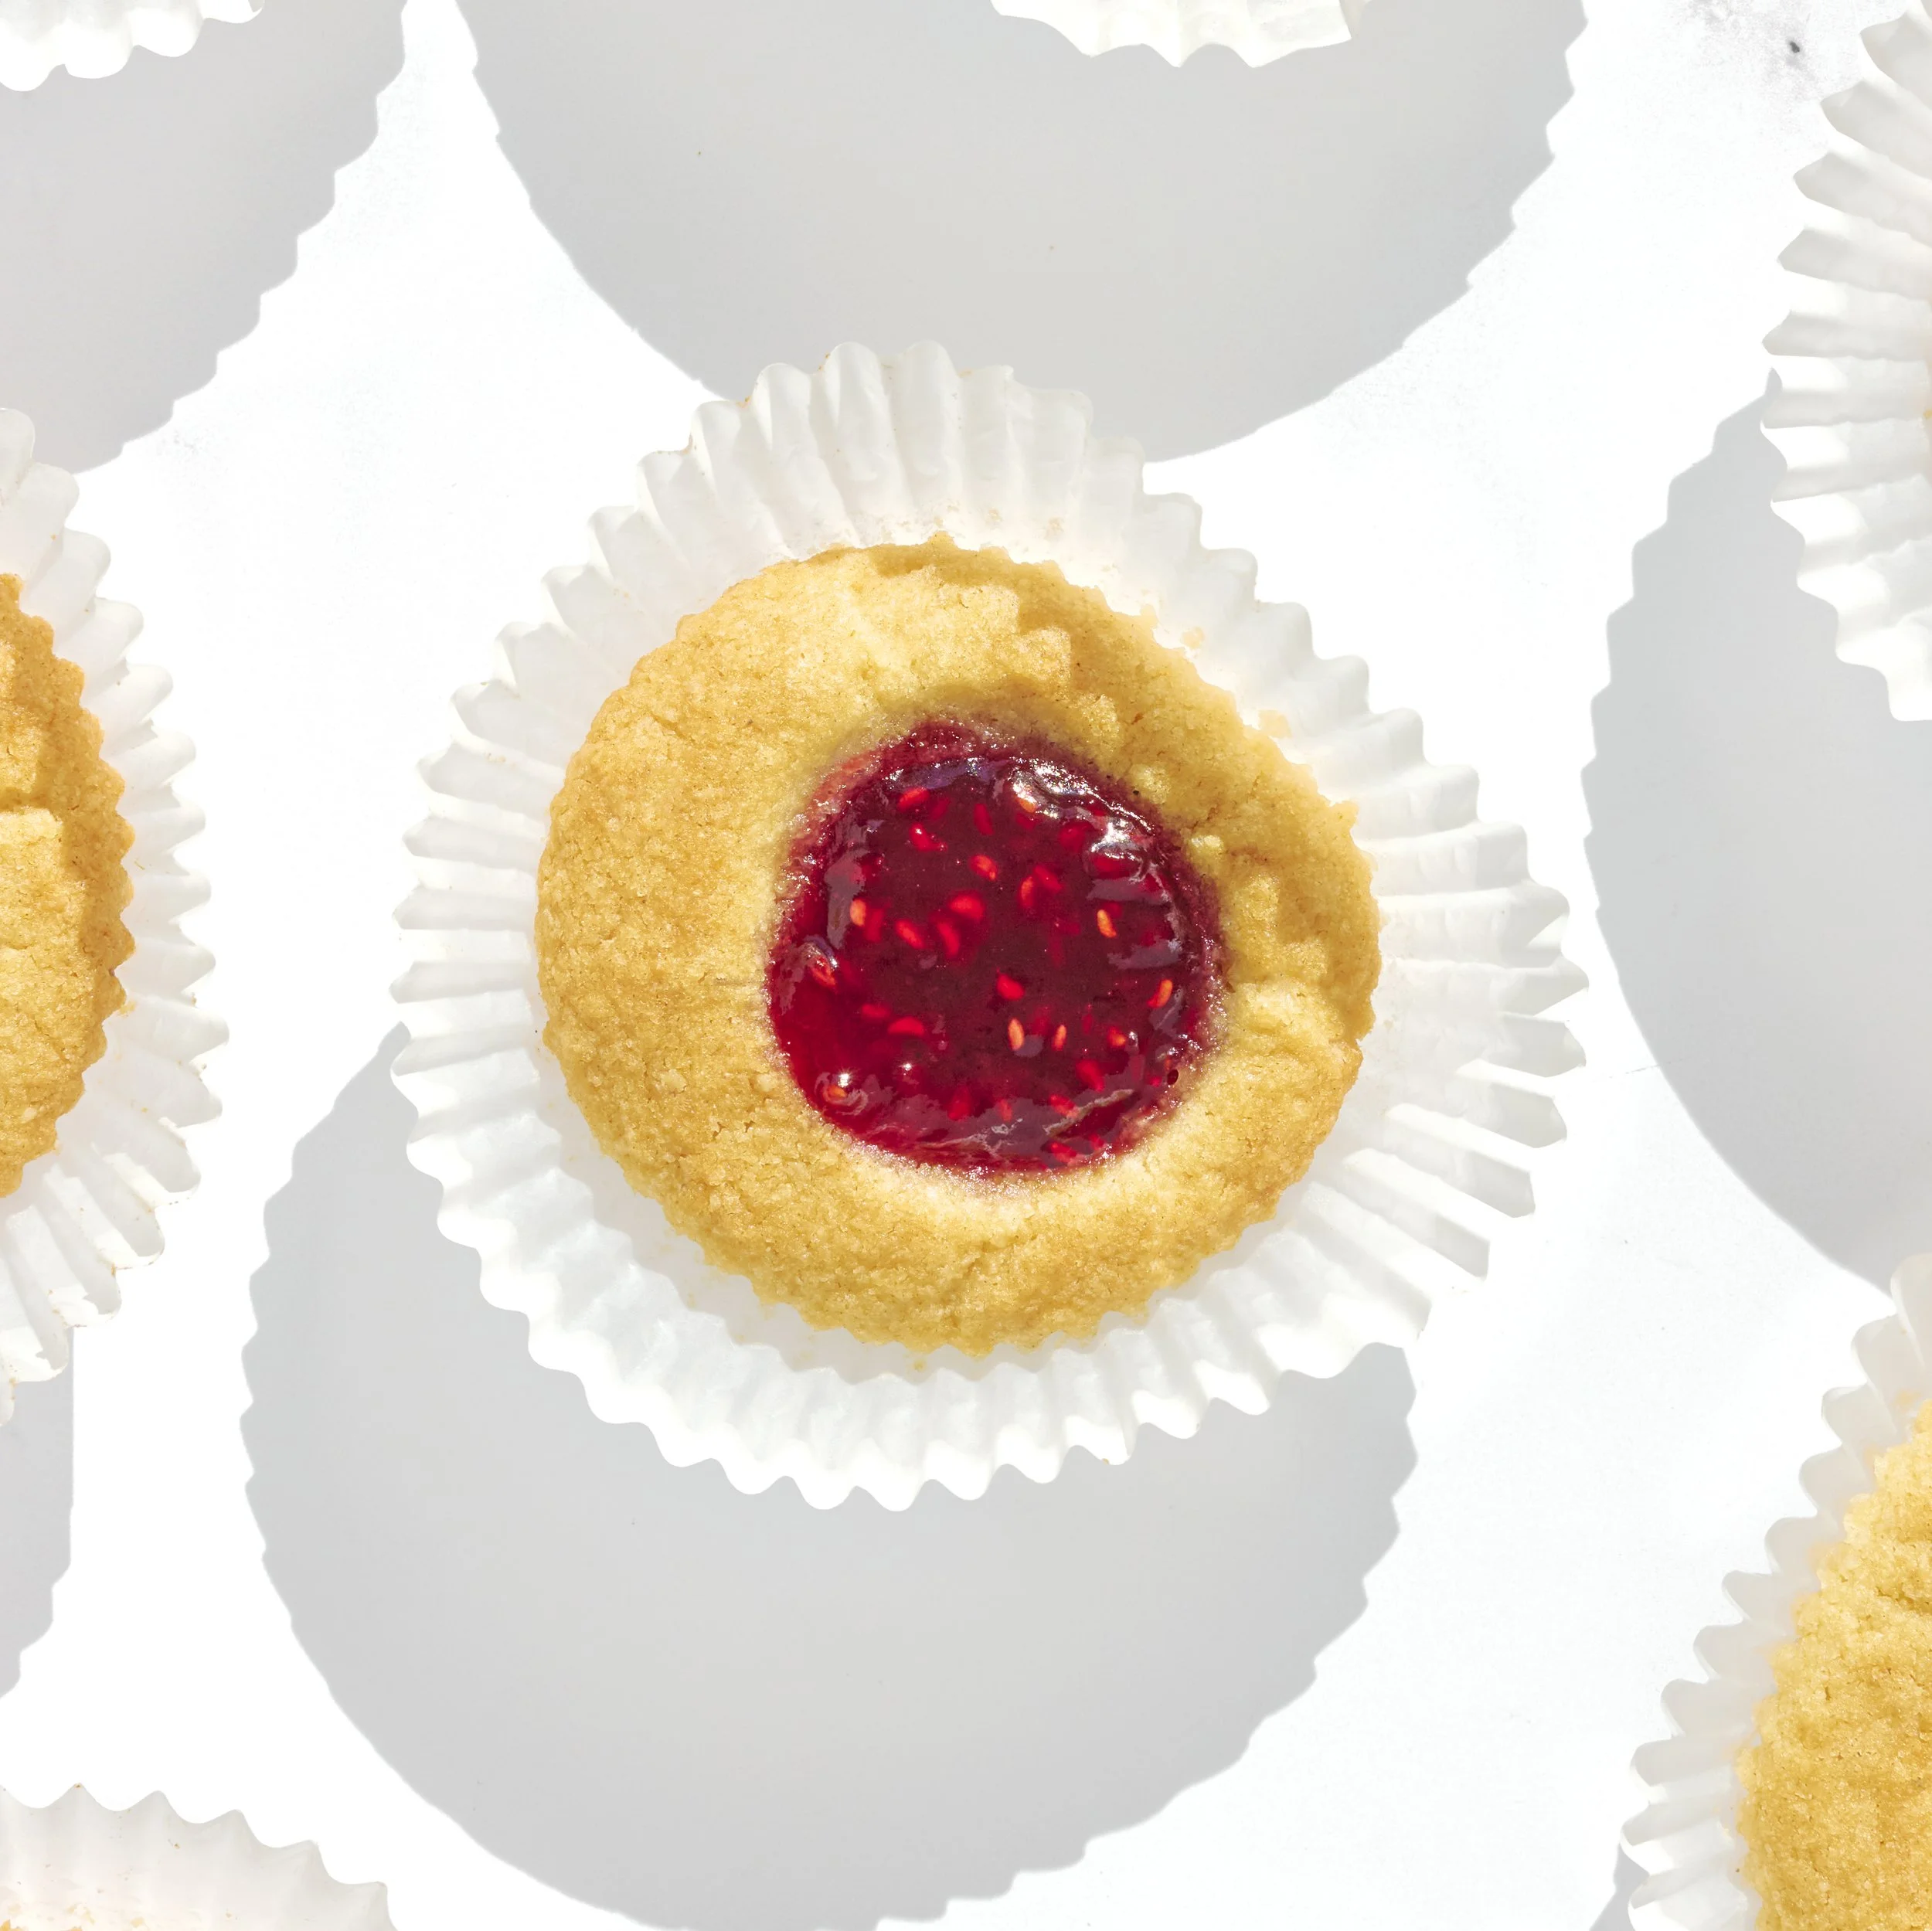
Another lesson I learned is that when you’re placing the paper liners on the baking tray, try your best to space them out as well as possible. You don’t want the paper cups slightly touching because when they go in the oven, the cups spread just a little more as they bake. If they’re too close together, they can push against each other, and that can change the size and shape of the final bake. Be aware of that if you want precision. If you couldn’t care less, you should be fine baking them on a more cramped tray, but my recommendation would be to not overcrowd the tray. If you feel like you need to, bake them on two trays or in two batches.
Another lesson I learned is that once you pull them out of the oven after their full bake time, let them sit on the tray for close to 10 minutes before transferring them to the cooling rack. Keep them in the liners when you transfer them. Do not try to take them out of the liners right away. Gently move them over to the cooling rack while they are still inside the paper liners.
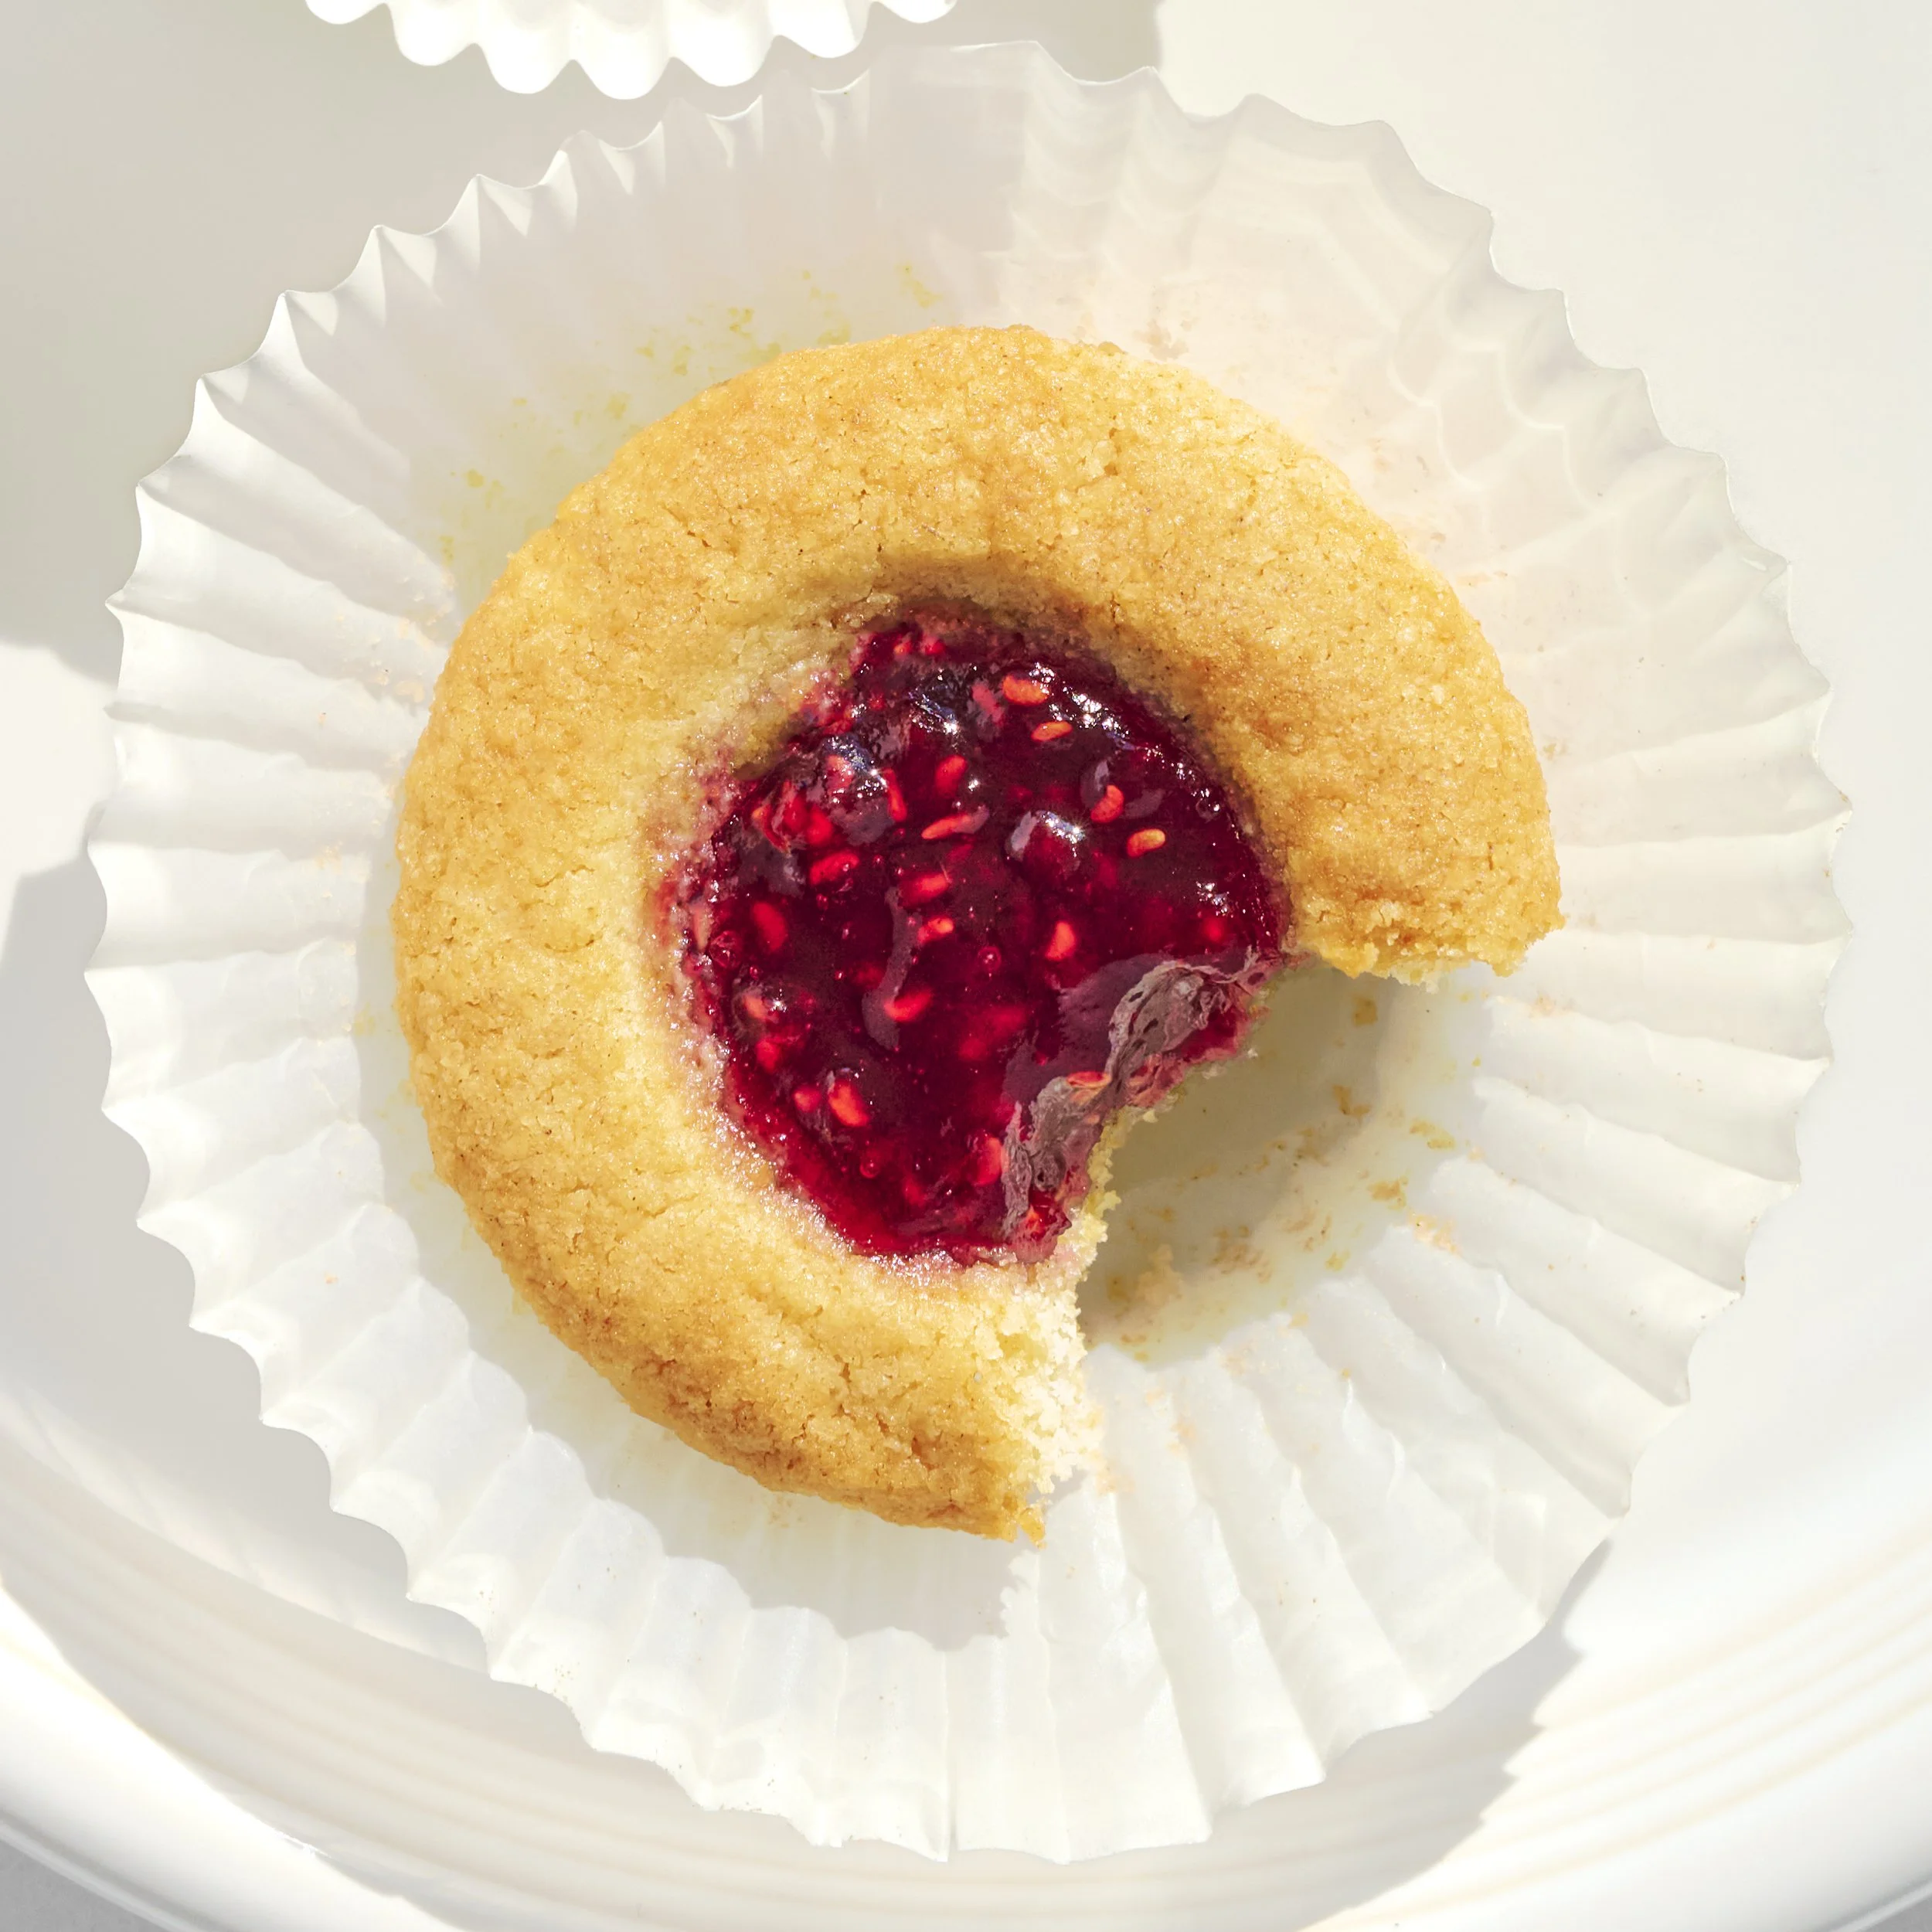
Also, please be aware that you can’t eat these right away, even though they’re going to smell really good and look so delicious. You’re going to be tempted, I tell you. But you need to give them a full hour to completely cool down before you attempt eating any of them. Why? Because they are gluten-free, and they can crumble a little more than you would expect while they are still warm. I would suggest letting them cool completely to room temperature, with no warmth or heat coming off of them, before taking a bite. If you try to grab one too soon and it crumbles, you’re probably going to be disappointed. They need time to sit, create back that structure, resolidify, and firm up. They still won’t be as firm as a regular cookie. They’re more like a soft cookie or a soft cake, but you have to let them cool completely before grabbing one. Just a warning, because I learned the hard way.
Also, please do not skip the extra scoop of jam that goes into the wells after they come out of the oven. That second little bit of jam really helps the recipe because the first scoop bakes down into the cups. Adding more after baking gives you more jam, more flavor, and a nicer finish.
I also always forget to mention this, but when you have a recipe that calls for baking powder, please always shake the container before you open it and scoop some out. Sometimes the ingredients can settle, and you may not get an even rise out of your bake if you don’t shake it. It’s even written on the back of most of those containers, so take a look and see. My recommendation is to always give it a good shake or stir before scooping your baking powder because it really can be helpful.
How to Make It Your Own
One of the easiest ways to make this recipe your own is by changing the jam. I recommend using raspberry jam for this recipe, but if you have other flavors on hand, you can use those too. If you have peach jam, four fruit preserves, blueberry jam, strawberry jam, or whatever you have, you can use that instead. Of course, it’s going to change the flavor ever so slightly, but it will still be delicious. My top recommendation, if you must switch out the jam, would be strawberry jam.
Another way you could make this your own is by sprinkling powdered sugar on top once the cups are fully baked and cooled. The original recipe recommends sprinkling powdered sugar on top, but because I wanted to reduce the sweetness and have more control over the sweetness of this recipe, I decided not to do that. But you can 100% do it. It brings the recipe a little closer to the more traditional version.
You could also drizzle a little chocolate over the top. I wouldn’t say to tweak this recipe too much because the more you tweak it, the more you start shifting away from the original idea, but a small finish like powdered sugar or chocolate can still work really nicely.
I personally used rolled oats when making this recipe. I took rolled oats, put them in a dry blender cup, and blended them just a little bit until they became smooth like powder. That is how I made my oat flour. Oat flour is very easy to make. All you need is rolled oats that you personally can tolerate and trust. But if you would rather use store-bought oat flour that you know and trust, that would also work just fine. Just make sure your measurements are the same as what I have indicated in the recipe section.
Pro tip: Make sure you space out the liners on your baking tray so the cups don’t end up misshapen while baking. This helps you get round cardamom cups that look delicious and appealing to the eye, because we do eat with our eyes first. If you can, try not to overcrowd the baking sheet. Give the liners a little bit of space so they can spread as needed and still hold a nice rounded shape.
Summary Notes:
Our Gluten-Free Cardamom Cups turned out so great. This recipe is gluten-free, soy-free, gum-free, and egg-free, which makes it even more worth trying. This is such a delicious recipe, and it’s probably very different from anything you’ve tried before. I don’t know if you’ve ever baked with cardamom, but this might be the first one for you, and it was for me. I was really impressed with it, and now I can’t wait to bake with even more cardamom because this was so inspiring and eye-opening. The flavor, the smell, and the texture all came together really well. I would recommend this recipe any day!
Tried it? Let us know how it went in the comments below.
At Brimly, we take pride in presenting you with the finest products that our editors independently handpicked. In the spirit of transparency, we want you to know that we may earn an affiliate commission when you purchase something through the retail links below.
Essentials you’ll need:


view:LISTENIngredients
Recipe Steps
Step 1
Preheat oven to 400°F. Arrange 18 paper cupcake liners on a baking sheet.
Step 2
Using an electric hand mixer with the whisk attachment, cream together the butter, light brown sugar, salt, and vanilla extract in a mixing bowl on high speed for 3–5 minutes, until light and fluffy.
Step 3
In a separate bowl, whisk together the gluten-free flour, almond flour, oat flour, baking powder, and ground cardamom.
Step 4
Add the dry ingredients into the butter mixture in two parts, mixing until fully combined.
Step 5
Add the yogurt and fold together using a spatula until the dough comes together.
Step 6
The dough will be sticky. Lightly oil your hands, then divide the dough into 18 equal portions using a food scale, roll into balls, and place each into a cupcake liner.
Step 7
Using a lightly oiled teaspoon, press into each dough ball to create a well in the center.
Step 8
Add ½ teaspoon raspberry jam into each well.
Step 9
Bake on the center rack for 15 minutes, until the edges are lightly golden and the centers are set.
Step 10
Remove from the oven and immediately add another ½ teaspoon raspberry jam into each center.
Step 11
Let cool on the baking sheet for about 10 minutes, then transfer to a cooling rack to cool completely before serving.
Storage:
Store in an airtight container at room temperature for up to 2 days. For longer storage, refrigerate in an airtight container for up to 5 days. Let them come to room temperature before serving for the best texture.
More From Brimly.

by Brimly kitchen
by Brimly kitchen
by Brimly kitchen
by Brimly kitchen
$10.95 AT AMAZON