Brown Butter Brownie Squares
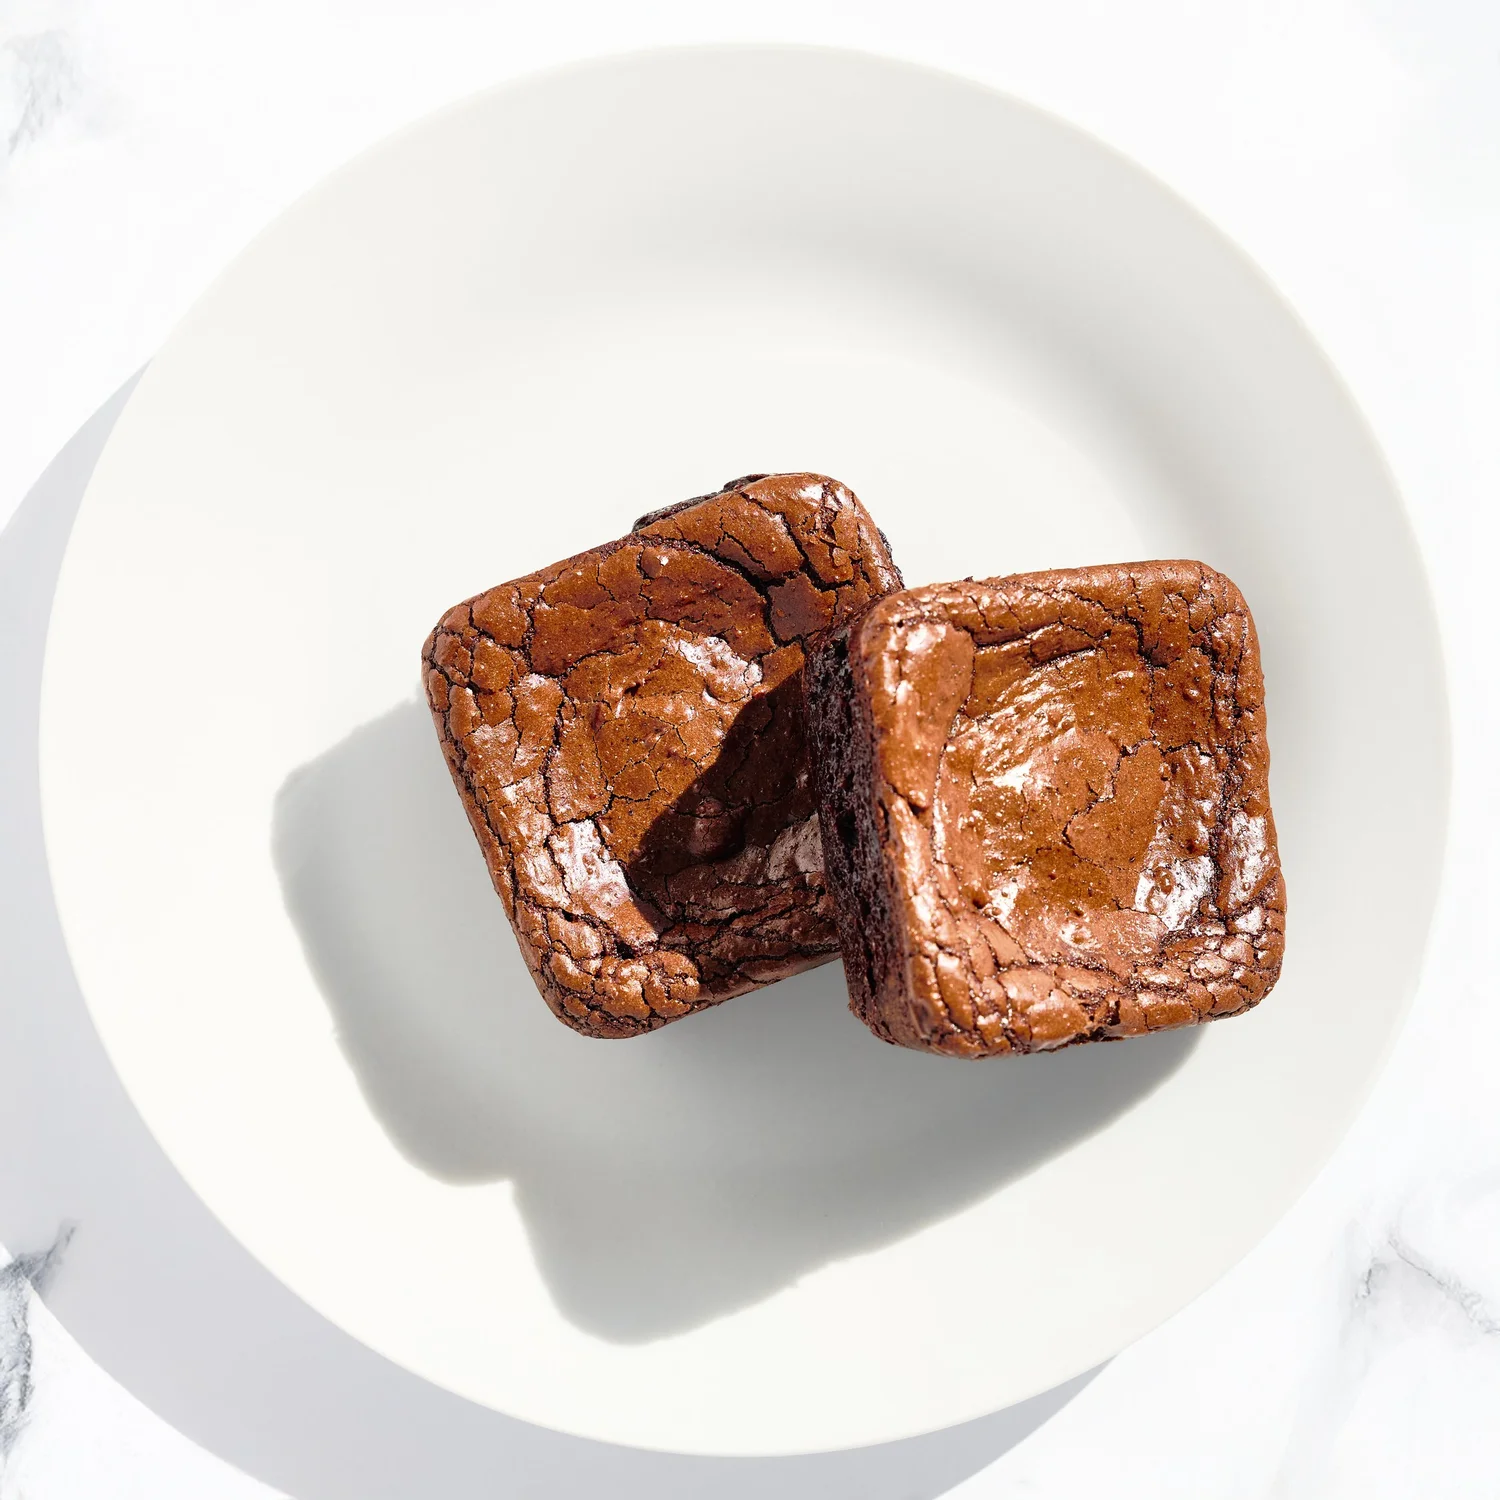
 Total Time50 min
 Oven350°F
 DietGluten & Soy‑Free
 Makes10 squares
Now, Why This Recipe and What Makes It Special?
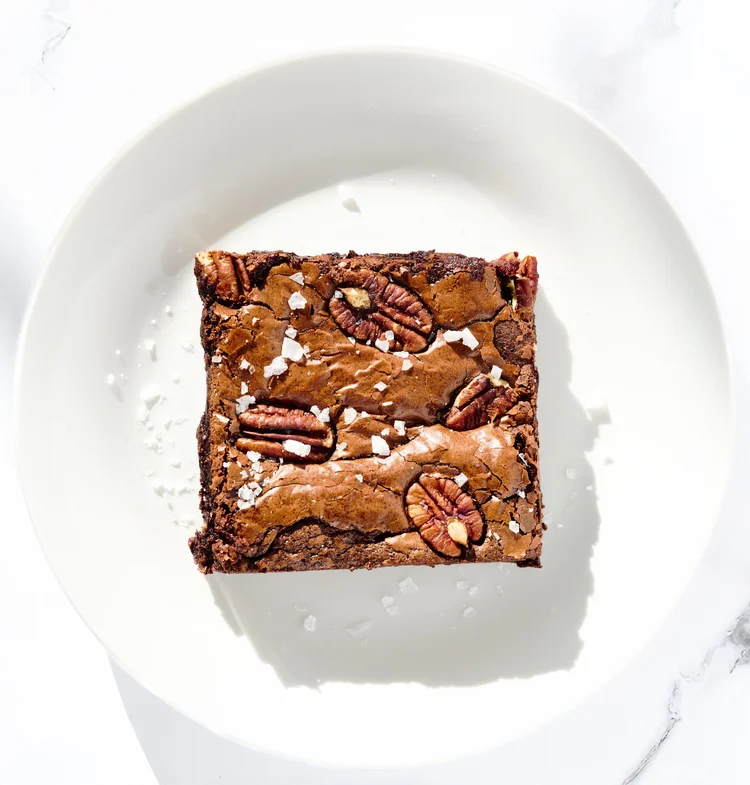
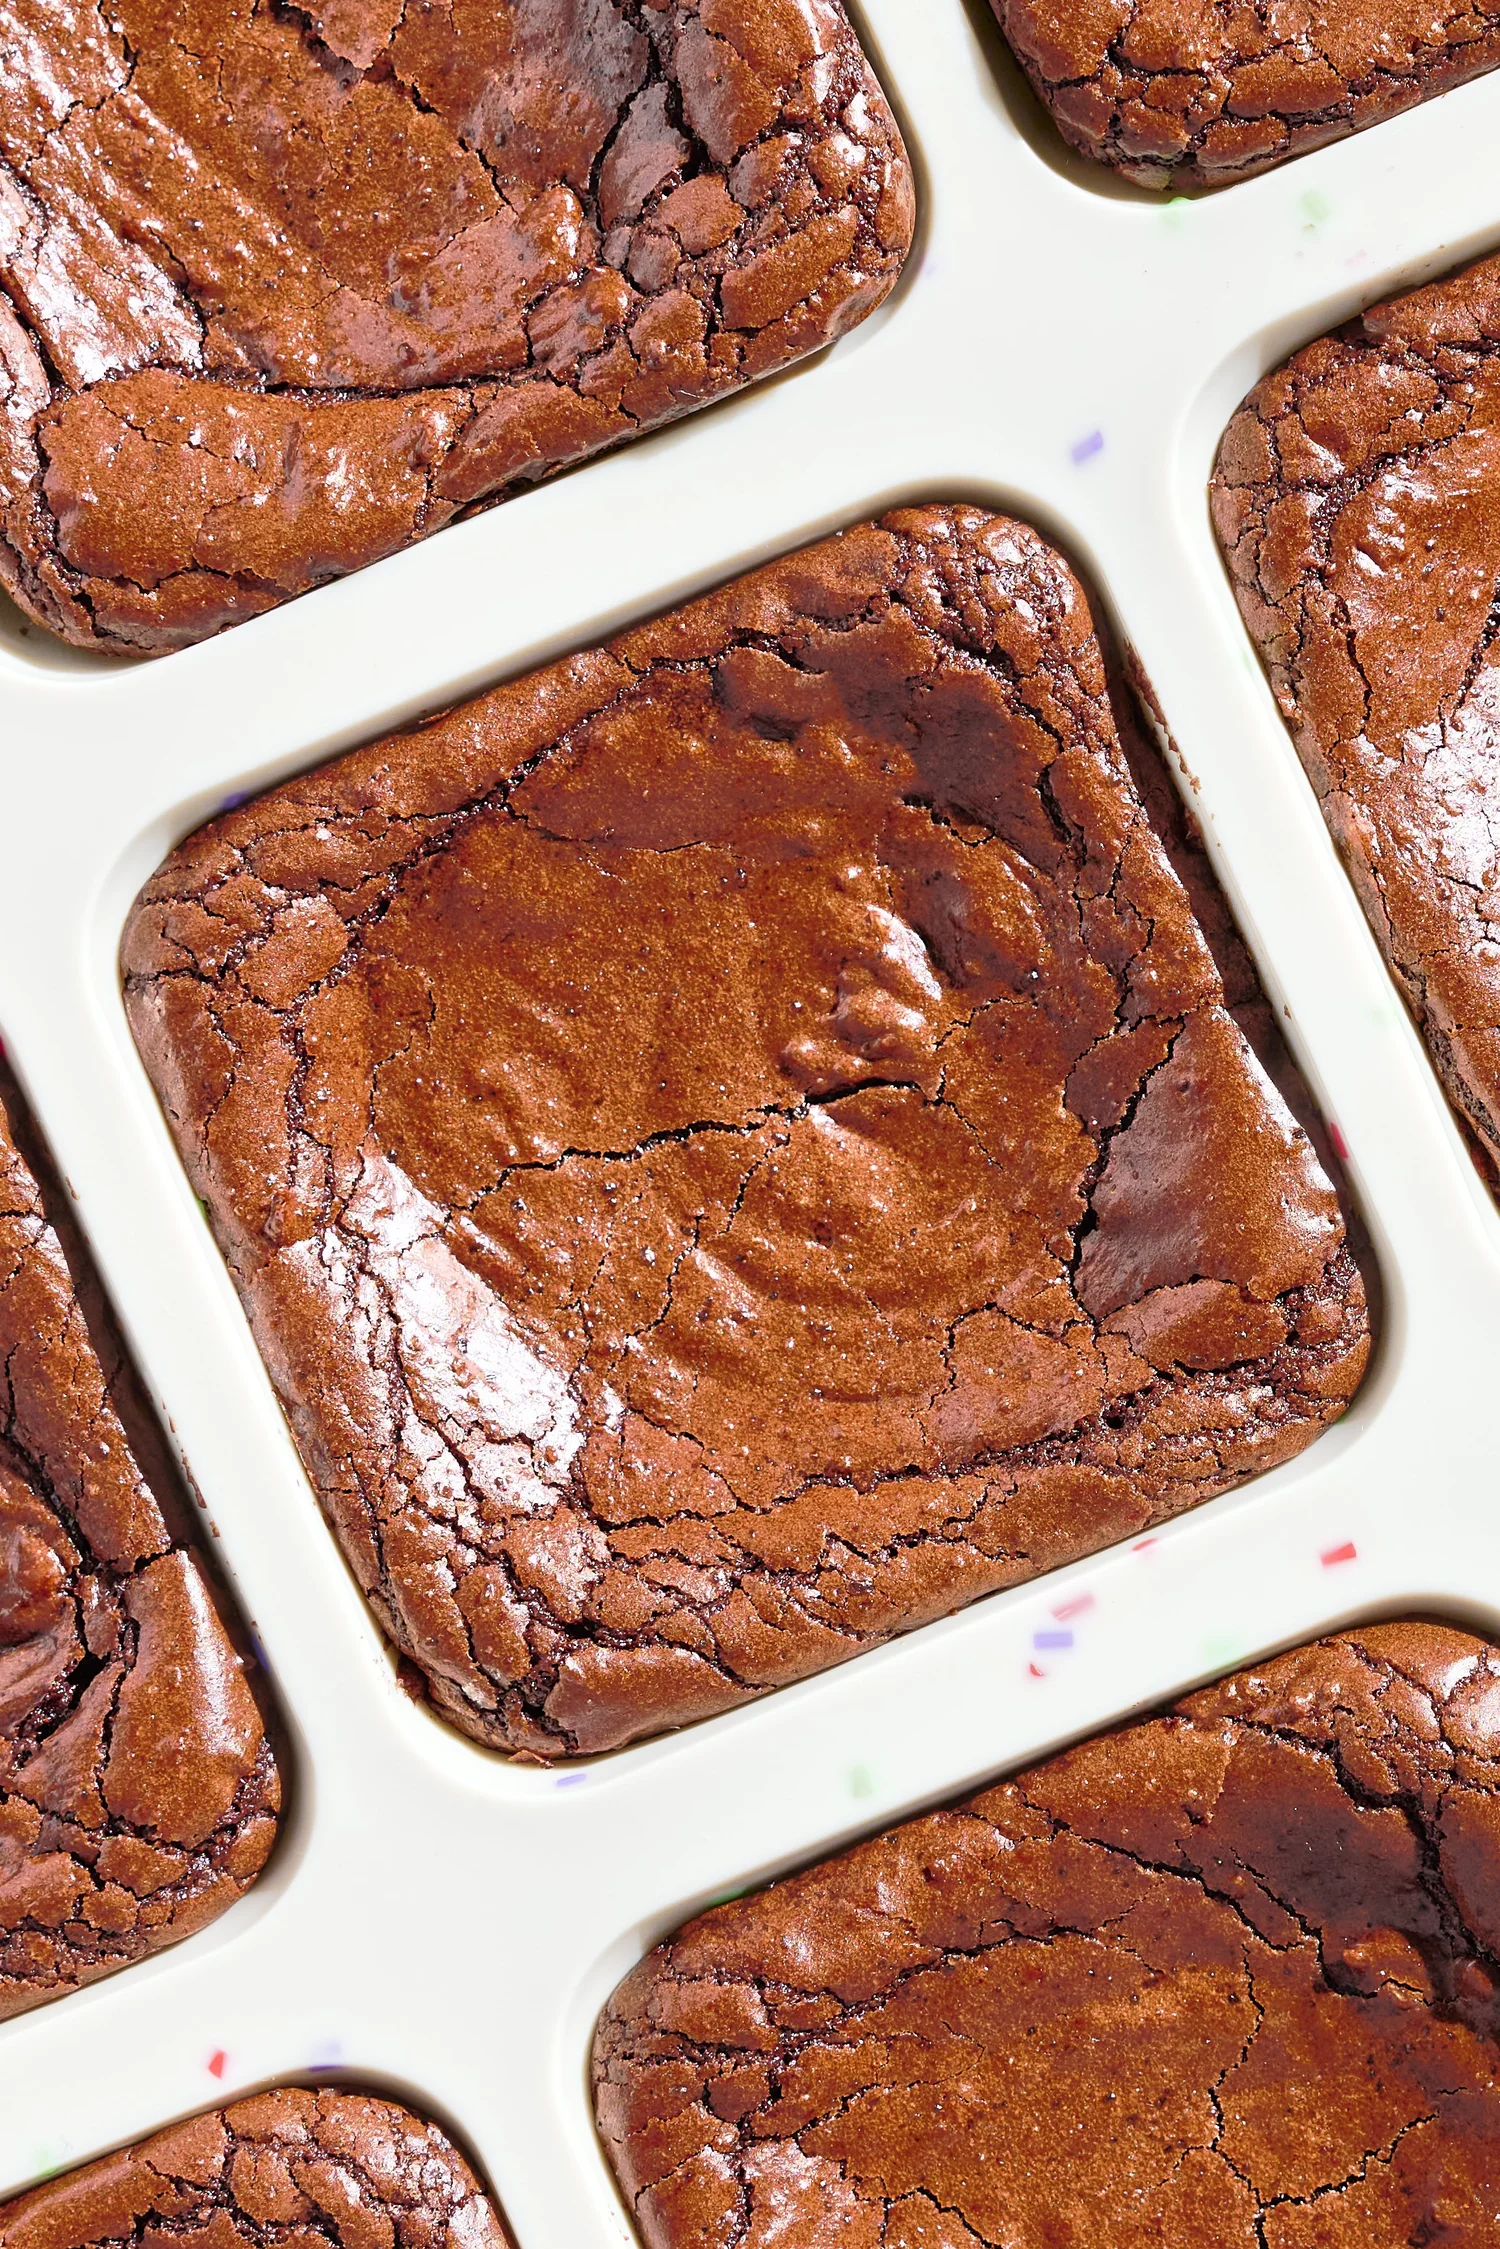
There’s something really enjoyable about a brownie recipe that is simple and super rewarding at the same time. That’s exactly what these Brown Butter Brownie Squares are for me. The biggest thing that makes this recipe special is really the tray itself. When most people bake brownies, everyone fights over the corner pieces because those edges have the best texture. They’re slightly firmer, a little chewier, and just more satisfying. What I love about this recipe is that every single brownie square gets those edges. Every piece feels like the best piece in the pan, and I think that’s what makes these so fun to make and share.
The ingredients are simple pantry and refrigerator staples, and the method itself is very approachable. The only “special” thing you really need is the brownie square tray, and I personally went with a silicone version because it makes removing the brownies so much easier. Once they cool, they peel right out beautifully.
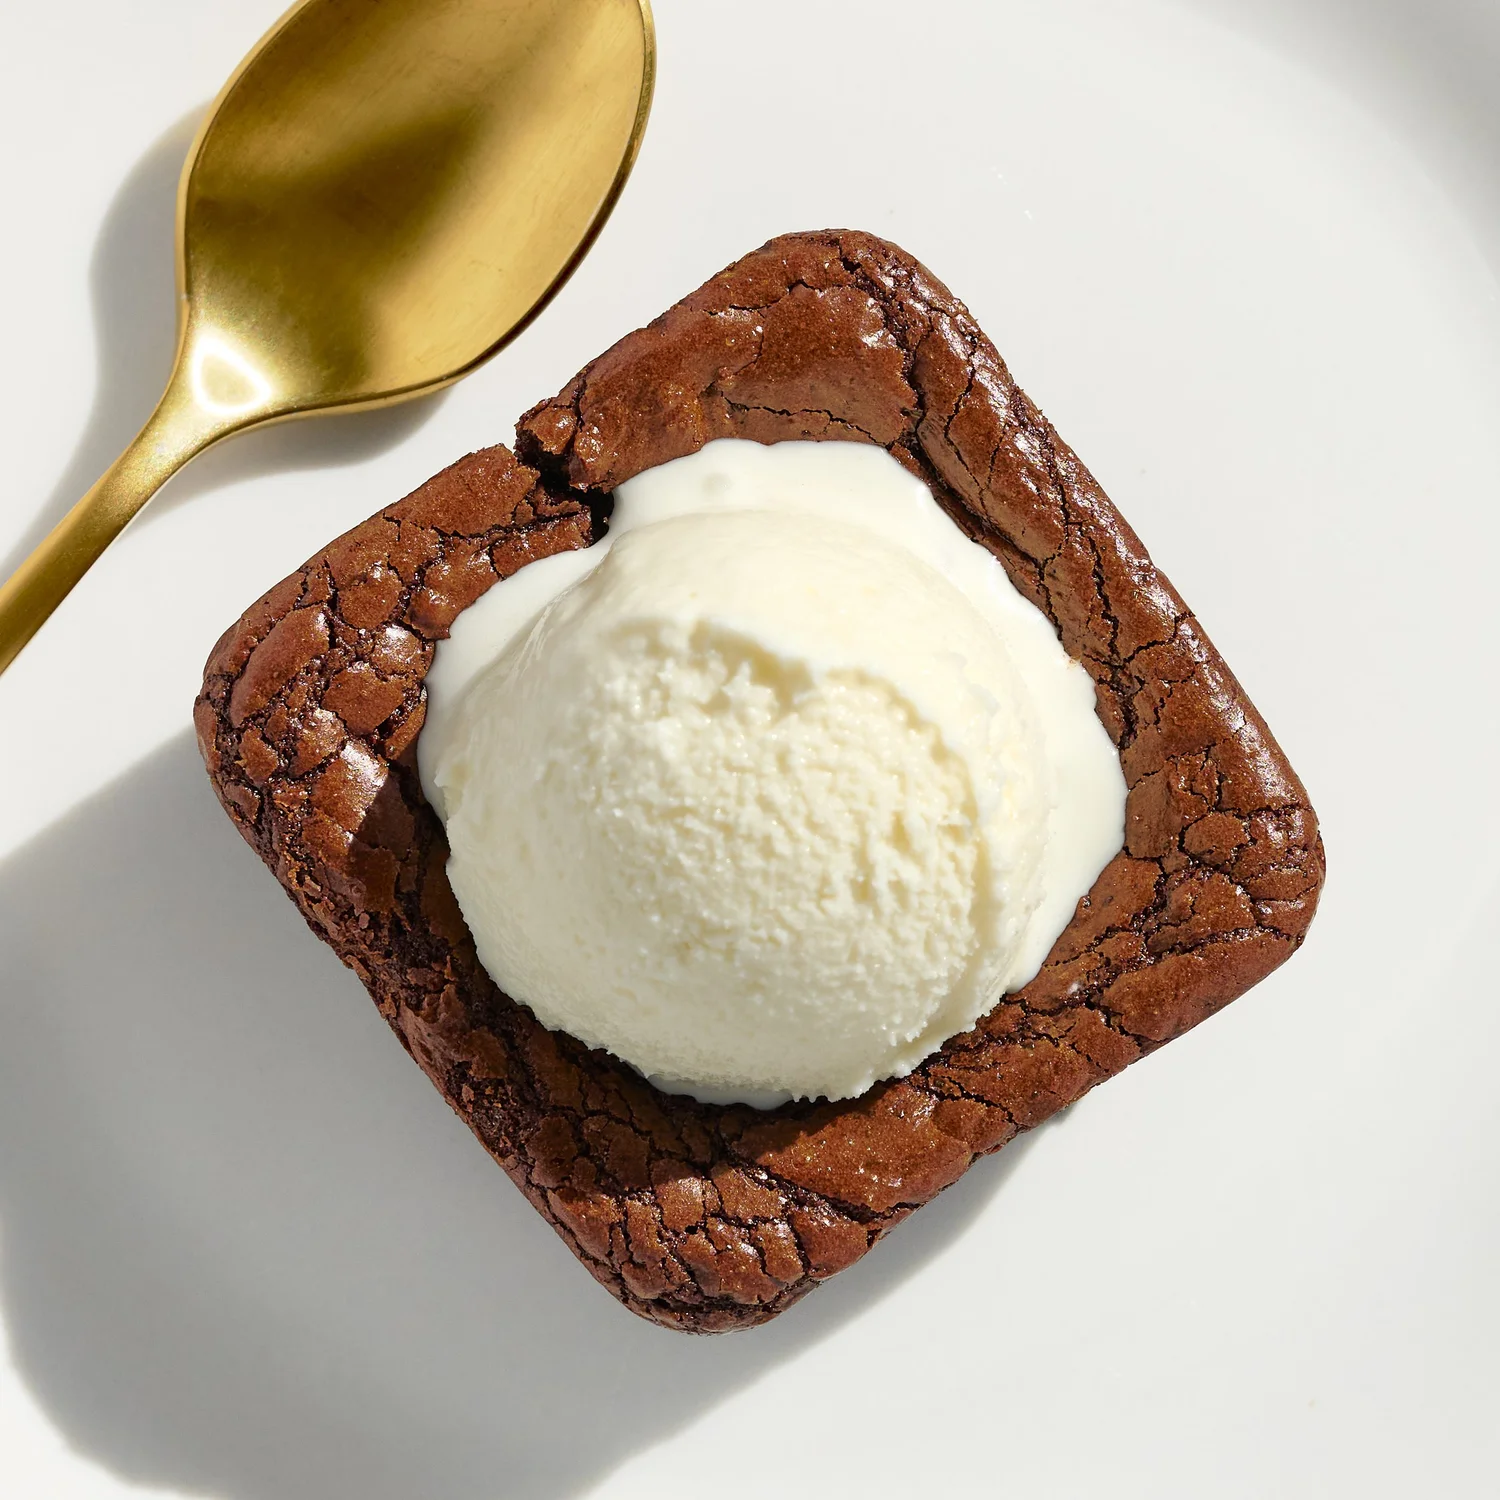
These are deeply chocolatey, and rich. The browned butter adds this nutty depth that makes them feel just a little more special than a typical brownie. They’re small and rich enough that one square with a scoop of vanilla ice cream makes for a complete dessert. That’s our favorite way to enjoy them.
Lessons Learned
One of the biggest lessons I learned with this recipe is that overmixing completely changes the texture of the brownies. When you’re mixing the sugars and eggs together, it can be tempting to just keep going, but this is one of those moments where timing really matters. Two minutes is enough. That’s enough time for the mixture to become smooth, glossy, and slightly yellowish-golden without incorporating too much air. If you overmix, the texture becomes fluffier than intended, and you lose that rich brownie consistency.
Another important lesson is understanding the difference between browned butter and burnt butter. You want the butter to smell nutty and rich with lightly browned bits throughout, but you do not want it scorched. Medium-low heat works best here because it gives the milk solids enough time to slowly brown without rushing the process. For me, around 8–10 minutes was the perfect range of time.
Bake time also matters here. If you want a softer brownie square, 22 minutes works well, but if you want them more set and structured, 25 minutes is the perfect amount of time. I highly recommend baking these on the center rack of your oven for the most even results. And finally, cooling is important. Letting the brownies cool completely helps them firm up properly and makes removing them from the silicone tray much easier. Once they’re slightly warm or fully cooled, they release beautifully and are ready to serve.
How to Make It Your Own
There are so many ways to customize these brownie squares while keeping the base recipe simple. You can add chopped chocolate directly into the batter for even more richness, or fold in nuts if you want extra texture. Caramel would also be incredible here, either swirled into the batter before baking or drizzled over the top once the brownies cool.
If you don’t have a brownie square tray, you can bake this recipe in a regular brownie pan and slice it into squares afterward. The silicone tray just gives you those neat individual portions and extra edges throughout. You can also finish the brownies with flaky sea salt, serve them with coffee, or pair them with a scoop of vanilla ice cream like we love to do.
Do not overmix the sugar and egg mixture. Two minutes on medium speed is all you need for a smooth golden texture.
Summary Notes
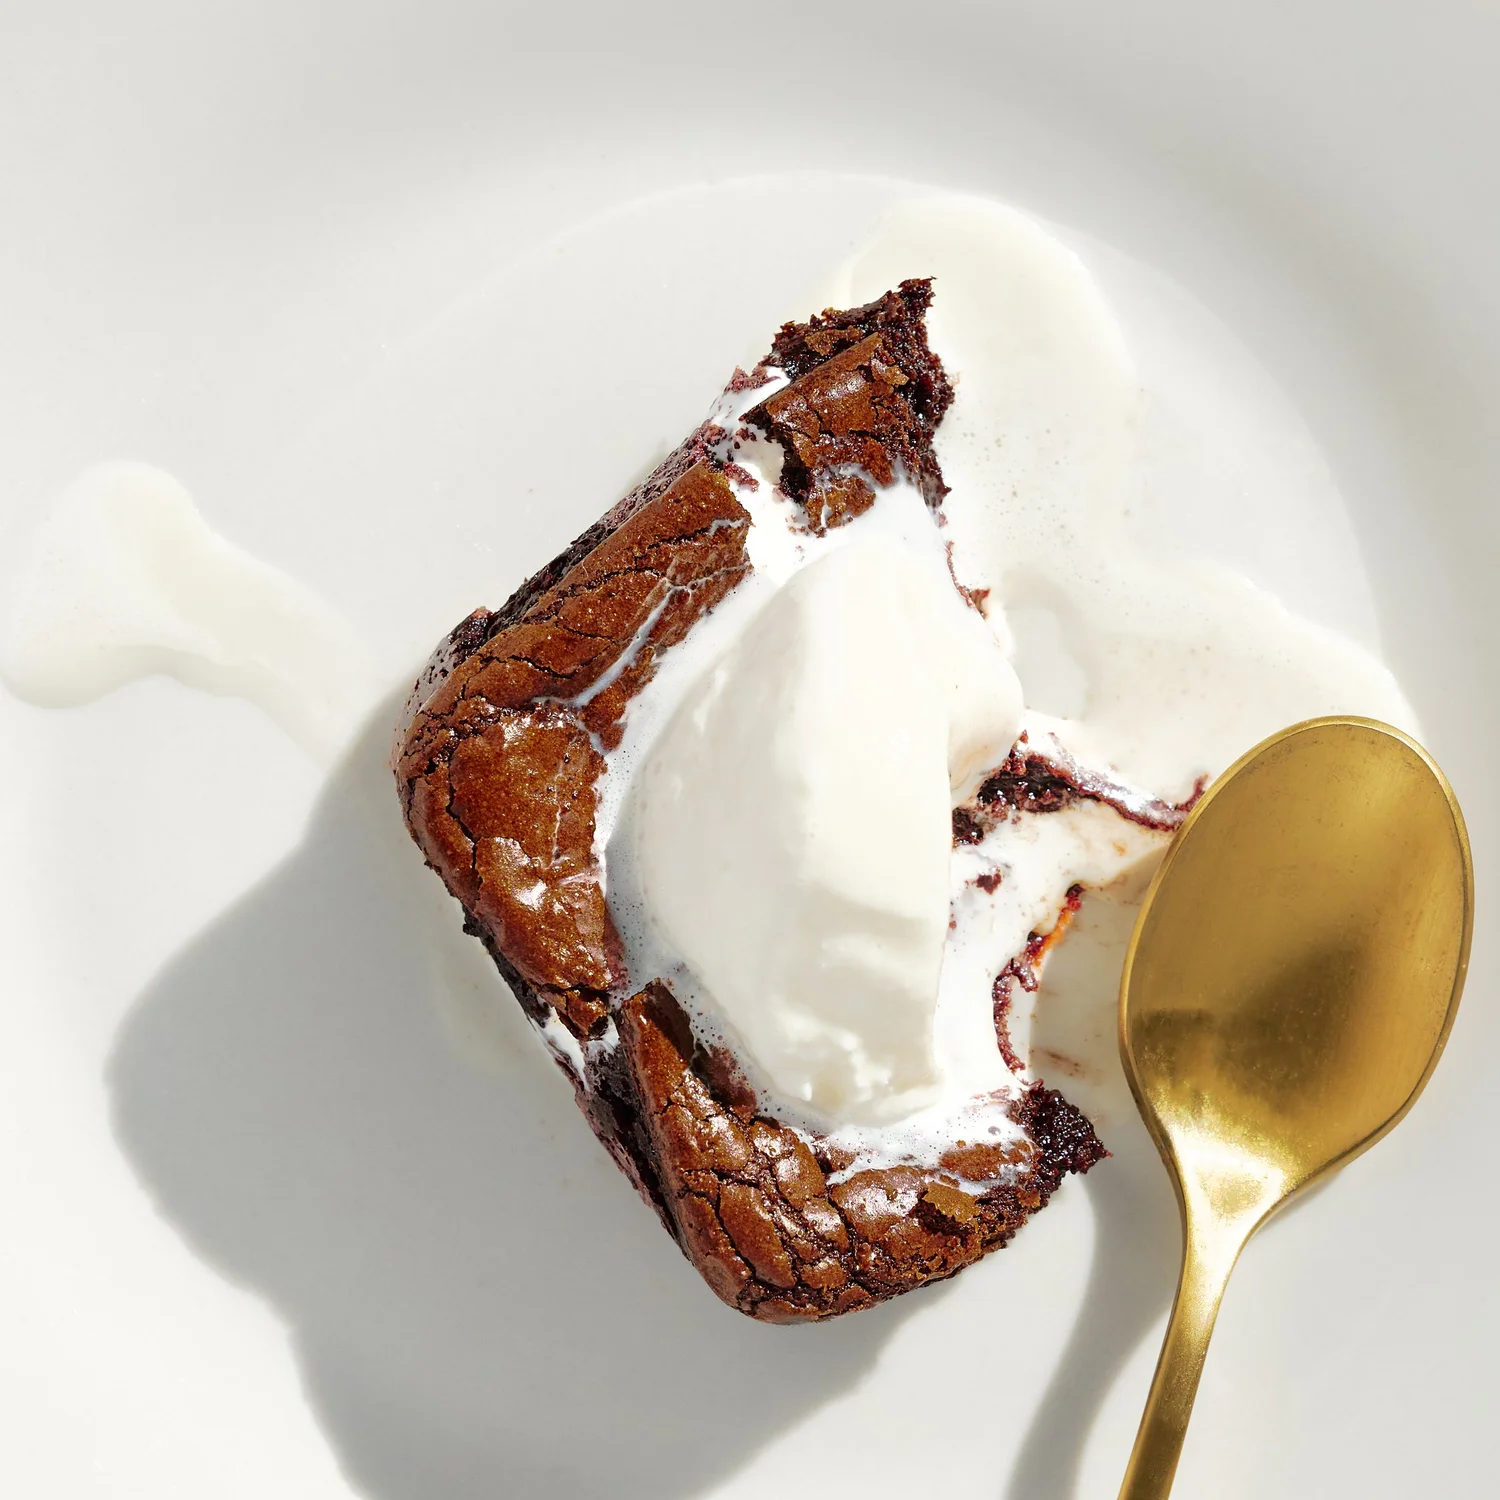
These Brown Butter Brownie Squares are rich, and super chocolatey. The browned butter adds a subtle nutty flavor that makes the brownies so special. Every square gets four chewy brownie edges, which honestly makes this brownie tray one of my favorite baking tools lately. If you can’t get a hold of a brownie tray like the one we recommend, you can bake them in a regular pan, the result would be just as delicious.
Tried it? Let us know how it went in the comments below.
At Brimly, we take pride in presenting you with the finest products that our editors independently handpicked. In the spirit of transparency, we want you to know that we may earn an affiliate commission when you purchase something through the retail links below.
Essentials You'll Need
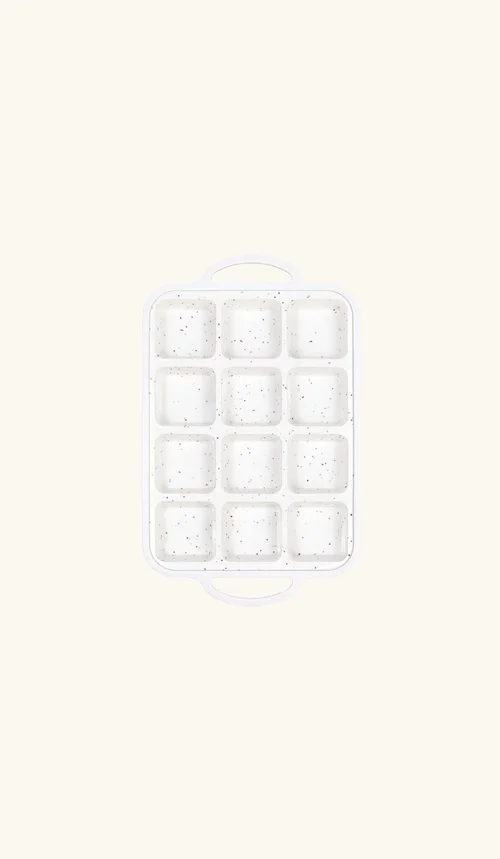 Brownie Pan$14.99 at Amazon
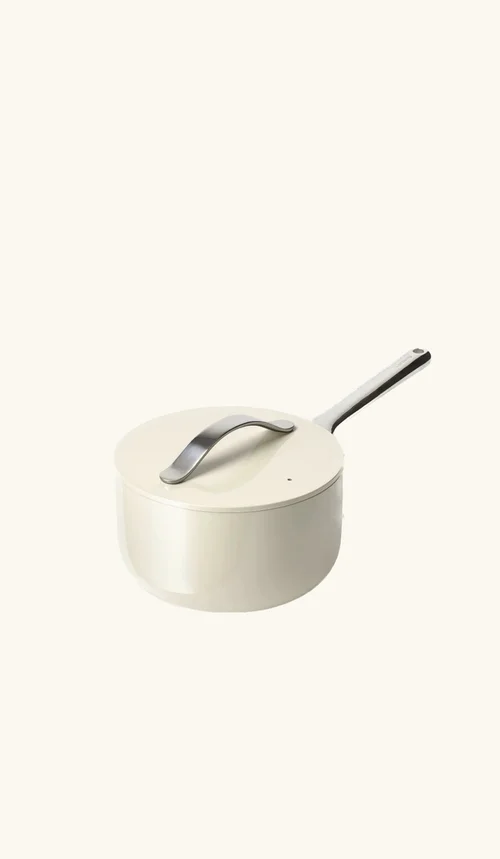 Sauce Pan$115.00 at Amazon
 Mixing Bowl$19.98 at Amazon
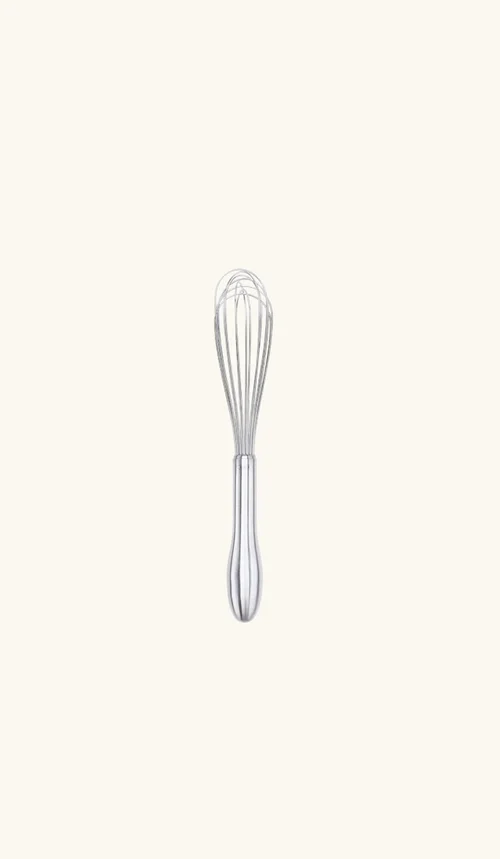 Whisk$14.95 at Amazon
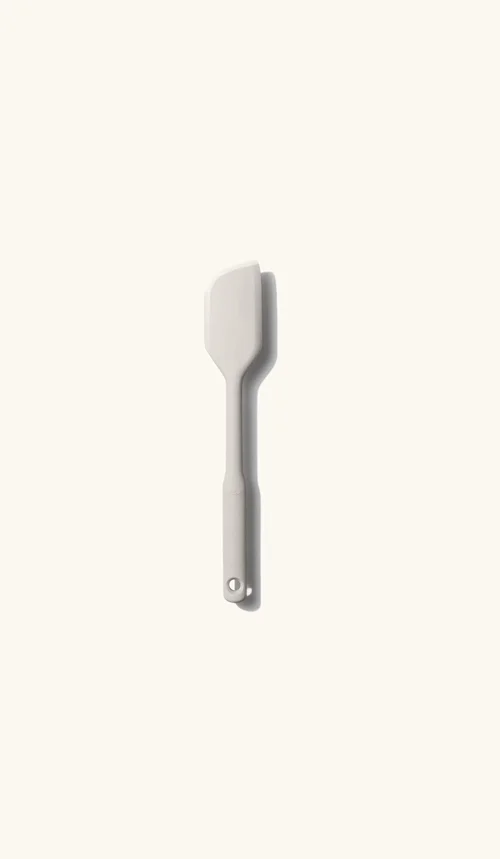 Everyday Spatula$11.95 at Amazon
Brown Butter Brownie Squares
Rich gluten-free brownies made with nutty browned butter and baked in a square brownie tray, so every piece gets four chewy edges. Gum-free and soy-free.
- Prep Time
- 25 mins
- Bake Time
- 25 mins
- Total Time
- 50 mins
- Servings
- 10 squares
- Author
- Stephnie Grace|Brimly
Ingredients
Making a double batch? You'll fill 20 wells, so bake in two trays or in two rounds. Amounts in the steps are doubled and highlighted too. Pan size and times stay as written.
Making a half batch? You'll fill 5 wells instead of 10, and the bake time stays about the same. Amounts in the steps are halved and highlighted too. Pan size and times stay as written.
Recipe Steps
Preheat your oven to 350°F. Lightly butter a brownie square tray if necessary.
Add the butter to a small saucepan over medium-low heat. Allow the butter to melt, swirling and stirring occasionally with a spatula for about 10 minutes, until the butter smells nutty and develops lightly browned bits throughout.
Remove the browned butter from the heat and let it sit for about 15 seconds. Add the milk chocolate chips and stir gently with a spatula until fully melted and smooth. Set aside.
In a large bowl, combine the granulated sugar, brown sugar, eggs, vanilla extract, and salt. Using a hand mixer on medium speed, mix for 2 minutes, until smooth, glossy, and light brown.
With the hand mixer on low speed, slowly stream the browned butter chocolate mixture into the sugar mixture. Mix until fully combined.
Add the gluten-free flour and cocoa powder. Mix again until fully incorporated and no dry pockets remain. The batter will be thick.
Using a size #16 ice cream scoop (or a ¼ cup), scoop the batter evenly into 10 brownie square wells in the brownie tray (1 scoop per brownie square). Use a skewer or small spatula to gently spread and level the batter inside each square.
Note: This batter makes exactly 10 squares.
Bake for 22–25 minutes, until the brownies are set.
Remove from the oven and let cool completely in the pan before removing.
Serve and enjoy. These are so delicious served with a scoop of vanilla ice cream.
Storage: Store brownies in an airtight container at room temperature for up to 2 days. For longer storage, refrigerate for up to 5 days.
More From Brimly