Gluten-Free Carrot Pineapple Loaf Cake
BY Brimly.April 5, 2026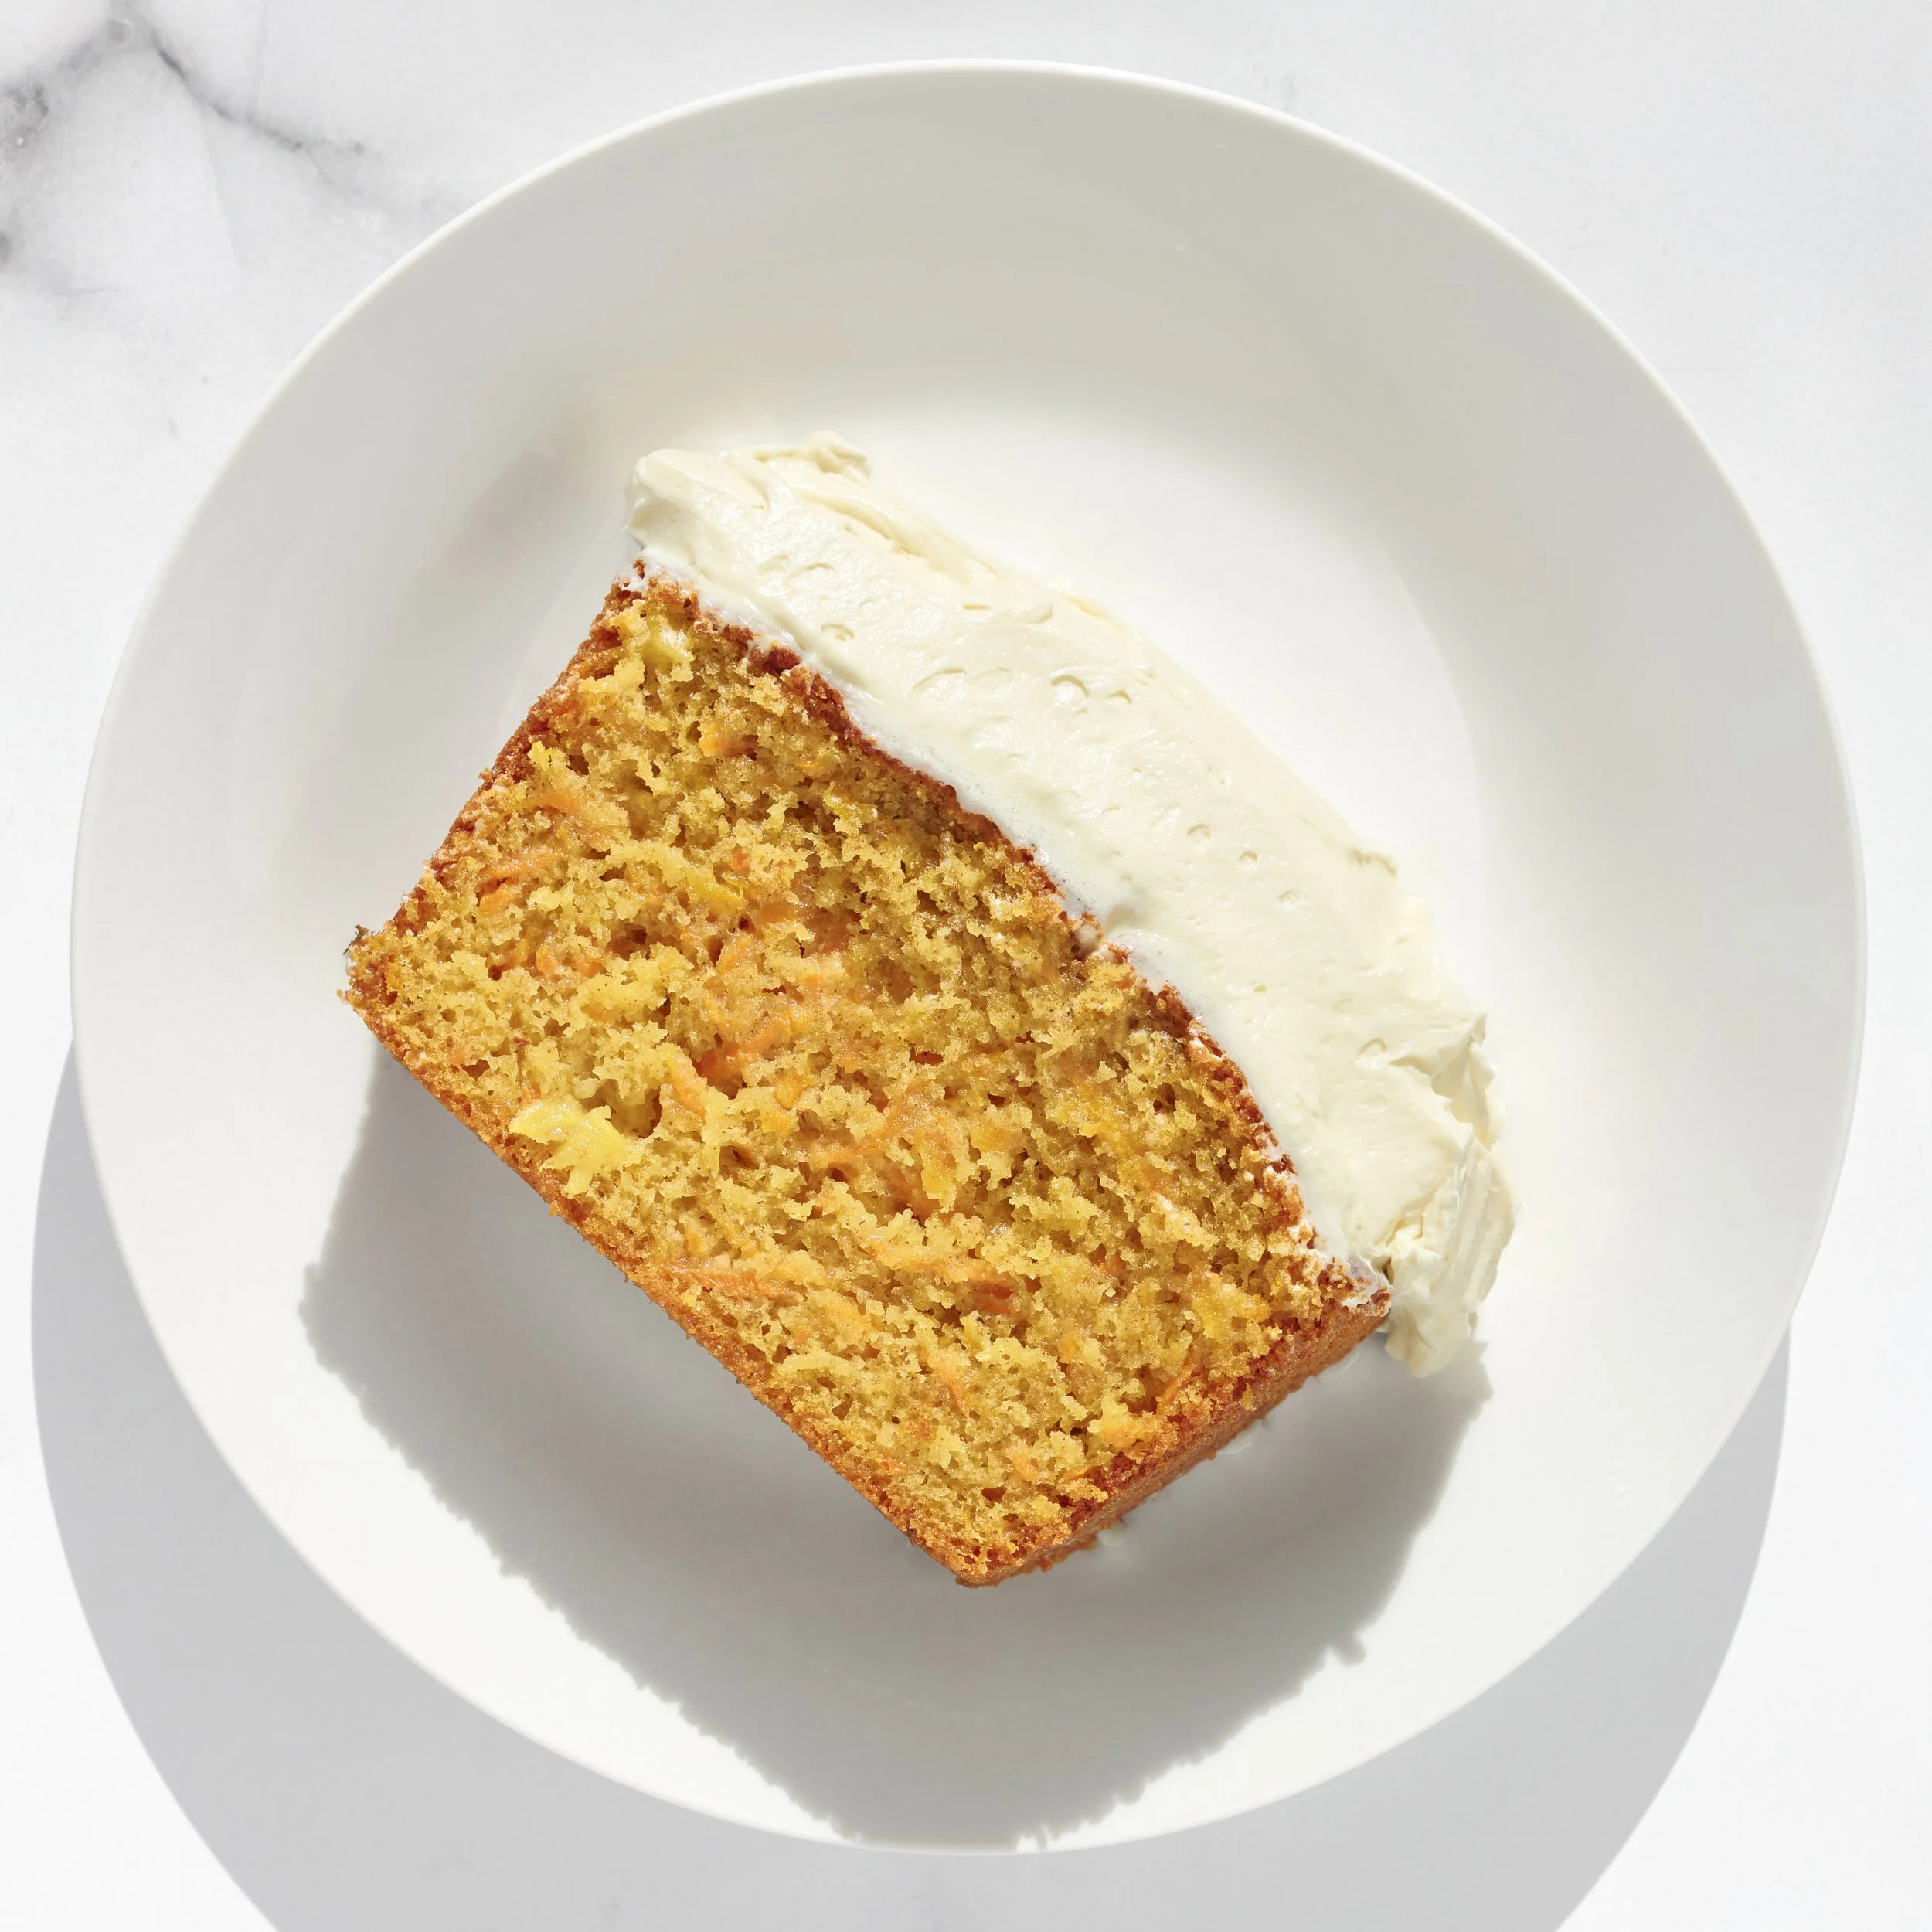
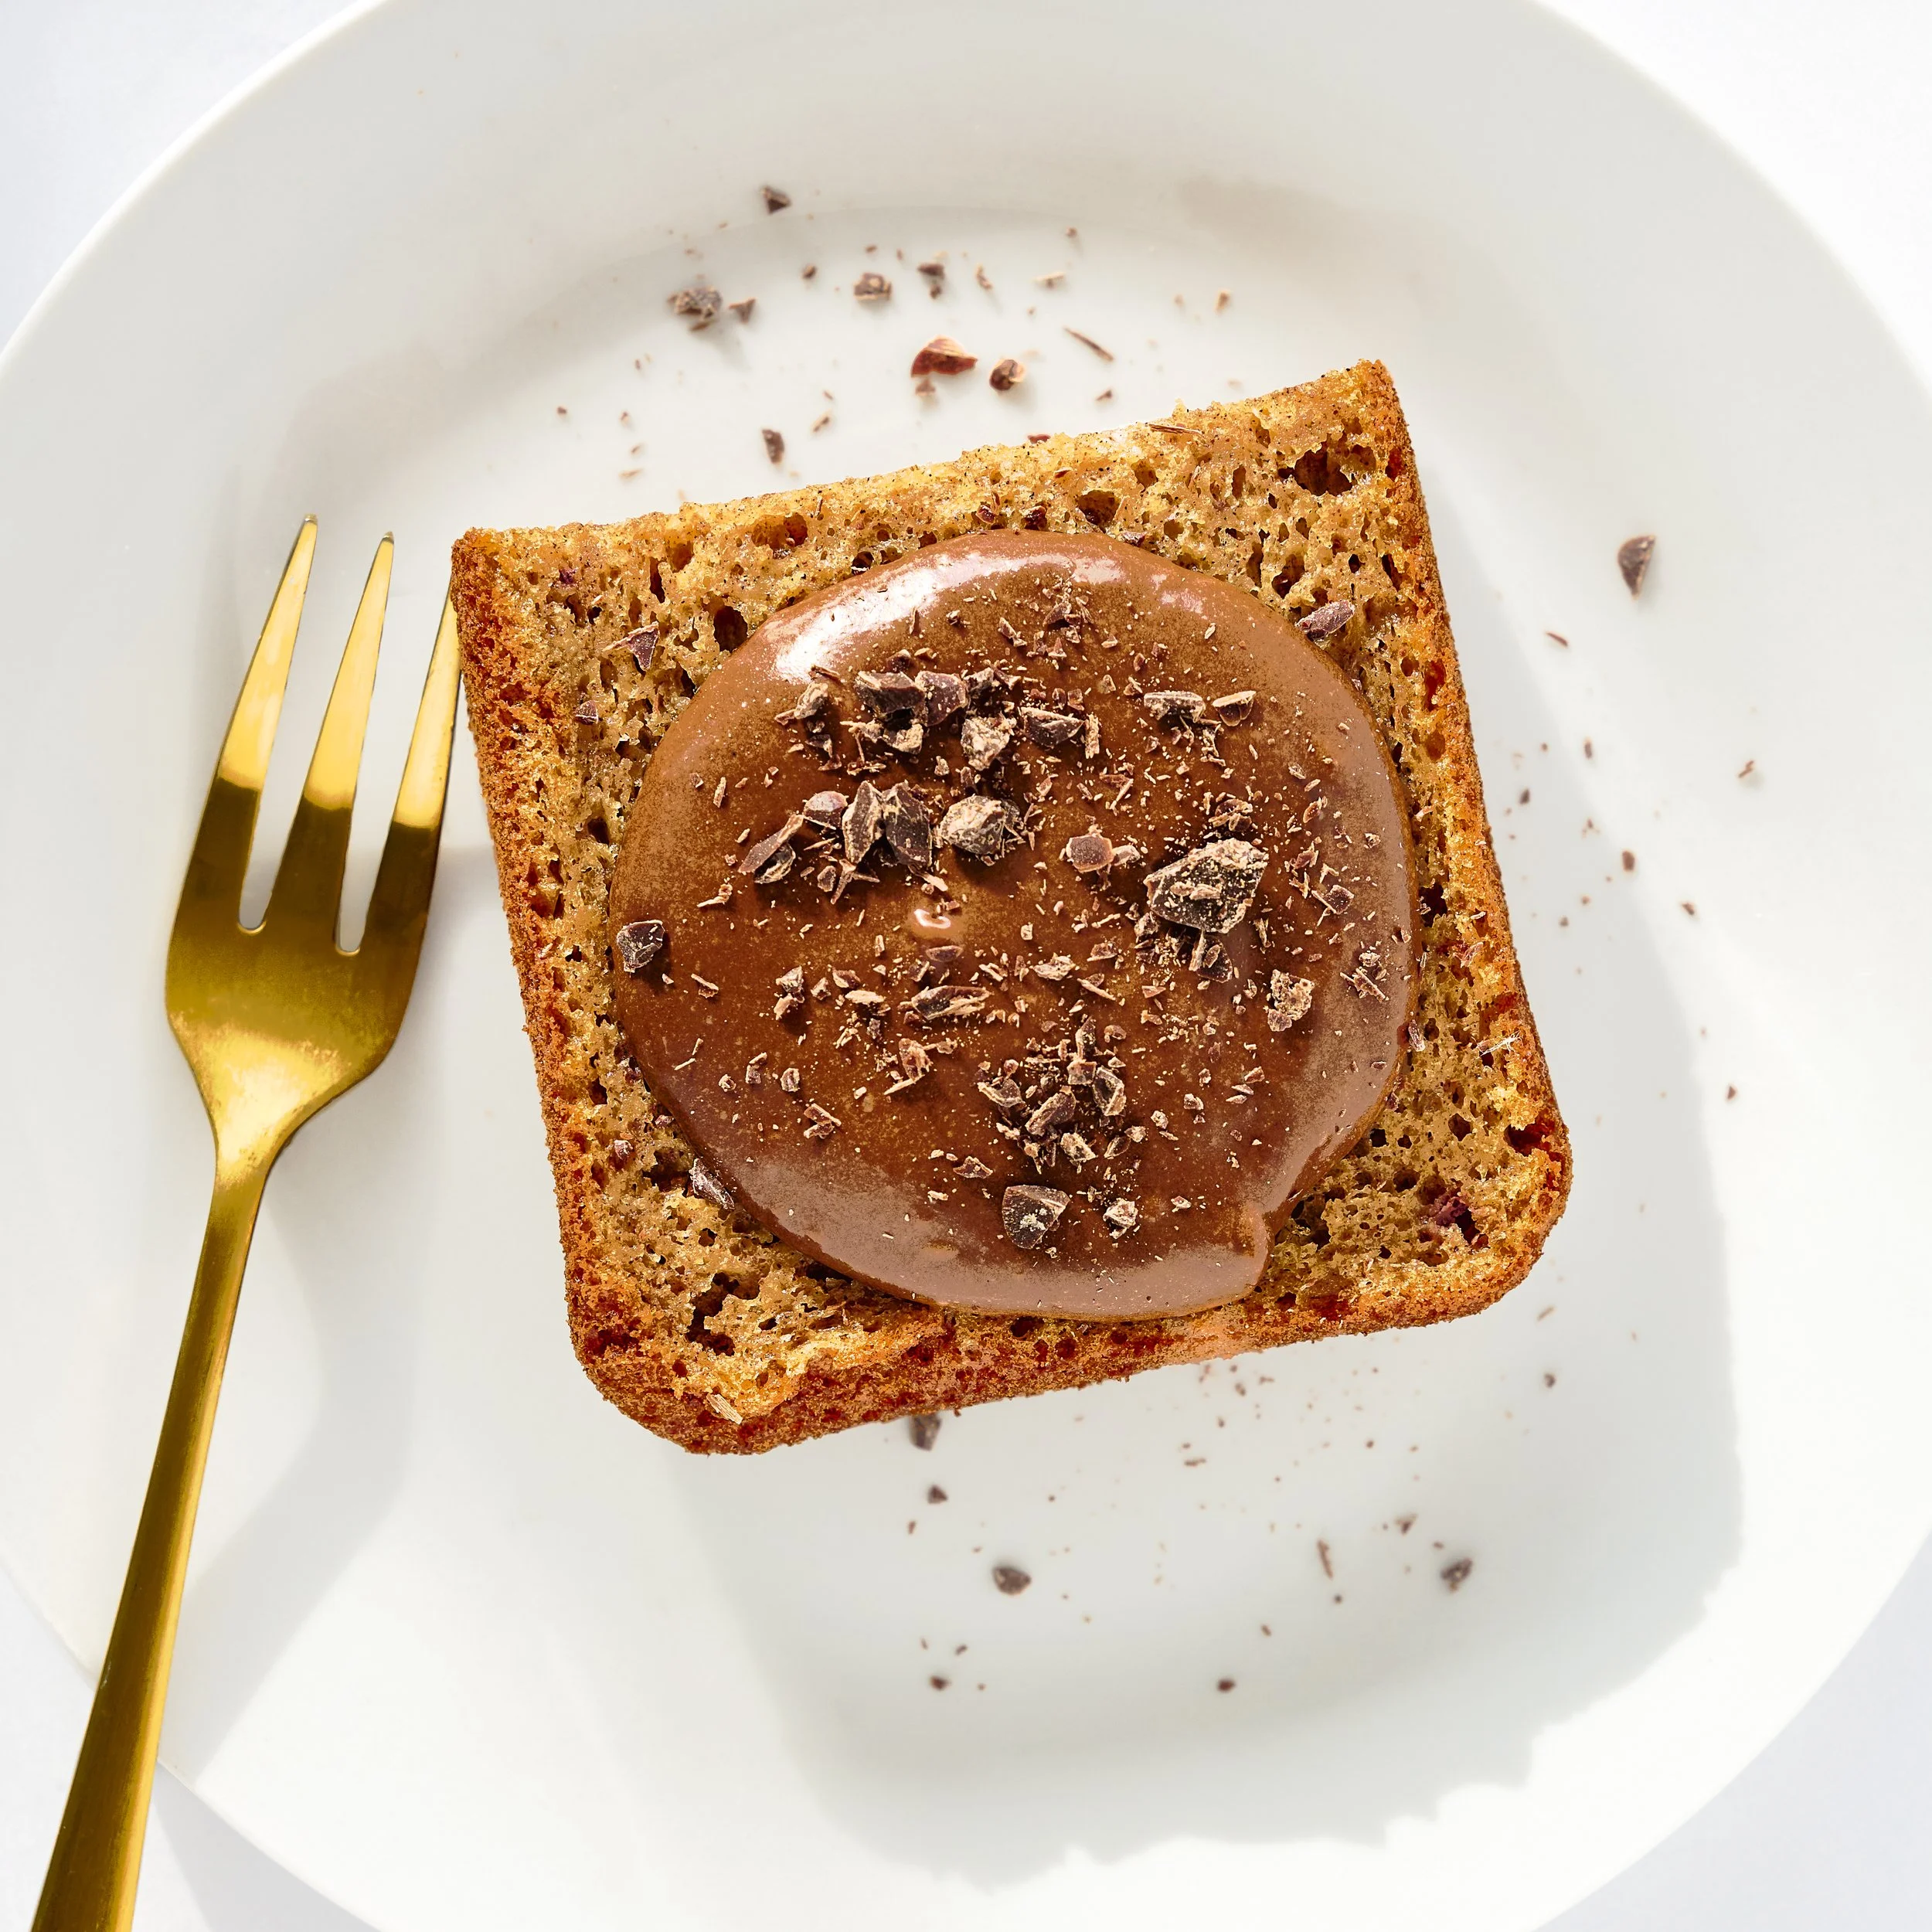
Photo By Editors @ the Brimly Test Kitchen


EASY TaskPREP: 15 minGluten-freesweet Treat Now, Why This Recipe and What Makes It Special?
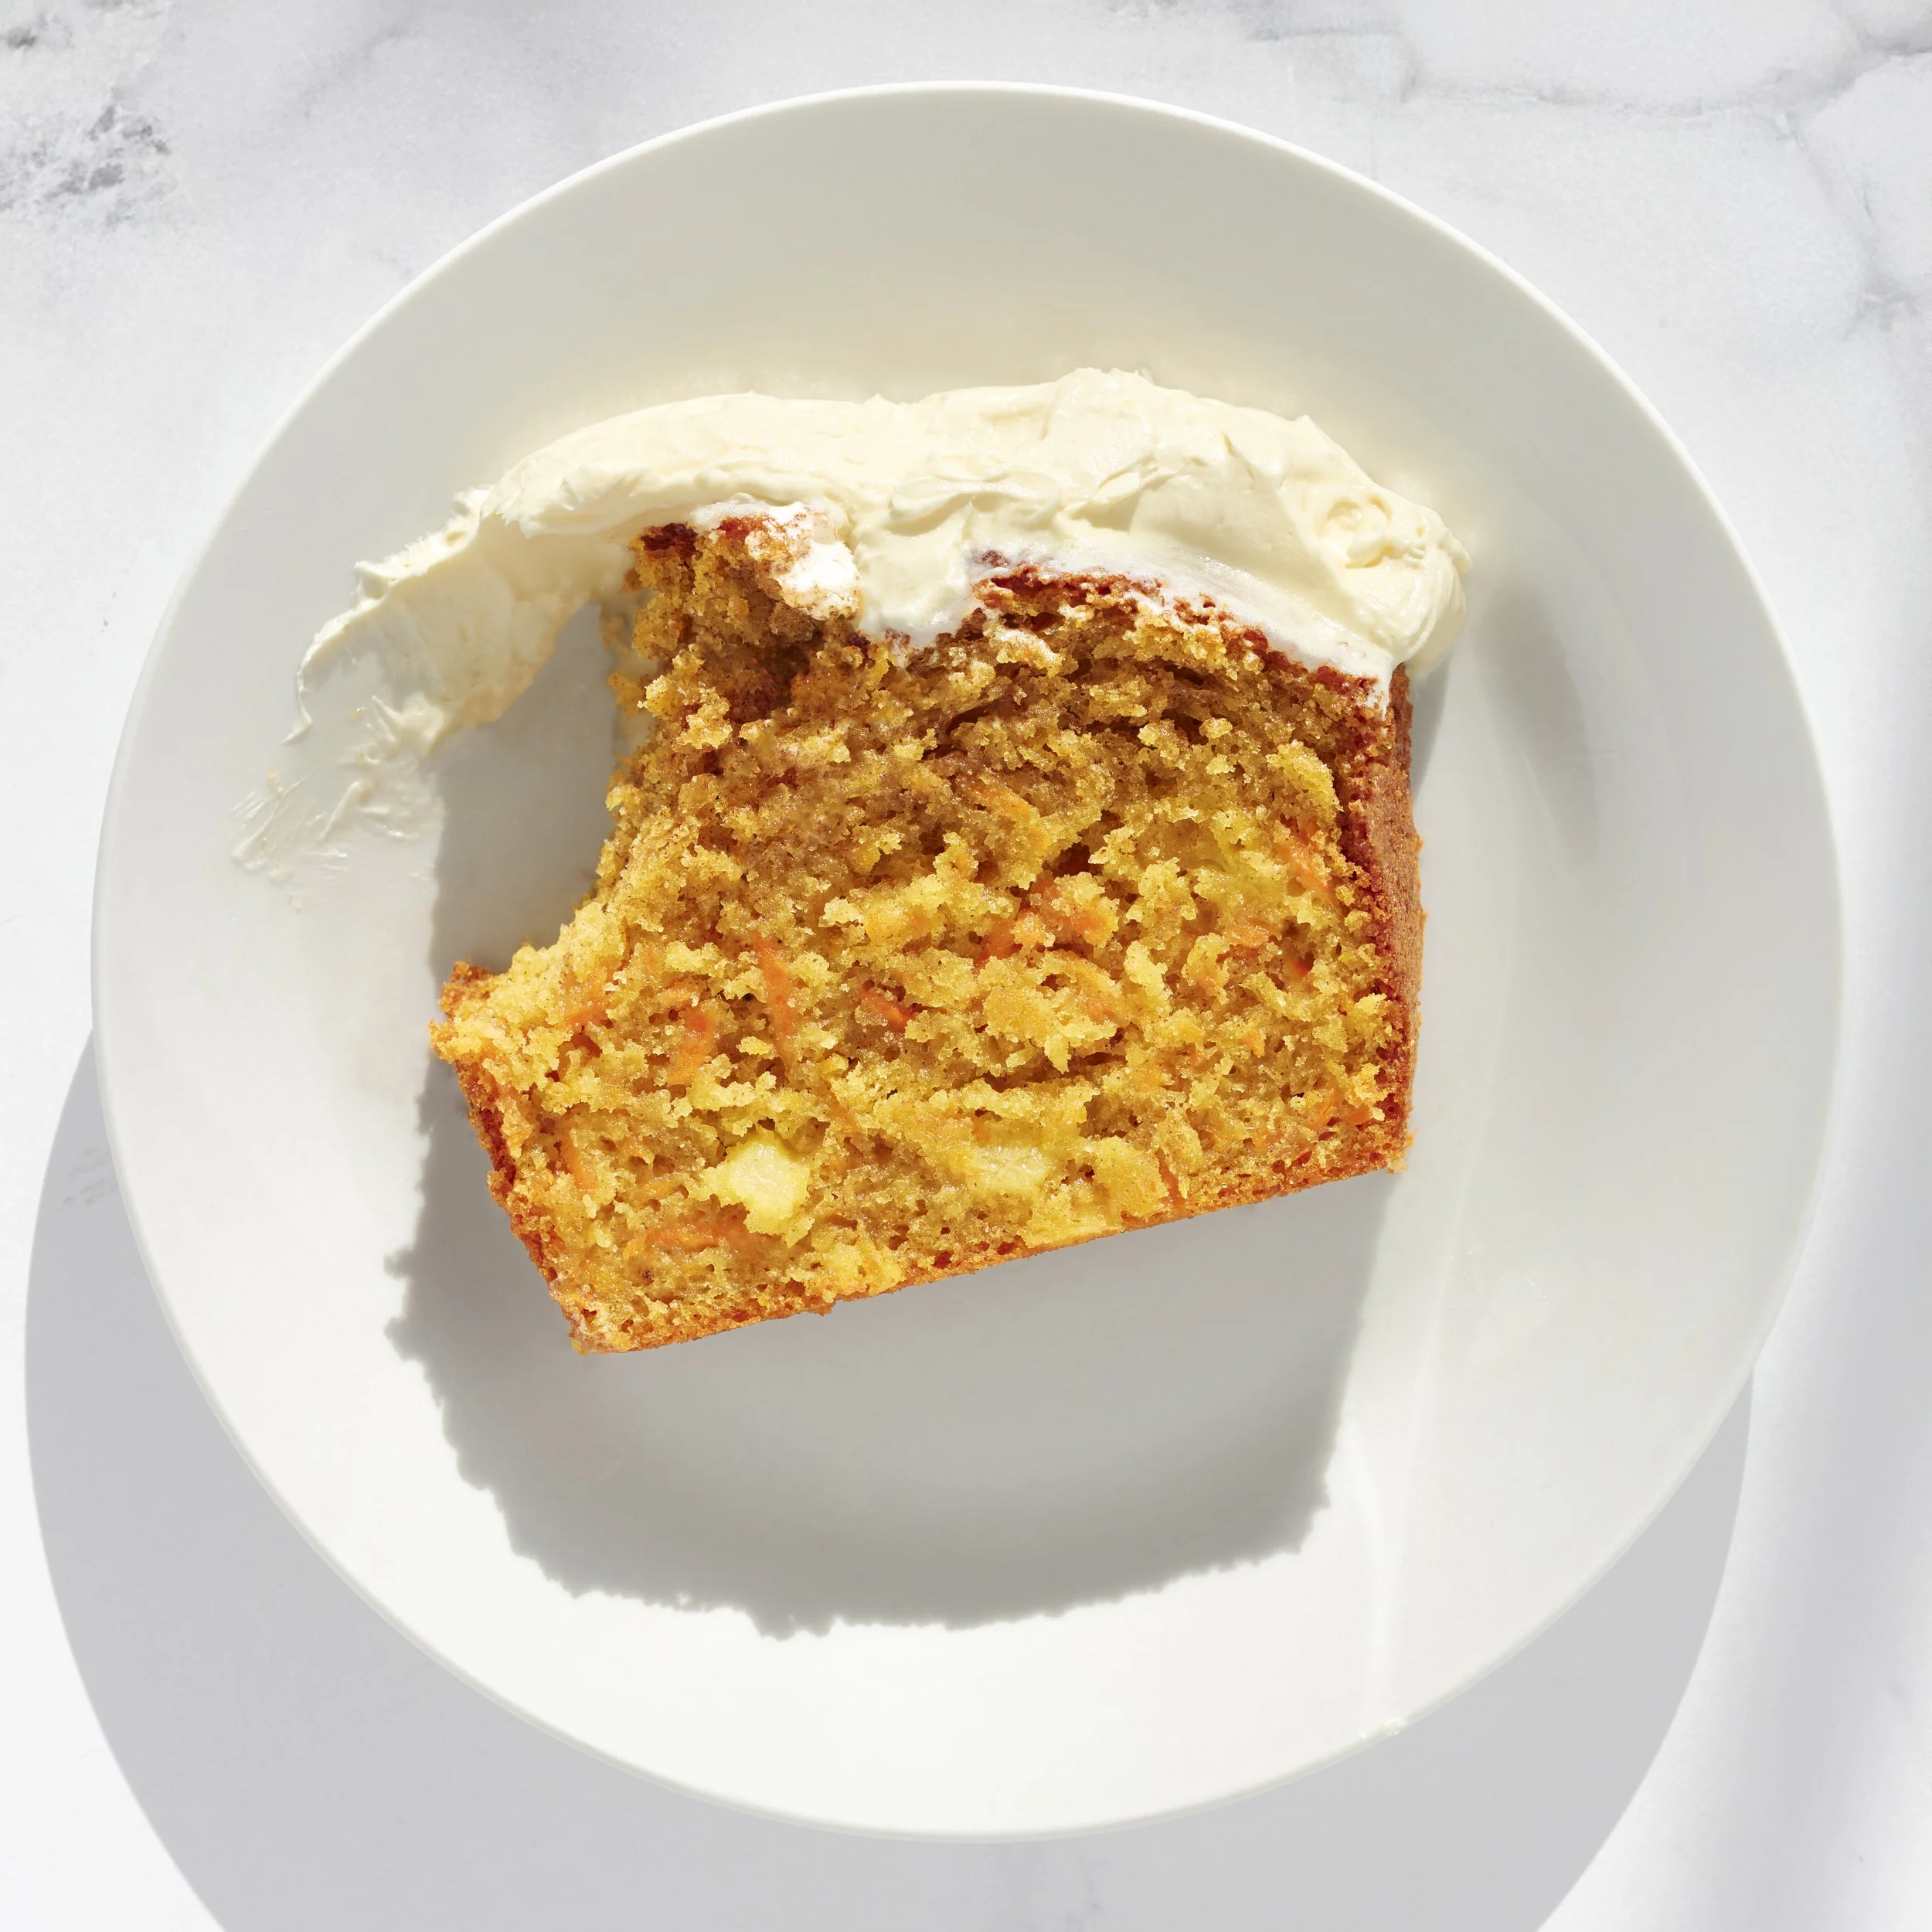
This carrot cake is easily one of the most delicious cakes we’ve made all year. It came together much more easily than I expected, and the result honestly surprised me. It’s a traditional carrot cake at its core, but this version is gluten-free, gum-free, and soy-free, and still taste like something you’d proudly bring to any table.
What really makes this cake stand out is the addition of the crushed pineapple. It brings a subtle brightness that lifts the entire flavor of this cake. The carrots bring their own natural sweetness and texture, and everything just works together in a way that feels balanced and complete. The smell alone while this is baking is enough to fill your entire home and make you impatient for that first slice.
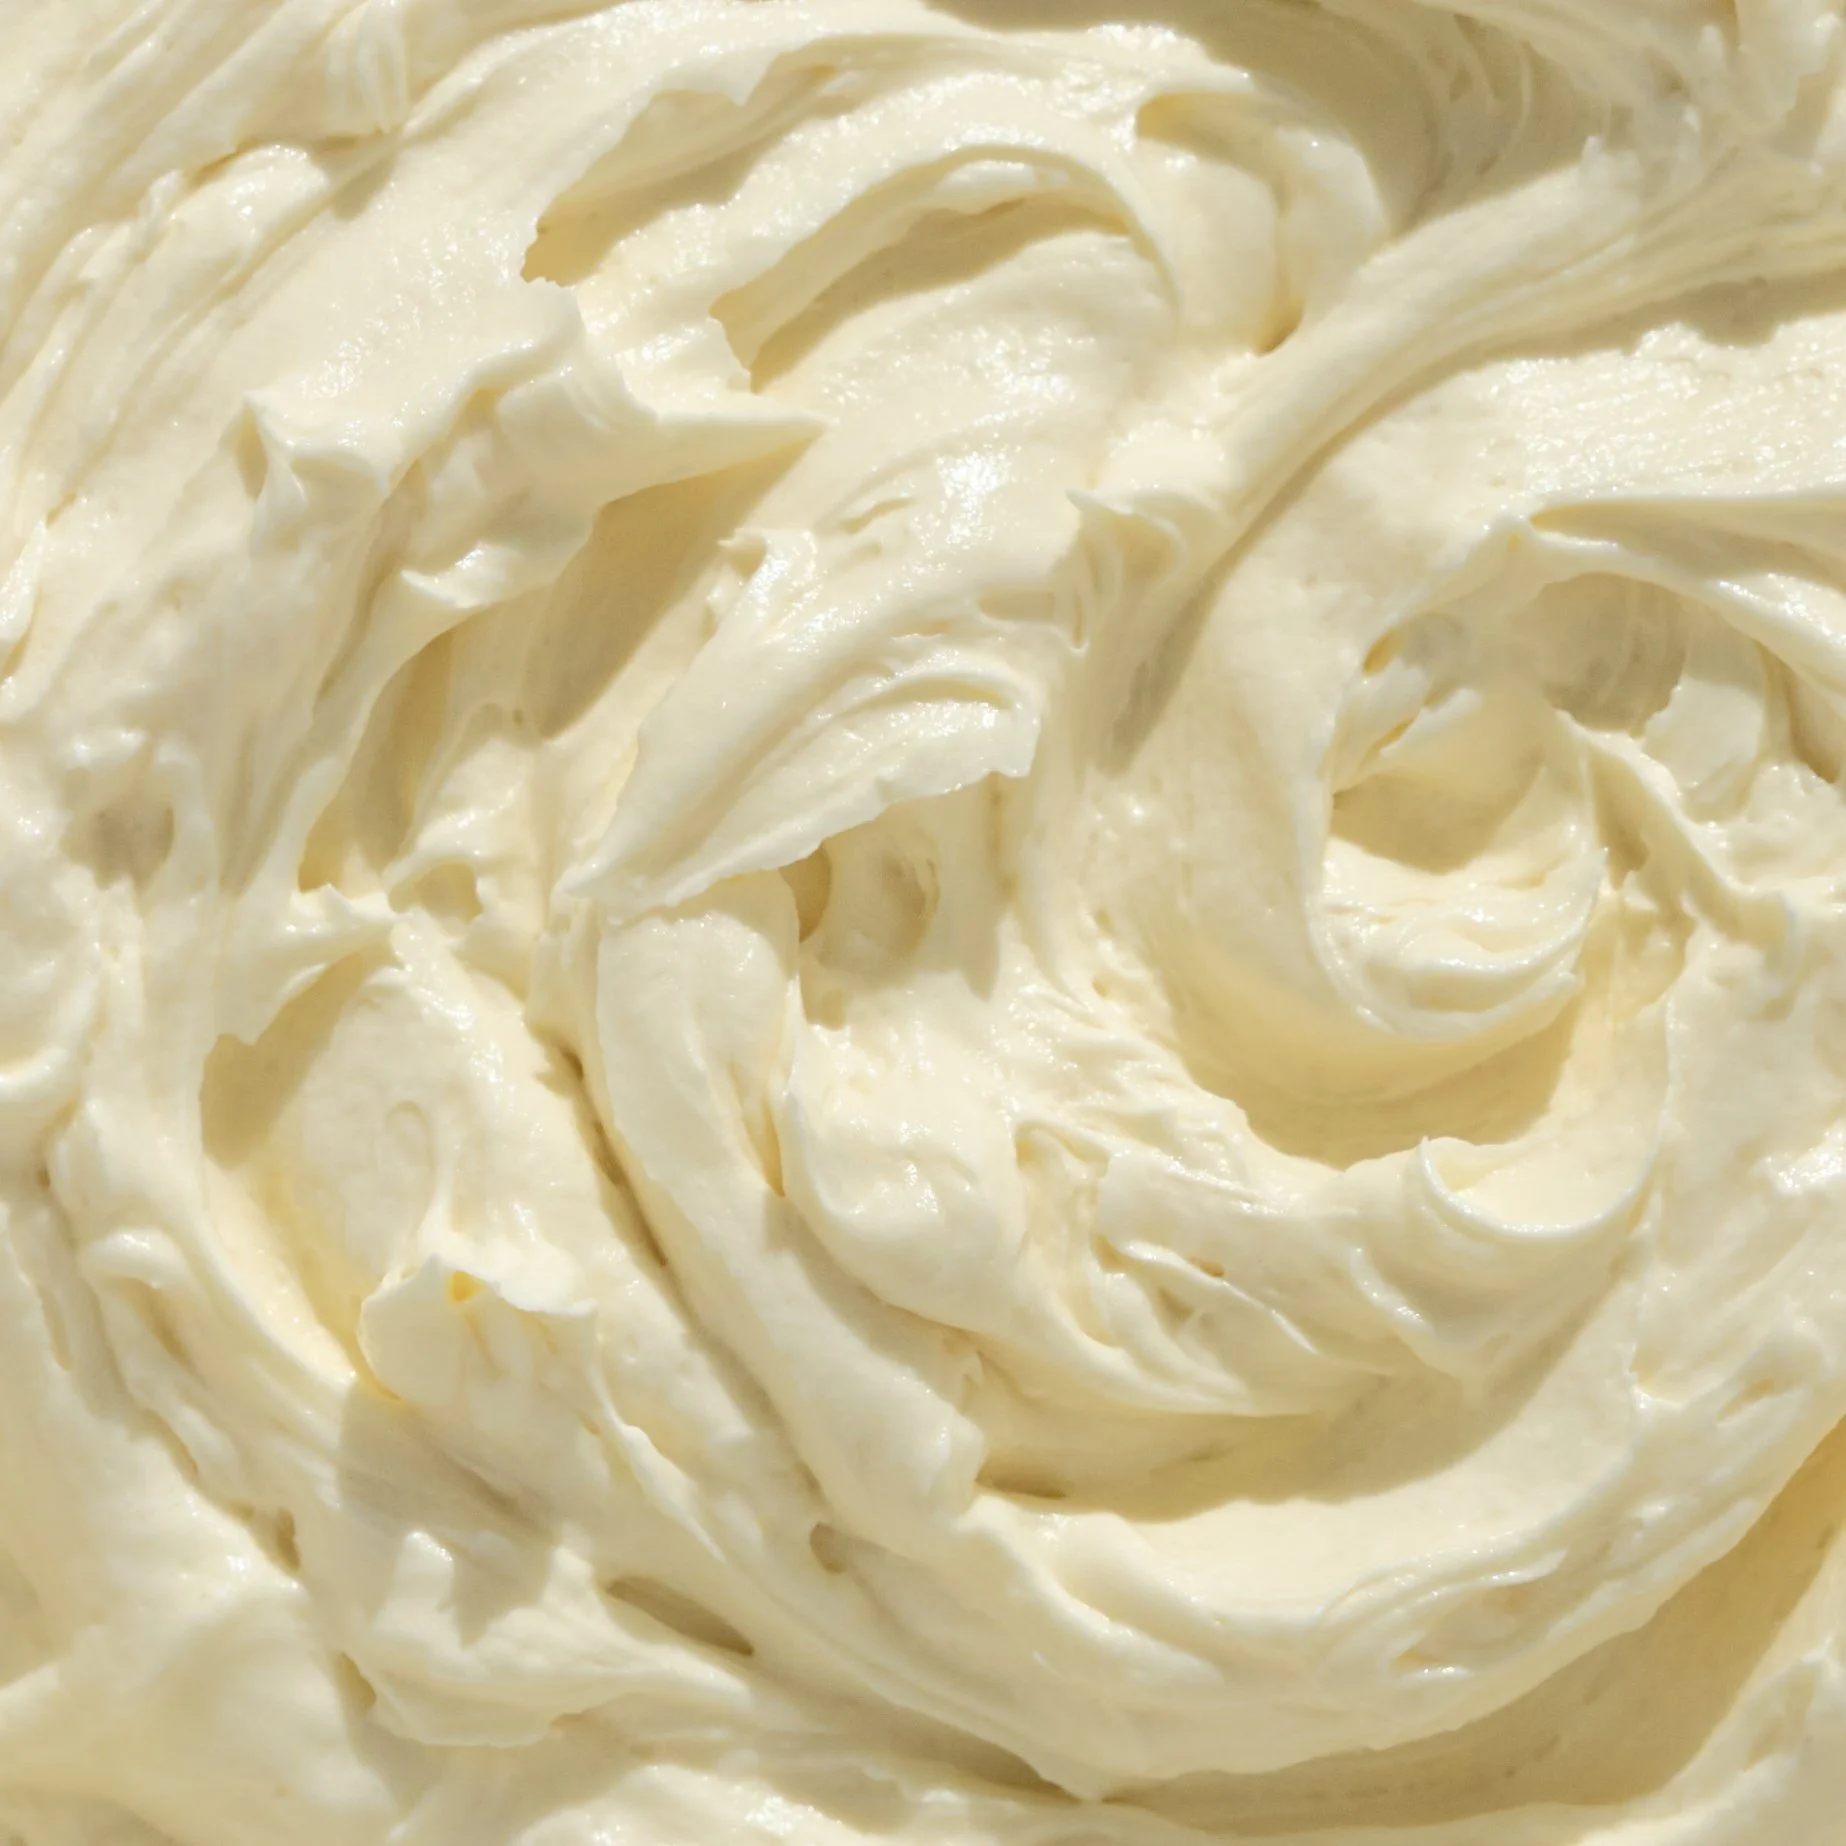
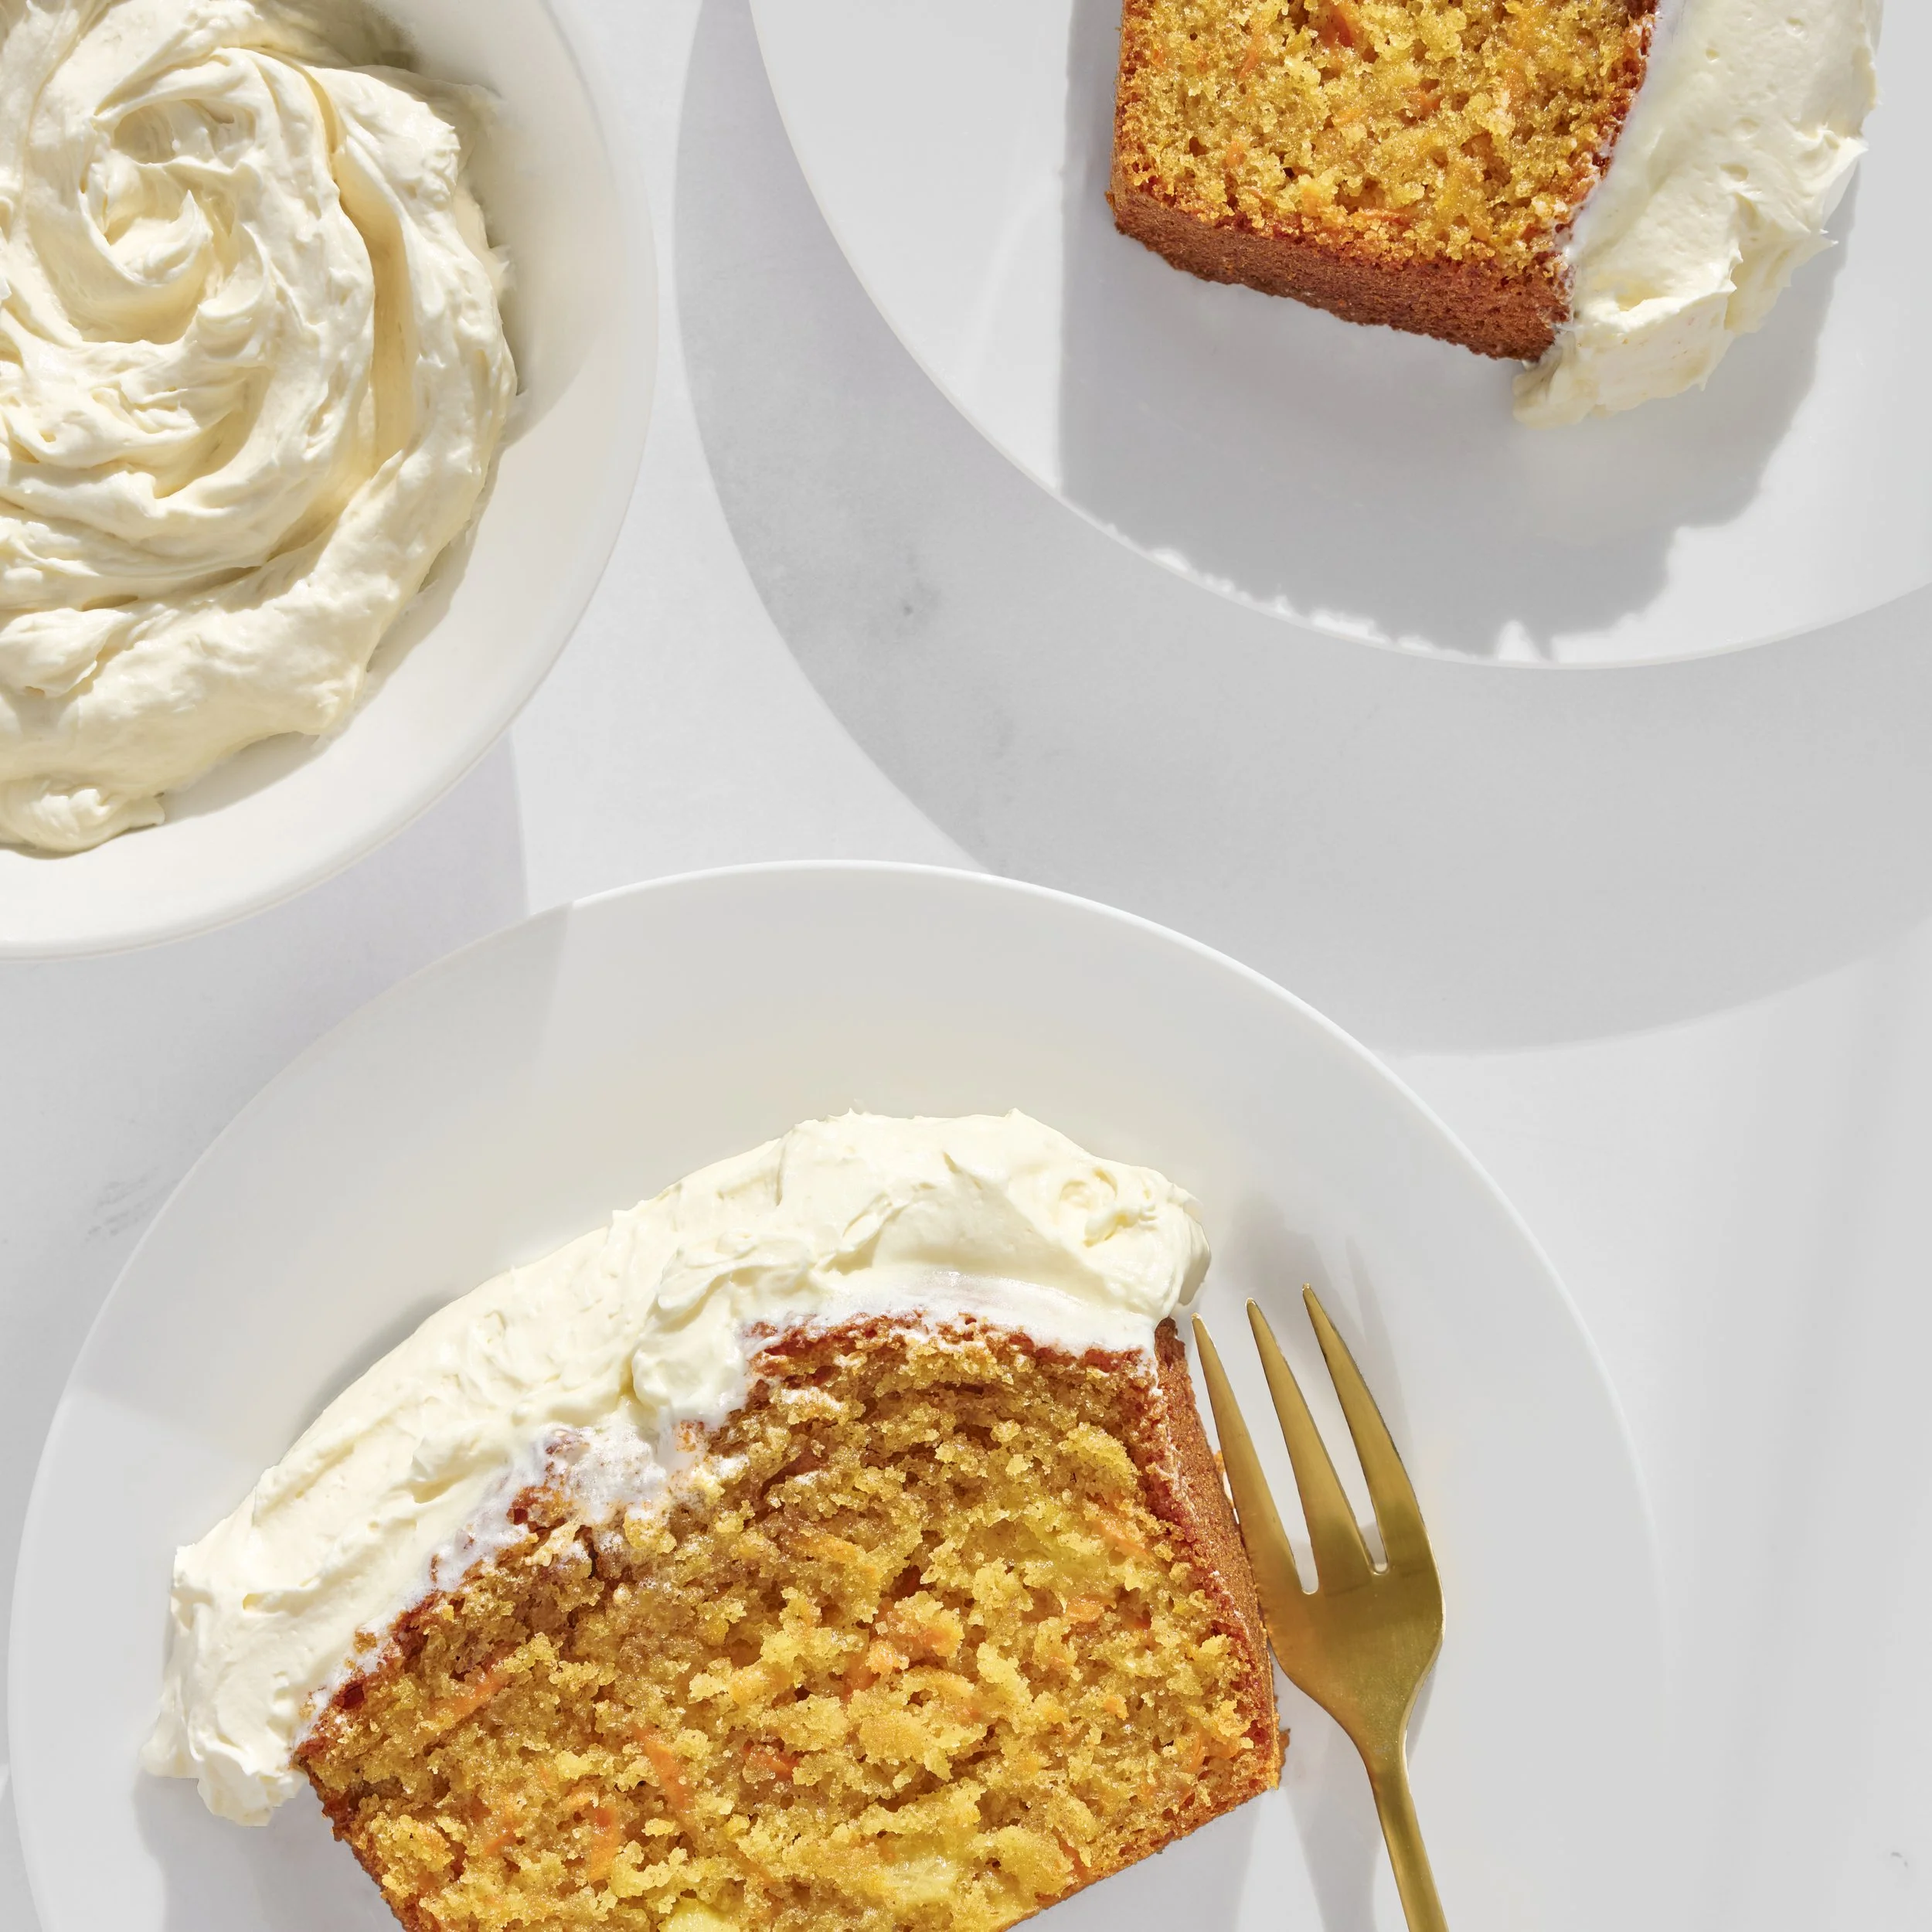
And then there’s the buttercream. On its own, the cake is already delicious. But adding that smooth, simple buttercream on top totally upgrades it. It’s rich, clean, and made without anything unnecessary. No gums, no additives, nothing strange. Just a really good frosting that complements the cake perfectly. I can confidently say it’s one of my favorite recipes I’ve made here at Brimly. It’s that good!

Lessons Learned
One of the biggest lessons I learned with this cake came down to patience. I made the mistake during one of my tests of adding the buttercream before the cake had fully cooled. It felt cool to the touch, but it wasn’t completely set. The moment I added the frosting, it started to melt and slide right off the top, and that was frustrating to watch.
So if you take anything from this, let the cake cool completely before adding any topping. Not mostly cool. Not slightly warm. Completely cool. The remaining heat and steam will melt your frosting, and it just won’t hold the way you want it to.
Another thing I noticed is how important it is to tent the cake with foil toward the end of baking. Since this bakes for a full hour, the top can start to firm up more than I prefer. Covering it lightly around the 50-minute mark keeps that top from getting too crusty while the center finishes baking.
Other than that, the process itself is really enjoyable. It’s a straightforward recipe that doesn’t require anything complicated, and it rewards you with something that feels like you put in way more effort than you actually did.
How to Make It Your Own
There’s a lot of room here to make this cake your own if you want to. You can adjust the spices to your preference, swap out the pineapple for another fruit, or leave it out entirely if you prefer a more classic version.
The frosting is completely up to you as well. You can stick with the buttercream, go for a cream cheese frosting, or even leave the cake plain. It holds up beautifully on its own.
That said, I would strongly suggest trying it as written the first time. Get a feel for the texture, the flavor, and how everything comes together. Then you can start making small changes from there.
Pro Tip: If you’re storing (refrigerating) this cake and plan to reheat it, do it by the slice and keep it brief. About five seconds in the microwave is usually enough. The cake warms up quickly, and since there’s buttercream on top, it will start to melt fast if you overdo it. Also, make sure your pineapple is well drained before adding it to the batter.
Summary Notes:
This is a soft, moist, and incredibly satisfying carrot cake that holds its own against any traditional version. It’s simple to make, full of flavor, and something you can confidently serve to anyone without needing to explain what’s different about it.
It keeps well, tastes even better the next day, and has a great balance of comfort and freshness that makes you want to go back for another slice.
I’m really glad I finally gave this one a chance. It turned out better than I imagined, and it’s definitely one I’ll be making again!
Tried it? Let us know how it went in the comments below.
At Brimly, we take pride in presenting you with the finest products that our editors independently handpicked. In the spirit of transparency, we want you to know that we may earn an affiliate commission when you purchase something through the retail links below.
Essentials you’ll need:


view:LISTENIngredients
1 cup gluten-free flour (no xanthan gum)[BUY]
½ cup almond flour [BUY]
¼ cup potato starch [BUY]
1 tsp baking powder
½ tsp baking soda
¾ tsp fine sea salt
1½ tsp cinnamon powder
¼ tsp ground nutmeg
½ cup granulated sugar
¼ cup dark brown sugar
½ cup corn oil, or neutral oil
2 extra large eggs
½ cup yogurt
1½ tsp vanilla extract
1½ cups finely grated carrots
¼ cup (heaped) crushed pineapple, well drained
Recipe Steps
Step 1
Preheat oven to 350°F. Generously butter a loaf pan or line with parchment paper.
Step 2
In a large bowl, whisk together the gluten-free flour, almond flour, potato starch, baking powder, baking soda, salt, cinnamon, and nutmeg.
Step 3
In a separate bowl, add the eggs, granulated sugar, brown sugar, oil, yogurt, and vanilla extract. Whisk everything together until smooth.
Step 4
Add the dry ingredients into the wet mixture. Stir until fully combined and smooth.
Step 5
Fold in the grated carrots and well-drained crushed pineapple until evenly incorporated.
Step 6
Pour the batter into the prepared loaf pan and smooth the top.
Step 7
Bake for 60 minutes total, checking at the 50-minute mark. If the top begins to brown too much, loosely tent with foil.
Step 8
Remove from the oven and let the cake cool in the pan for about 30 minutes.
Step 9
Transfer to a cooling rack or board and allow it to cool completely (about 1–1½ hours) before adding any topping.
Buttercream Frosting (Optional Topping)
In a stand mixer fitted with the paddle attachment, add 2 sticks (1 cup) room temperature butter, cut into chunks. Beat on high until smooth for 5-7 minutes, stopping to scrape down the sides every 30 seconds or so, until the butter becomes light and fluffy.
Sift in 1 cup powdered sugar in three parts, mixing between each addition. Continue beating on high for about 2 minutes until incorporated.
Add 1 Tbsp vanilla extract gradually in a few additions while mixing. Continue beating on high for another 3 minutes, scraping down the bowl as needed, until smooth and fluffy. Once the cake is fully cooled, spread the buttercream over the top, slice, and serve. Enjoy!
Storage:
Store frosted cake in the fridge up to 4 days. Let sit out for up to 1 hour or warm up slices briefly (5 seconds in a microwave) before serving. Unfrosted cake can stay at room temp for 1 day or refrigerate to extend preservation.
More From Brimly.
by Brimly kitchen
by Brimly kitchen
by Brimly kitchen
by Brimly kitchen
$10.95 AT AMAZON