Gluten-Free Banana Snacking Cake
BY Brimly.February 22, 2026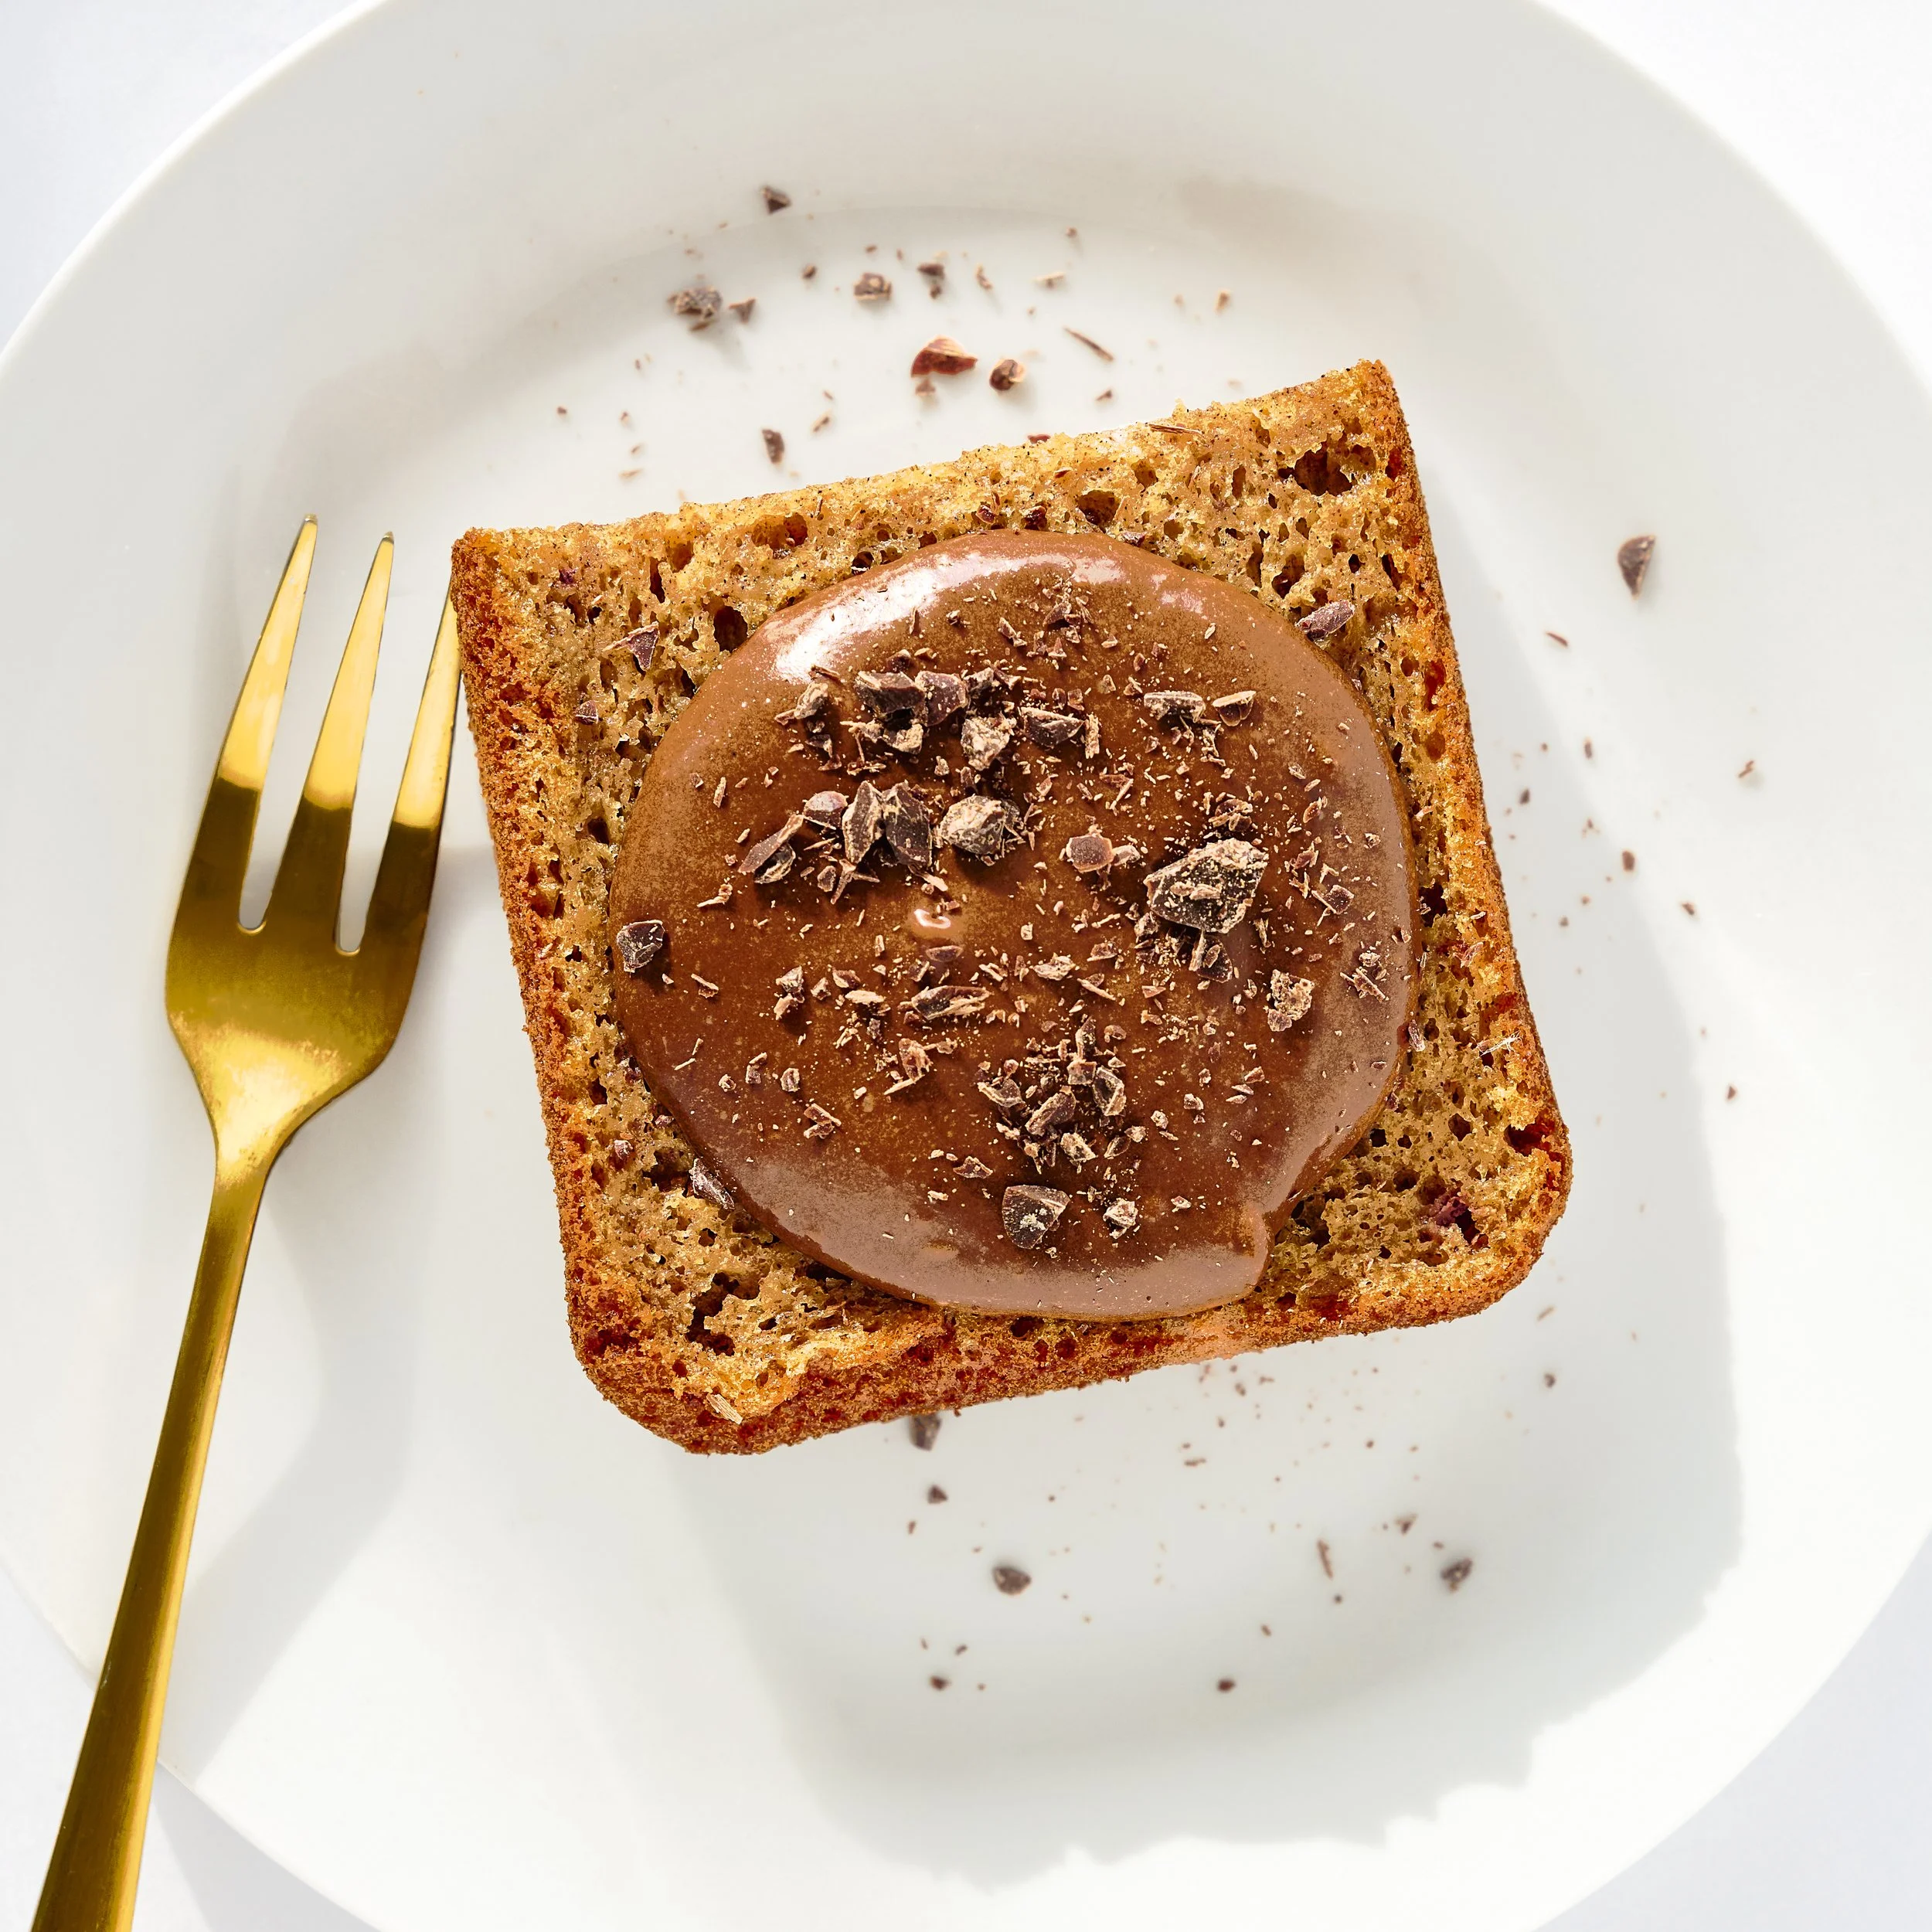
Photo By Editors @ the Brimly Test Kitchen


Easy TaskPREP: 15 minGluten-freesweet Treat Now, Why This Recipe and What Makes It Special?
This recipe honestly came out of me trying to figure out how I was going to finish the month of February. I chose chocolate as the theme for the month, and by the time I got toward the end, I was tired. I had tested so many chocolate recipes, and I just didn’t feel like I had that fourth one locked in the way I wanted. At some point, I gave in to this craving I had for cake. I missed making cake. I wanted something simple, sliceable, and comforting. I wasn’t even fully sure what flavor direction I wanted to go in, but I had bananas sitting there, and that felt like a good place to start. I decided to make a banana snacking cake, keeping the banana amount lower so it wouldn’t turn into full-on banana bread. It kind of did lean that way anyway, but it’s still different enough that it stands on its own. I also decided to use dates because I didn’t want to rely heavily on sugar after weeks of chocolate testing. That ended up being a really fun choice, and honestly my first time baking with dates. The flavor they added surprised me in the best way. I also made this recipe in a blender simply because I was tired that day, and I wanted something easy. Blending the dates in made everything smoother and faster, and the whole thing just came together naturally from there.
PS: I did end up making a small chocolate glaze to top this cake, mostly because I still wanted to add some kind of chocolate moment after a full month of chocolate testing. The glaze comes together quickly, but it does take a lot of whipping to get it where it needs to be. I whipped it for about 10-12 minutes, a pretty long time, but it was worth it. It didn’t turn into a fluffy whipped chocolate, but it did lighten slightly in color and became very silky. The flavor reminded me a lot of Nutella, even though I didn’t use hazelnuts or hazelnut butter at all. It spread beautifully on the cake and added just enough richness without overpowering anything. It’s optional, but I really loved what it added to the final slice.
Lessons Learned
The biggest lesson I learned while testing this recipe is how important oven temperature really is. If your oven isn’t actually at 350, this cake will tell on you. I made one version where my oven said it was ready, but it clearly wasn’t hot enough, and I went ahead and baked anyway. The cake looked fine when I pulled it out, but as it sat, it sank and ended up denser than I wanted. The texture just wasn’t right, and I knew immediately what went wrong. Once I baked this cake in a fully heated oven at the correct temperature, the difference was noticeable. The crumb was softer, the structure held better, and the cake felt lighter without being dry. Gluten-free baking is forgiving in some ways, but temperature really matters here. If you want this cake to bake up the way it’s meant to, give your oven the time it needs to actually get hot.
How to Make It Your Own
This recipe is flexible, which I really appreciate. If you find it a little too sweet, you can absolutely reduce the number of dates or slightly lower the brown sugar. Keep in mind that very ripe bananas bring their own sweetness, so adjusting one element will still leave you with a flavorful cake. You could also play around with the nut butter. Almond butter worked beautifully here, but I can imagine cashew butter working just as well. A pinch of cinnamon would be lovely if you want something warmer. You could even add a few chocolate chips if you’re coming off a chocolate month and not fully ready to let it go. Just keep the balance in mind. This cake shines when nothing overpowers everything else.
Pro Tip:
Make sure your oven is actually hot before this cake goes in. If you have an oven thermometer, use it.
Summary Notes:
This is a gluten-free, gum-free, soy-free banana snacking cake that tastes pretty awesome. It’s lightly sweet, well-balanced, and satisfying. It smells incredible while baking, honestly reminding me of an almond banana shake I love and make often. The silky chocolate glaze on top adds an optional chocolate finish that works perfectly with the cake. It’s not a loaf and not quite banana bread, just a really solid, dependable cake you should make.
Tried it? Let us know how it went in the comments below.

At Brimly, we take pride in presenting you with the finest products that our editors independently handpicked. In the spirit of transparency, we want you to know that we may earn an affiliate commission when you purchase something through the retail links below.
Essentials you’ll need:


view:LISTENIngredients
Cake:
2 large eggs
4 tbsp unsalted butter, melted or corn oil
4 tbsp milk
3 tbsp plain whole yogurt
1 tsp vanilla extract
¼ cup dark brown sugar, packed
6 pitted dates
1 ripe banana
½ tsp salt
2 tbsp almond butter
½ cup gluten-free all-purpose flour [BUY]
1 tsp baking powder
½ tsp baking soda
Chocolate Topping:
½ cup chocolate chips
2 tbsp unsalted butter
4 tbsp whole milk, divided in two
¼ cup powdered sugar
Recipe Steps
Step 1
Preheat your oven to 350°F (180°C). Generously butter a 6-inch round pan.
Step 2
Add the eggs, melted butter, milk, yogurt, vanilla, brown sugar, dates, bananas, salt, and almond butter to a blender.
Note: Before blending, soak the dates in hot water for 5 minutes to help soften them. For best results, chop or split the dates into smaller pieces before soaking so they blend smoothly into the batter.
Step 3
Blend until smooth and fully combined about 30 seconds.
Step 4
Add the gluten-free flour, baking powder, and baking soda directly to the blender.
Step 5
Blend again until the batter is smooth and cohesive, about 10 seconds.
Step 6
Pour the batter into the buttered pan.
Step 7
Bake for 40 minutes on the center rack, checking for doneness starting at 35 minutes. The cake is ready when a toothpick or cake tester inserted into the center comes out clean.
Step 8
Remove from the oven and let cool in the pan for 30 minutes. Transfer the cake to a cutting board (not a cooling rack) and allow it to cool slowly before slicing.
Chocolate Topping:
In a microwave-safe bowl, combine the chocolate chips, butter, and 2 tbsp milk, then microwave in short bursts, stirring between each, until fully melted and smooth. Let the mixture cool slightly, then whisk in the powdered sugar. Begin whisking with an electric hand mixer, adding the remaining 2 tbsp milk as needed to loosen the mixture. Continue whisking until the color lightens and the spread becomes smooth, glossy, and fully emulsified. The mixture will not form peaks but will turn into a rich, Nutella-like chocolate spread, perfect for pairing with your already cooled banana snacking cake.
Storage:
Store the cake at room temperature, tightly wrapped or in an airtight container, for up to 2 days. For longer storage, refrigerate for up to 5 days. Let slices come back to room temperature before serving for the best texture.
More From Brimly.
by Brimly kitchen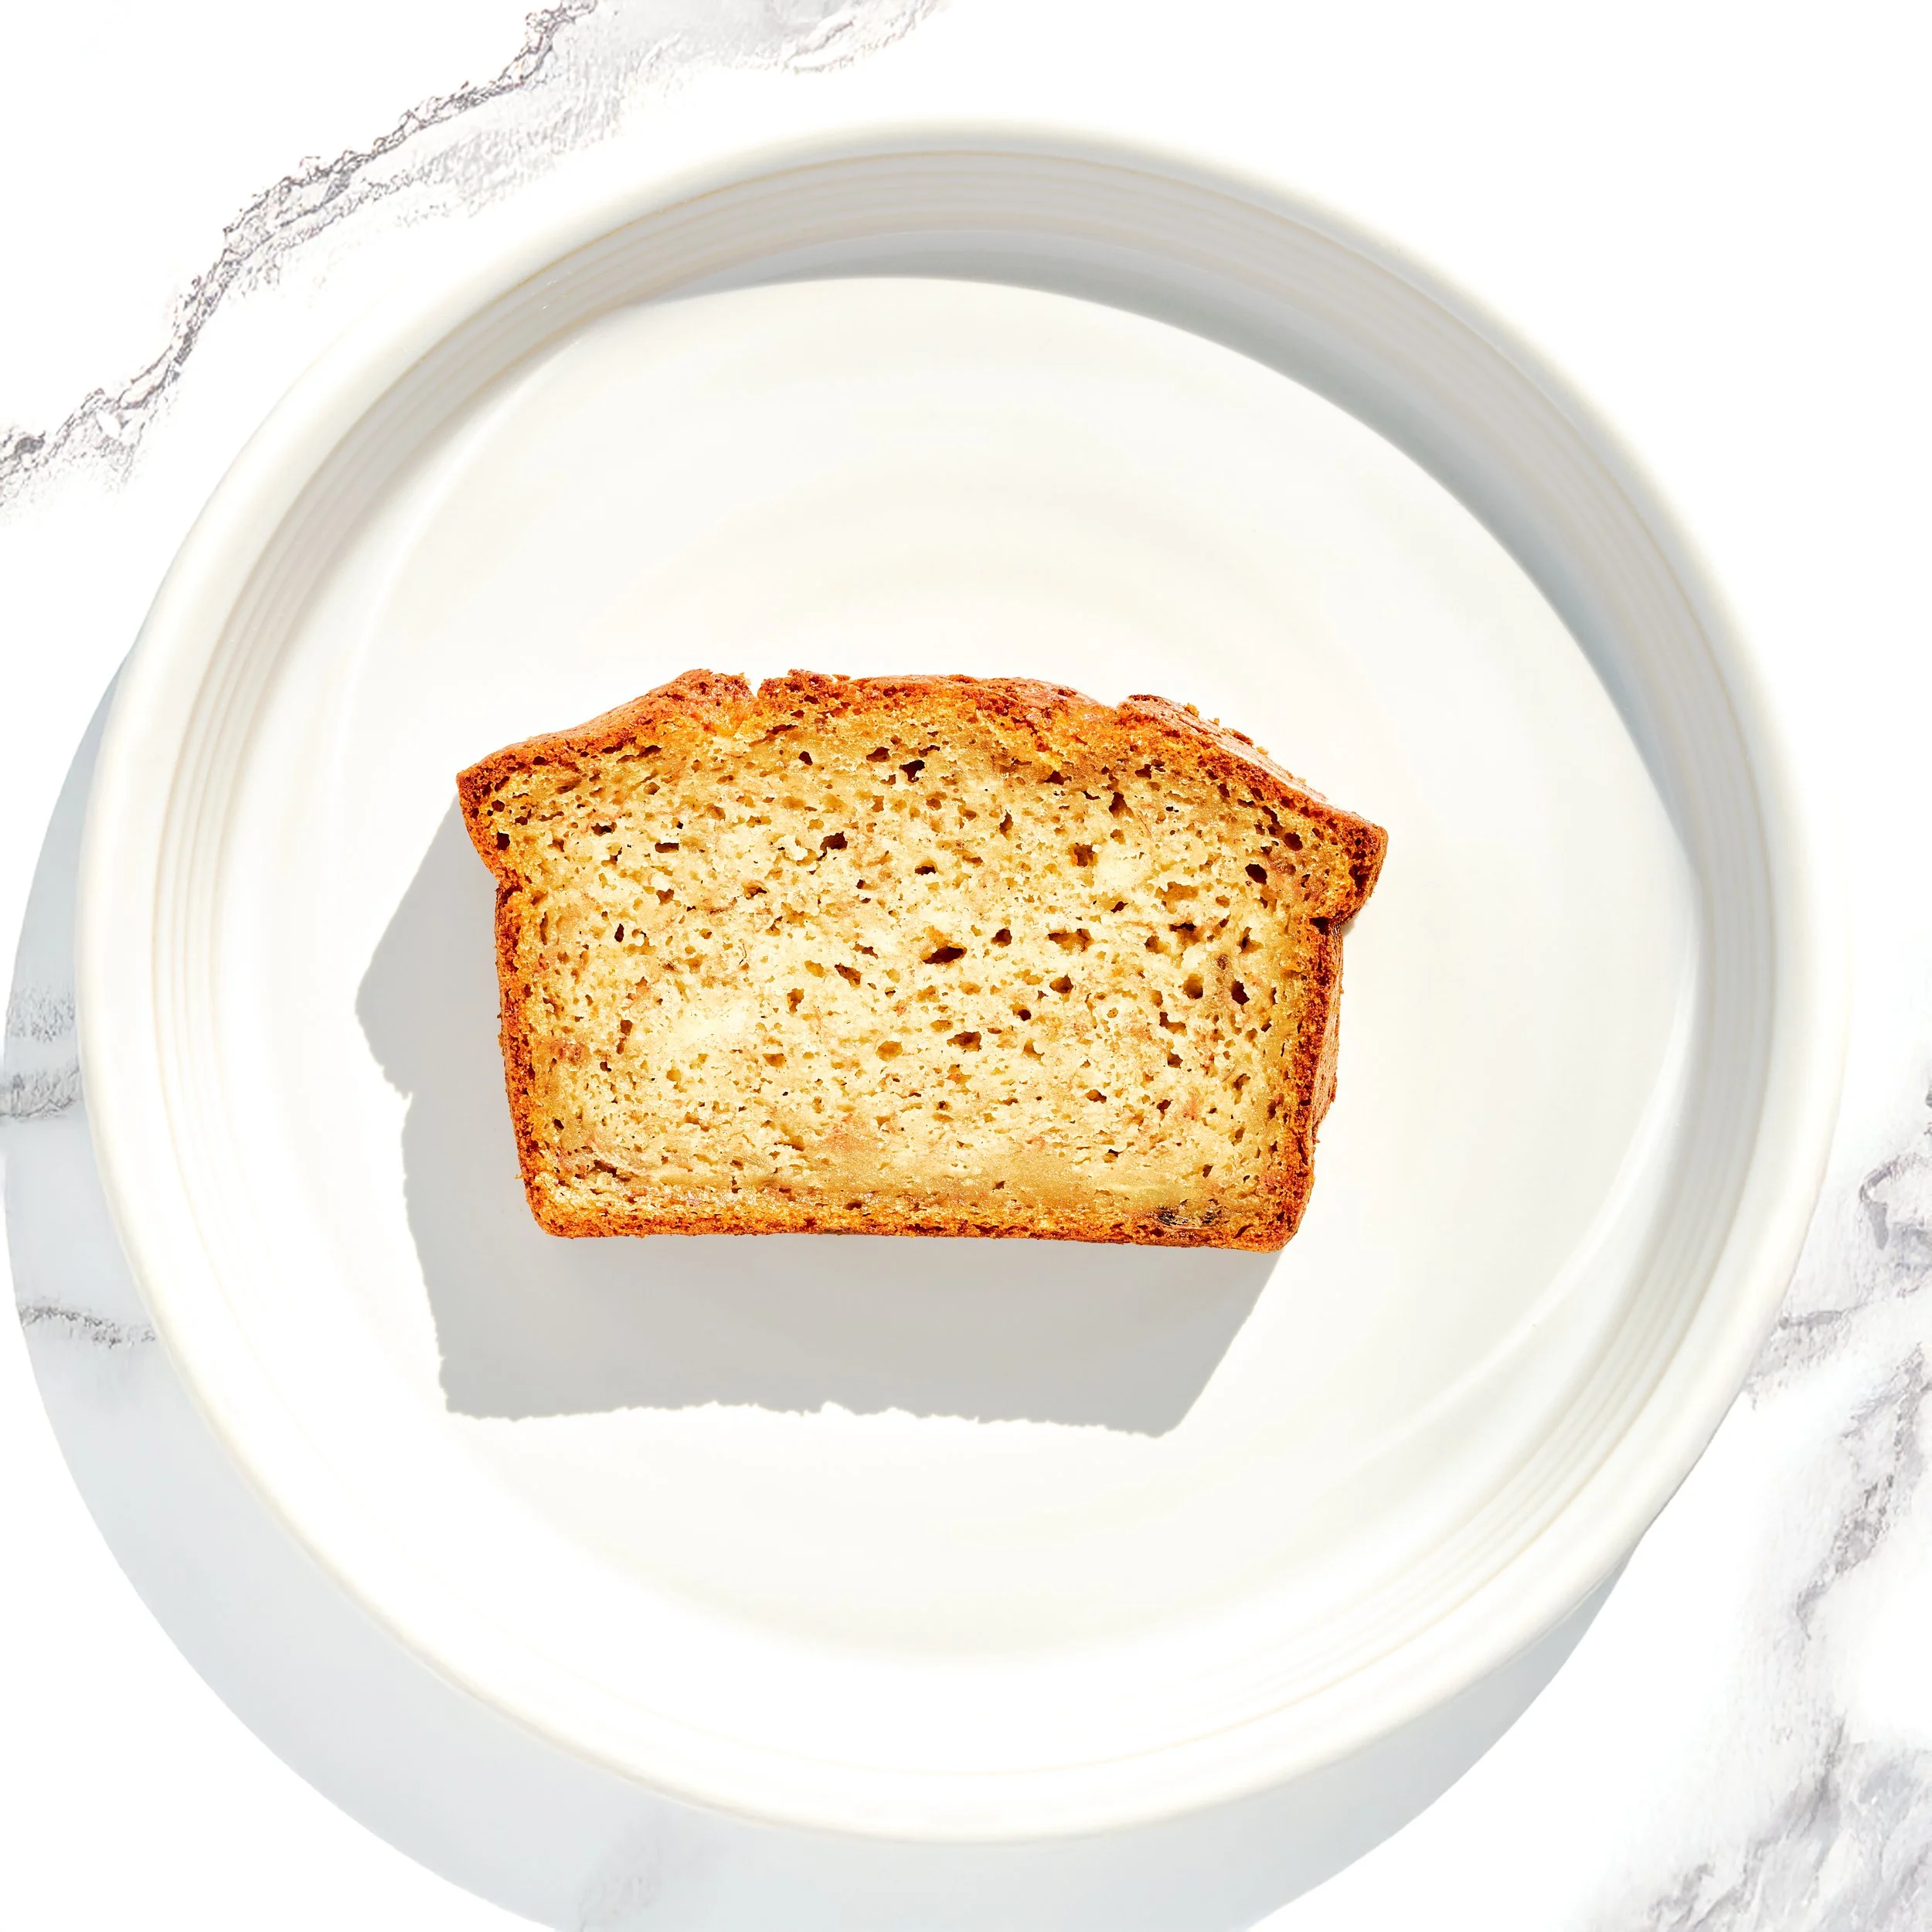
by Brimly kitchen
by Brimly kitchen
by Brimly kitchen
$10.95 AT AMAZON