Gluten-Free Rosemary Focaccia
BY Brimly.September 27, 2026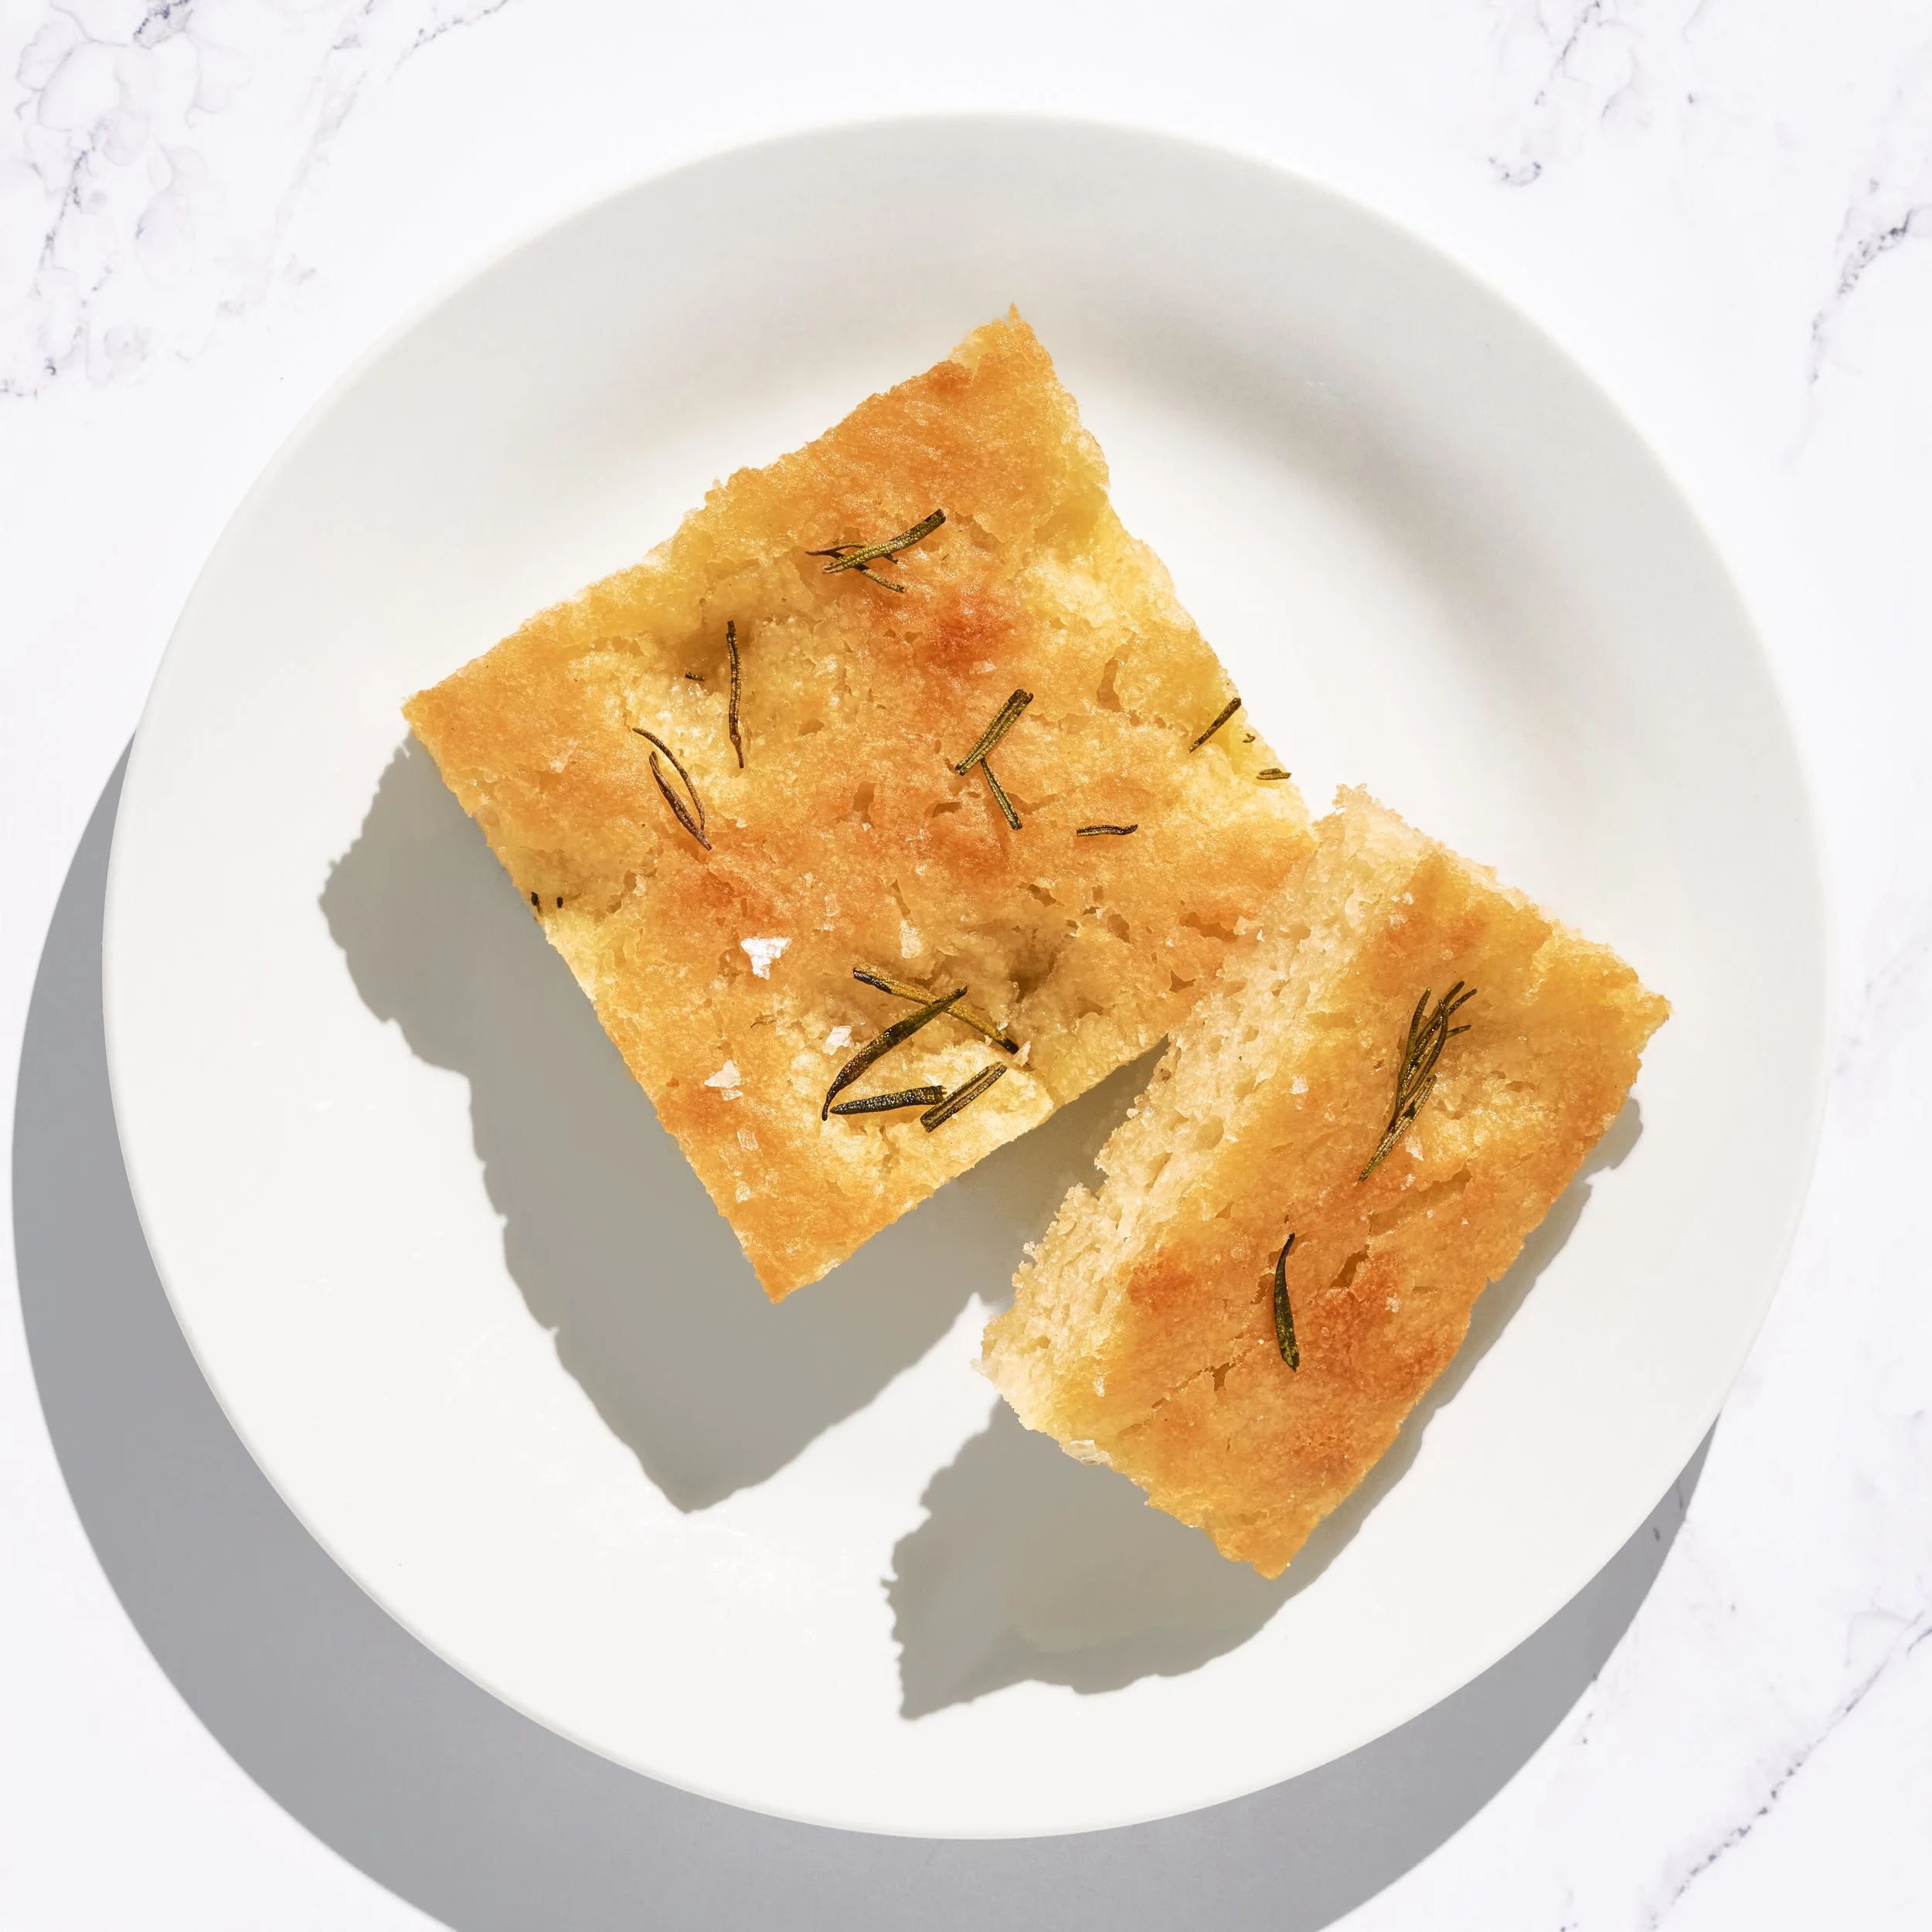
Photo By Editors @ the Brimly Test Kitchen


Bake: 25 MinPREP: 100 minGluten-freeServes: 12 Now, Why This Recipe and What Makes It Special?
My bread machine has been living on the counter since the first of the month, and I have grown tired of it. There, I said it. I set out to do a whole month of bread machine loaves because they are easy and forgiving and they make gluten-free baking feel like something a reasonable person would attempt on a weeknight. And they do all of that. I just could not look at it anymore.
Somewhere around the third loaf I started eyeing my oven, I was eyeing it the way you eye an old friend you have been meaning to call. It is getting cold out, which certainly helped. There is a moment every fall where turning the oven on stops being a thing you tolerate and becomes the entire reason you decided to bake in the first place. I hit that moment early this year, apparently.
So I went looking for something to make instead, and here is what I found, nobody is publishing gluten-free, gum-free focaccia. Not really. I searched, and I searched again with different words, and I came up with almost nothing usable. Meanwhile, I have had a recipe for it in my own kitchen this entire time. So, I fixed the problem.
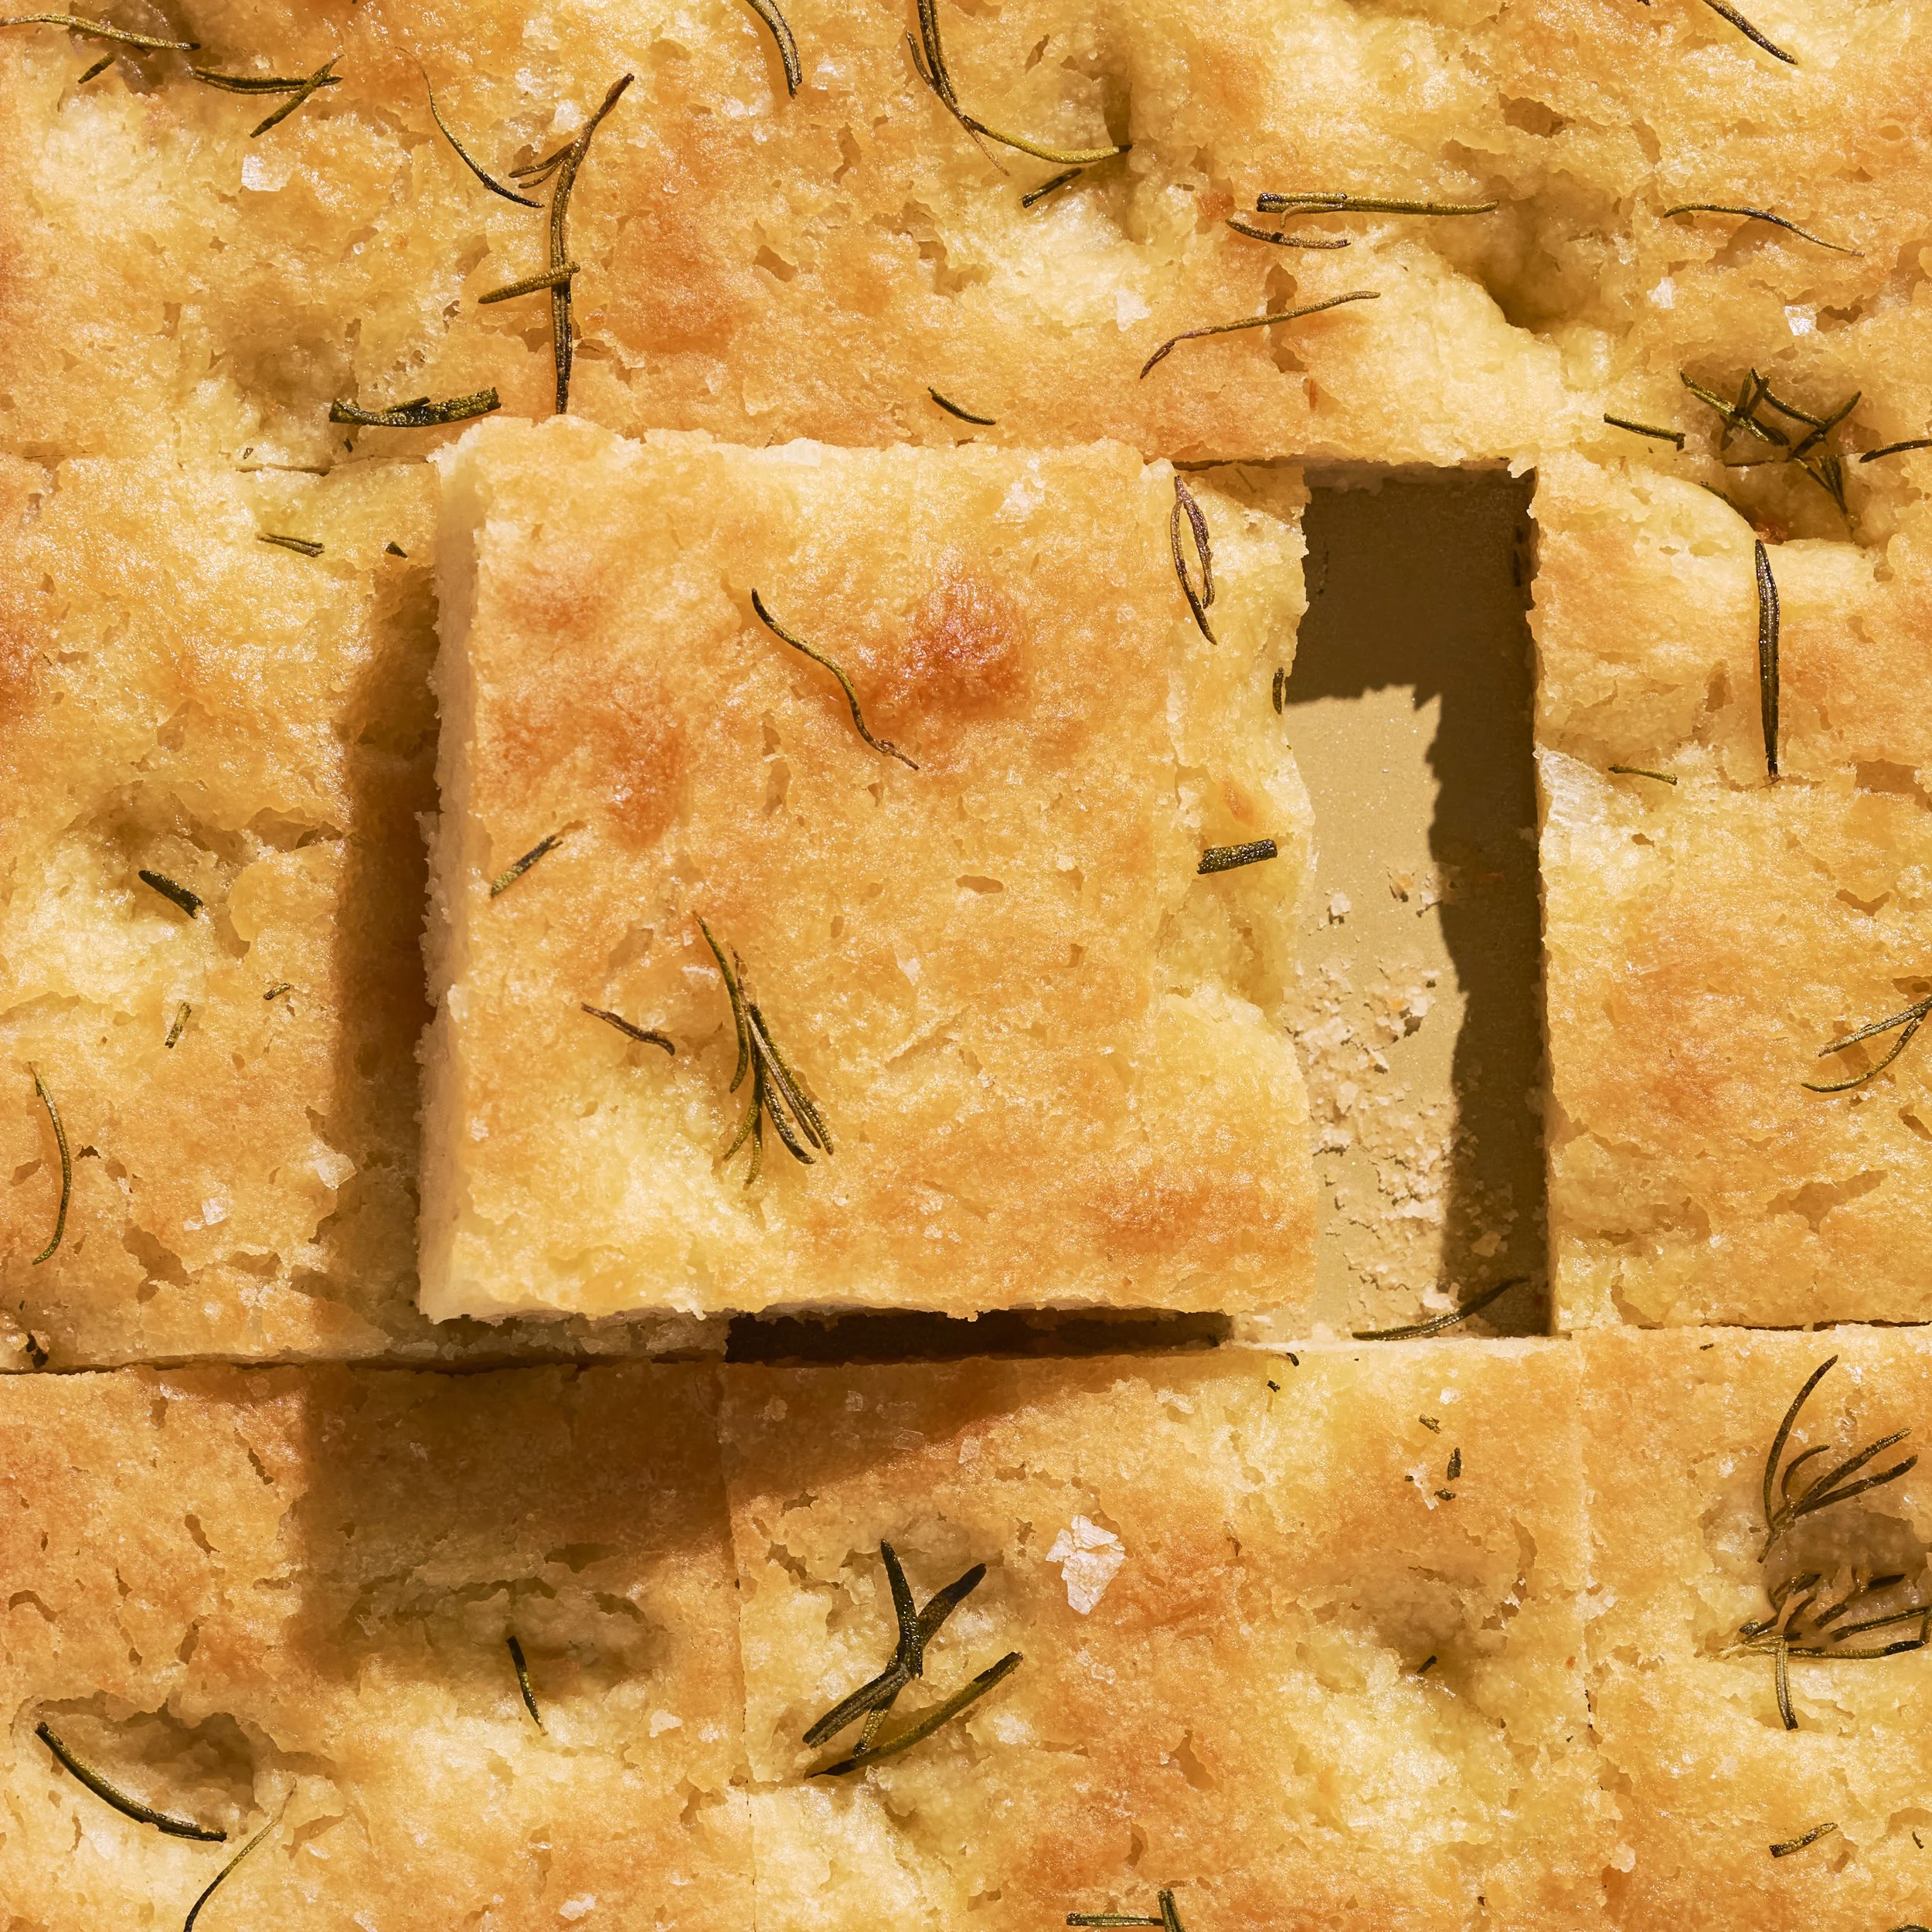
The best part is that this thing is easy. Genuinely one of the simplest recipes on this site. You combine, you combine, you combine, you keep an eye on your temperatures so the yeast stays happy, you poke it all over, and it goes in the oven. There is proofing time, and no, you cannot rush that part. But there are no tricky turns anywhere in it. It just gets the job done. It is also gluten-free, gum-free, soy-free, egg-free and vegan, which was my goal and it worked out pretty well.

Lessons Learned
Line your tray. Technically optional. Do it anyway. If you own a nonstick pan you genuinely trust, be my guest, but this bread gets sticky once it bakes, and it will hold onto that pan, it really will. The first time I made it I spent an unreasonable amount of time working it loose, going slowly because I did not want to tear the top and ruin how it looked. I got it out. I would rather you did not have to.
Buy the quickest yeast you can find. Whatever rapid-rise, quick-rise, ten-minute-miracle situation is on the shelf, get that one. Gluten-free dough has no structure working for it, and the longer it sits around waiting on a slow yeast, the more of what little structure it has drifts away. A quick rise means there is still something holding it up by the time the yeast finishes its job.
Take the water temperature seriously. You want warm. Not hot, which will kill the yeast outright, and not room temperature, which will leave it sluggish and sulking. Around 120°F is the number. I know how tempting it is to run the tap, decide it feels about right and move on. That is how you end up standing in front of a pan an hour later asking it what went wrong.
Warm your pan. This one caught me off guard the first time. You are proofing inside a metal pan, and a cold metal pan will pull the heat straight out of your dough. I fill the pan with warm water and let it sit while I mix, then dry it, oil it, line it and move fast, because the whole point is that the pan is still warm when the dough lands in it.
Give it a warm little room. I proof mine in the microwave with a cup of hot water beside the pan, door shut, machine off. The steam comes off the cup and makes the exact humid environment this dough wants. Your oven with the light on does the same job. Either one is better than an open counter in fall.
How to Make It Your Own
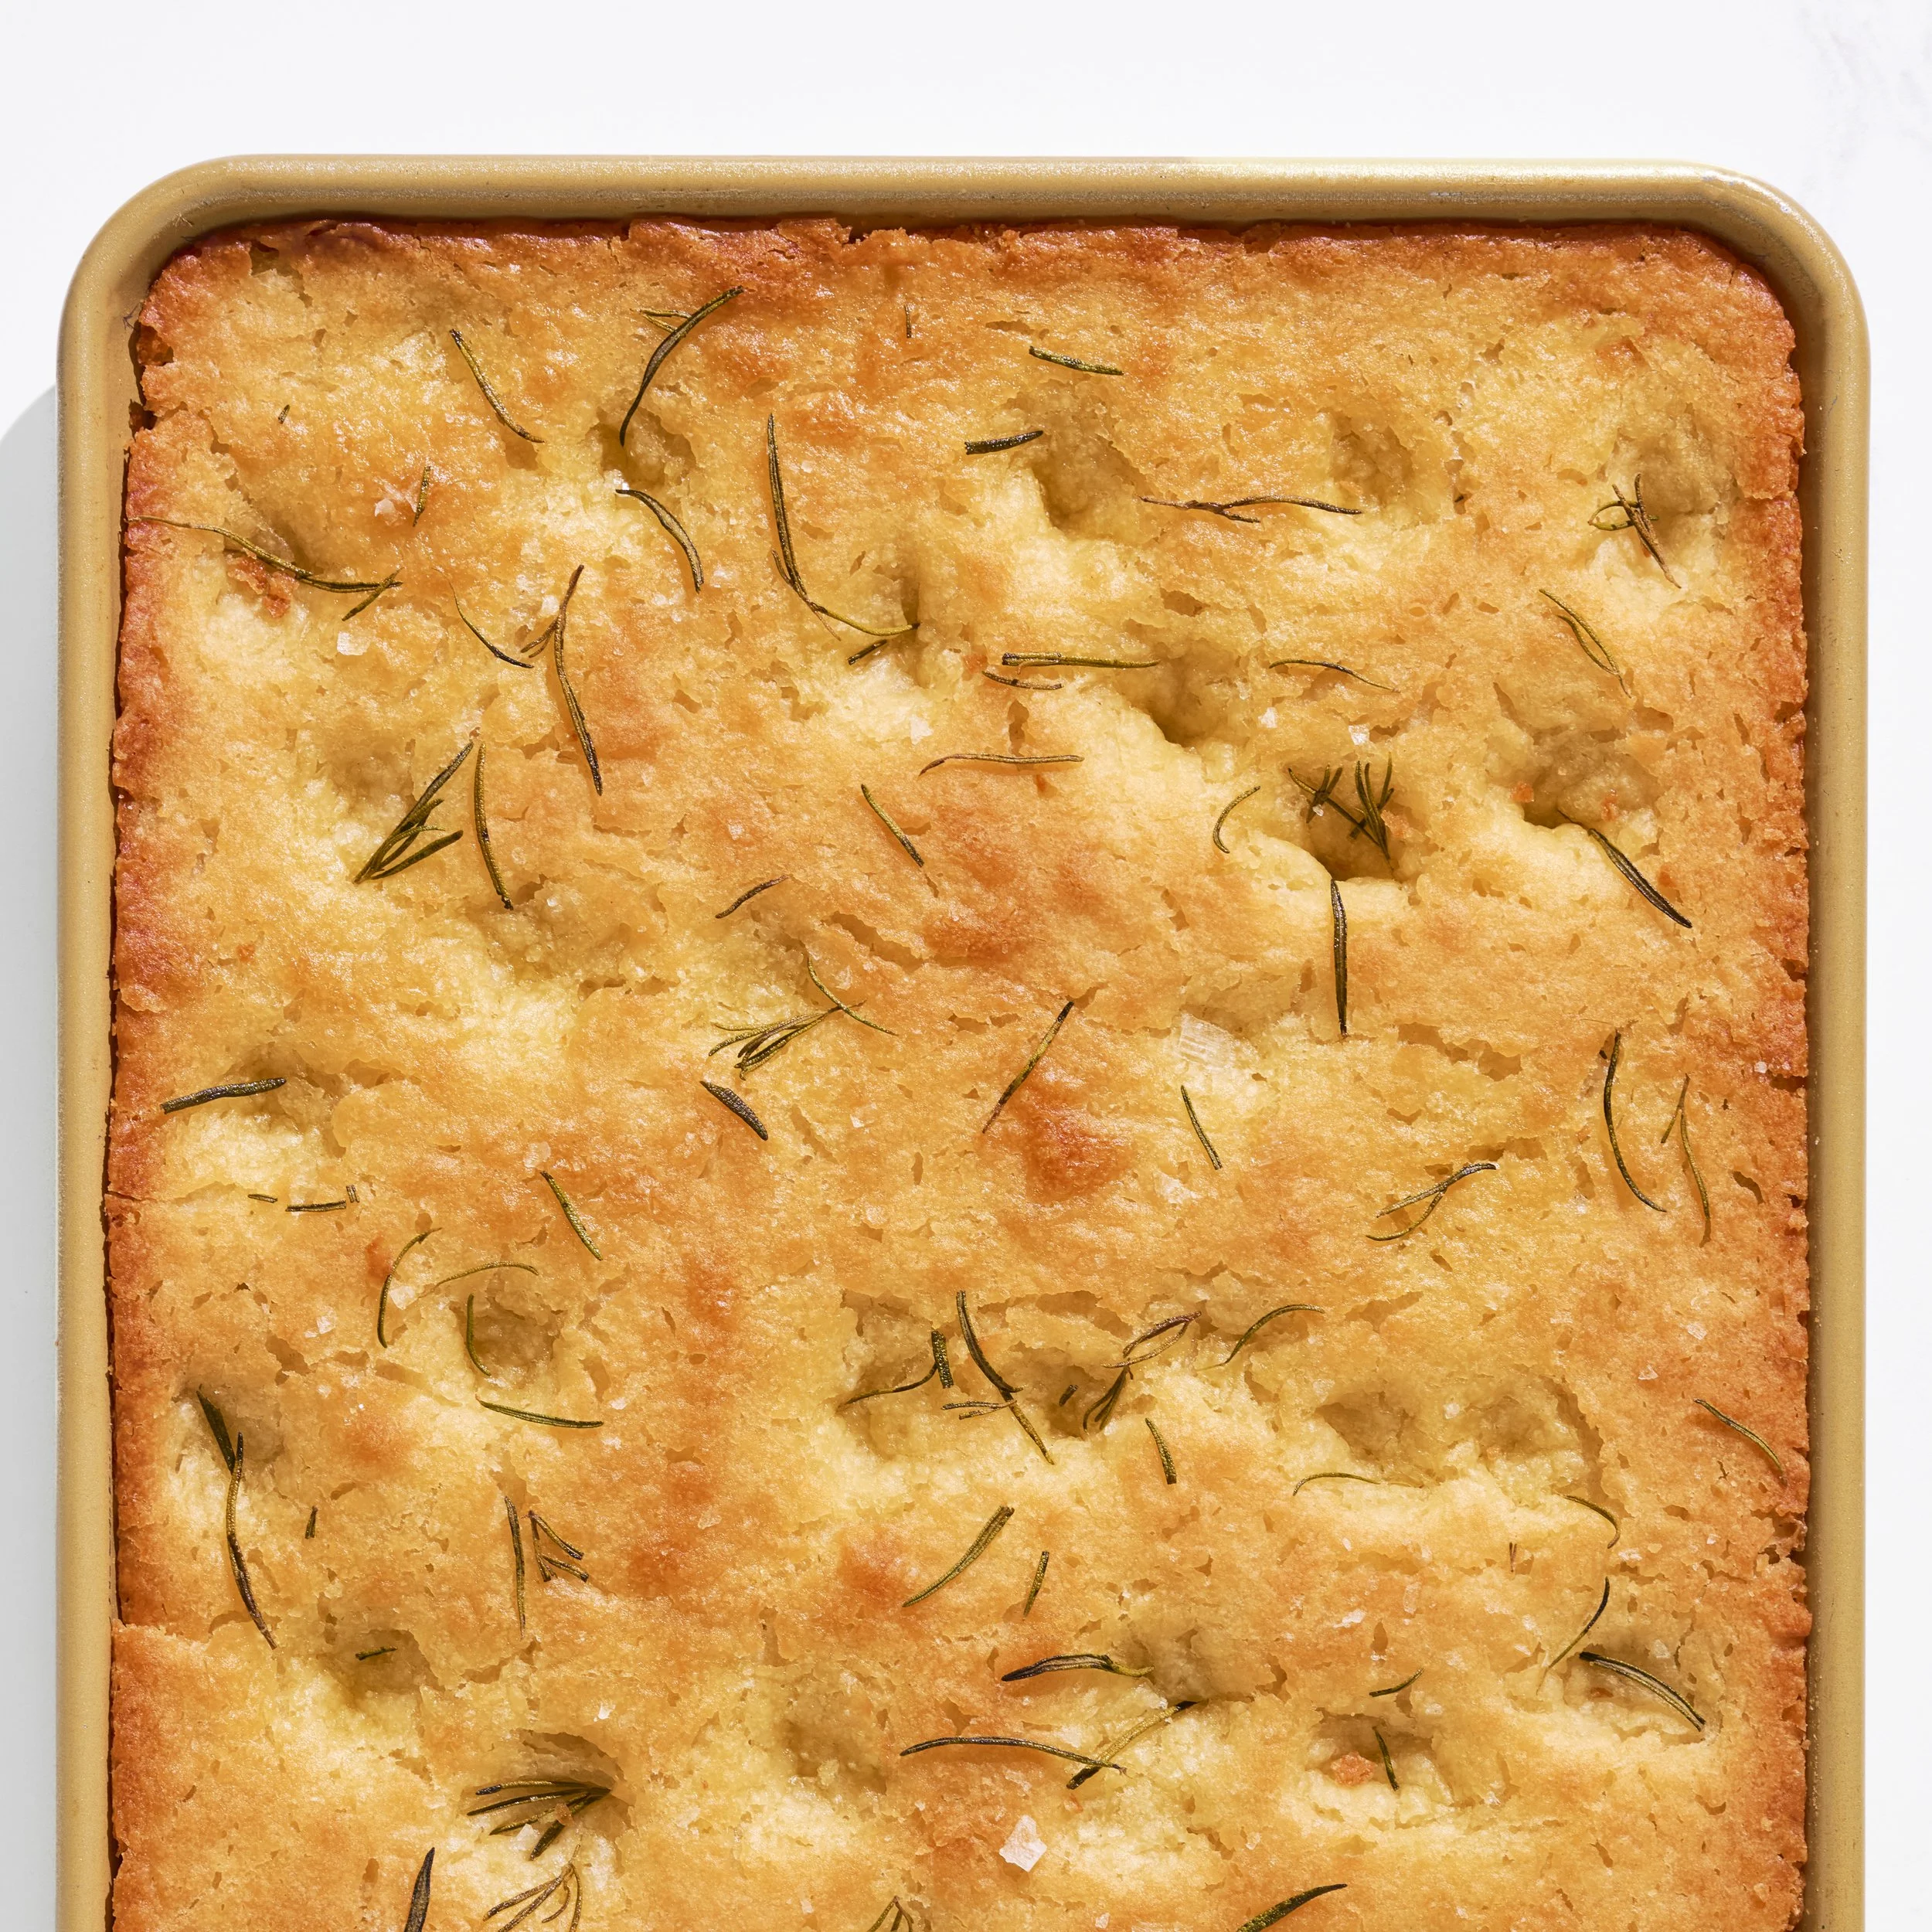
I went with rosemary, olive oil and flaky sea salt, which is more traditional, and traditional focaccia is famously hard to improve upon. But the top of this bread is a playground and I would hate for you to think otherwise.
Thyme is wonderful. I went back and forth with it for a while before returning to rosemary, and honestly it was close. Use a different herb, use three of them, or skip herbs entirely and let the salt do the talking. Olives are a great call. Tomatoes or sun-dried tomatoes are a great call. Have fun up there.
The one thing to watch is weight. This is a delicate dough with nothing structural holding it together, and a heavy pile of toppings will press the air right back out of everything you just spent ninety minutes building. A bit of this, a bit of that. Scatter, do not stack.
Pro Tip: Anything heavy goes in the dimples, not on top of them. Press your tomatoes or olives down into those little wells before the pan goes in the oven, and they will anchor into the dough instead of sliding around and taking the surface with them. And when you make the dimples, only go about halfway down. All the way to the pan takes away from the beautiful dimples, and then your olive oil runs straight through to the parchment where nobody can enjoy it.
Summary Notes:
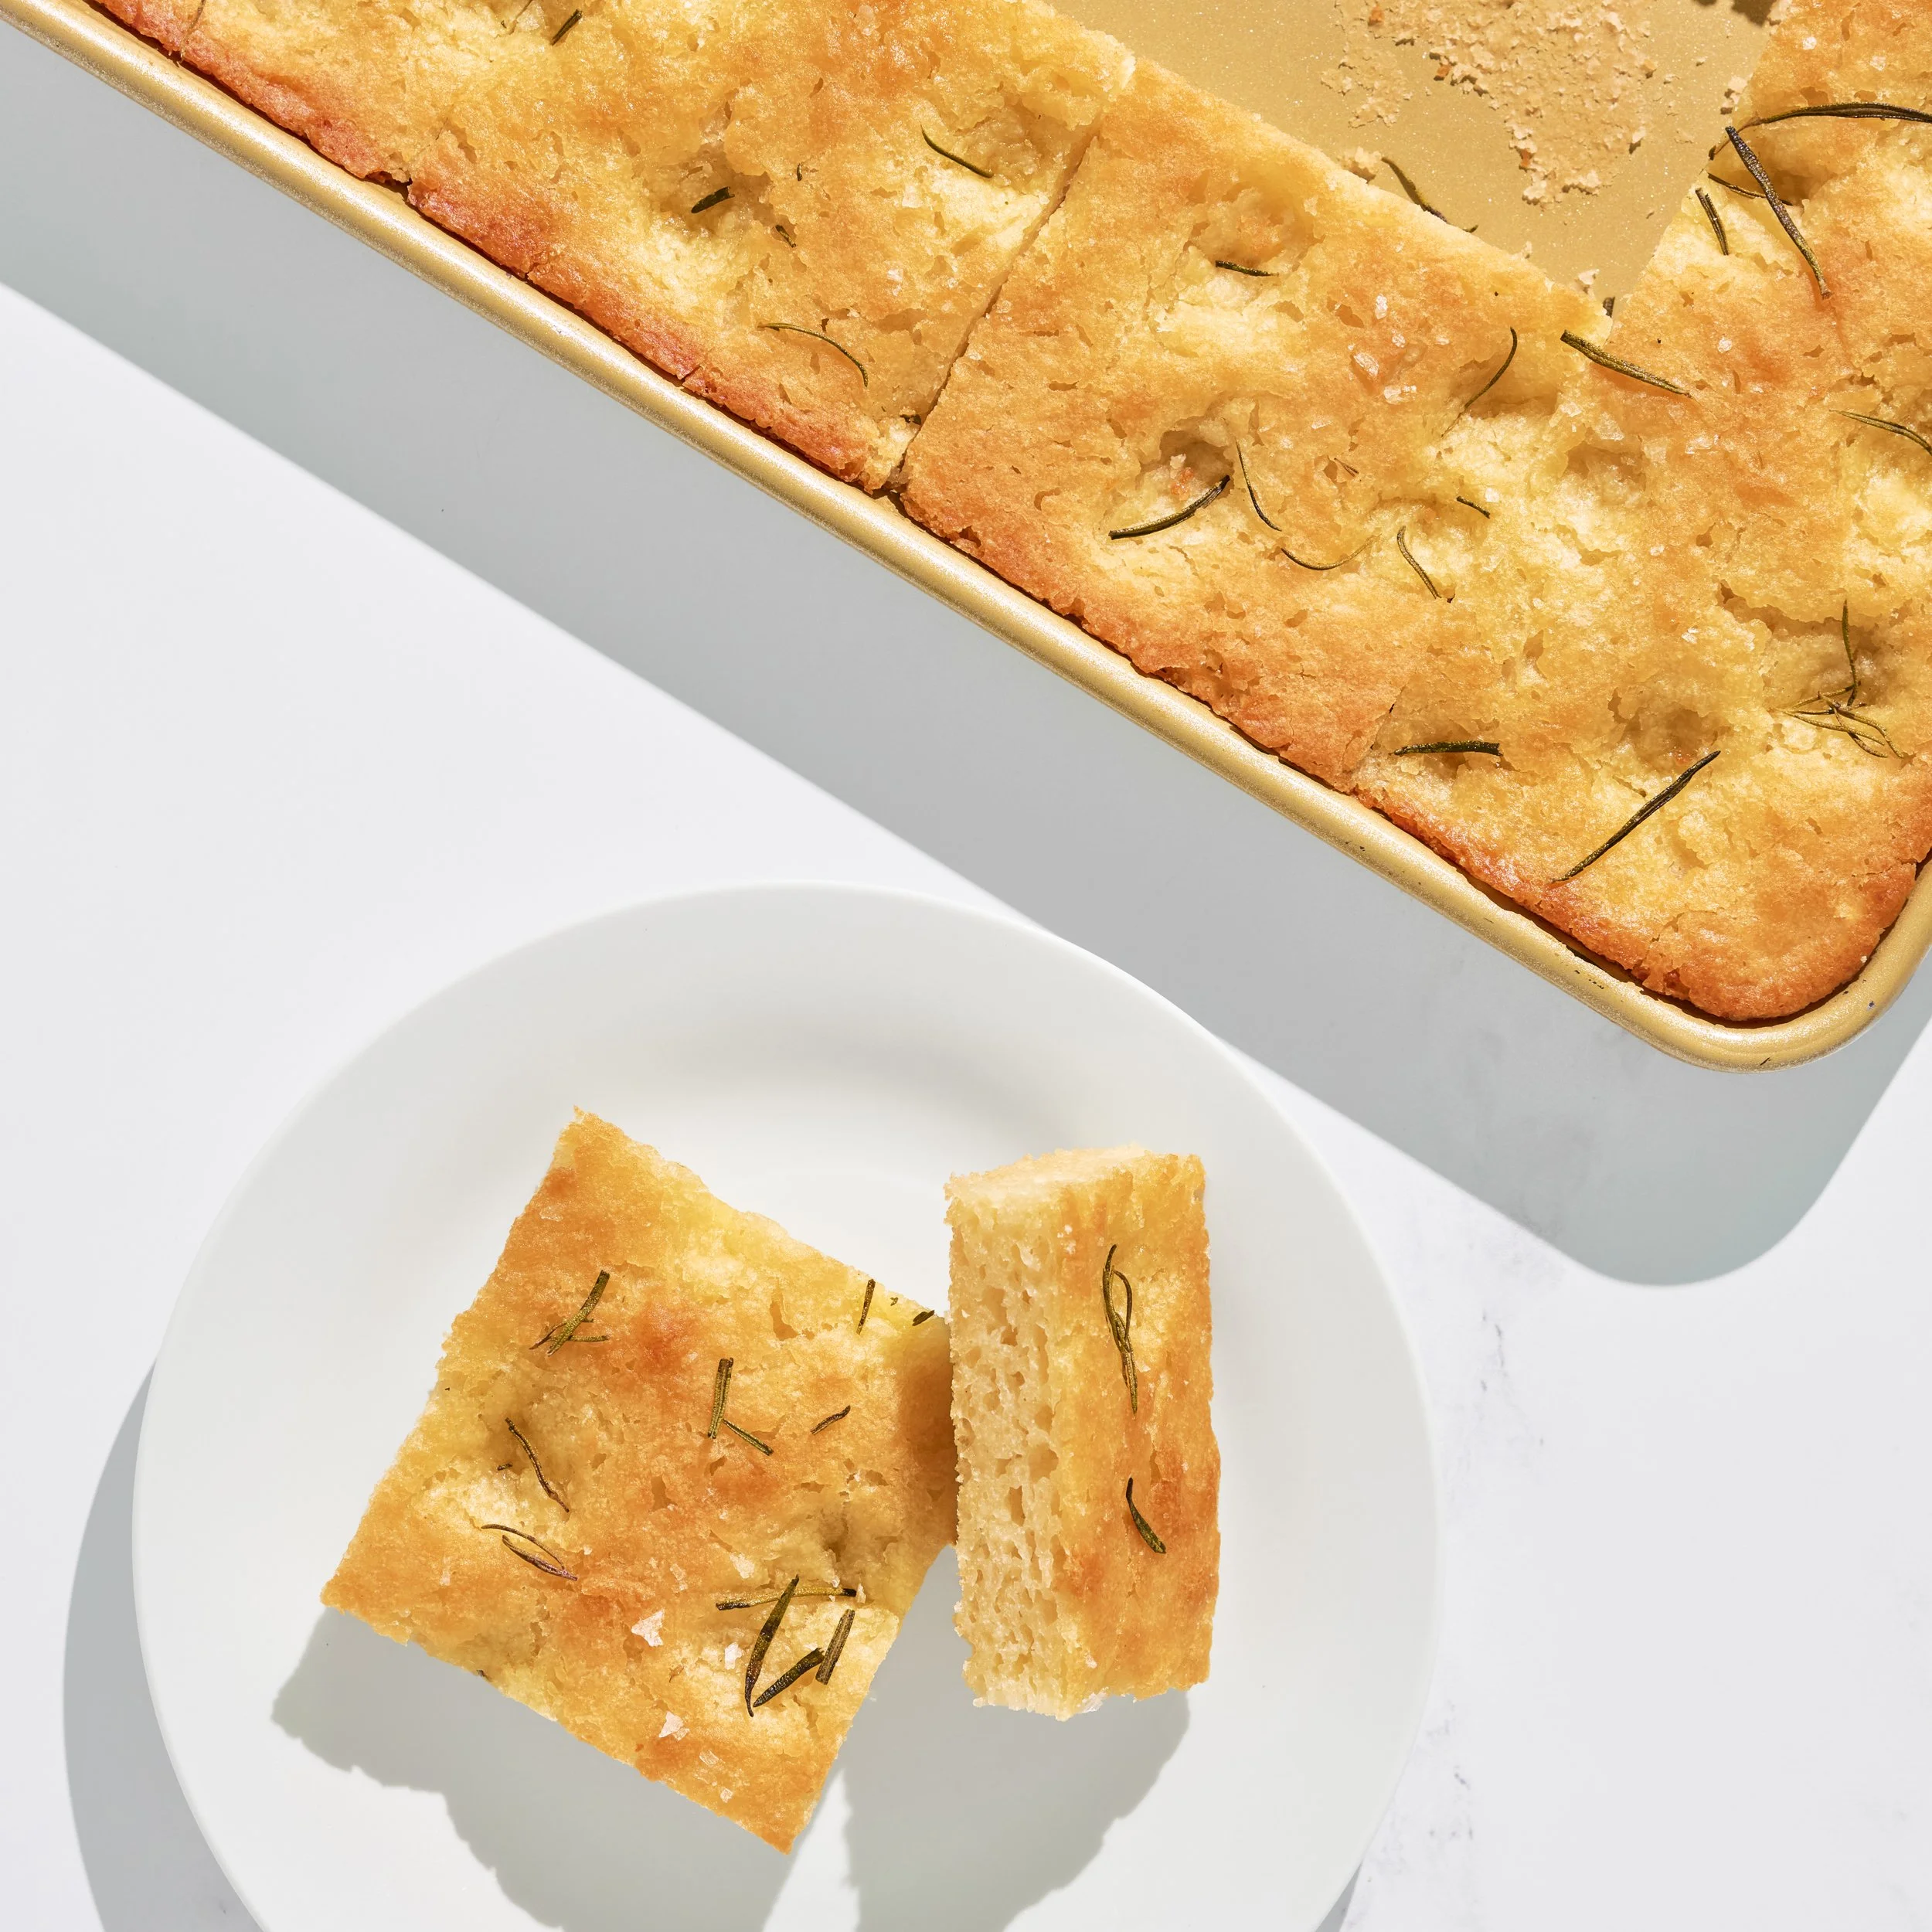
This recipe is fail-proof in my opinion. I have made it many times now and it has never once let me down, and I feel very good about sending it into your kitchen. It comes out soft, then firms up as it cools, which is normal. Ten to fifteen seconds in the microwave brings a slice right back to soft and hot. A few minutes in a low oven brings back the crisp edge instead, and does it better.
Then it is yours. Sandwiches, soup, torn into pieces on the table while everybody hovers and waits for dinner to actually happen. Gluten-free, gum-free, soy-free, egg-free and vegan, with nothing clever propping it up. I am so glad it finally lives here.
Tried it? Let us know how it went in the comments below.
At Brimly, we take pride in presenting you with the finest products that our editors independently handpicked. In the spirit of transparency, we want you to know that we may earn an affiliate commission when you purchase something through the retail links below.
view:LISTEN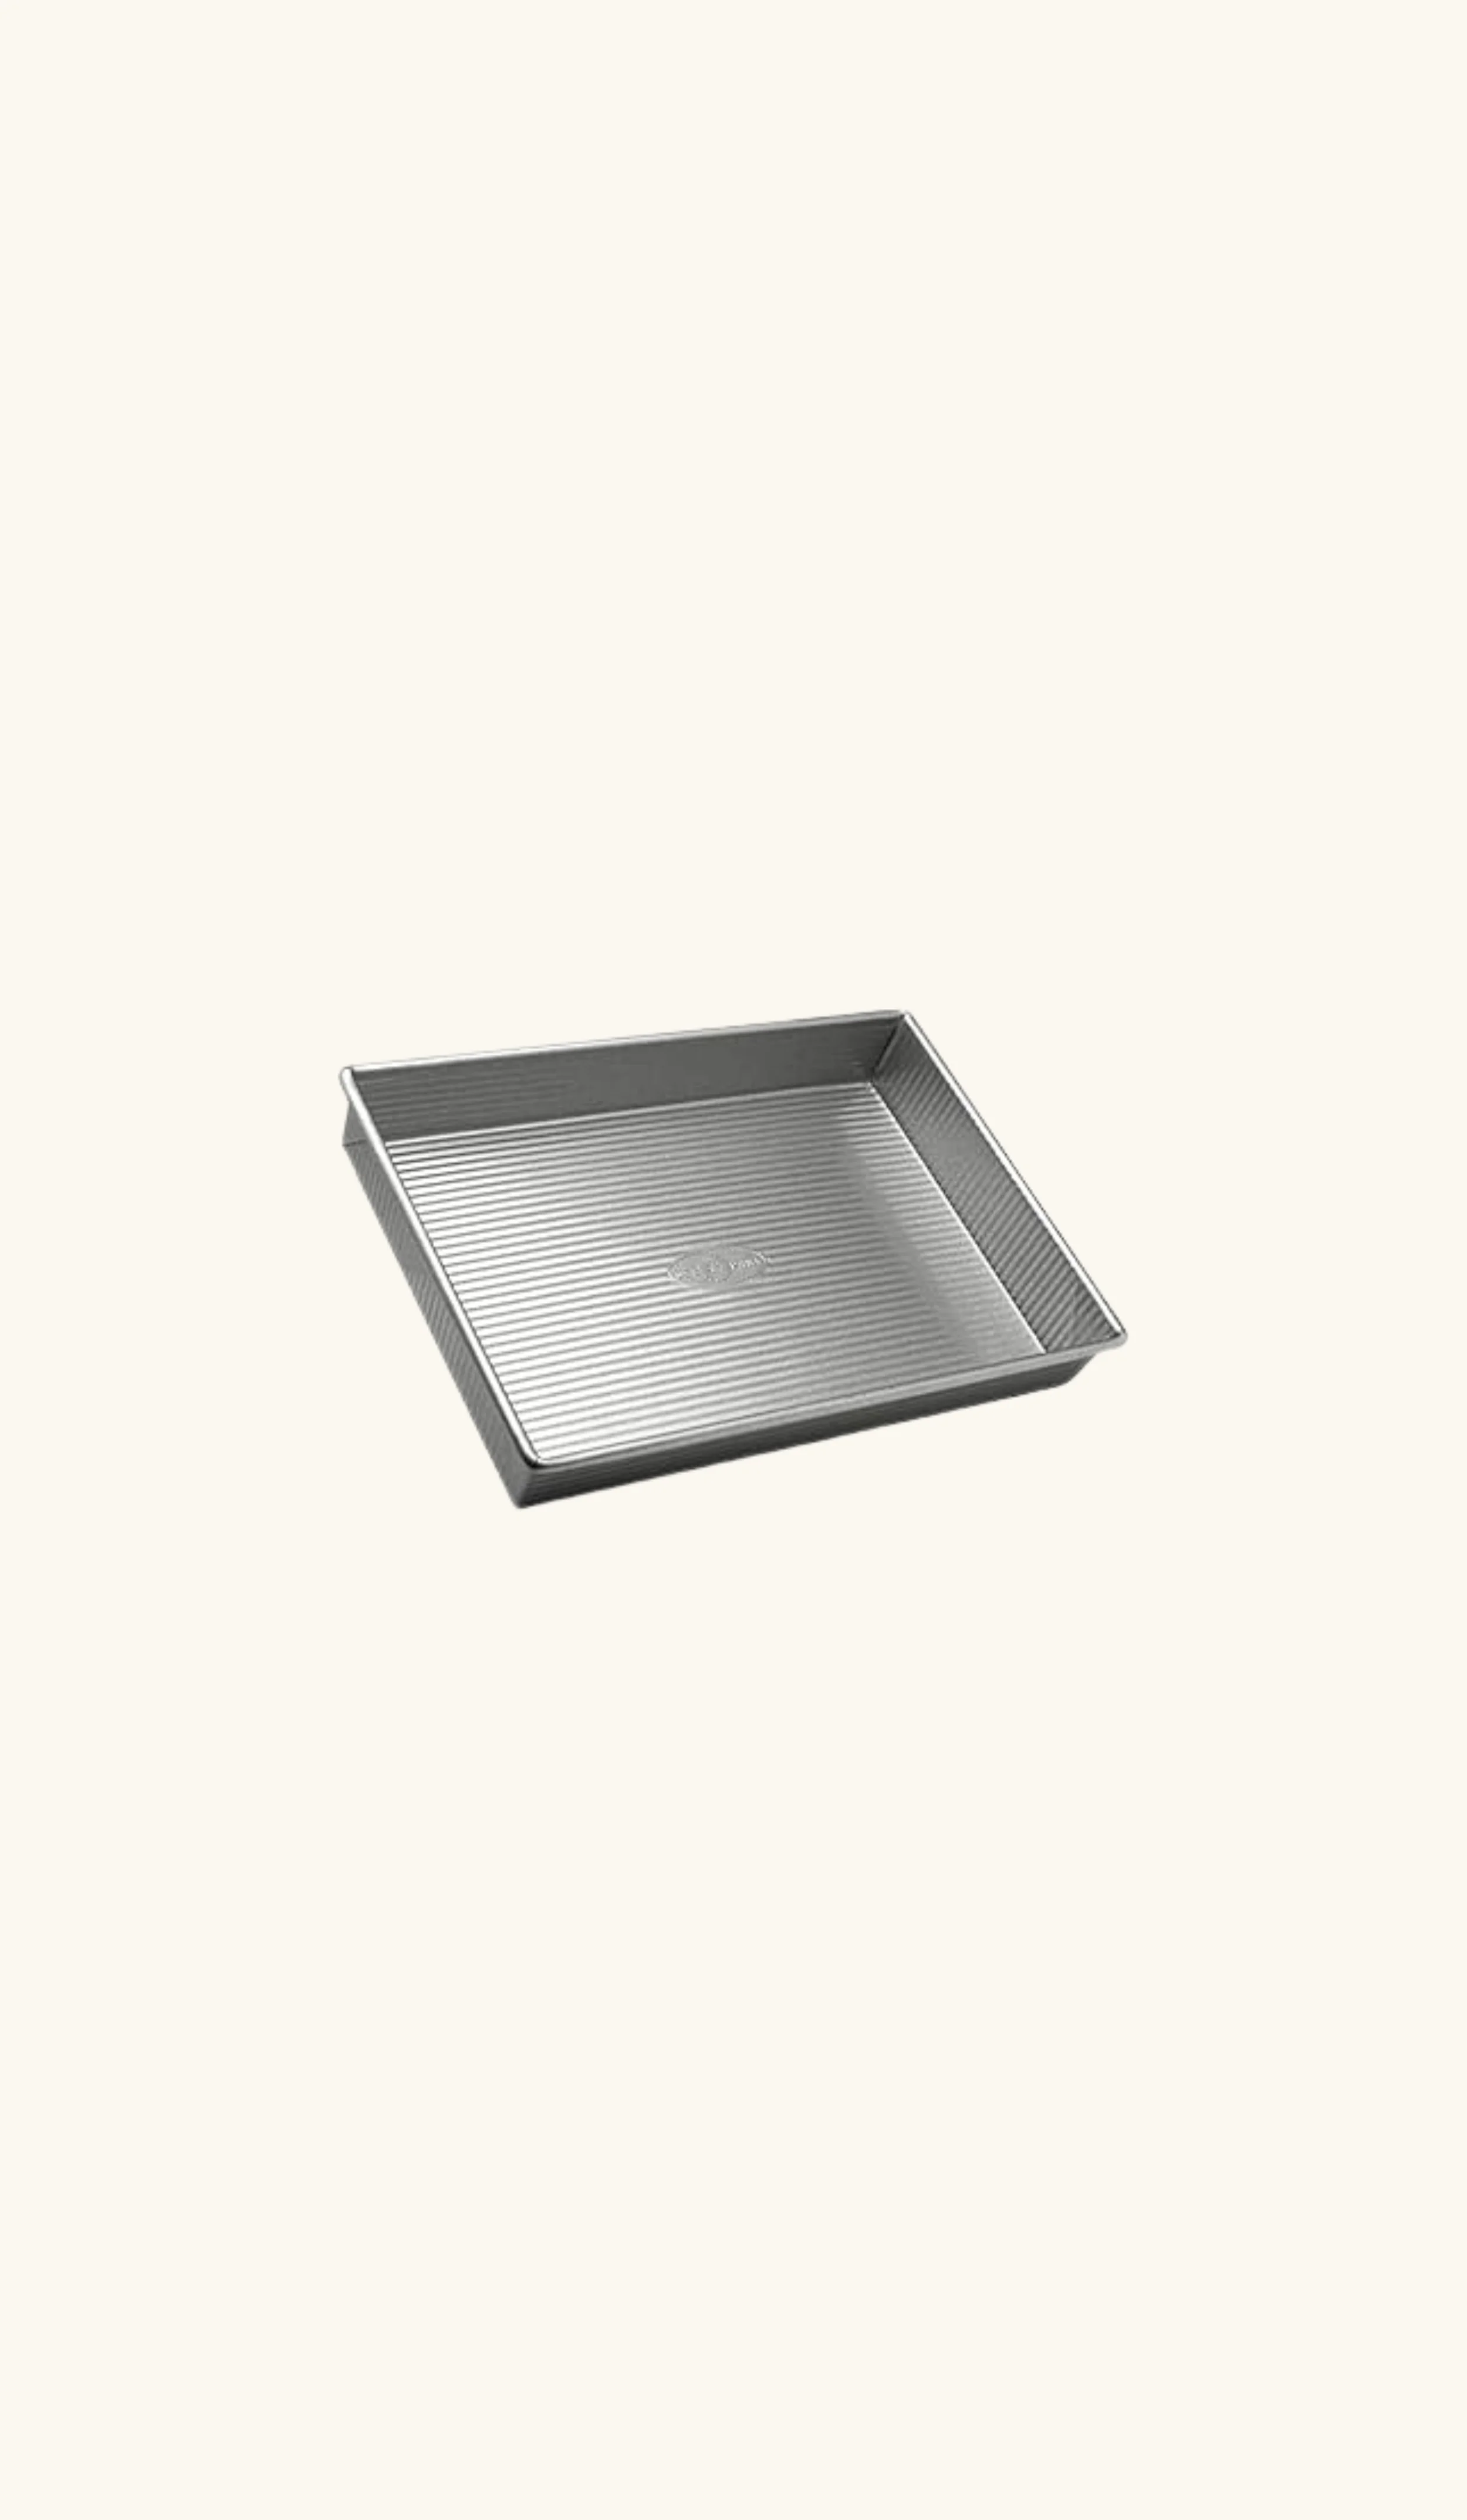

Ingredients

500 g gluten-free flour (no xanthan gum) [BUY]
100 g potato starch [BUY]
30 g granulated sugar
14 g fine sea salt
7 g instant yeast,1 packet rapid rise plus
360 mL warm water
¼ cup olive oil, for the dough
2–3 Tbsp olive oil, for the pan
2 Tbsp fresh rosemary, rinsed and dried well
flaky sea salt, for finishing
Recipe Steps

Step 1
Fill a quarter sheet pan (about 9 × 13 inches) with warm water and set it aside on the counter to warm while you mix the dough.
Step 2
In a large bowl, whisk together the gluten-free flour, potato starch, sugar, salt, and yeast until fully combined and evenly distributed.
Step 3
Add the warm water and ¼ cup olive oil. Knead until you have a thick and uniform dough with no dry pockets at the bottom of the bowl. It will look more like bread dough, and that is correct.
Step 4
Pour the water out of the pan and dry it thoroughly. Line it with parchment paper, leaving generous overhang on the long sides, then oil the parchment generously.
Step 5
Transfer the dough into the prepared pan. Oil your palms lightly and press the dough out toward the corners, patting it into a level layer.
Step 6
Place a small cup of boiling hot water inside your microwave, slide the pan in beside it, and close the door. Leave the microwave off. Let the dough rise 1 hour 30 minutes.
Step 7
About 30 minutes before the rise is up, preheat your oven to 425°F.
Step 8
Remove the pan from the microwave. Drizzle 2–3 Tbsp olive oil over the surface, then use your fingertips to spread it gently across the whole top. Work slowly and lightly, as the risen surface is very delicate.
Step 9
Scatter the fresh rosemary evenly over the oiled surface, then finish with flaky sea salt.
Step 10
Press dimples across the dough with your fingertips, going only halfway down and not all the way to the pan.
Step 11
Bake at 425°F for 22–25 minutes, until the top is deep golden.
Step 12
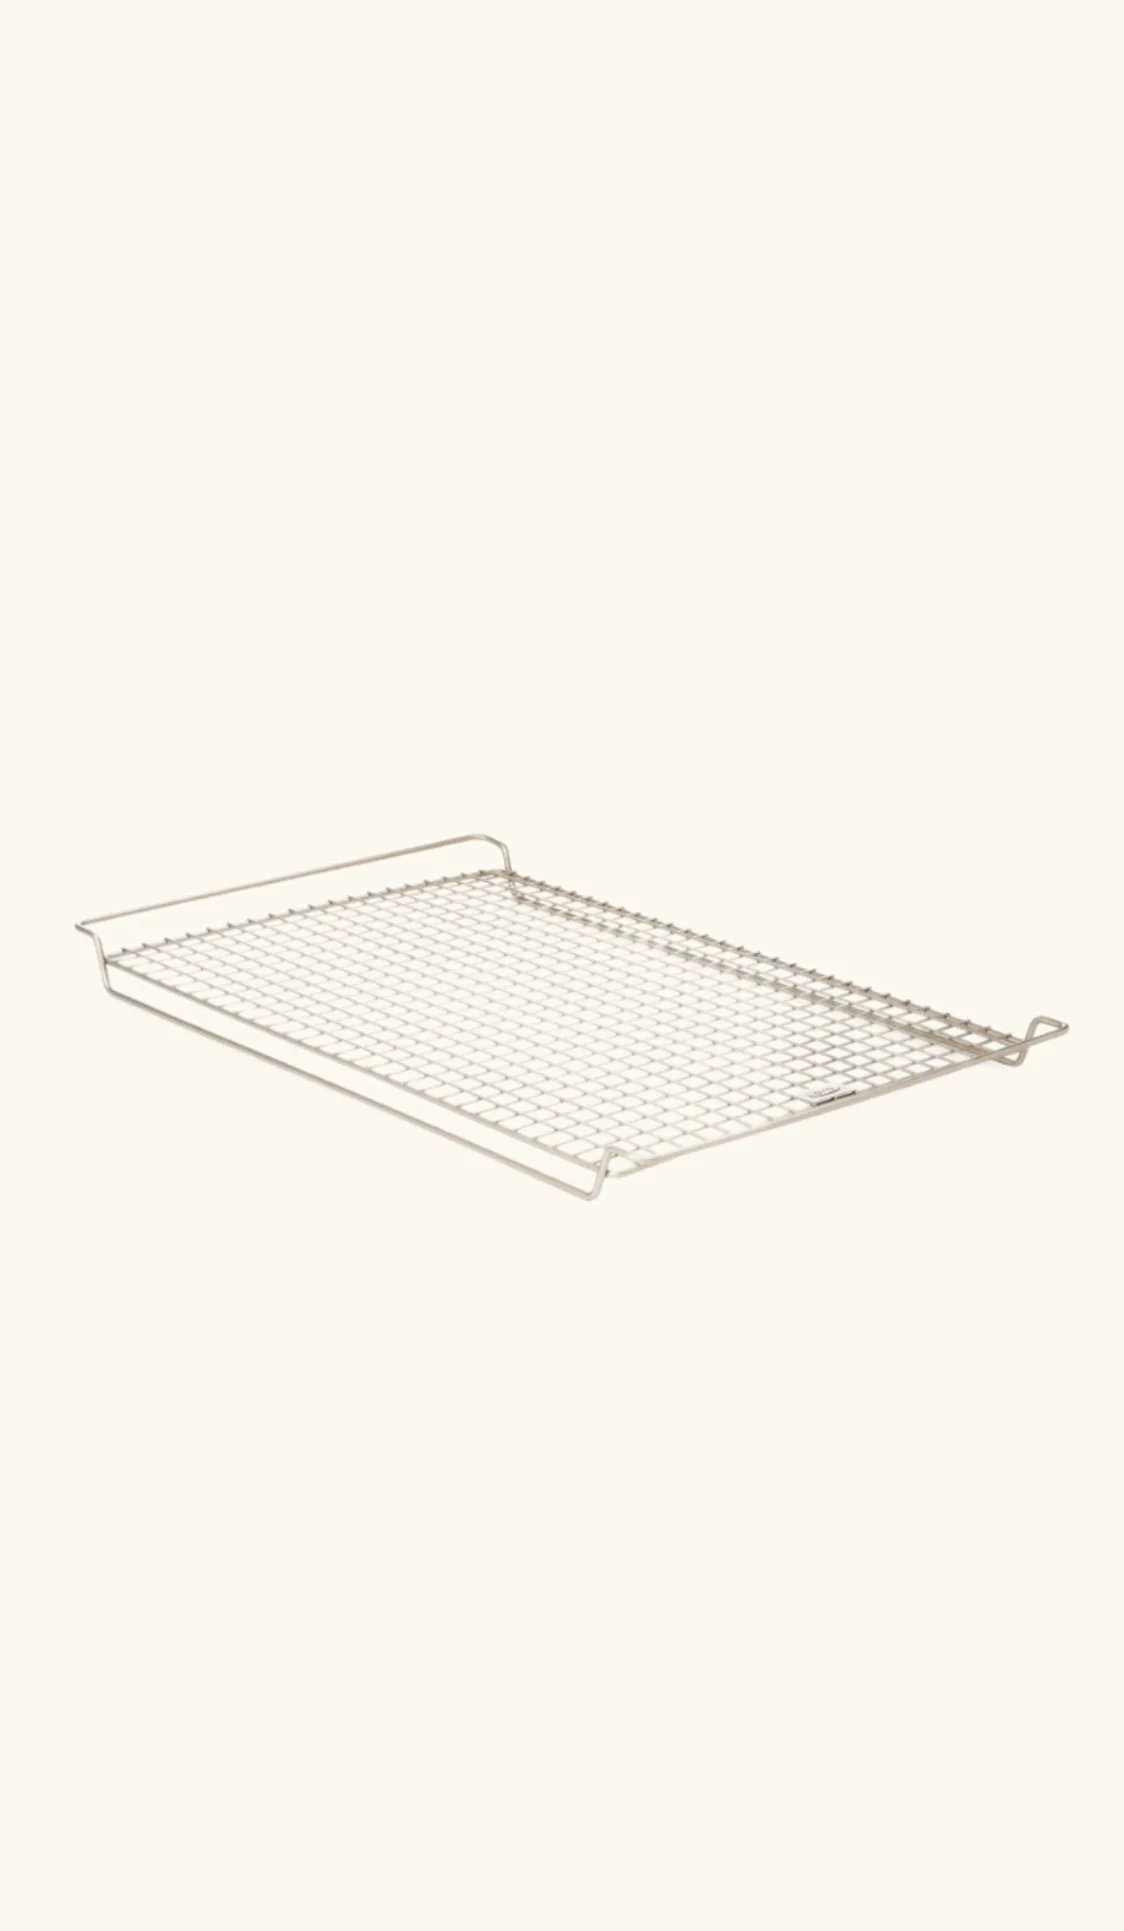
Set the whole pan on a cooling rack for 10–15 minutes. Lift the focaccia out by the parchment overhang and move it, parchment and all, onto the rack. Let it cool completely before slicing.
Storage:
Store cooled, sliced focaccia in an airtight container at room temp for up to 2 days or refrigerate to extend. It is at its best on day one. To bring it back, warm slices in a 350°F oven for 5–8 minutes, which restores the crisp edge. or refrigerate to extend.
Note: Refrigerating it may reduce its freshness and slightly affect the texture.
More From Brimly.
by Brimly kitchen
by Brimly kitchen
by Brimly kitchen
by Brimly kitchen