Brimly’s Gluten-Free Good Bread
BY Brimly.May 3, 2026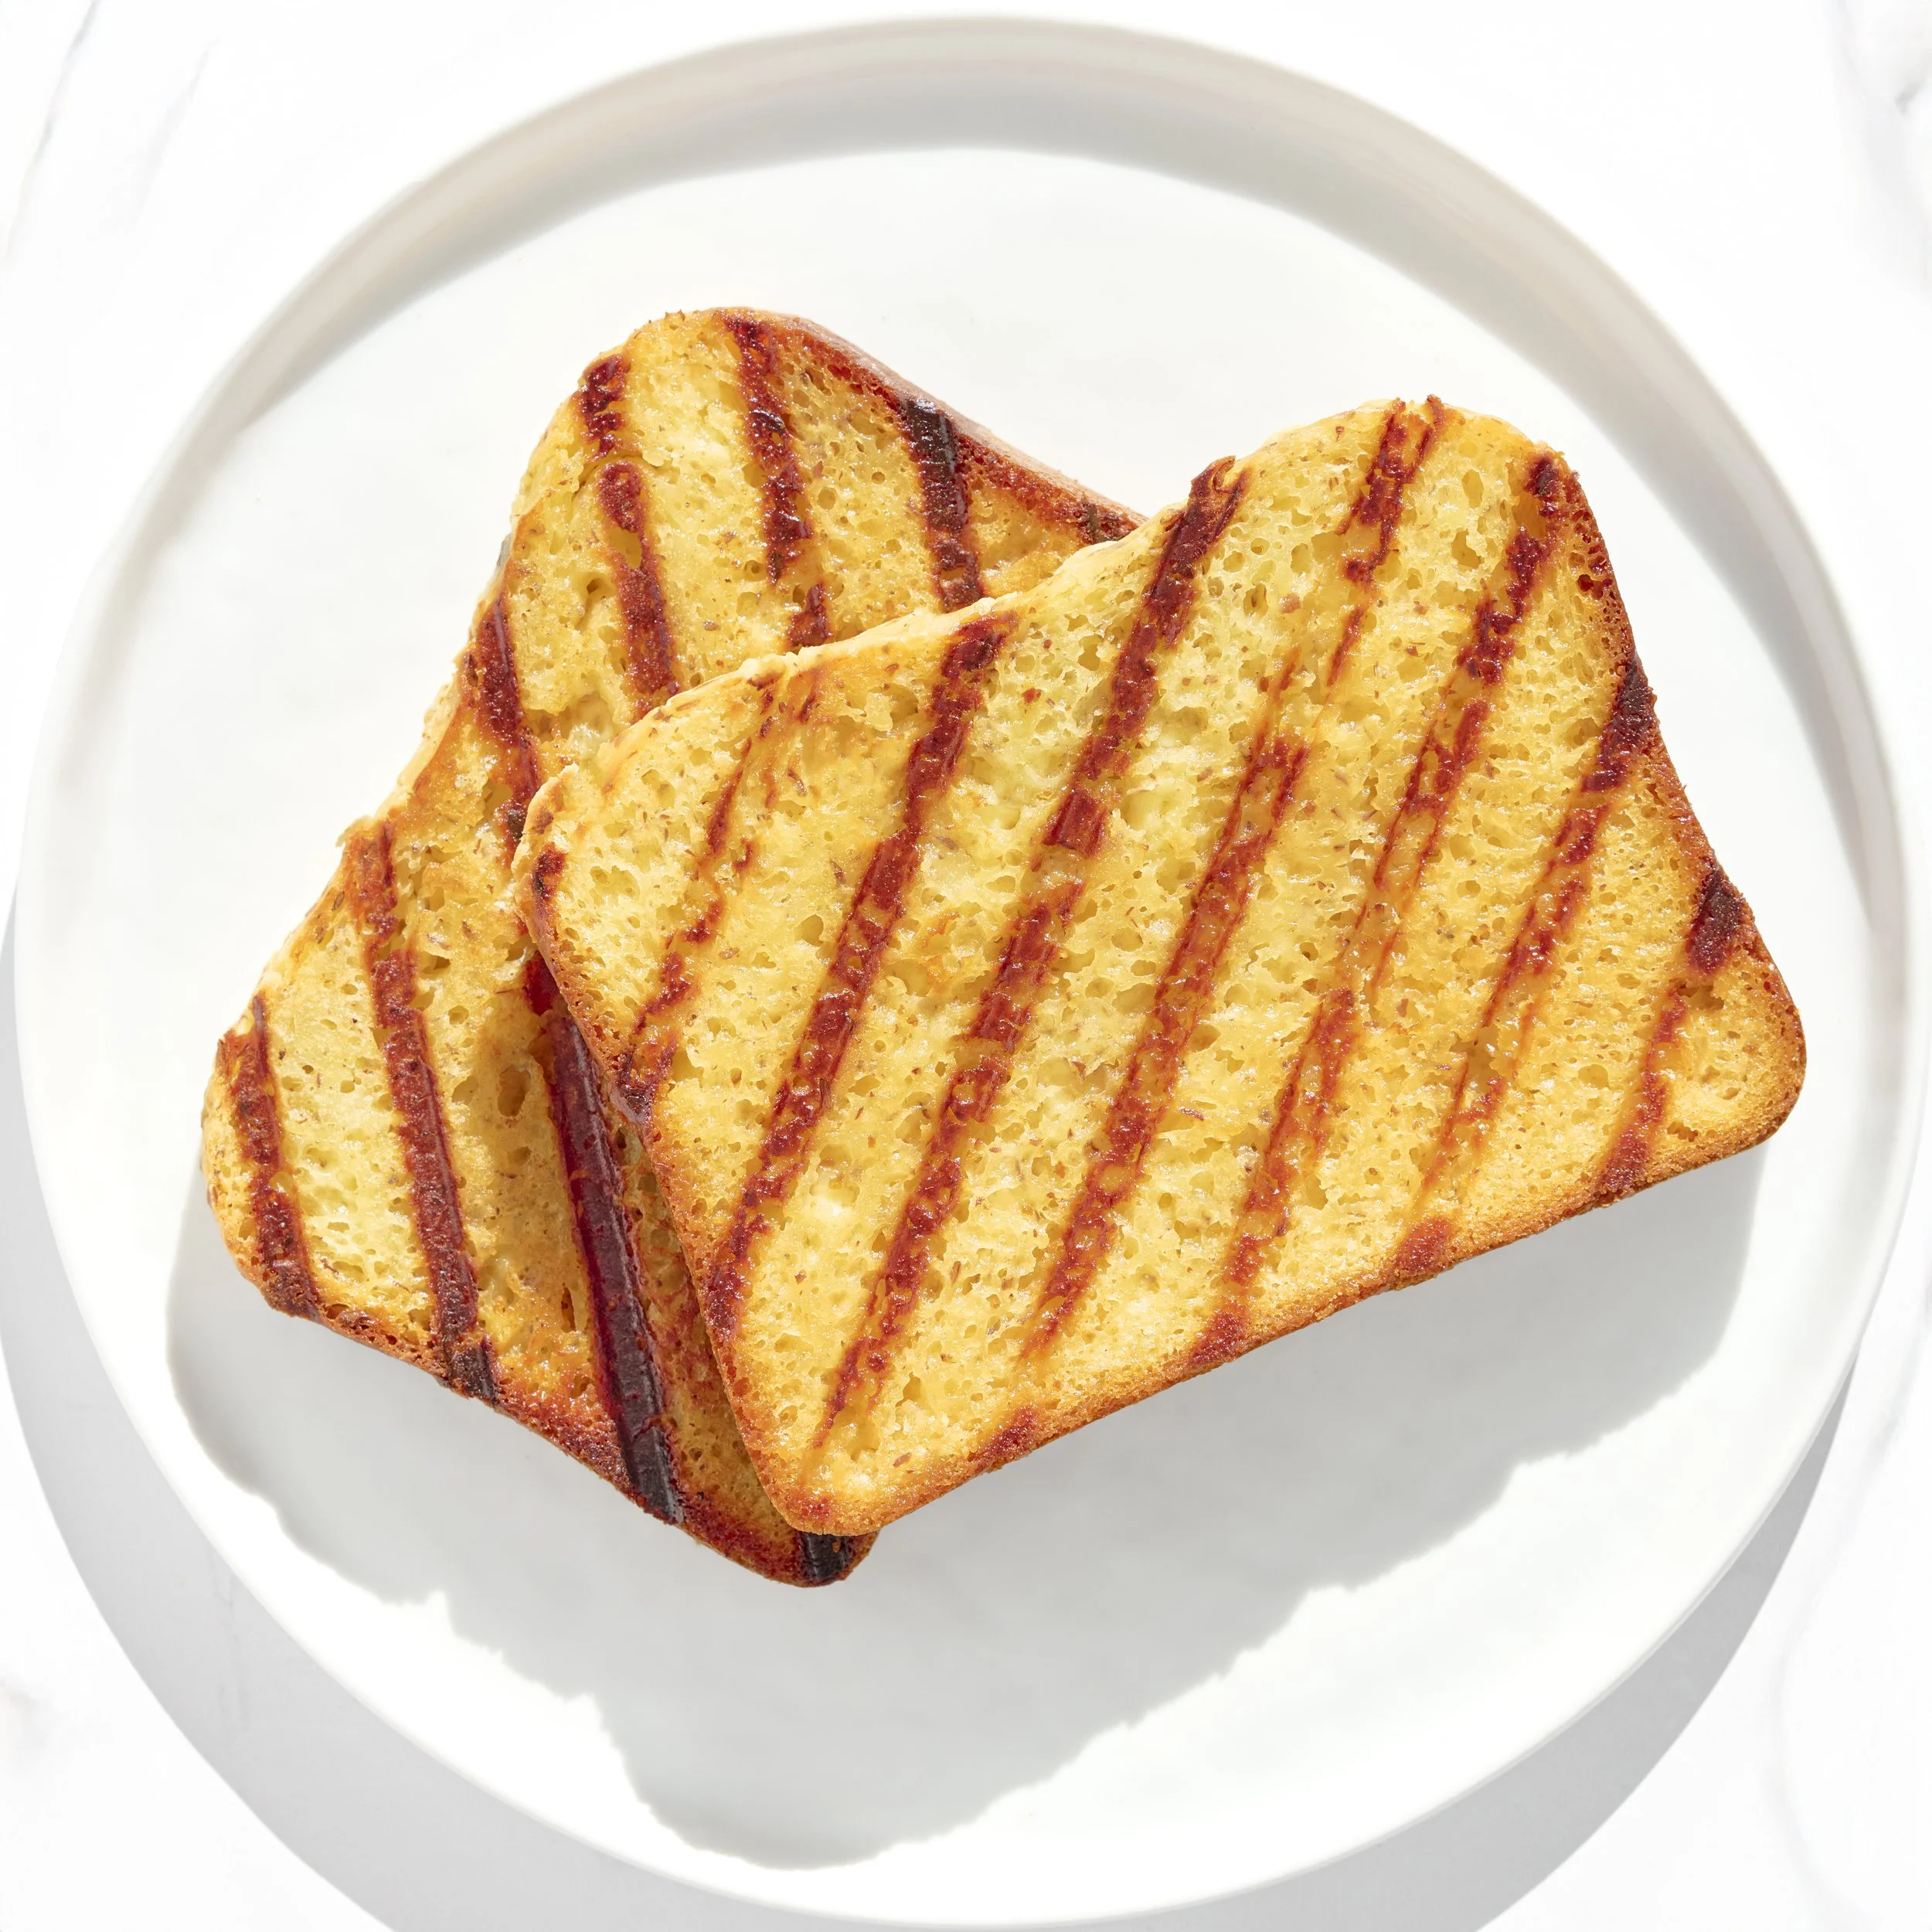
Photo By Editors @ the Brimly Test Kitchen


MID TaskPREP: 20 minGluten-freesweet Treat Now, Why This Recipe and What Makes It Special?
This is the good bread. The one I’ve been talking about here and there on the podcast, the one I’ve mentioned on the site, the one that has been existing in the background of everything we’ve been doing. And the reason for that is simple. This recipe has been in production for a while. I’ve been working on it, testing it, adjusting it, really making sure that everything felt right before sharing it. And now we’re finally here, and I’m genuinely so happy to be able to give this to you.
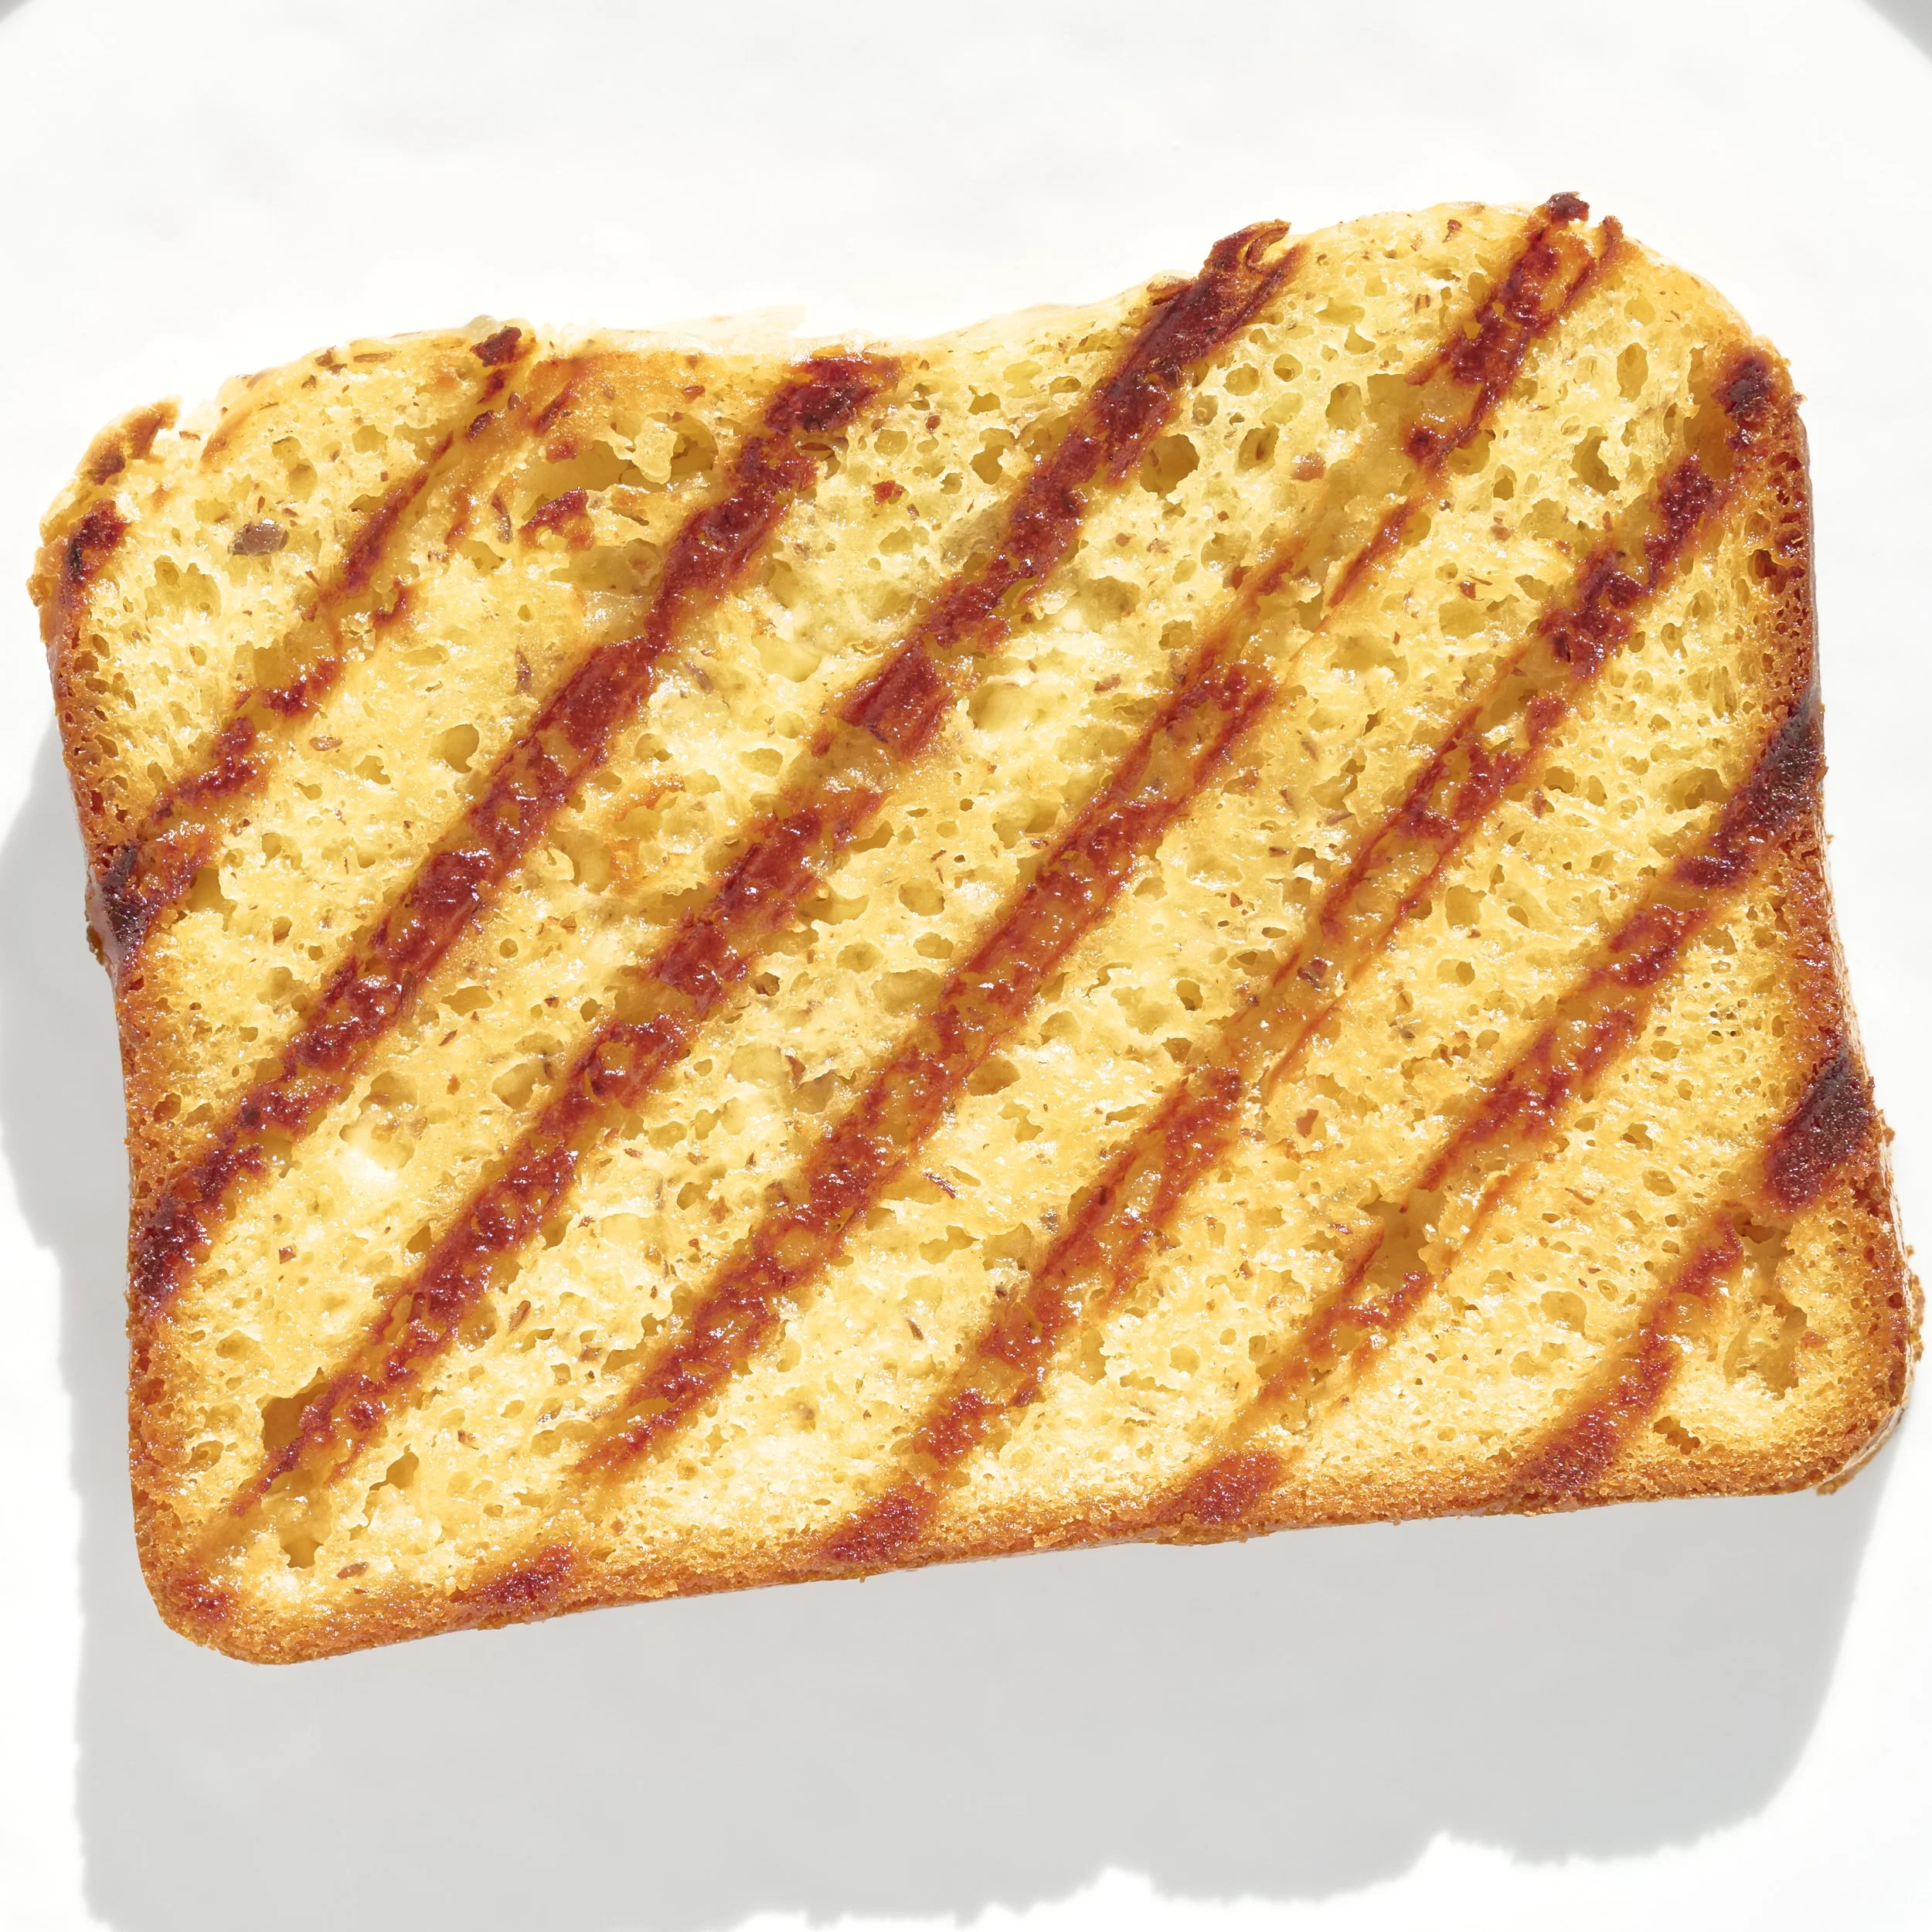
This is our gluten-free, gum-free, soy-free loaf, and that alone already sets it apart. Most gluten-free breads rely on binders like xanthan gum, guar gum, or psyllium husk. This one does not. The structure here comes from real ingredients like eggs and a bit of flaxseed, which gives you that support without creating any of the issues that some of those other ingredients can bring. It’s what I would honestly call a safe loaf. Something you can make, share, and enjoy without overthinking it.
And then there’s the method. This is a bread machine loaf, which makes it different from your typical knead-and-bake situation. You’re letting the machine do the work, and that changes everything. It becomes approachable, repeatable, and honestly a little bit comforting. If you have a bread machine, we need to talk, because this is one of those recipes that just fits into your life.

Lessons Learned
There are a lot of lessons tucked into this recipe, even if the process itself feels simple. I’ve been working on this for just over a year, trying to get to a place where I could confidently say, yes, this is a good bread. Not perfect, but good, and reliable.
One of the biggest things I learned is that gluten-free bread does not need to be complicated to work. Once the ratios are right, once the ingredients are doing what they’re supposed to do, you can actually let the process be simple. You’re not fighting the dough, you’re not guessing. You’re just building something that works.
Another thing I learned is to trust the machine, but also pay attention to it. I personally use a Zojirushi Bread Machine, and one thing I appreciate about it is that it pauses and lets me scrape down the sides. Not every machine will do that, and that’s okay. The key is to understand how your machine behaves and follow its rhythm. Gluten-free settings exist for a reason, and they matter here.
How to Make It Your Own
There are definitely ways you can make this your own, but I’ll be honest with you, I would keep most of that creativity outside of the machine.
You could add things like raisins, maybe a light cinnamon swirl, or even play around with the richness by adjusting something like the milk powder. I’ve done that before, and it does give you a slightly deeper flavor. But at the same time, I really like this recipe exactly as it is. It’s balanced, and it gives you what you’re looking for without overcomplicating things.
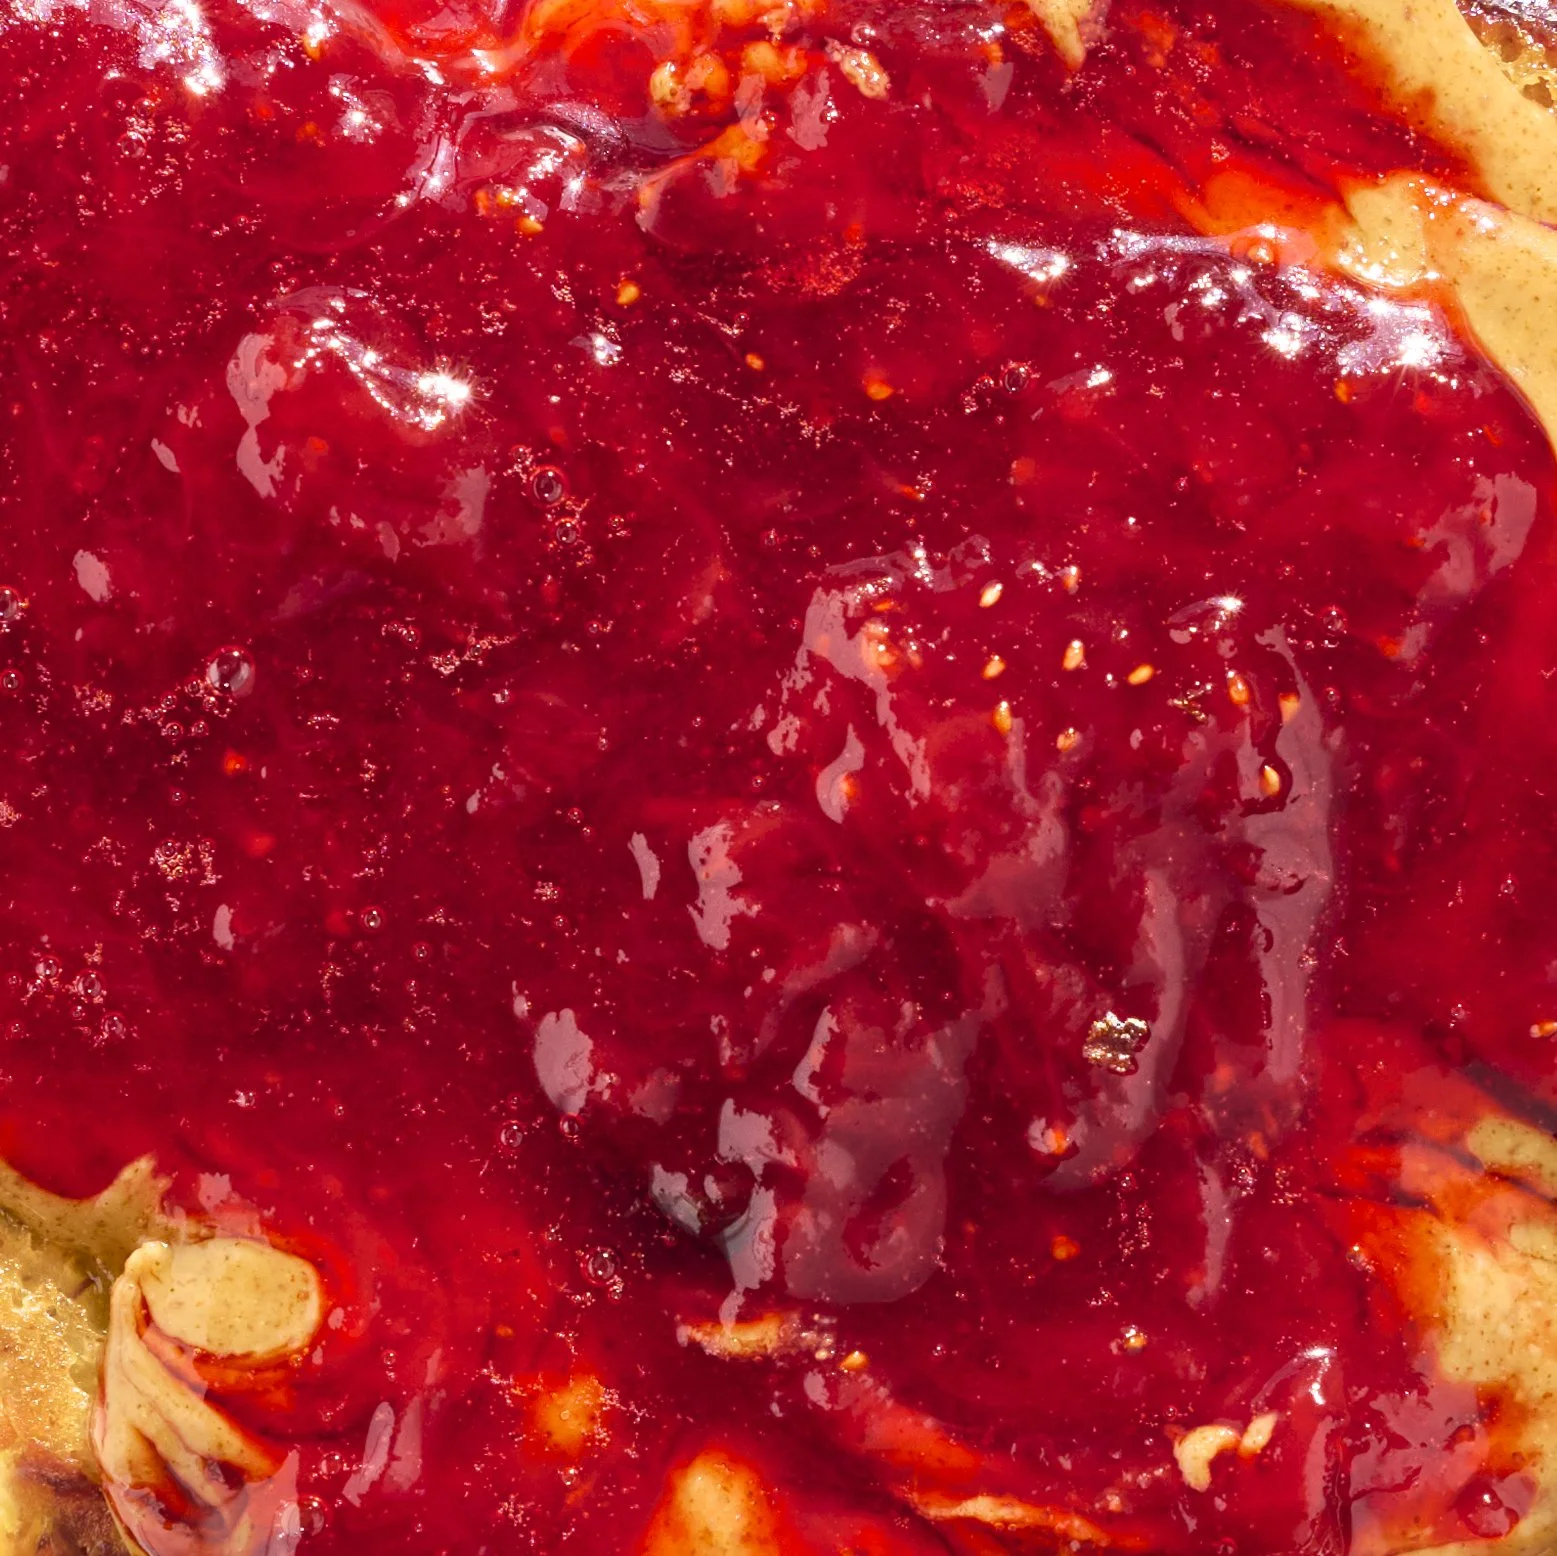
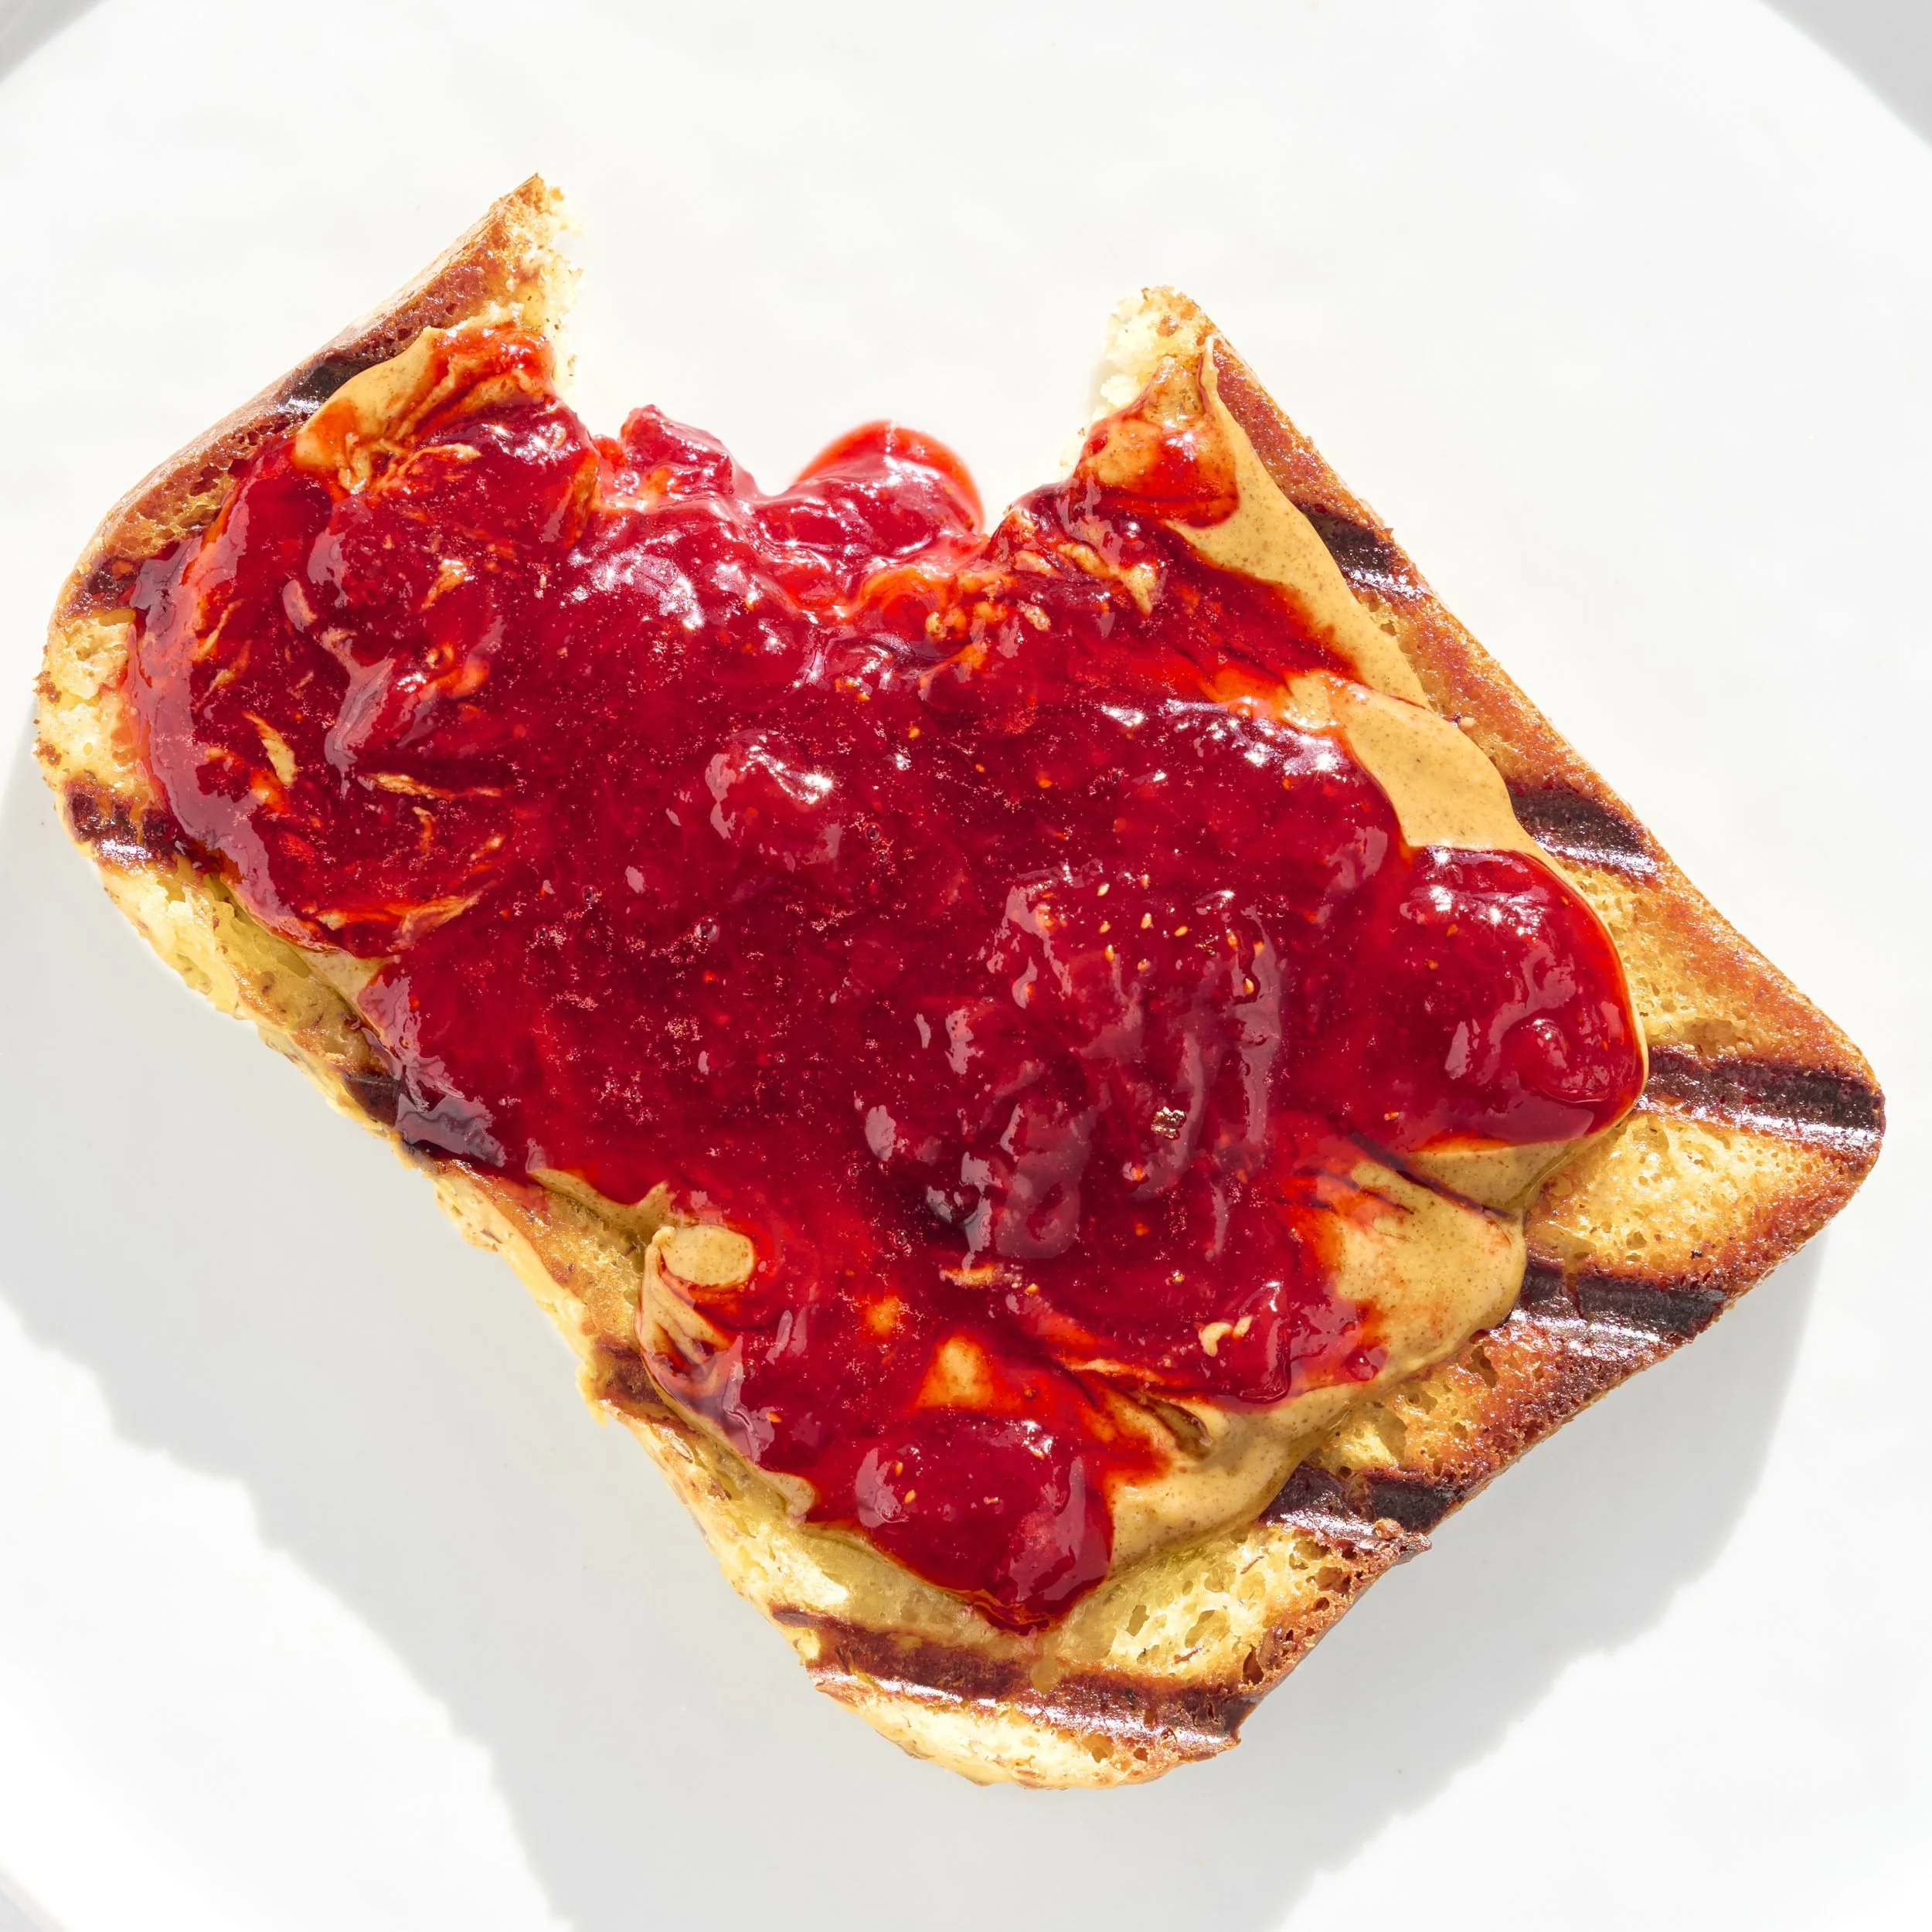
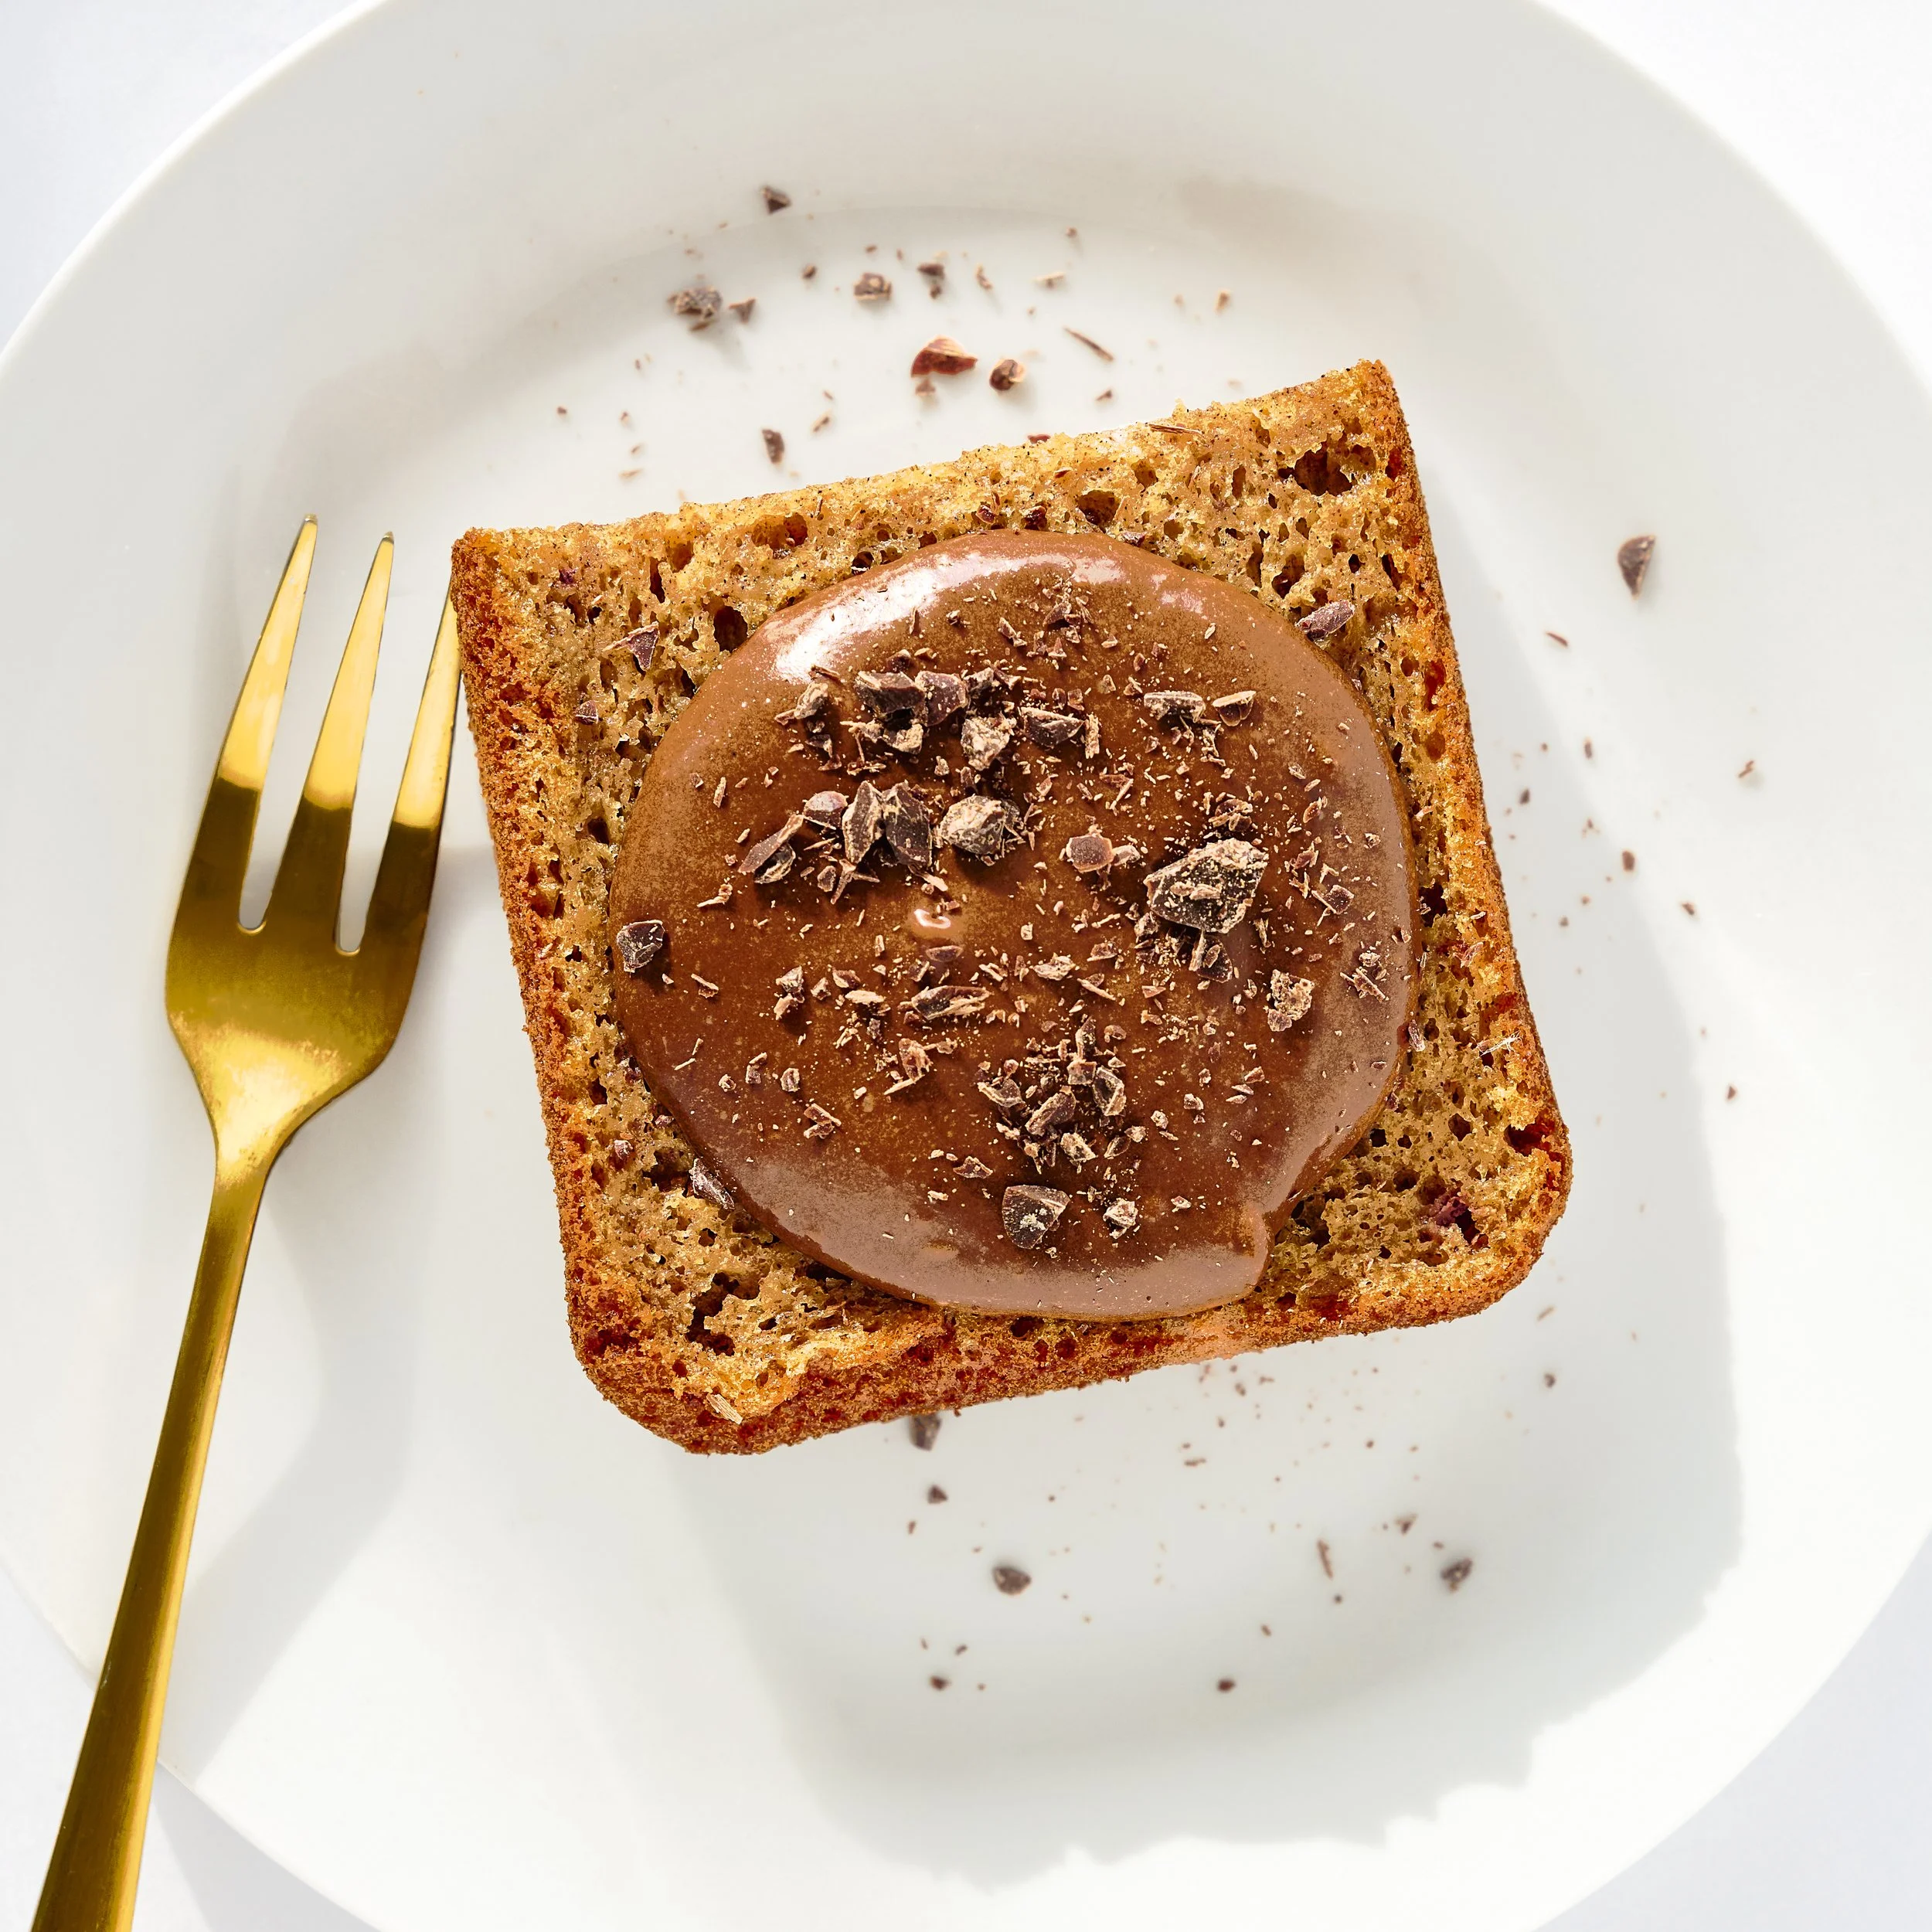
Where this bread really shines is after it’s baked. That’s where you can have fun. You can make French toast, cinnamon toast, sandwiches, even croutons. It opens the door to things that might have felt off-limits before. And that’s also why I included the strawberry lemon preserve with this. It’s a simple way to elevate a slice and make it feel like something special without doing too much.
Pro Tip: If your bread feels firm the next day, do not panic. That’s completely normal for a gum-free gluten-free loaf. Just slice what you need and reheat it. A quick moment in the microwave or a pass through the toaster brings it right back to life. It’s one of those small things that makes a big difference.
Summary Notes:
This is the bread I’ve been wanting to share for a long time. It’s simple in process and built to actually work in a real kitchen. It gives you a soft, sliceable loaf without relying on gums, and it holds up in a way that makes it useful, not just technically successful. You can toast it, build with it, enjoy it, and come back to it again the next day.
If you’re curious, I’ve shared a bit more about the bread machine I use here. Take a look and see if it’s something you’d want to invest in, or simply use the one you already have. Just make sure it has a gluten-free setting, since that’s really important for this recipe. There are plenty of options out there, but we use the Zojirushi bread machine here at the test kitchen, and it’s been a great investment for making consistent gluten-free loaves.
Tried it? Let us know how it went in the comments below.
At Brimly, we take pride in presenting you with the finest products that our editors independently handpicked. In the spirit of transparency, we want you to know that we may earn an affiliate commission when you purchase something through the retail links below.
Essentials you’ll need:


view:LISTENIngredients
2 ¾ cups (360 g) gluten-free flour (no xanthan gum)[BUY]
½ cup (70 g) potato starch [BUY]
½ cup (70 g) corn starch [BUY]
2 Tbsp flaxseed meal [BUY]
2 Tbsp milk powder [BUY]
1 tsp fine sea salt
1 ½ cups (360 mL) whole milk, room temp
3 extra large eggs, beaten
3 Tbsp corn oil (or neutral oil)
2 Tbsp plain yogurt (heaped)
1 Tbsp apple cider vinegar
4 Tbsp (55 g)granulated sugar
1 packet instant yeast (2¼ tsp or 7 g)
Recipe Steps
Step 1
Place the bread machine pan into the machine. Add milk, beaten eggs, corn oil, yogurt, apple cider vinegar, and sugar directly into the pan.
Step 2
In a separate bowl, combine gluten-free flour, corn starch, potato starch, flaxseed meal, milk powder, and salt. Mix until evenly blended.
Step 3
Pour the dry mixture over the wet ingredients in the pan. Do not mix.
Step 4
Create a small well in the center of the dry ingredients and add the yeast into that well.
Step 5
Close the lid, select the gluten-free setting, and start the machine. Let it run completely.
Step 6
Once finished, carefully remove the pan and transfer the loaf to a cooling rack.
Step 7
Allow the bread to cool for about 1 hour before slicing. The inside should still be slightly warm, soft, and set. Serve and enjoy!
Strawberry Lemon Preserve (Optional Topping)
Add 1¼ cups fresh strawberries (hulled and quartered) to a saucepan over medium-high heat, followed immediately by 2 Tbsp water, then stir in ½ Tbsp vanilla extract, 3 Tbsp sugar, a small pinch of salt, the zest of ¼ lemon, and ½ Tbsp lemon juice. Let everything come to a gentle simmer, stirring frequently so nothing sticks, then reduce the heat slightly and allow it to cook for about 15–20 minutes, stirring occasionally as it thickens and reduces to roughly half the original amount. You’ll know it’s ready when the mixture coats the back of a spoon and looks glossy but still has soft fruit pieces throughout the sauce. Transfer it to a glass jar and let it cool on the counter for about 1 hour until cooled and set. Serve on a warm slice of toast with a generous spread of your favorite nut butter. Enjoy.
Storage:
Store the bread in an airtight container or sealed bag at room temperature for up to 3 days, or refrigerate for up to 7 days, reheating or toasting slices as needed to bring back its softness.
Store the strawberry lemon preserve in a sealed glass jar in the refrigerator for up to 10 days, allowing it to cool completely before chilling to maintain its texture and freshness.
More From Brimly.
by Brimly kitchen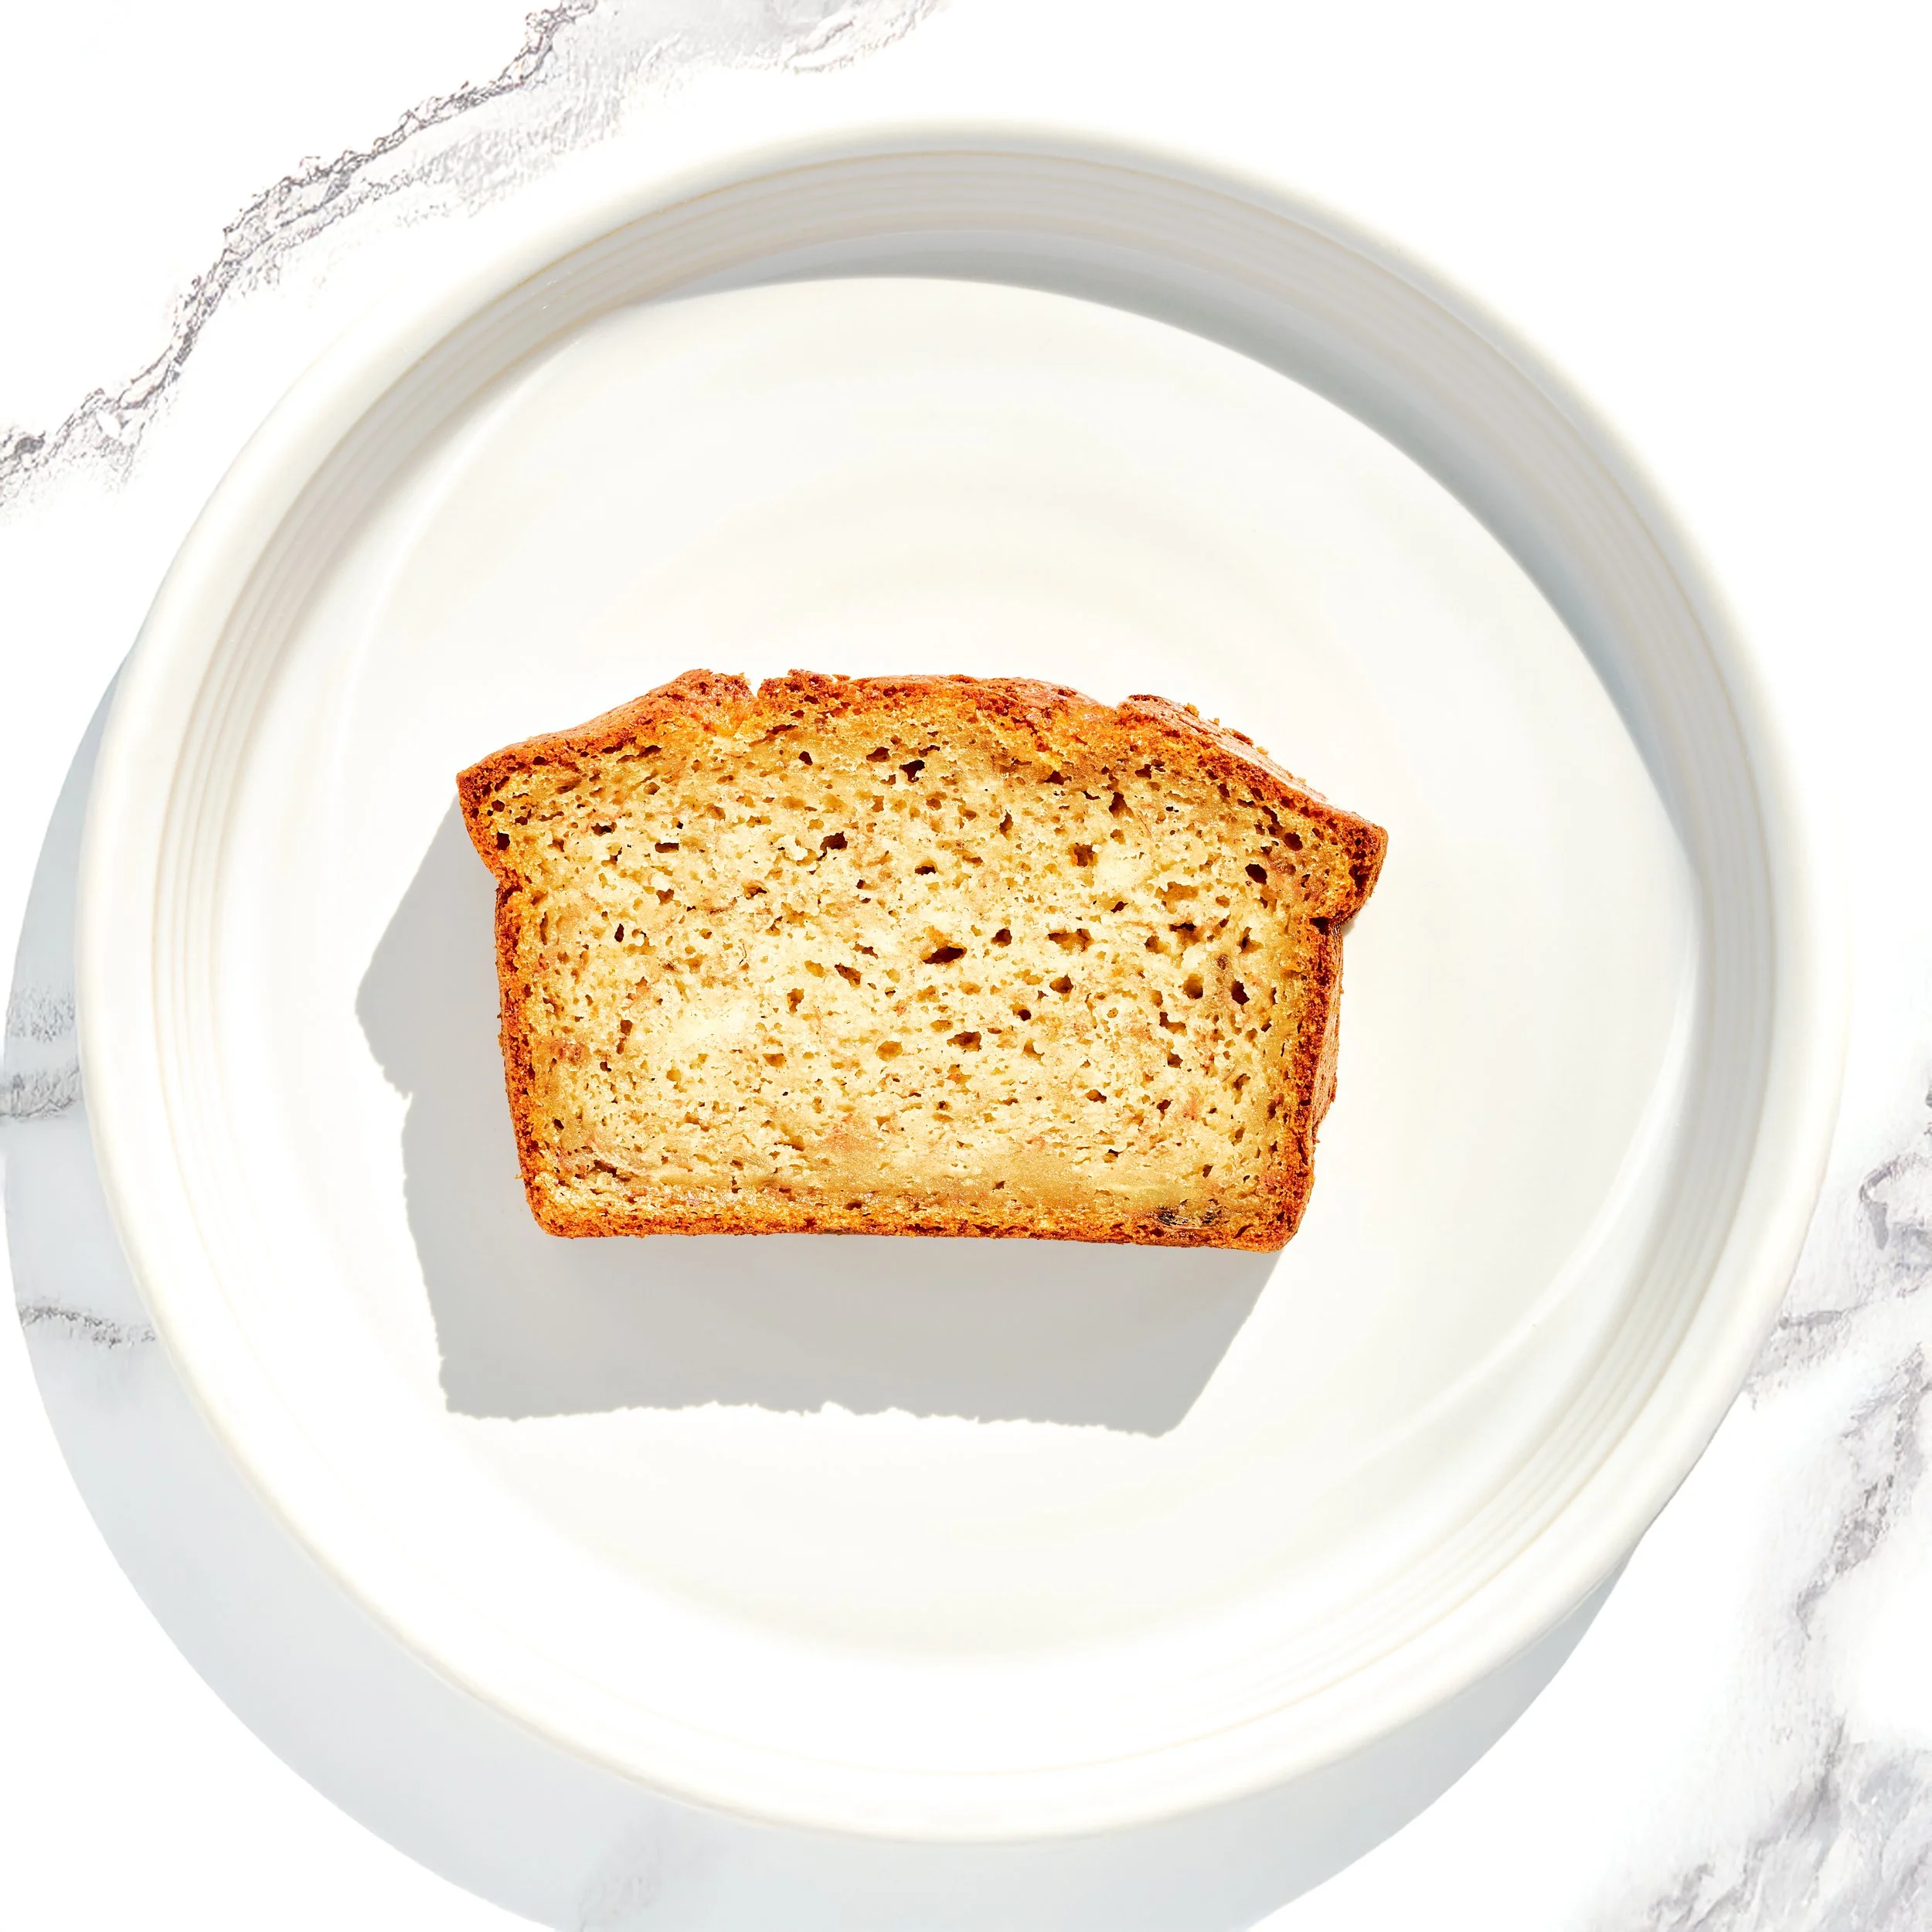
by Brimly kitchen
by Brimly kitchen
by Brimly kitchen
$10.95 AT AMAZON