Gluten-Free Honey Oat Loaf
BY Brimly.September 6, 2026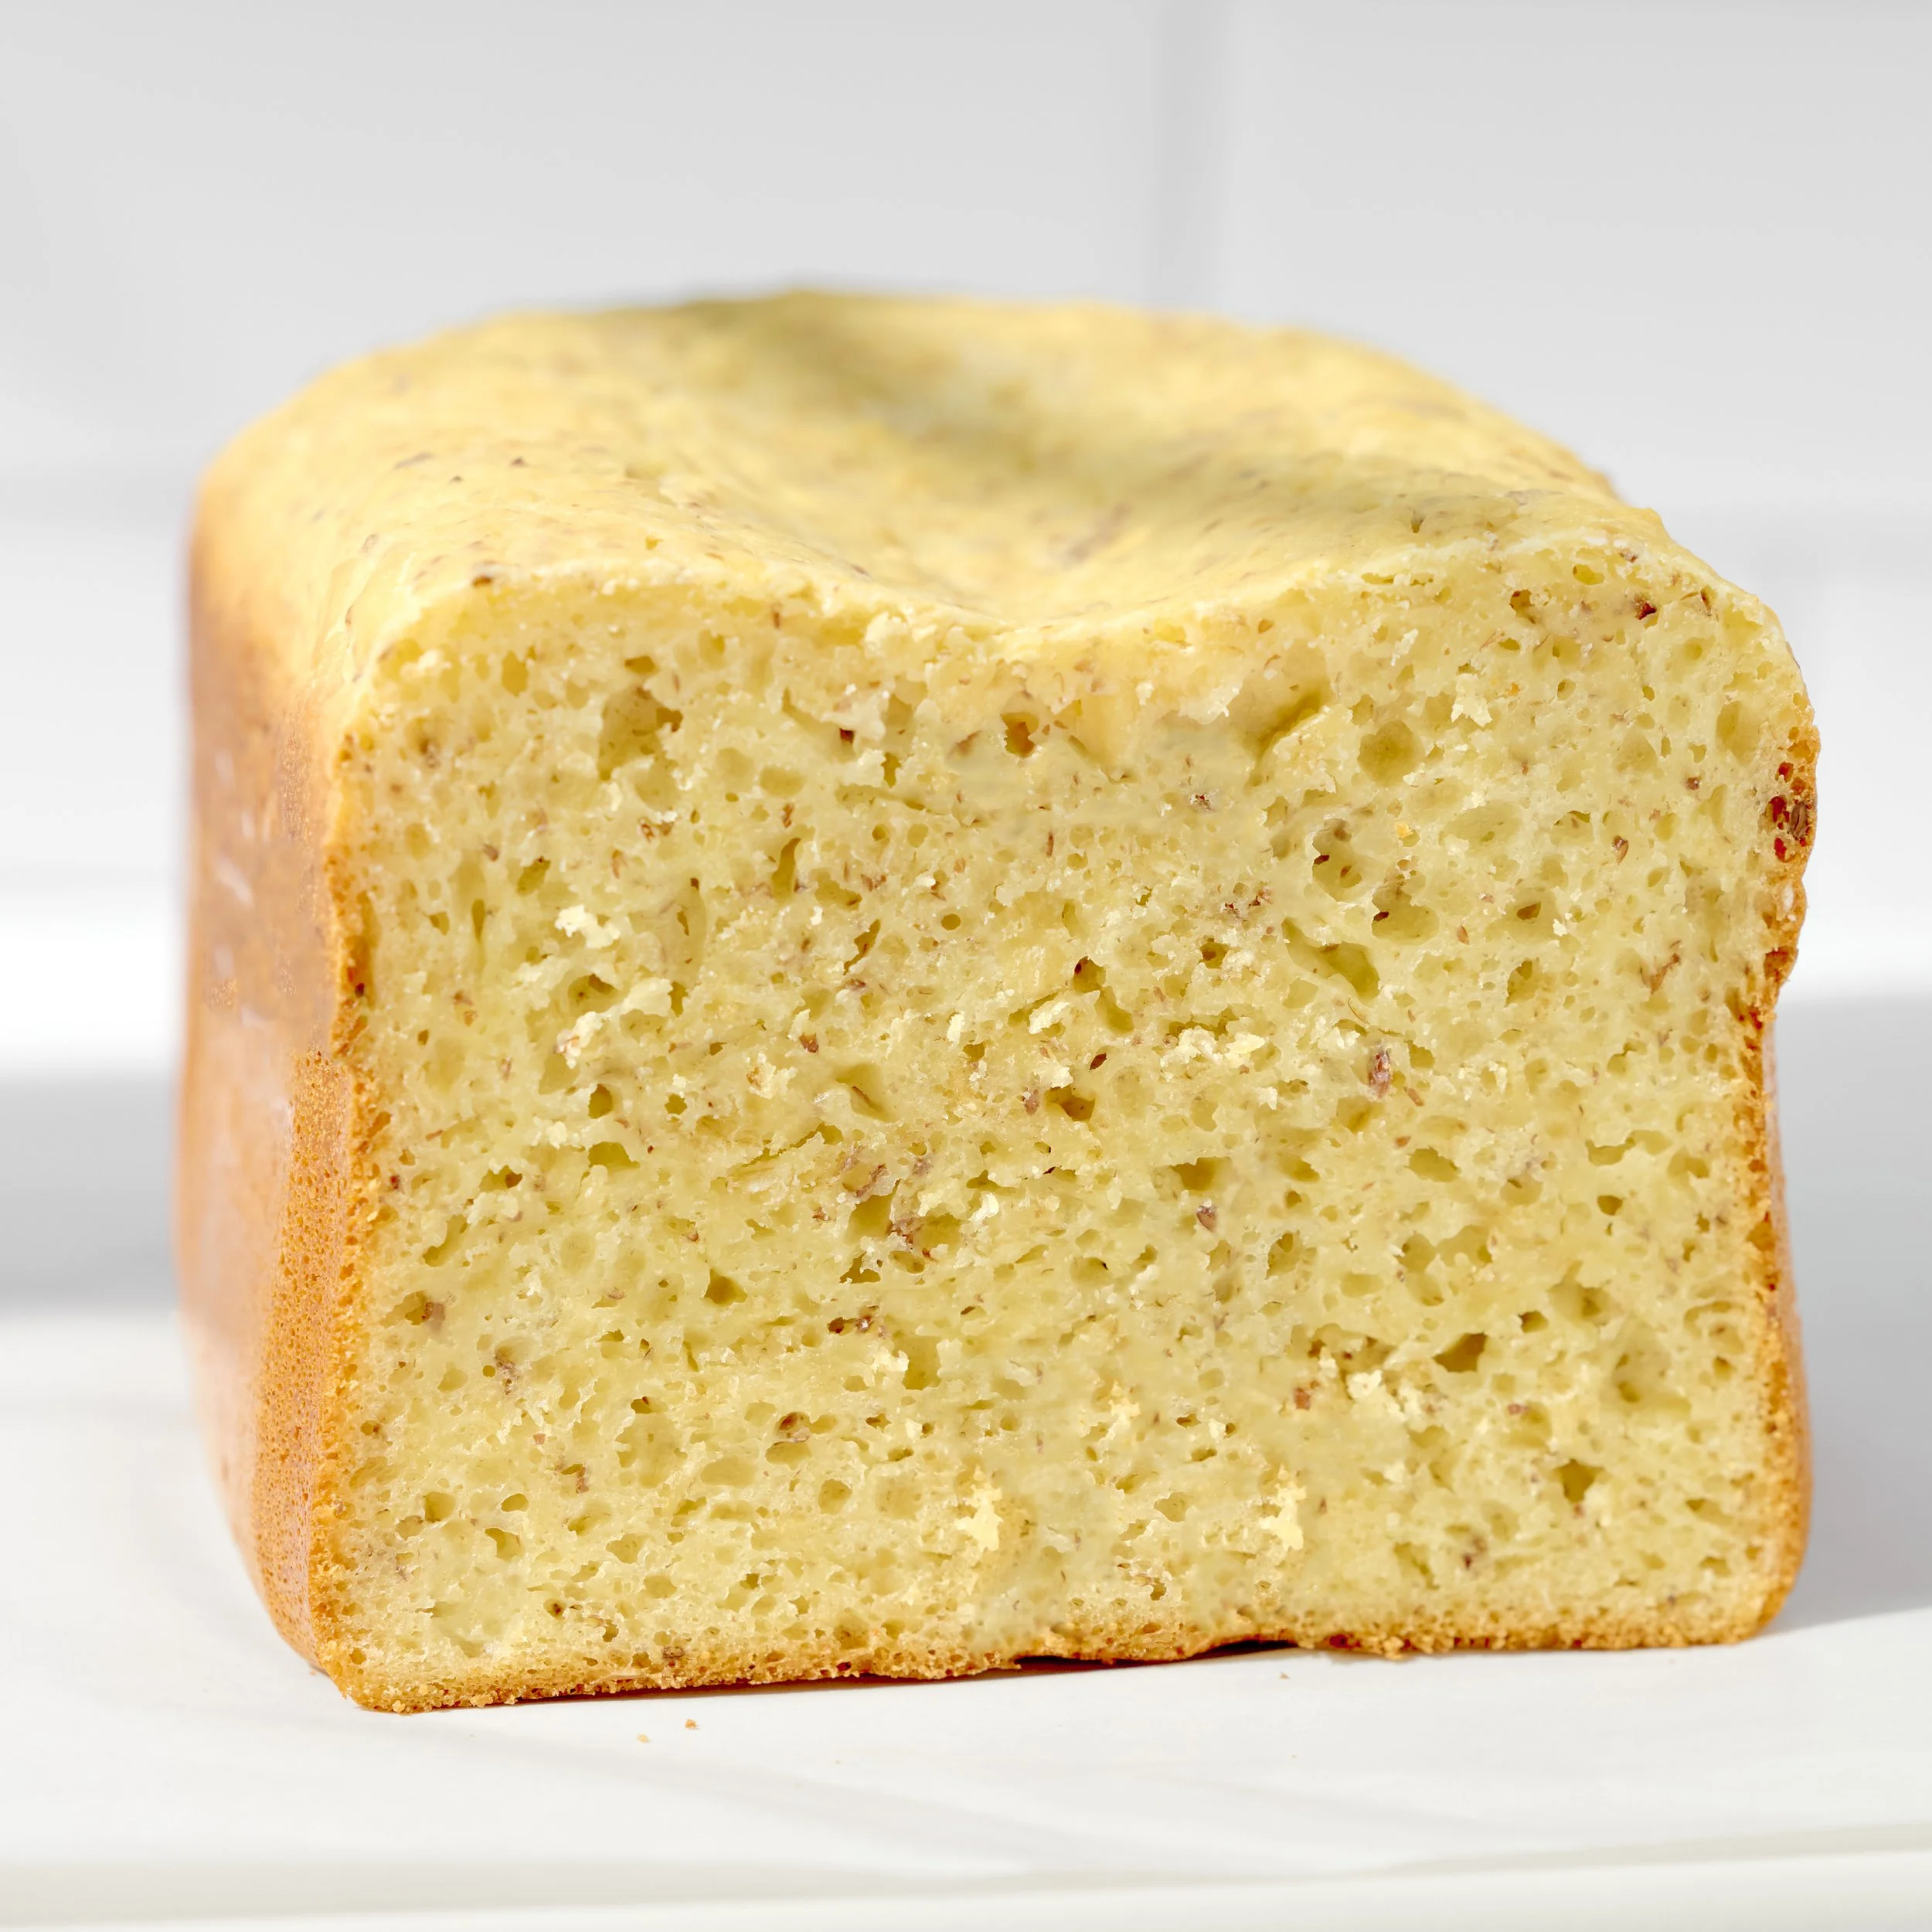
Photo By Editors @ the Brimly Test Kitchen


Bake: 90 MinPREP: 20 minGluten-freeServes: 8 Now, Why This Recipe and What Makes It Special?
Something happens to a kitchen in September. The pool towels come off the line, somebody needs a lunch packed by 7:15, and suddenly the thing I want most in the world is a loaf of bread sitting on the counter, sliced and waiting. So we are calling this month Back to Basics, and we are spending all of it on loaves. Four of them. All gluten-free, all made in a bread machine (fingers crossed), all built for a house that has somewhere to be.
I will admit the embarrassing part first. For a blog that has been at this for years, Brimly has one published loaf. One! It is called Good Bread, and it took me over a year of testing before I was willing to put it out into the world, which tells you everything about how gluten-free bread has treated me. I am not letting another year go by with a single loaf to my name.
So here is the first of the four, and I started with the easiest one on purpose. This is a honey oat sandwich loaf, soft and lightly sweet, with rolled oats worked right into the batter. The oats do two things I did not expect. They bring that warm, toasty oat flavor forward, and they make the crumb noticeably more pliable than my usual Good Bread. It slices beautifully. It holds up to an egg salad sandwich, which is my personal test for whether a gluten-free loaf is real bread or a rumor. It is equally happy under peanut butter and jelly, and it cubes into croutons without falling apart on you.
If you do not own a bread machine yet, consider this my campaign. Save up, watch for a sale, and get yourself an affordable one. Just make sure the model you choose has a gluten-free setting, because that is the part that does the heavy lifting. Gluten-free bread by hand is a project. Gluten-free bread in a machine is a decision you make in the morning and forget about.

Lessons Learned
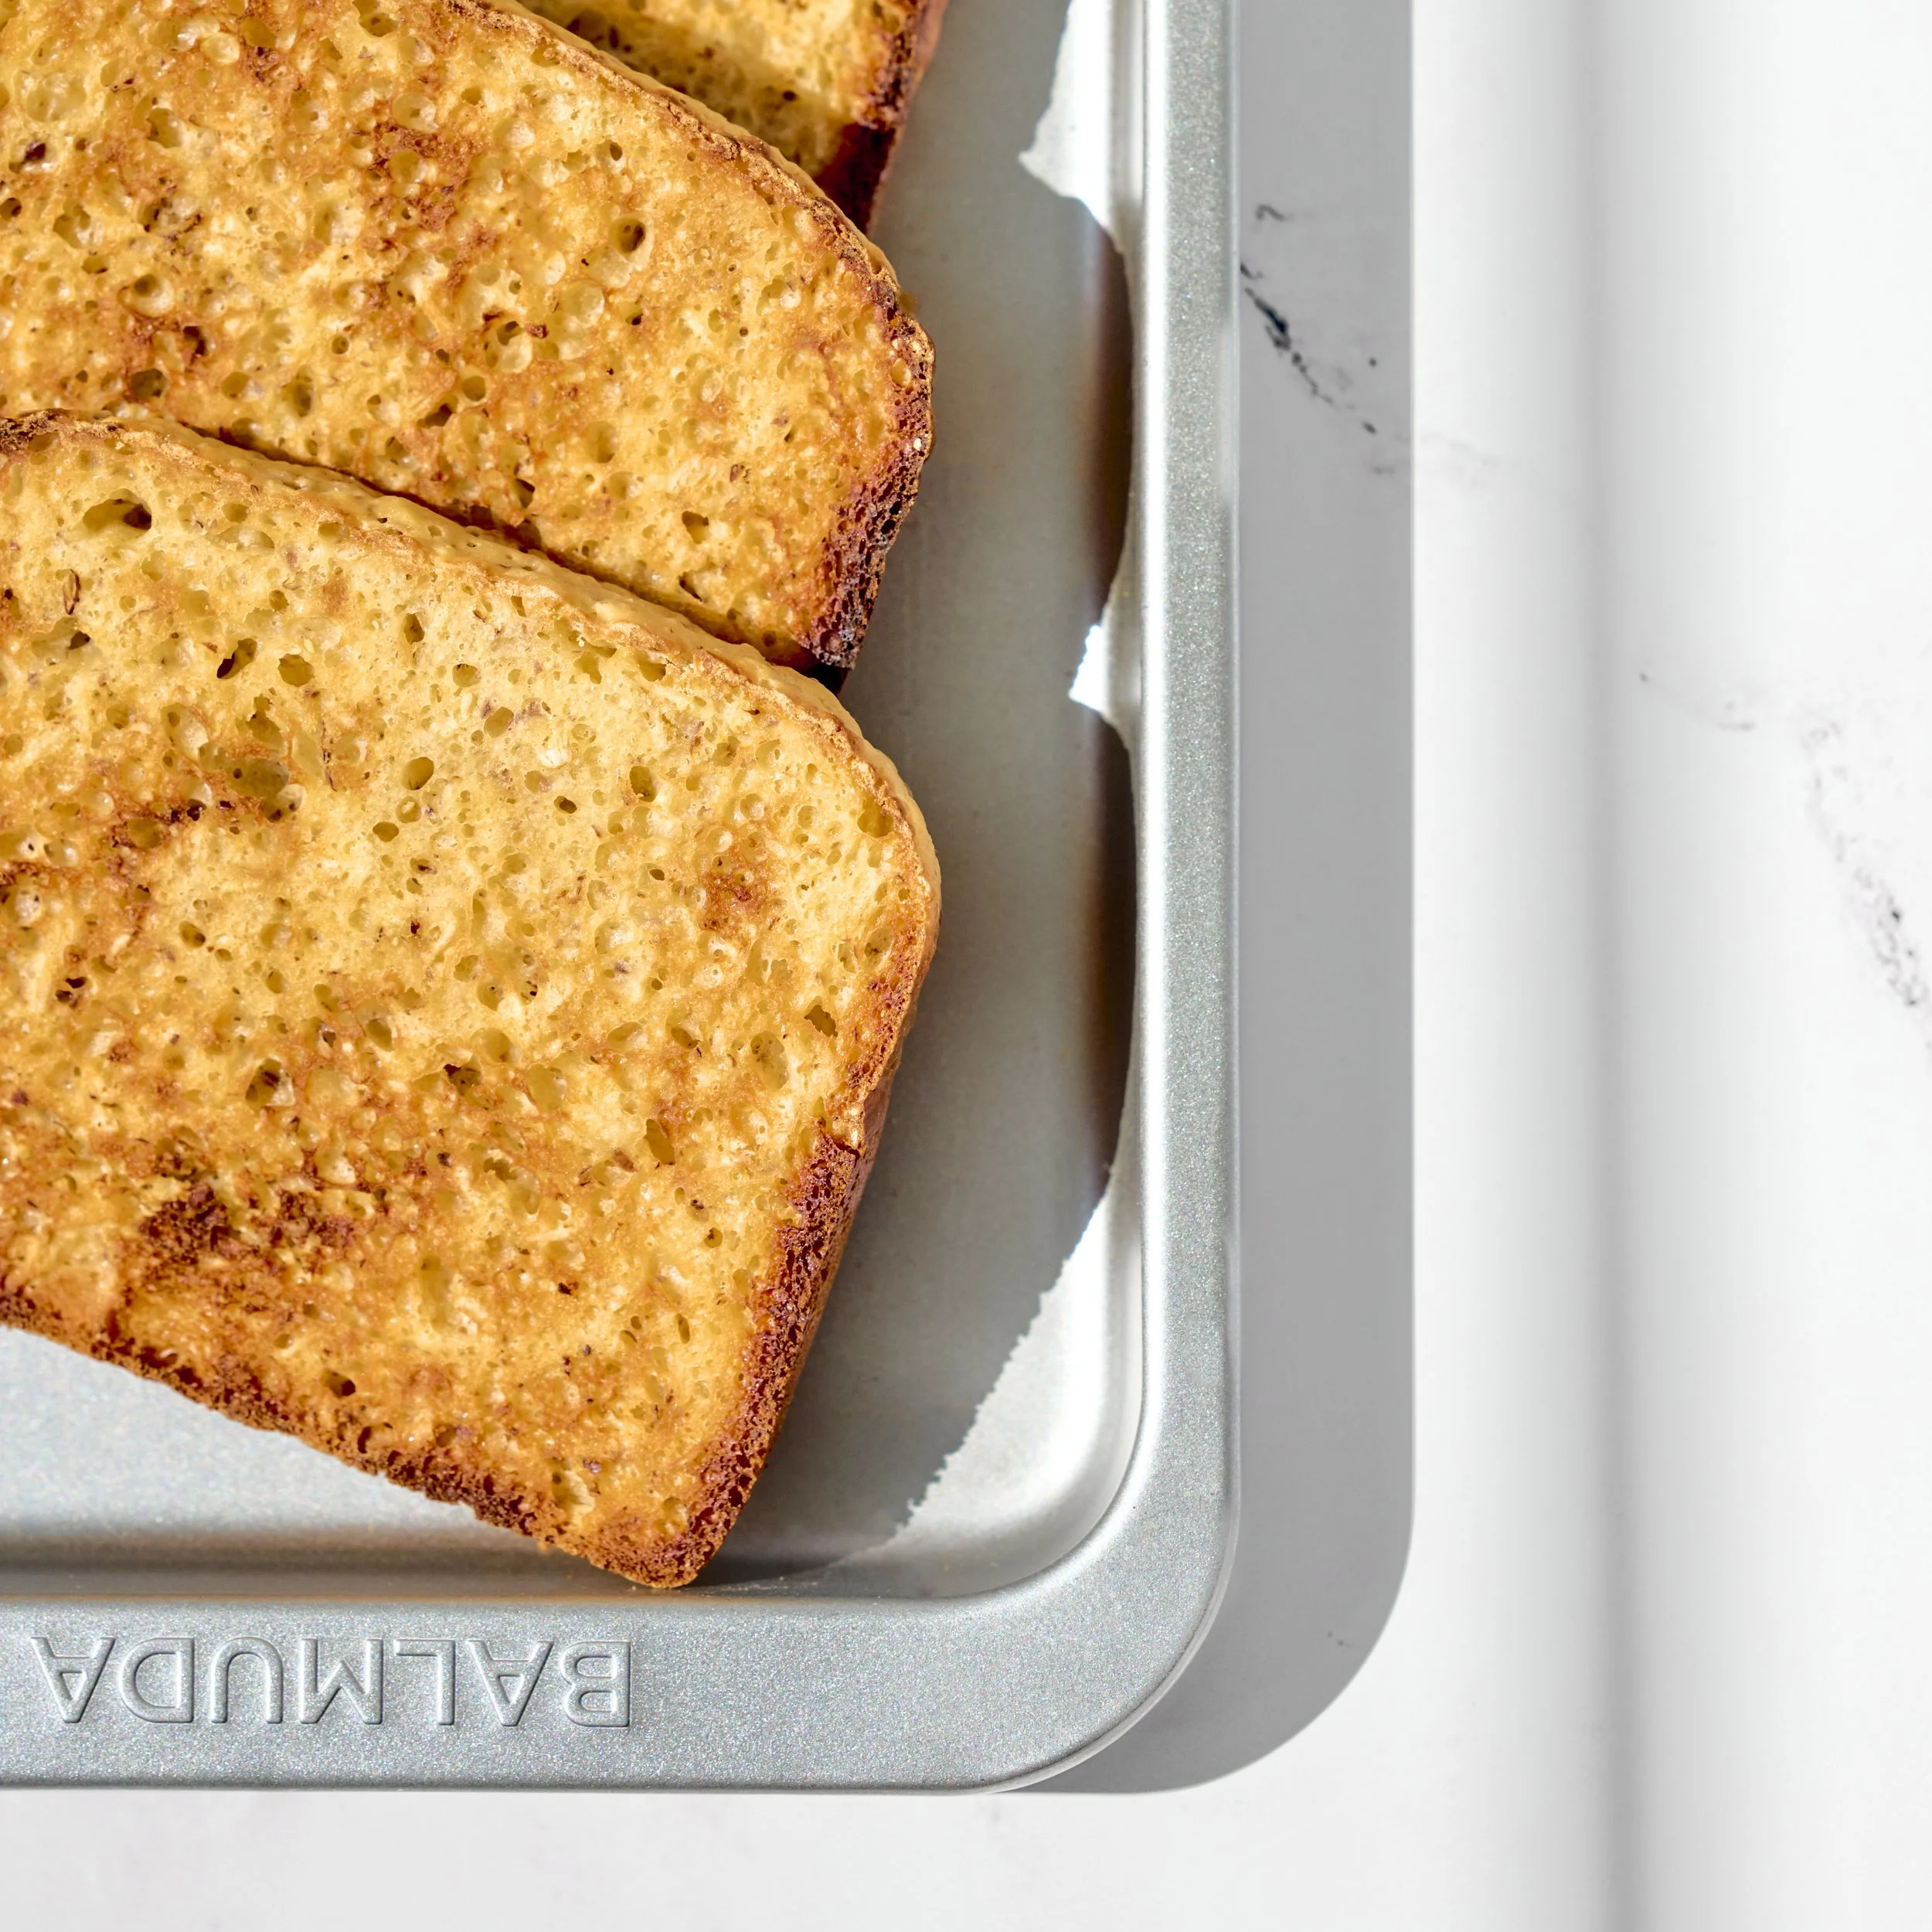
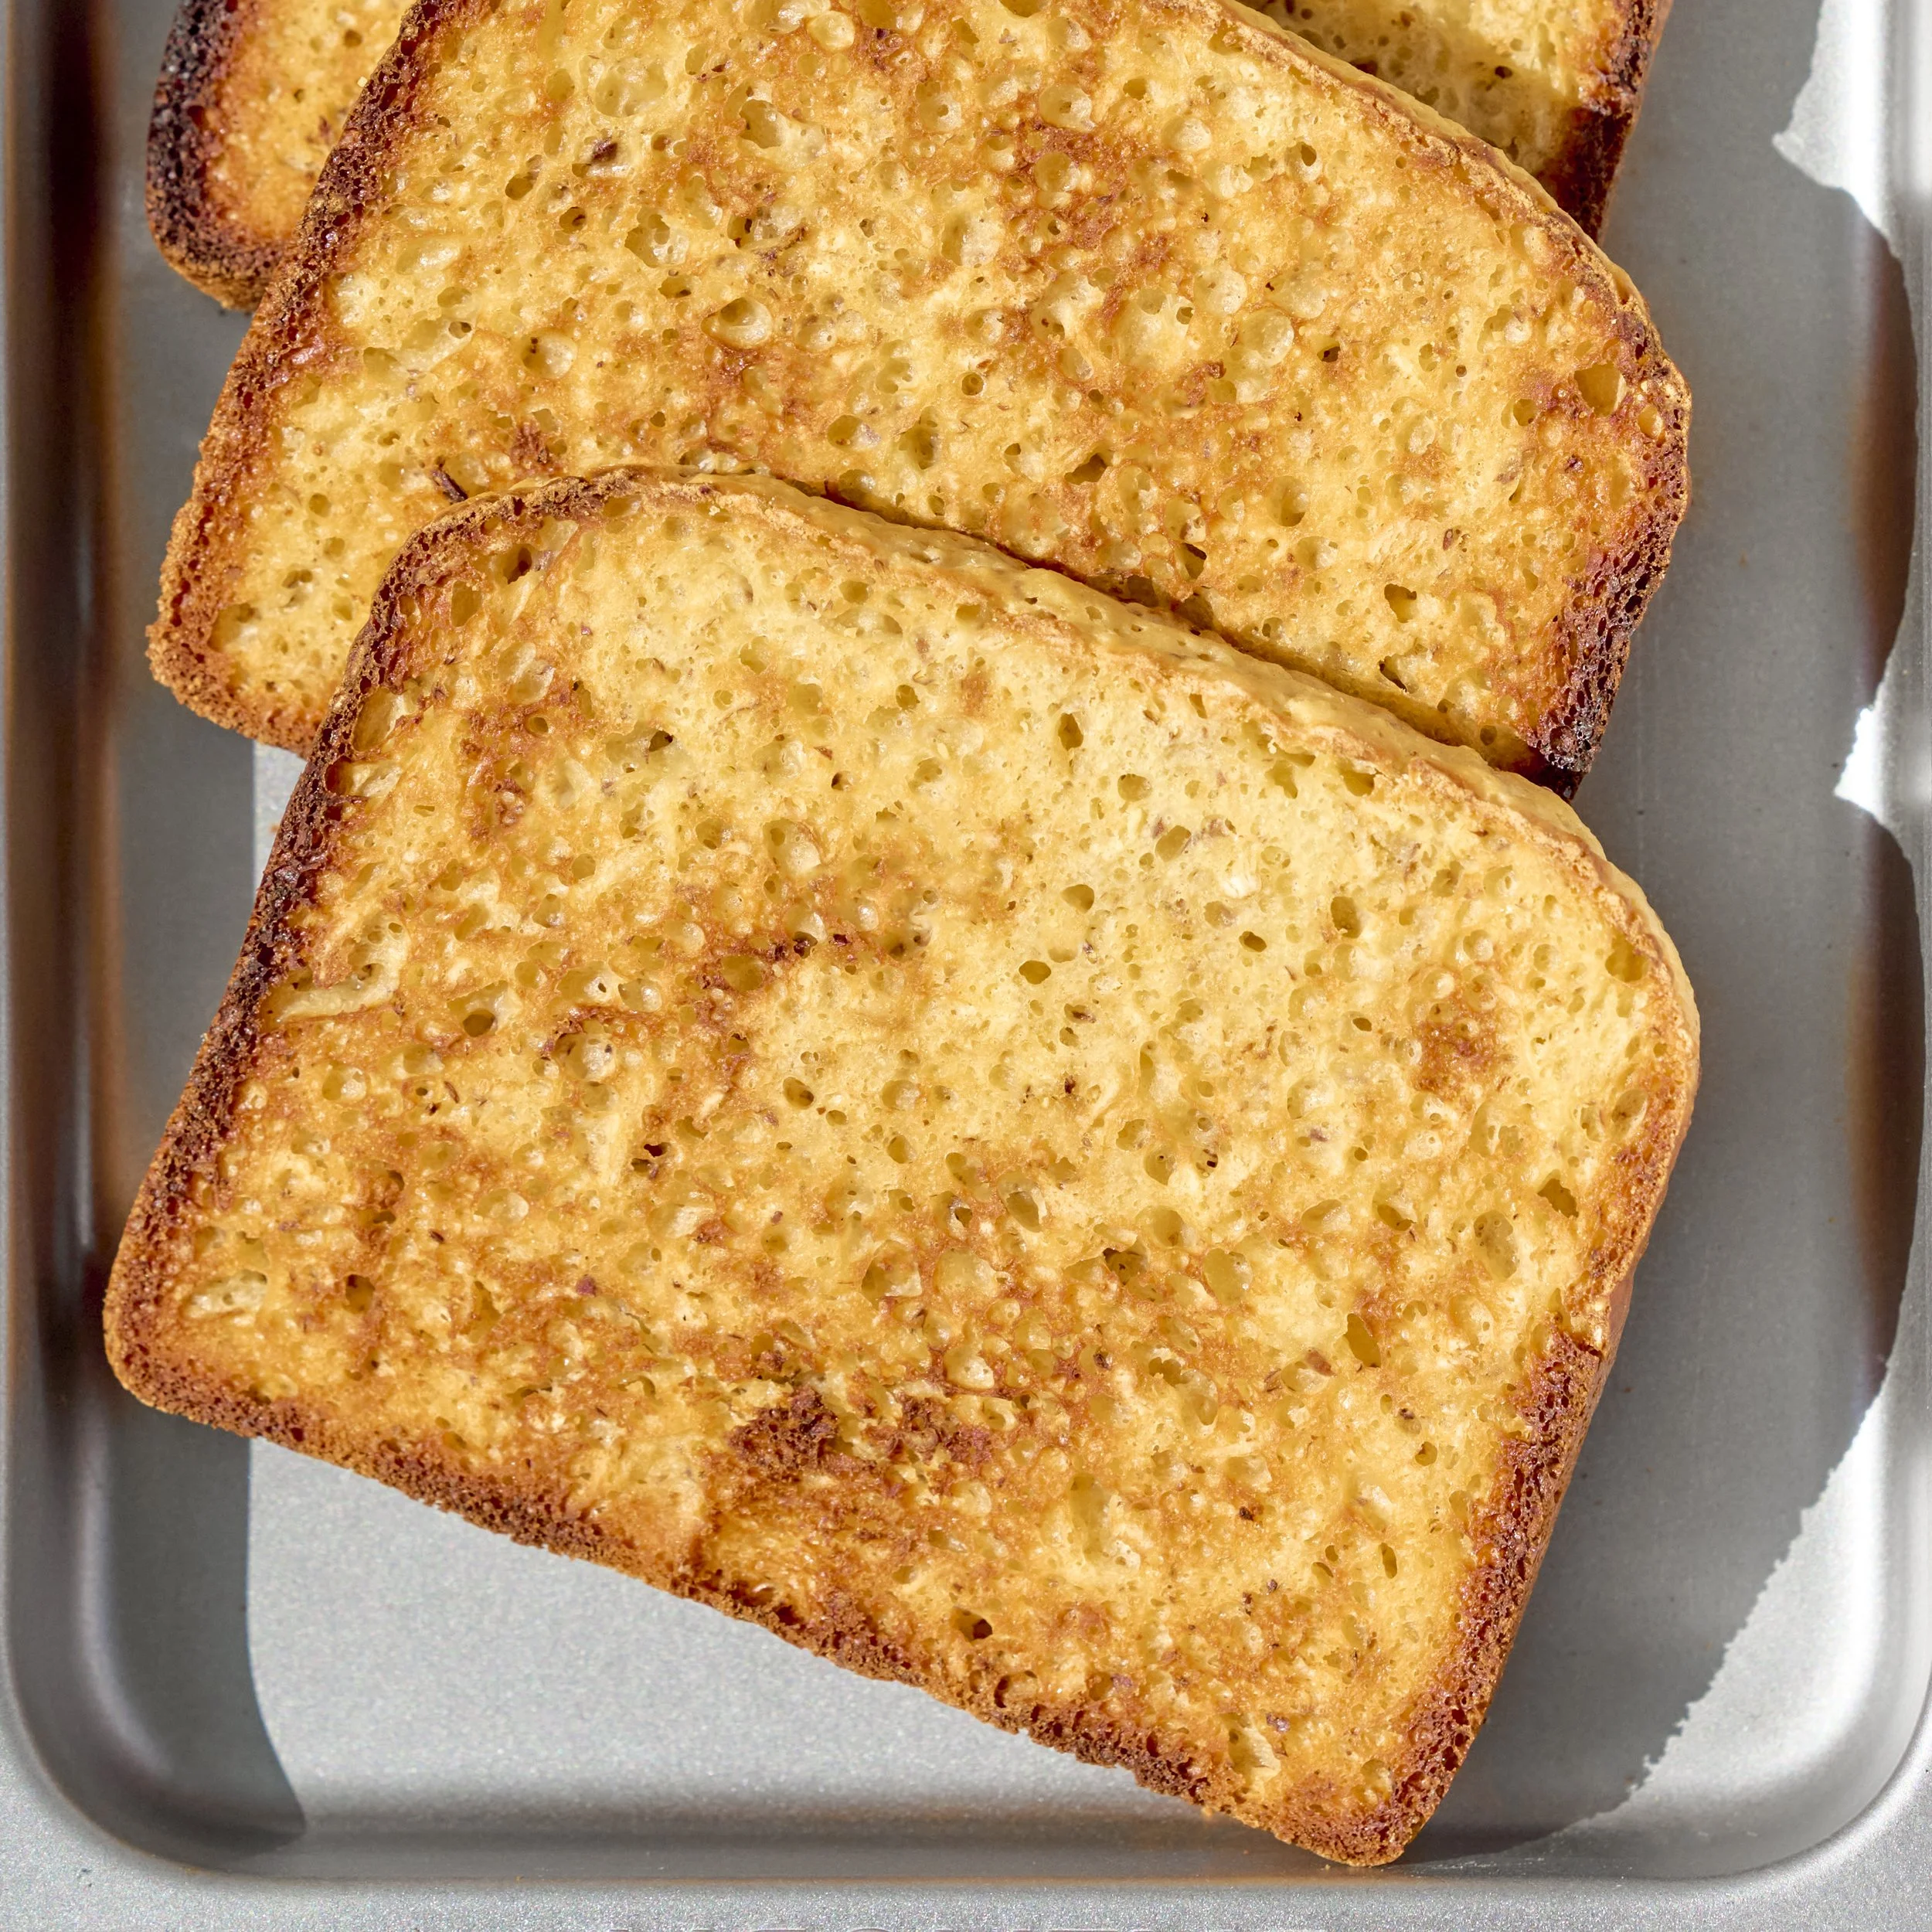
Let us talk about the moment this loaf will scare you, because it will. It comes out of the machine tall and soft and smelling like a bakery, and then it firms up as it cools. You will poke it around hour two and think you have done something wrong. You have not. This is simply what gluten-free bread does. Drop a slice in the toaster and it comes back to you soft, warm, and completely reasonable. A minute in a low oven works too, and the microwave will do in a pinch.
Measurements matter more here than almost anywhere else. I know that is not the fun answer. But a loaf like this is a batter, not a dough, and it does not have gluten to cover for you. Use a scale where I have given weights, use proper measuring cups where I have called for them, and resist the urge to eyeball. A little extra flour is the difference between a soft sandwich loaf and a brick with ambitions.
This bread is also delicate, and I want you to know that going in. It will not fold over on itself the way a soft white sandwich slice does. That is not a flaw, it is just the nature of the thing. What it will do is toast without crumbling and hold a sandwich together, which is honestly all I have ever asked of a gluten-free loaf.
And one small housekeeping note that I learned the hard way. This bread is made of real ingredients and nothing else, which means it does not have the shelf life of the shrink-wrapped stuff. So, one day on the counter is fine. After that, it goes in the refrigerator.
How to Make It Your Own
Here is my honest position: I would not change much. I tested this one until it landed exactly where I wanted it, simple and soft and unfussy, and I think it is lovely as written. But it is your kitchen, and there are a few easy places to play.
Because this bakes as a batter, any add-ins go in with everything else rather than getting folded in later. If your machine has an add-in signal, use it for nuts or seeds. Sunflower seeds, pepitas, a handful of chopped walnuts. A scattering of extra oats across the top before the bake is a small thing that makes the finished loaf look a little extra.
Your machine's crust setting is the other easy lever. Go darker for a sturdier, more sandwich-ready exterior, or lighter if you like a softer edge. Both are correct. It just depends what you are in the mood for.
Pro Tip: Do not leave this loaf on the counter past day one. I mean it. There are no preservatives in here, and it will mold on you faster than you expect. After the first day, wrap it and move it to the refrigerator, then toast the slices as you go. That one extra step is all it takes.
Summary Notes:
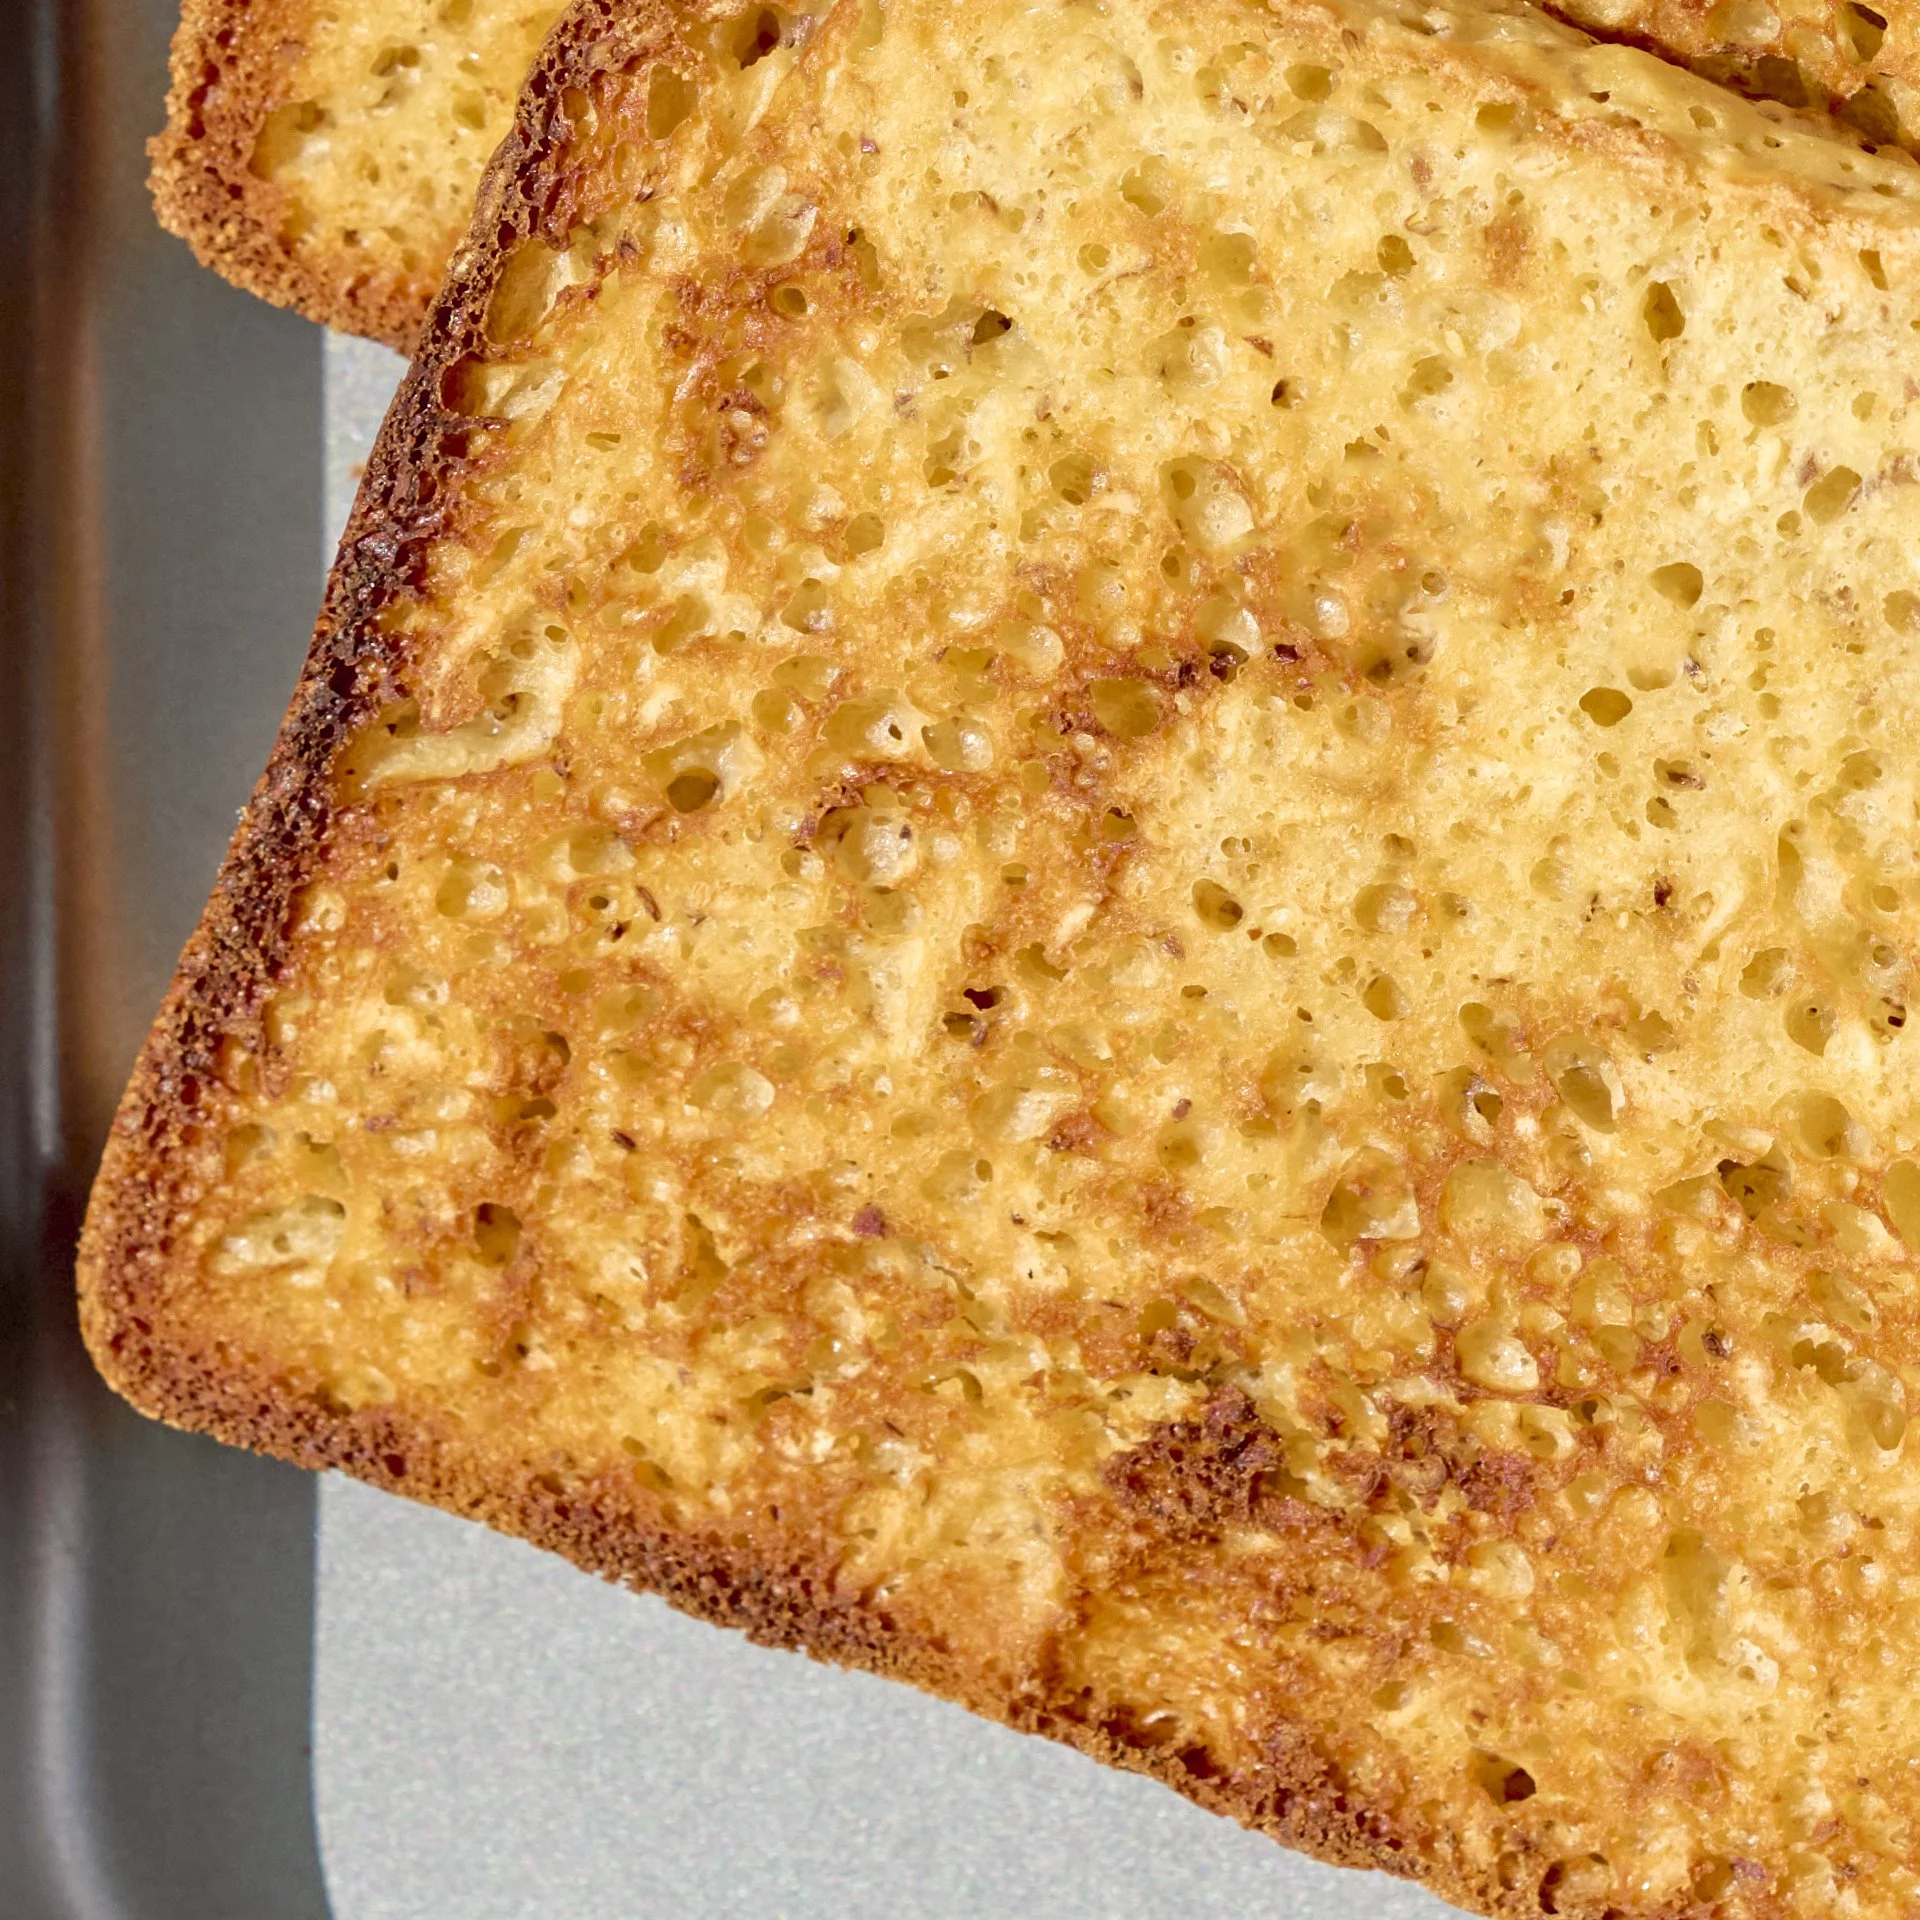
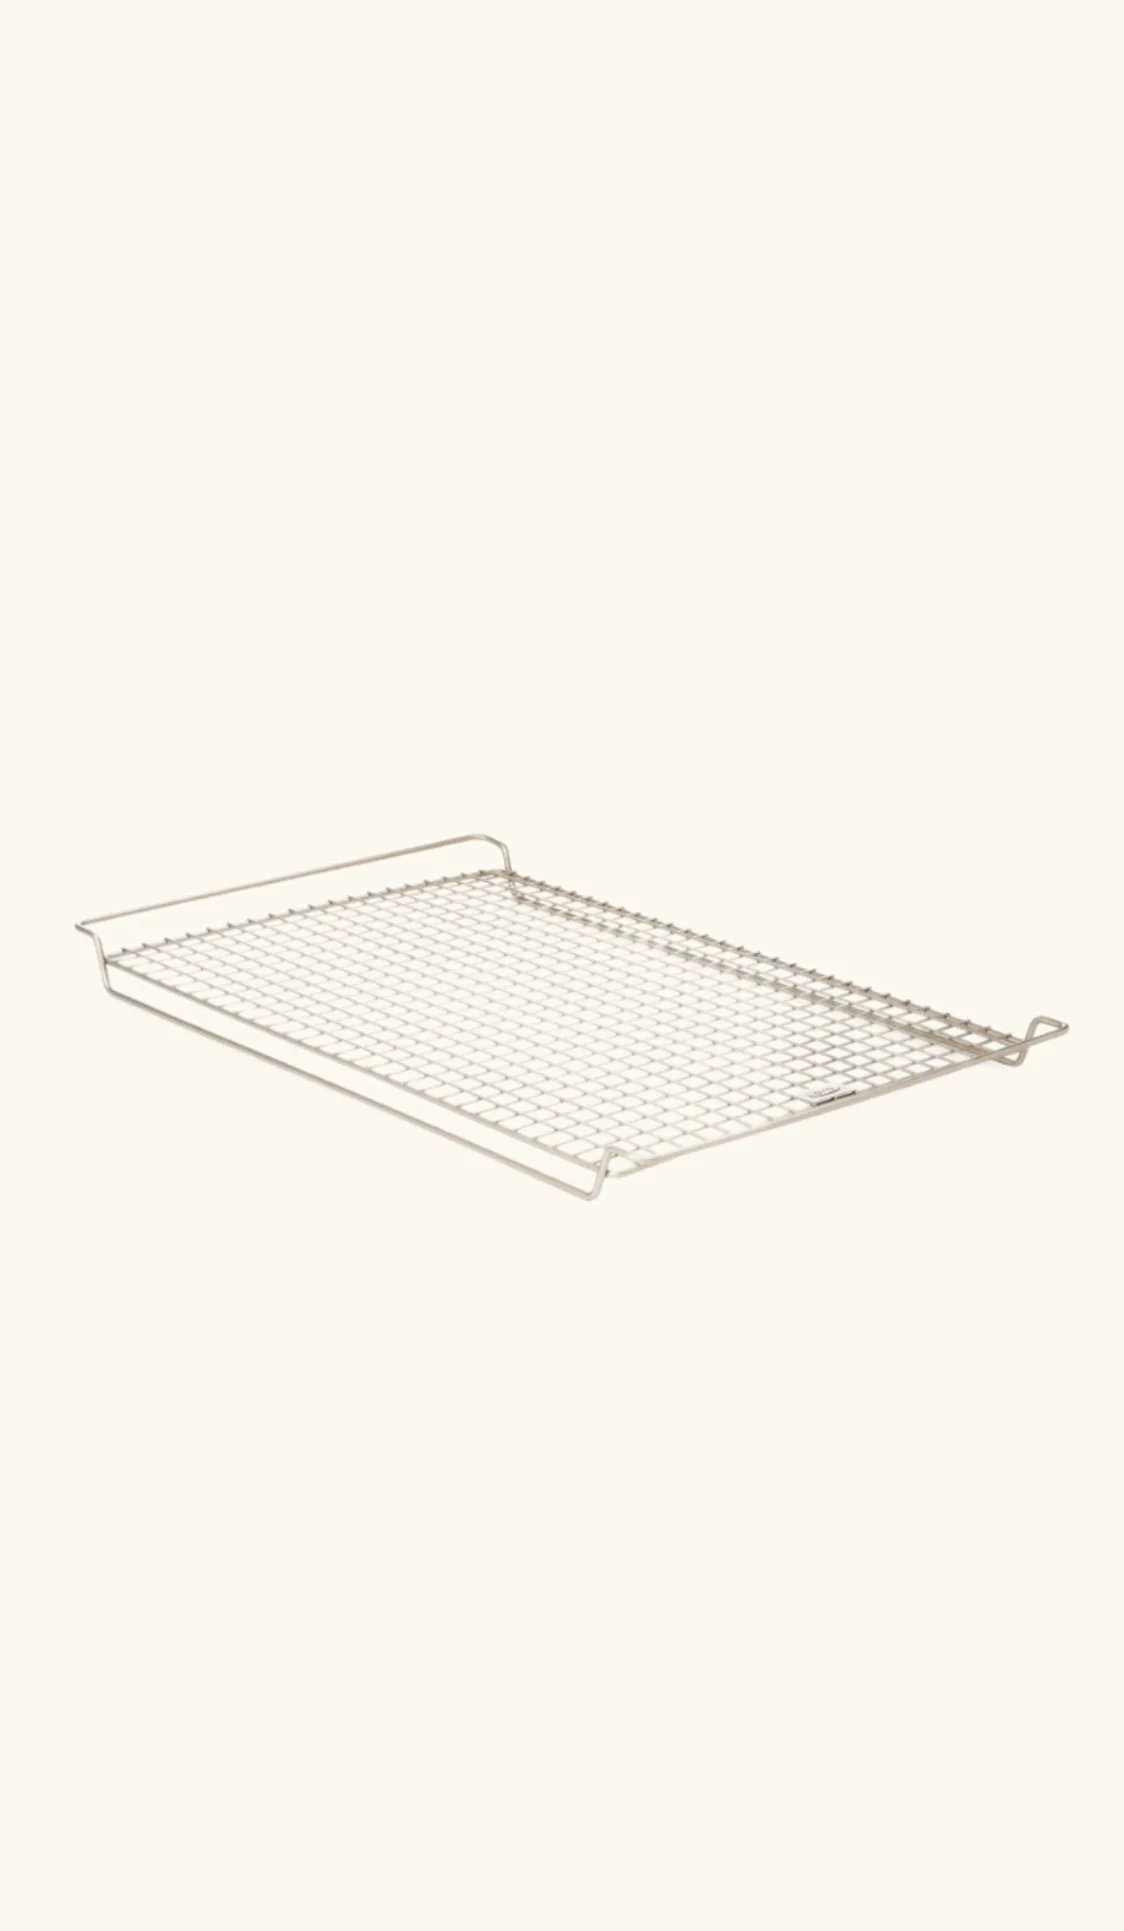
If you have been hunting for a gluten-free honey oat bread machine loaf that actually works as sandwich bread, this is the one I would hand you first. It is soft, lightly sweet, and genuinely simple to make. You add your ingredients, you press start, and you walk away. My favorite way to eat it is fresh, turned out onto a cooling rack, given about 30 to 45 minutes, and then sliced while it is still a little warm. That first slice is one of the better arguments I know for baking your own bread.
Tried it? Let us know how it went in the comments below.
At Brimly, we take pride in presenting you with the finest products that our editors independently handpicked. In the spirit of transparency, we want you to know that we may earn an affiliate commission when you purchase something through the retail links below.
view:LISTEN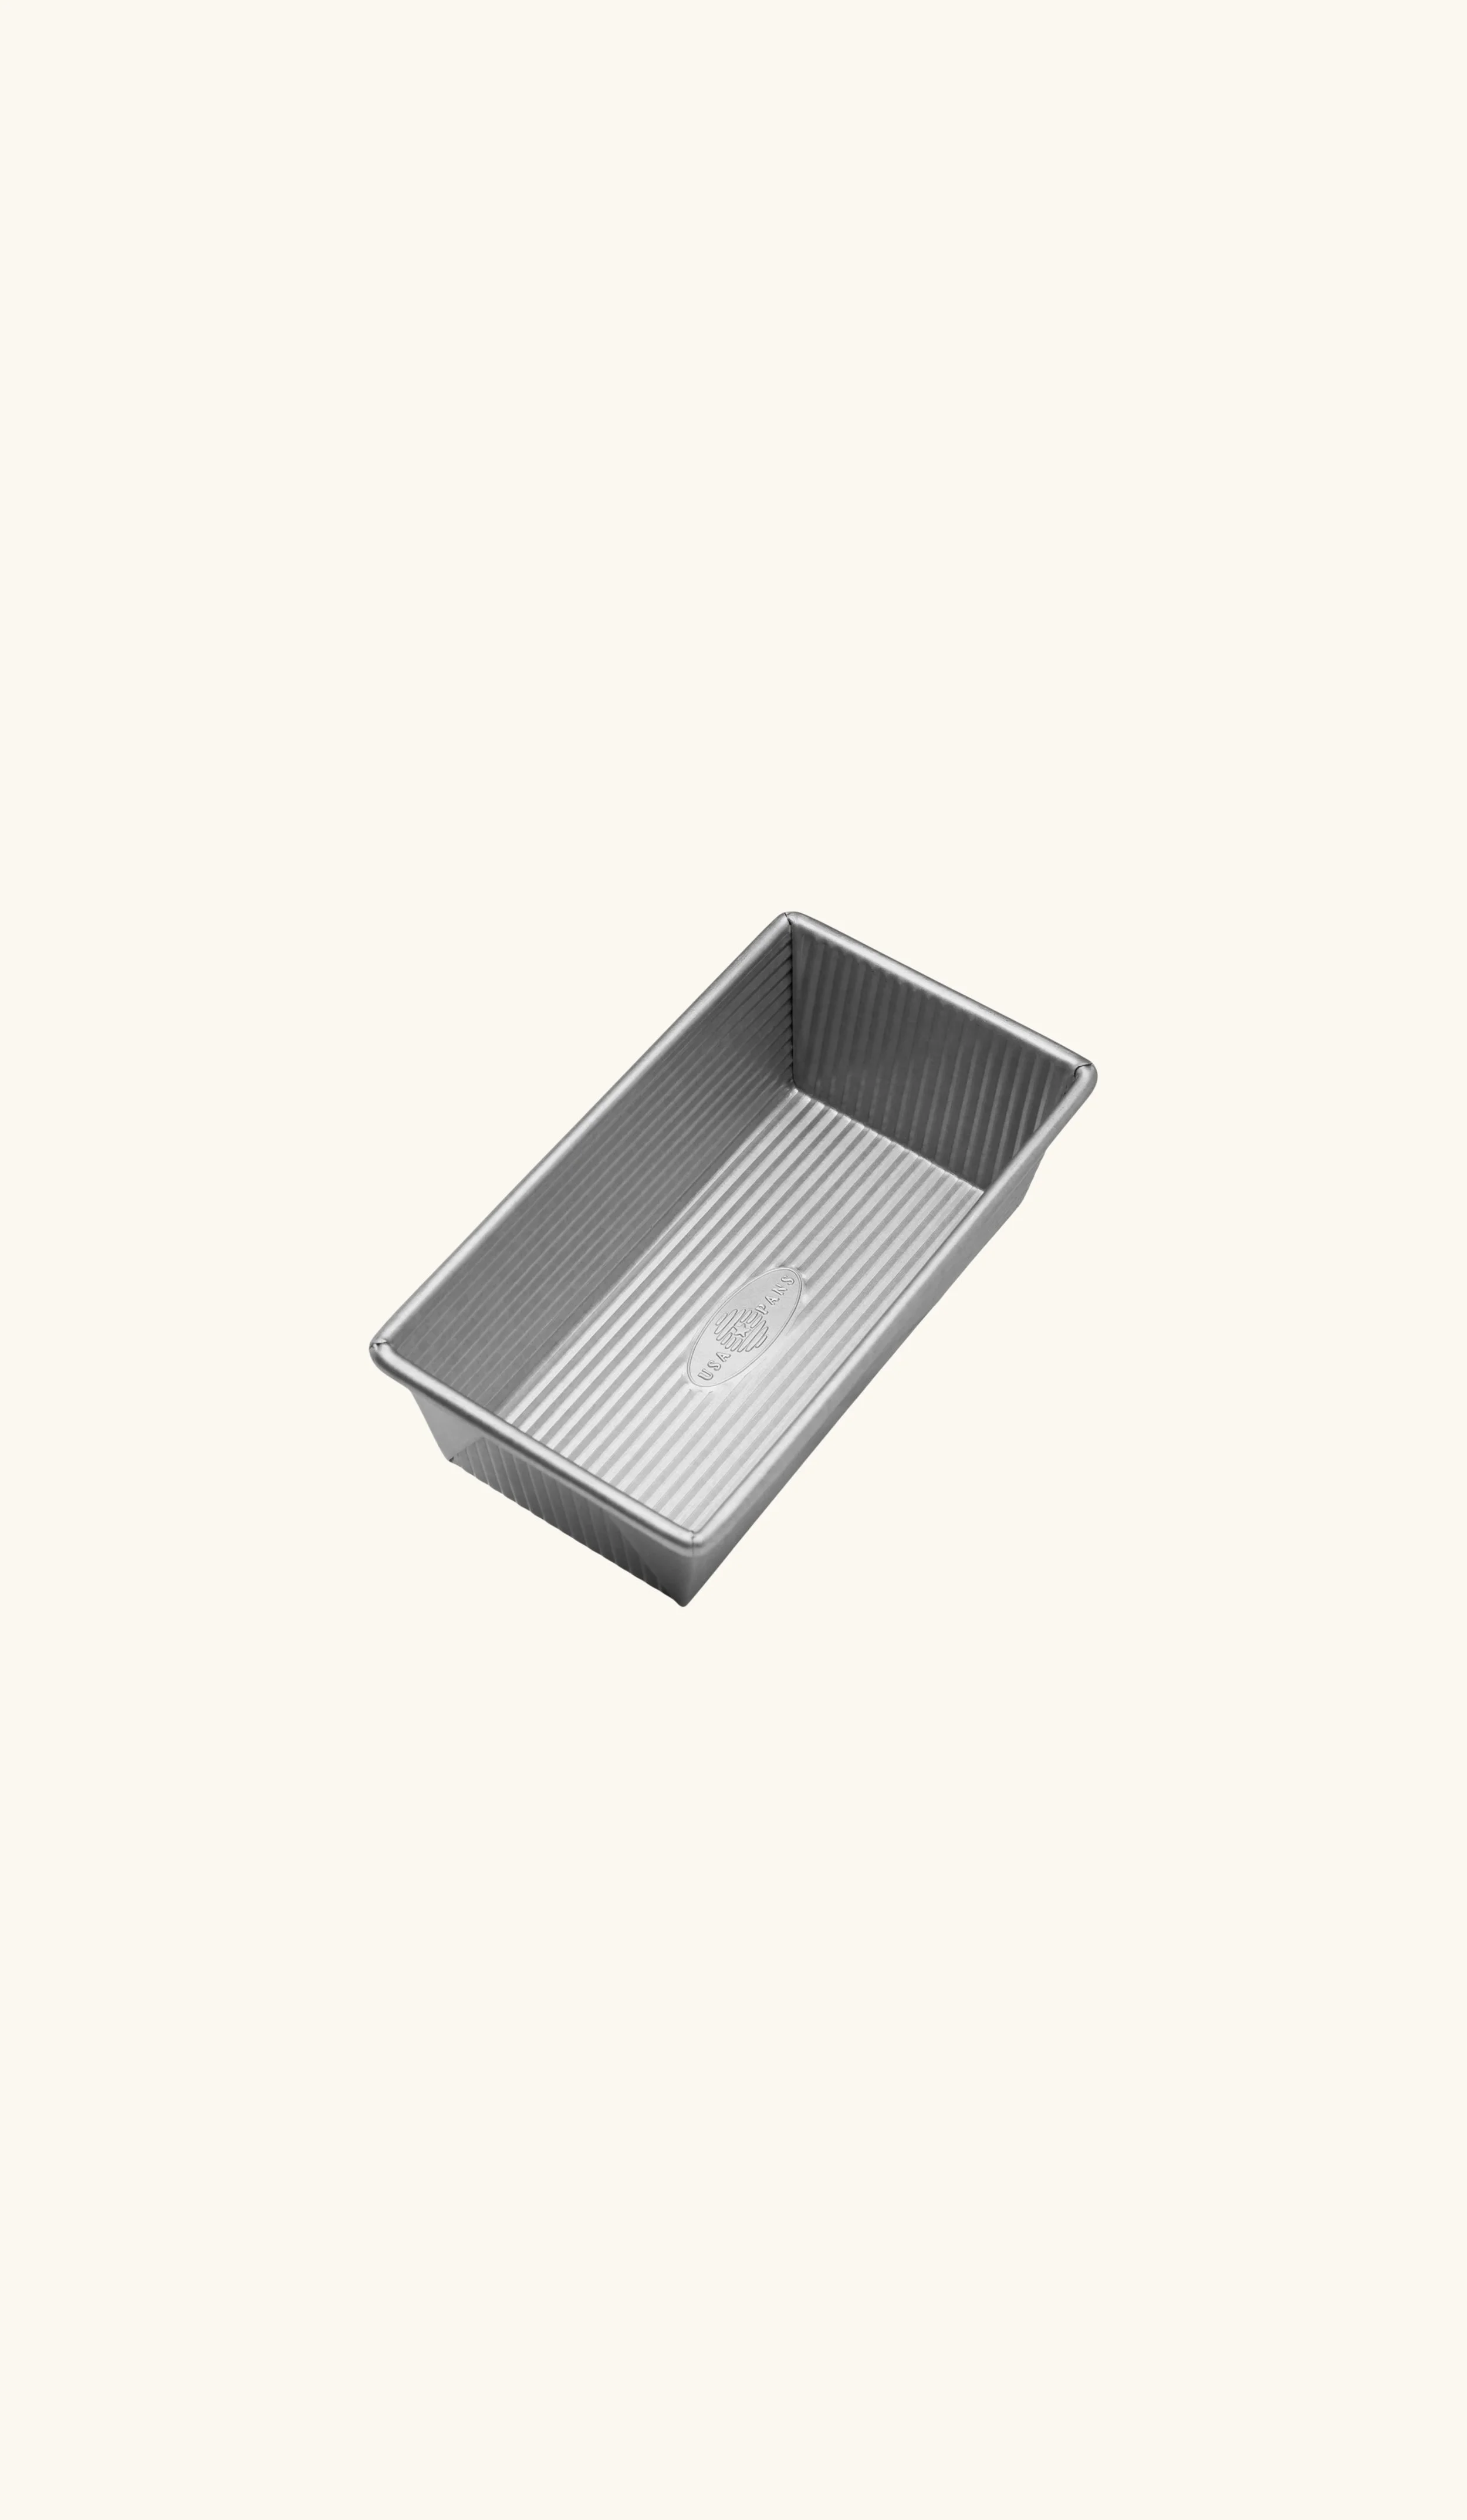


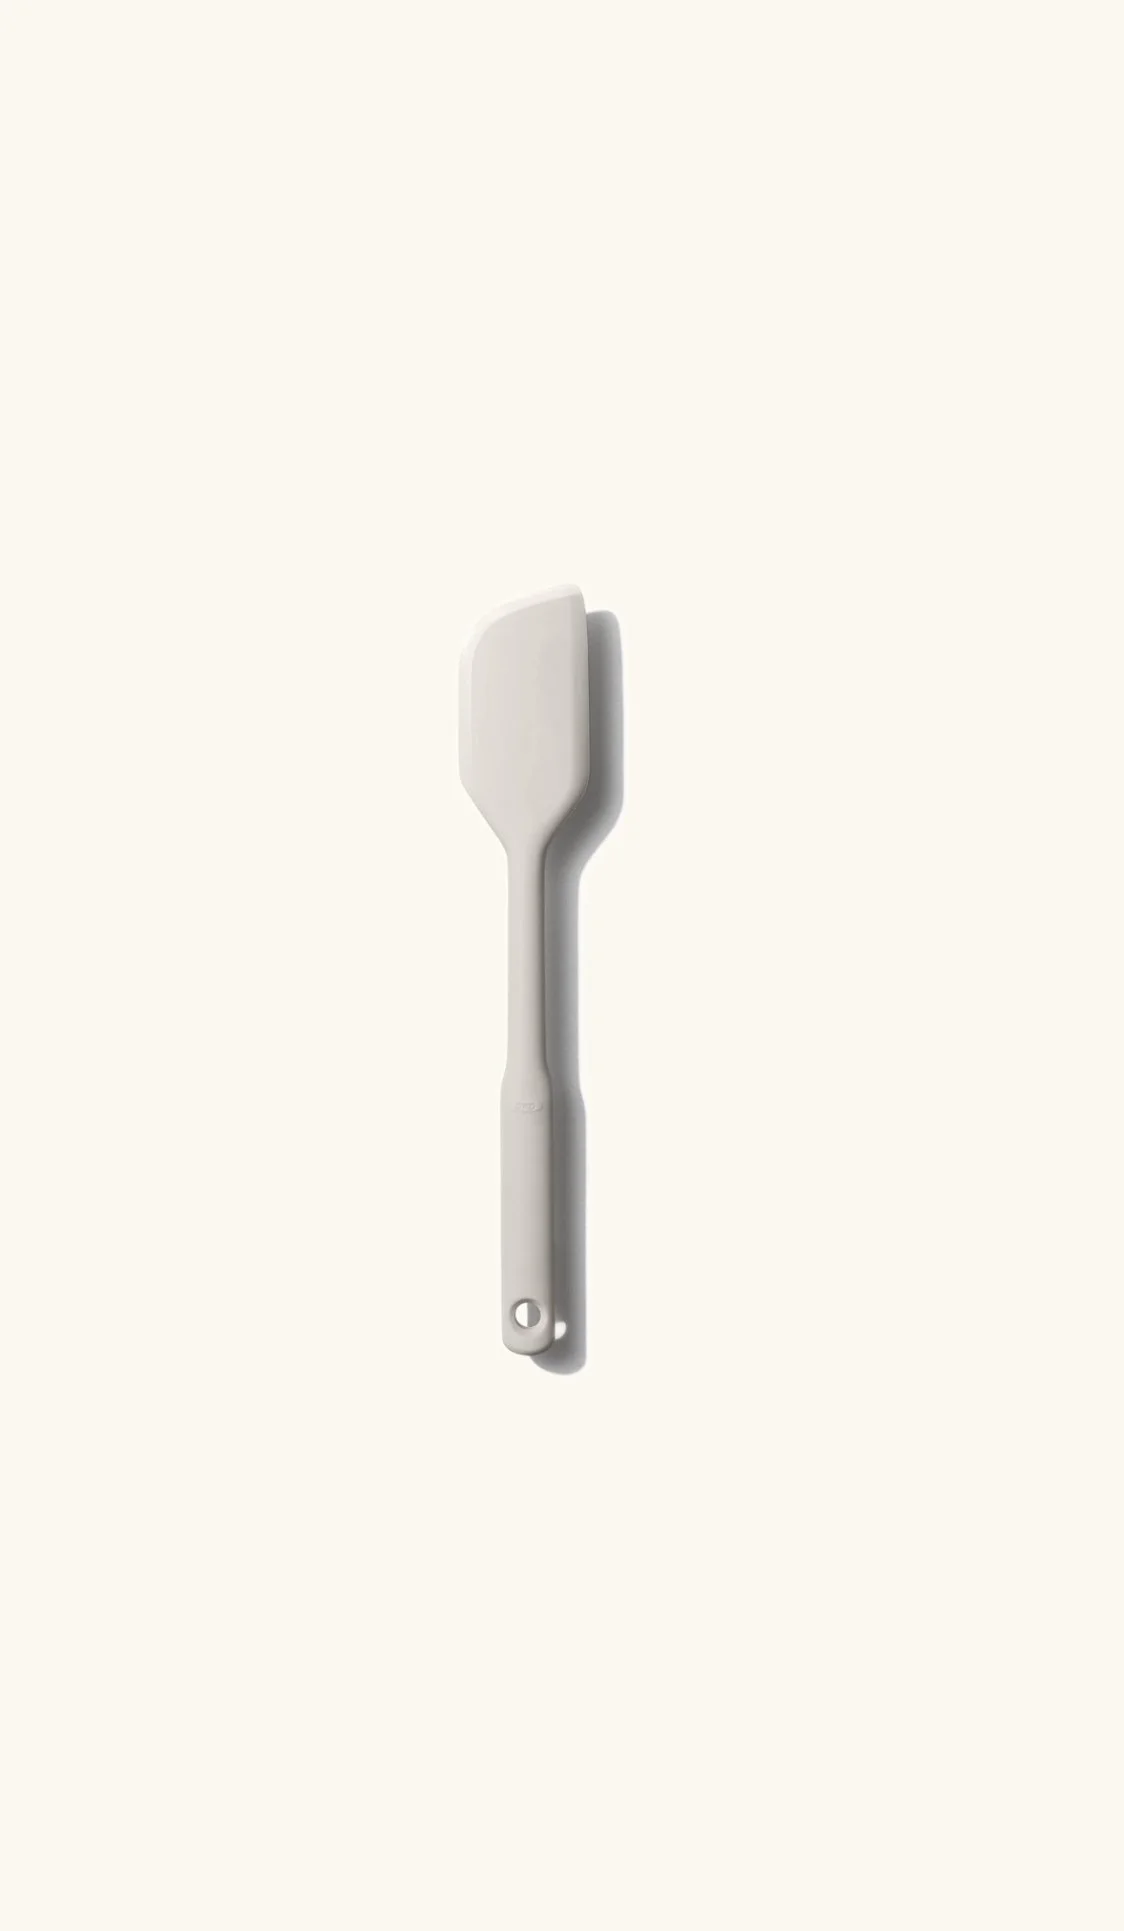
Ingredients

2½ cups (325 g) gluten-free flour (no xanthan gum) [BUY]
½ cup (70 g) potato starch [BUY]
½ cup (70 g) corn starch [BUY]
1 tsp fine sea salt
1½ cups plus 1 Tbsp (375 ml) whole milk, room temperature
¾ cup (65 g) old-fashioned rolled oats, plus 2 Tbsp set aside [BUY]
3 extra large eggs, beaten
4 Tbsp honey
2 Tbsp granulated sugar
3 Tbsp corn oil (or any neutral oil)
2 Tbsp plain yogurt (heaped)
1 Tbsp apple cider vinegar
1 packet instant yeast (2¼ tsp or 7 g)
Recipe Steps

Step 1
Stir the ¾ cup rolled oats into the milk in a measuring jug and let them sit for 10 minutes. This softens them so they don't pull moisture out of the batter later.
Step 2
Place the bread machine pan into the machine. Add the oat and milk mixture, beaten eggs, honey, sugar, corn oil, yogurt, and apple cider vinegar directly into the pan.
Step 3
In a separate bowl, combine the gluten-free flour, corn starch, potato starch, flaxseed meal, milk powder, and salt. Mix until evenly blended.
Step 4
Pour the dry mixture over the wet ingredients in the pan. Do not mix.
Step 5
Create a small well in the center of the dry ingredients and add the yeast into that well.
Step 6
Close the lid, select the gluten-free setting, and start the machine. Let it run completely. If your machine has a mix-in signal, scatter the extra 2 Tbsp oats over the top when it beeps.
Step 7
Once finished, carefully remove the pan and transfer the loaf to a cooling rack.
Step 8
Allow the bread to cool for about 1 hour before slicing. Serve and enjoy!
Storage: Store the bread in an airtight container or sealed bag at room temperature for up to 2 days, or refrigerate for up to 7 days, reheating or toasting slices as needed to bring back its softness.
More From Brimly.
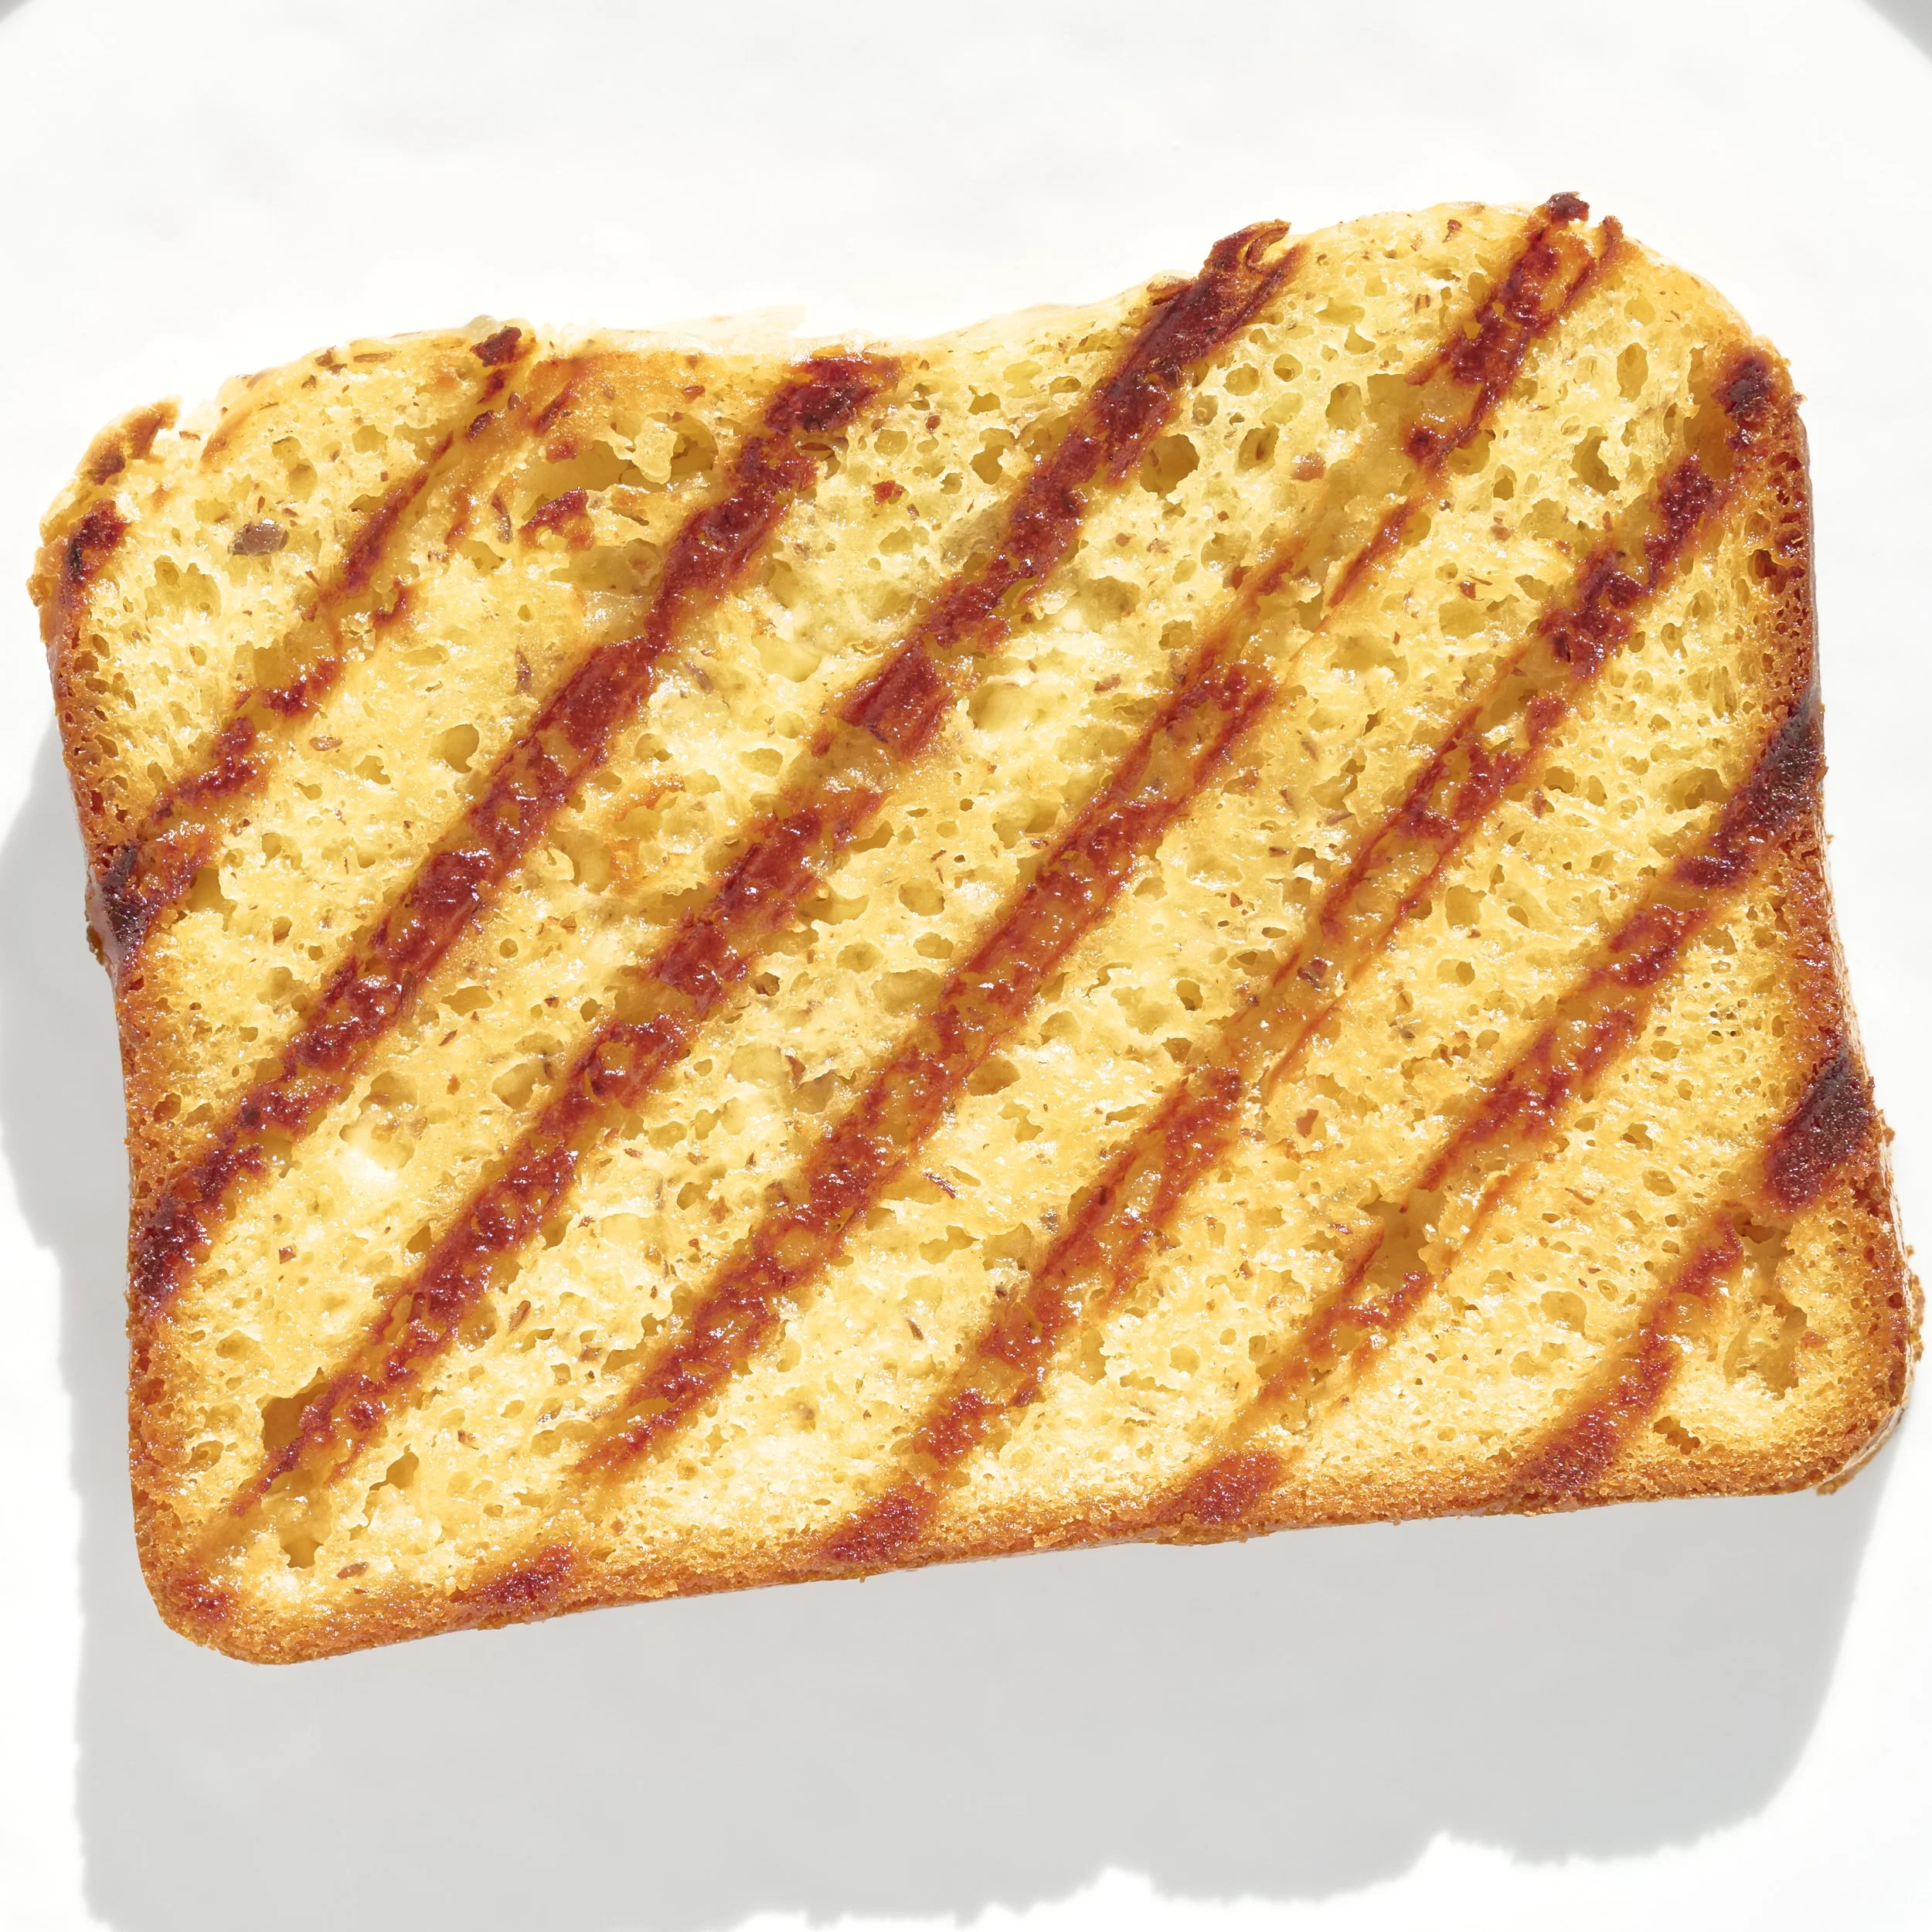
by Brimly kitchen
by Brimly kitchen
by Brimly kitchen
by Brimly kitchen