Gluten-Free Vanilla Loaf Cake
BY Brimly.August 2, 2026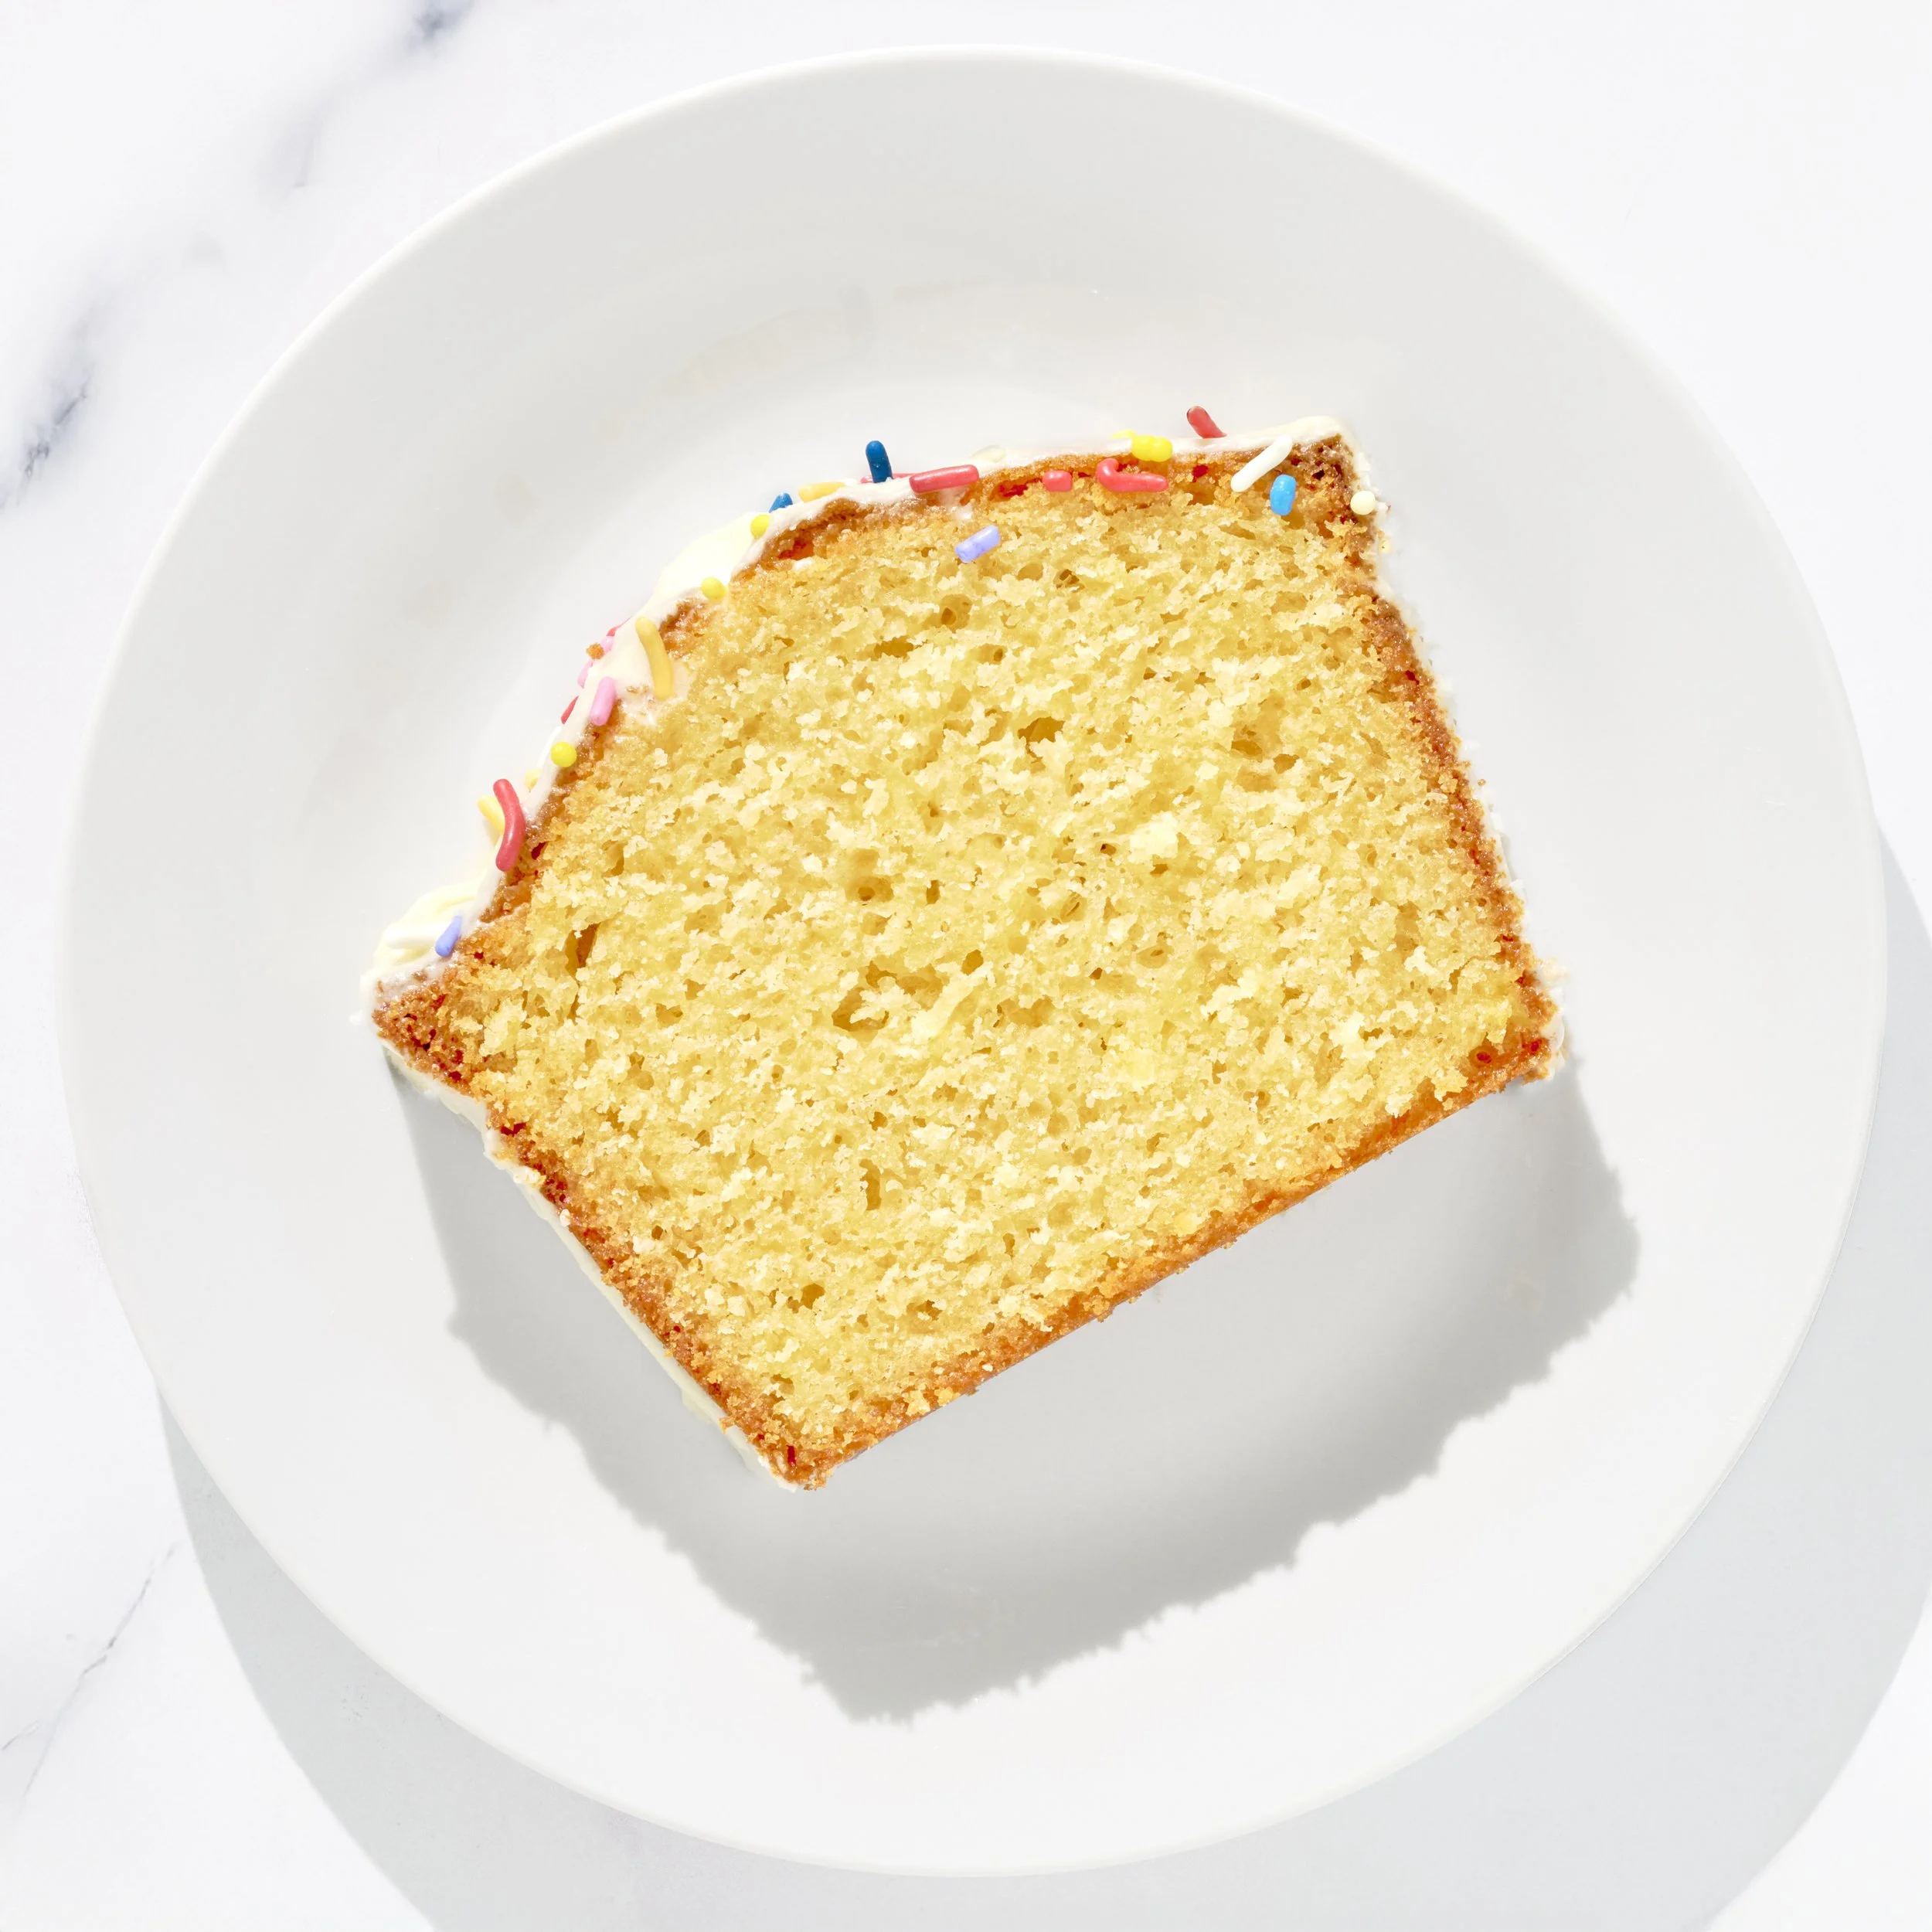
Photo By Editors @ the Brimly Test Kitchen


Bake: 50 MinPREP: 20 minGluten-freeServes: 10 Now, Why This Recipe and What Makes It Special?
This recipe opens something I have been looking forward to for a while. August here at Brimly is Birthday Behavior, a whole month of birthday cakes that are gluten-free, gum-free, and soy-free, and I could not think of a better place to begin than with this one.
I know a loaf cake is not the first thing that comes to mind when someone says birthday cake. But I think it should be. Not every birthday asks for a towering stack of layers and rounds of frosting. Sometimes you want something simple, homemade, and good, and that is the whole celebration. I am one of those people who would be perfectly content with a loaf cake on my own birthday. It is easy to make, easy to slice, and it takes the pressure out of the day entirely. A birthday cake should be fun to bake, not stressful, and I think this one gets that exactly right.
The surprise of this recipe, for me, was a small amount of almond extract. It was my first time putting it into a classic vanilla cake, and I could not believe what it did. It does not make the cake taste of almonds at all. It stays in the background, holding the vanilla up, giving the cake that birthday cake flavor so many of us grew up with. It was precisely the taste I had been chasing, and I am so glad I tried it.
The other ingredient I loved was the crushed pineapple, and here is the thing: you will not really taste it. That is the point. Its whole job is to bring moisture and keep the crumb soft for longer. Gluten-free baking works by slightly different rules than traditional baking, and sometimes the ingredient that changes everything is the one you never notice at all.
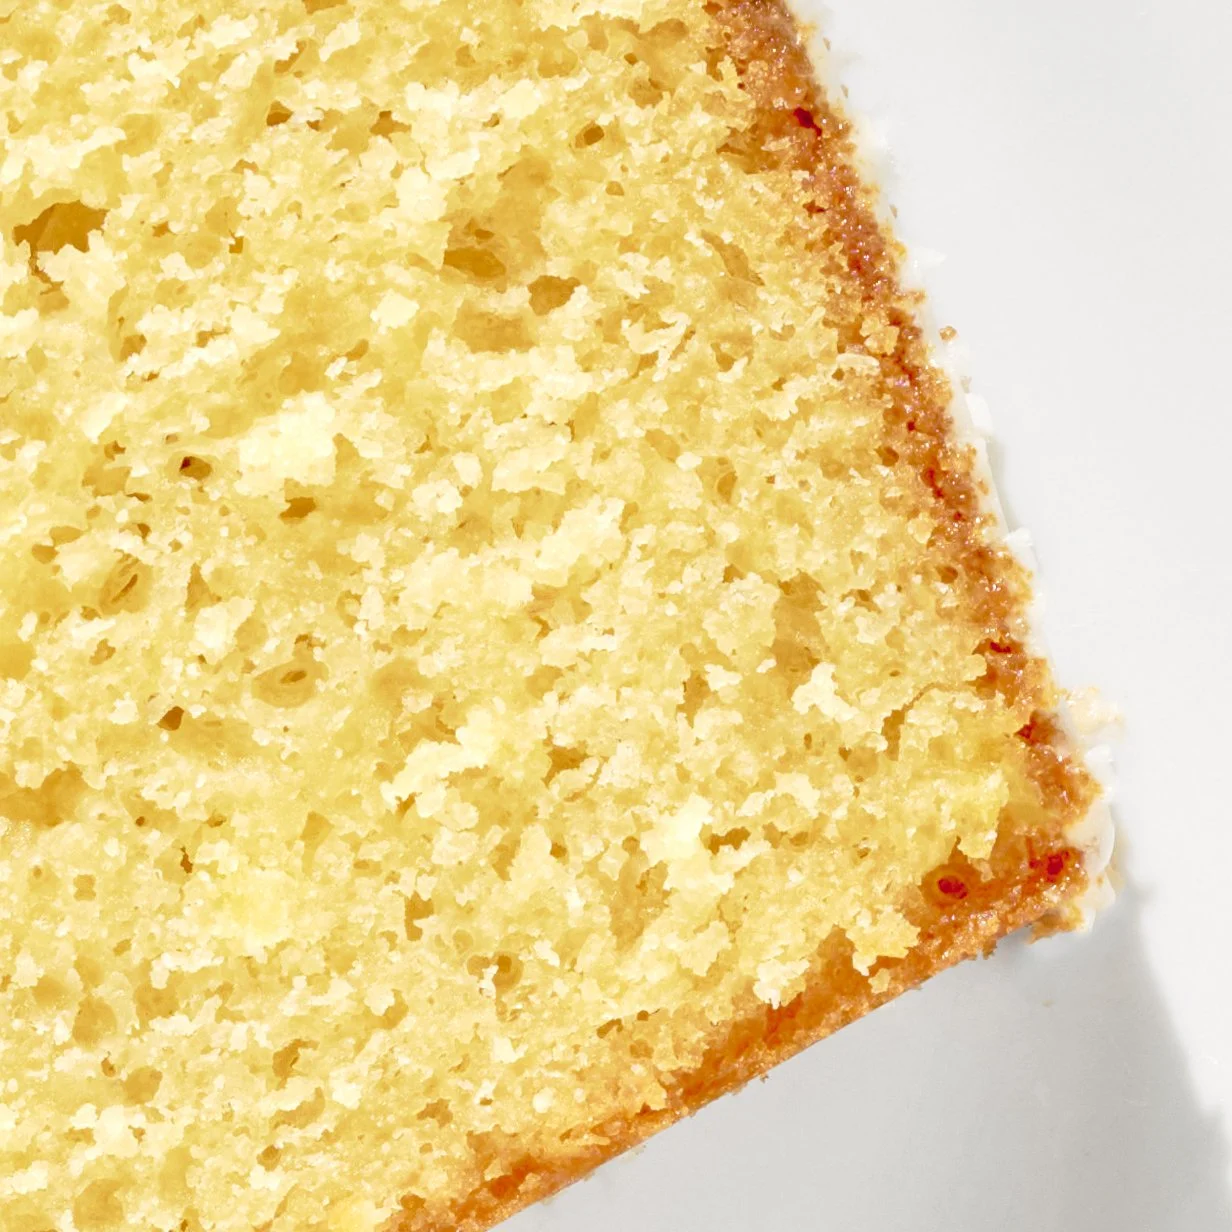
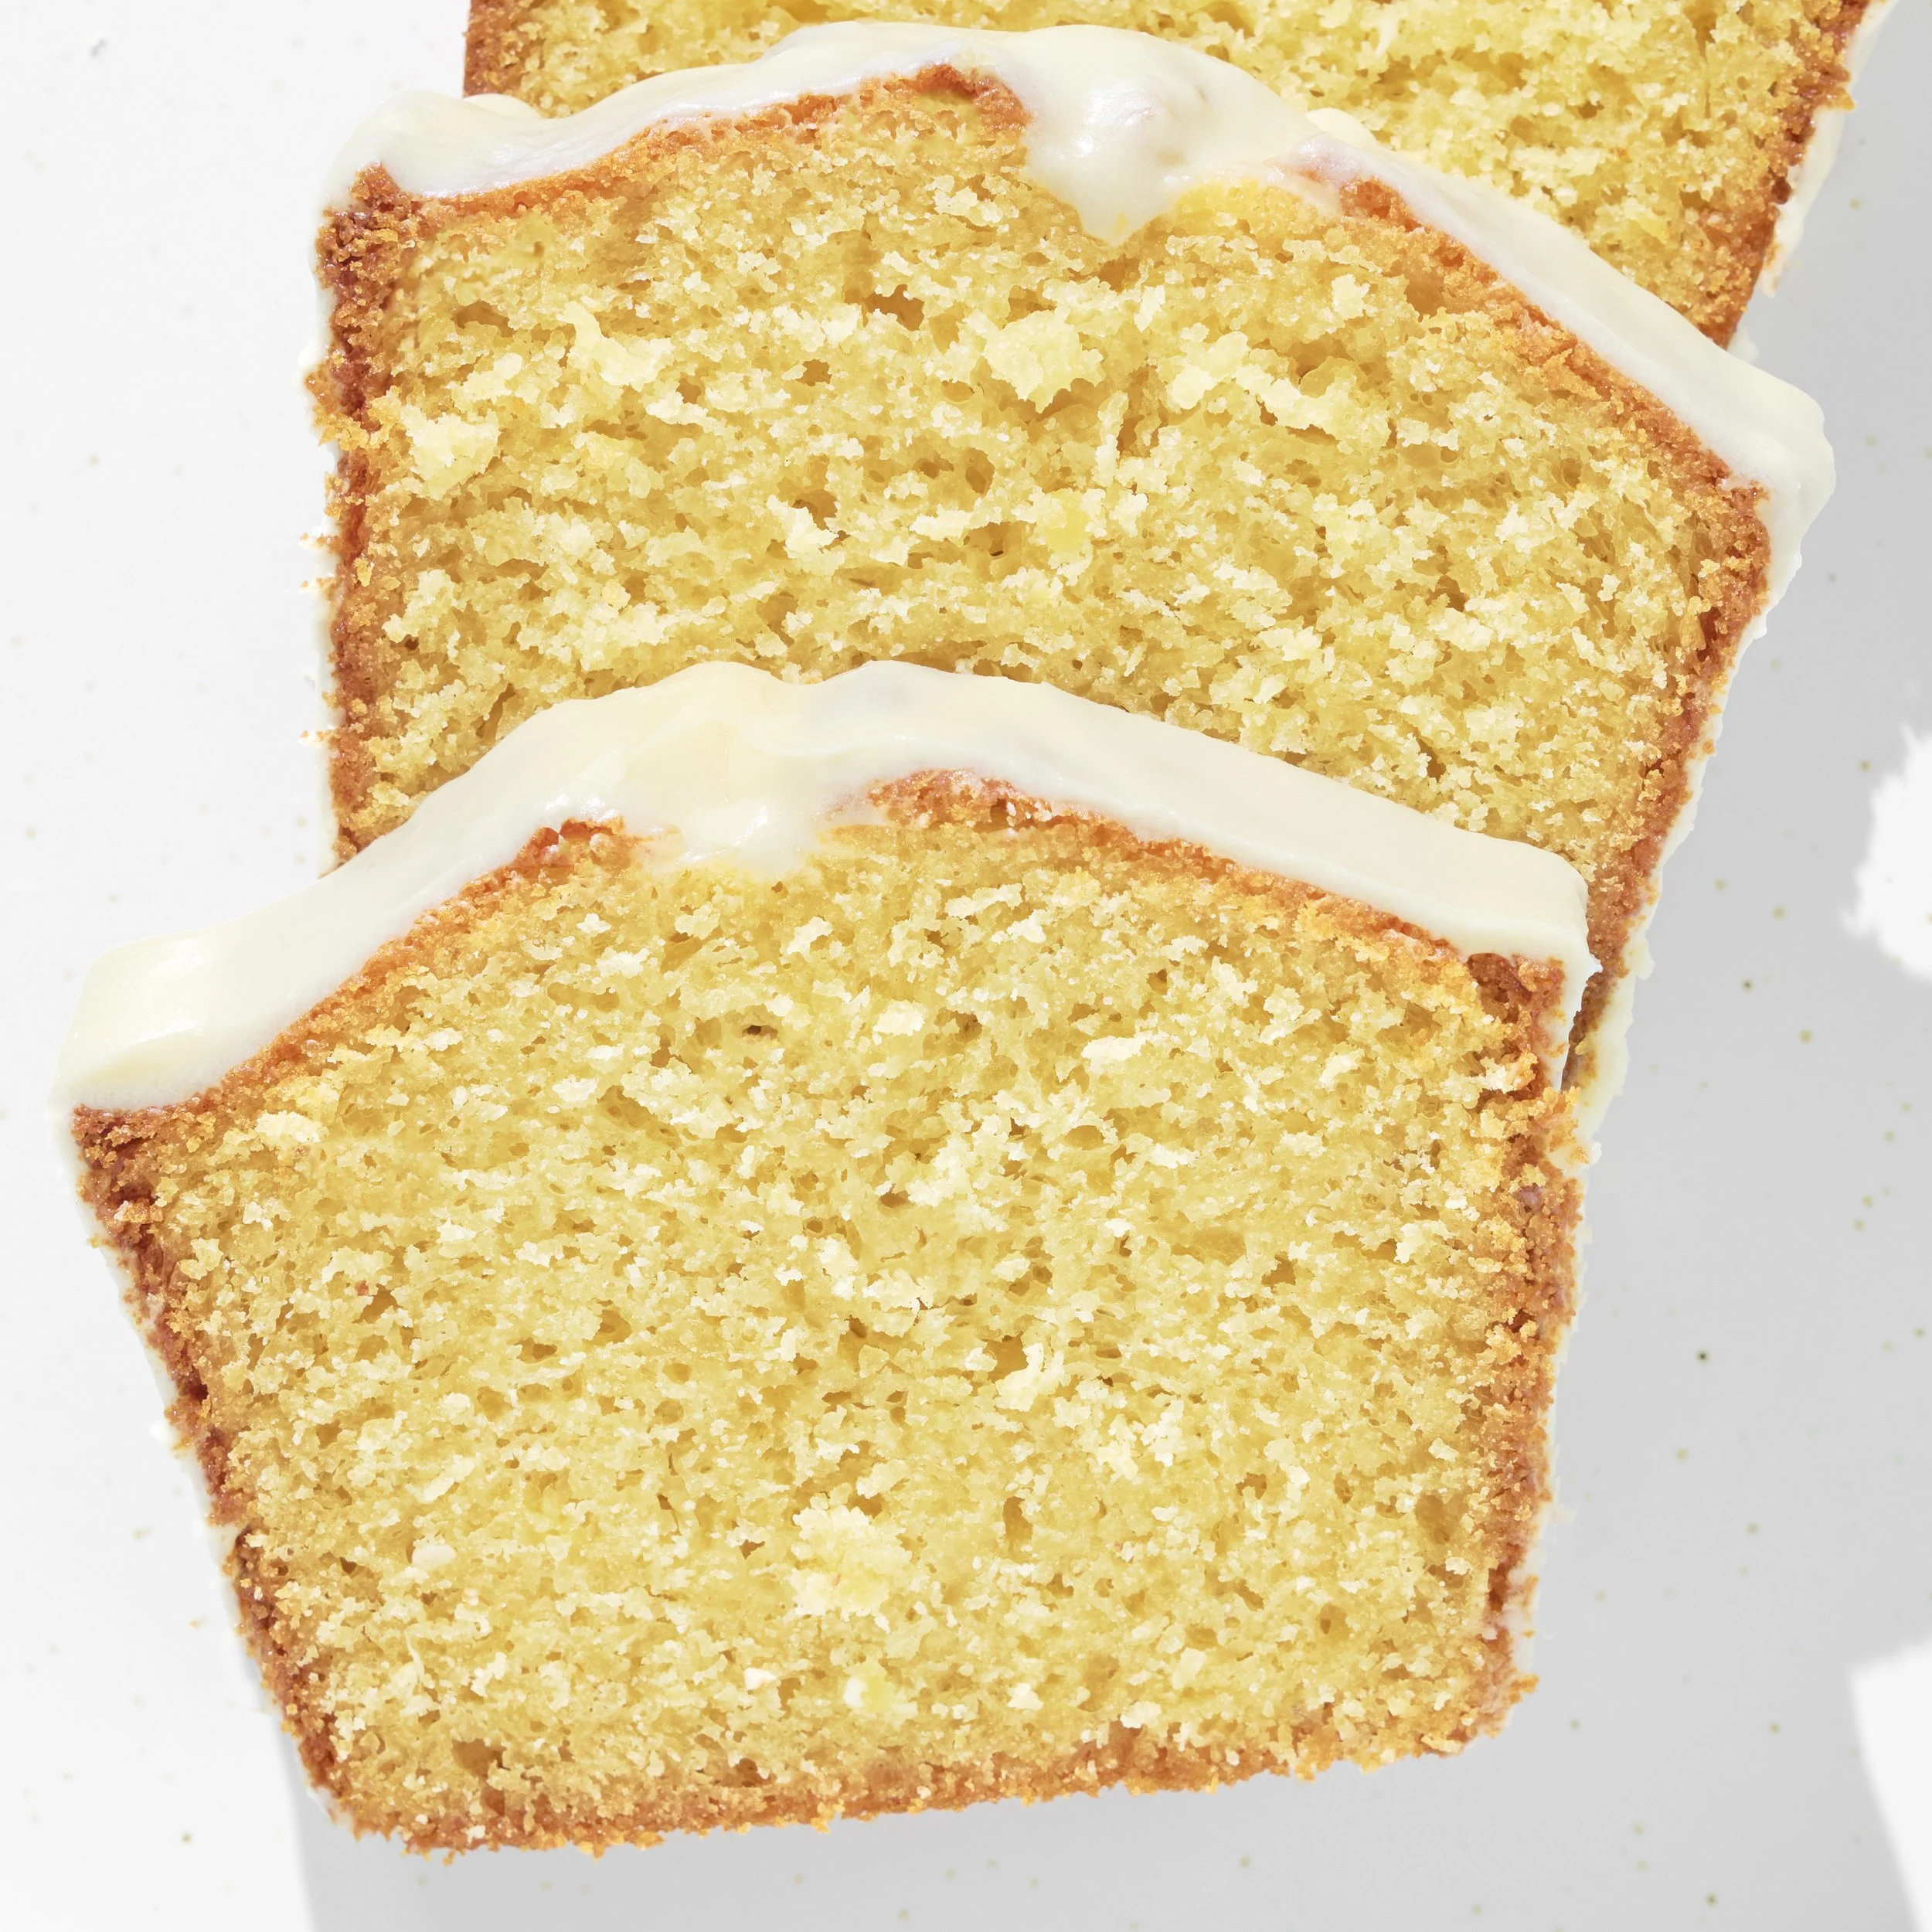
What you end up with is a cake with a genuinely tender crumb. Like most homemade cakes, it is at its best when it is stored well. Left uncovered overnight it can dry out quite a bit and turn crumbly, so I always recommend keeping a cake like this in a good airtight glass container.
As for the flavor, I could not be happier with it. The vanilla comes through beautifully and the almond extract gives it just enough support underneath. Together they make an aroma and a taste that carry me straight back to the classic birthday cakes I have loved over the years. If gluten, gums, or soy have kept you from a proper birthday cake, I truly hope this is the one you try.

Lessons Learned
A few things genuinely surprised me while I worked on this recipe, and the crushed pineapple was the biggest. I was not sure how much of a difference it would really make, but I was impressed by how much moisture and softness it brought to the crumb. Better still, it leaves almost no pineapple flavor behind. It simply makes the cake moist, which is exactly what I was hoping for.
The most important lesson, though, was about bake time. On my first test I let the cake go a little longer than it needed. It still tasted good, but by the next day I could tell it had dried out. Once I shortened the bake and made a few small adjustments, the difference was immediate. The cake stayed much softer and held its moisture far better, and that shorter time is what you will find in the recipe below.
Foil was the other change that mattered. The first time around I left the loaf uncovered, and while I liked the deeper toasted flavor that gave me, the top went darker than I wanted. Tenting the cake with foil about 30 minutes into the bake kept the top from over-browning while the loaf finished baking beautifully underneath.
I was also a little nervous about the almond extract, since it is such a strong thing to hand a delicate vanilla cake. On my first test I used a touch too much and the almond stepped further forward than I meant it to. Pulling it back to ¼ teaspoon brought everything into balance. If you happen to be especially sensitive to almond, take it down to ⅛ teaspoon and it will work just as well.
How to Make It Your Own
One of my favorite things about a loaf cake is how willingly it takes to change. I would not tamper much with the base recipe itself, but there is plenty of room to make it yours around the edges.
If you love raisins the way I do, they would be a lovely addition here. Soak them in hot water first before folding them into the batter. It keeps them soft and adds a little more moisture to the finished loaf.
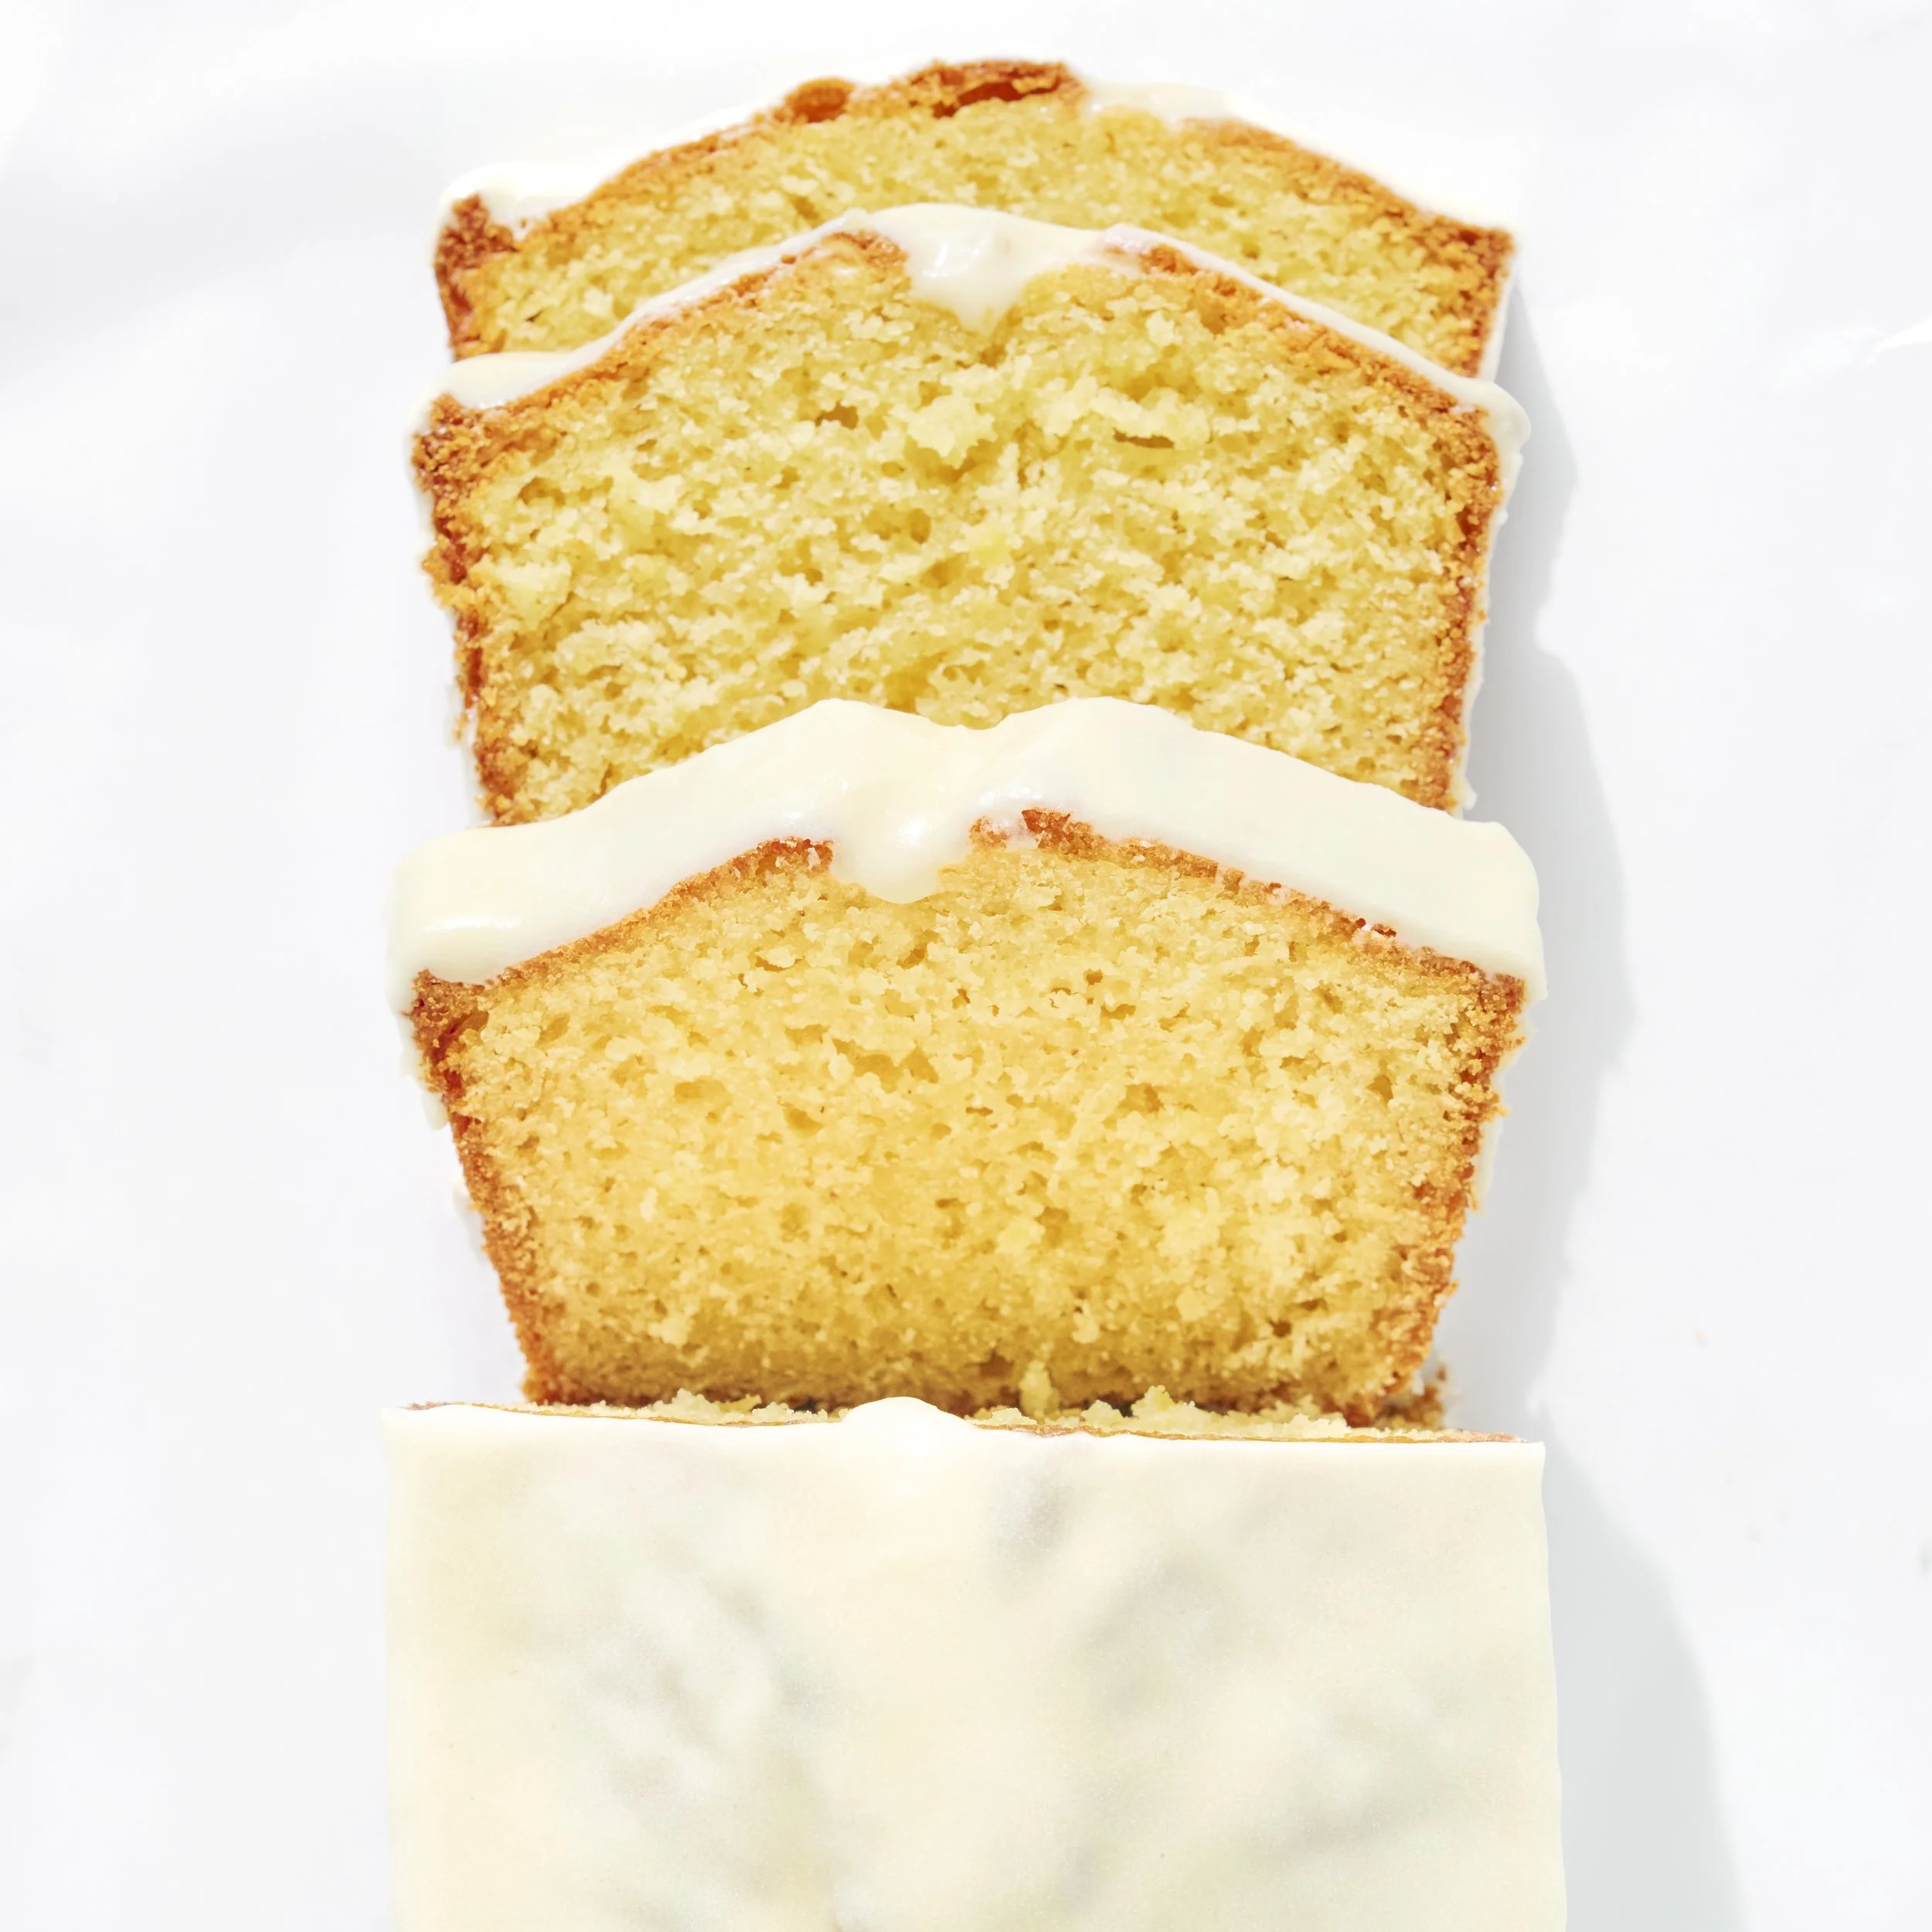
The glaze is another place to have fun. I went with an orange vanilla glaze, though a simple lemon one would be every bit as good. Baking this in the fall or winter, you could warm it up instead with a little cinnamon and nutmeg for something more seasonal. A classic buttercream would suit it beautifully too. There is really no wrong choice.
If you want nuts in it, chop them fairly small before they go into the batter. Larger pieces have a habit of sinking to the bottom as the cake bakes, and keeping them fine helps them settle evenly through the loaf.
Pro Tip: Start checking the cake around the 45-minute mark rather than trusting the bake time alone. Every oven has its own temperament, and pulling the loaf the moment it is baked through is one of the easiest ways to keep it soft and moist. For an even finish, loosely tent it with foil after 30 minutes so the top does not take on too much color.
Summary Notes:
I loved putting this recipe together. It is simple, it is easy, and it asks so much less of you than a traditional birthday cake does, which is honestly one of my favorite things about it. If a good birthday cake has been out of reach because you bake gluten-free, gum-free, or soy-free, I hope this one brings a little of that joy back. It really is that good.
Tried it? Let us know how it went in the comments below.
At Brimly, we take pride in presenting you with the finest products that our editors independently handpicked. In the spirit of transparency, we want you to know that we may earn an affiliate commission when you purchase something through the retail links below.
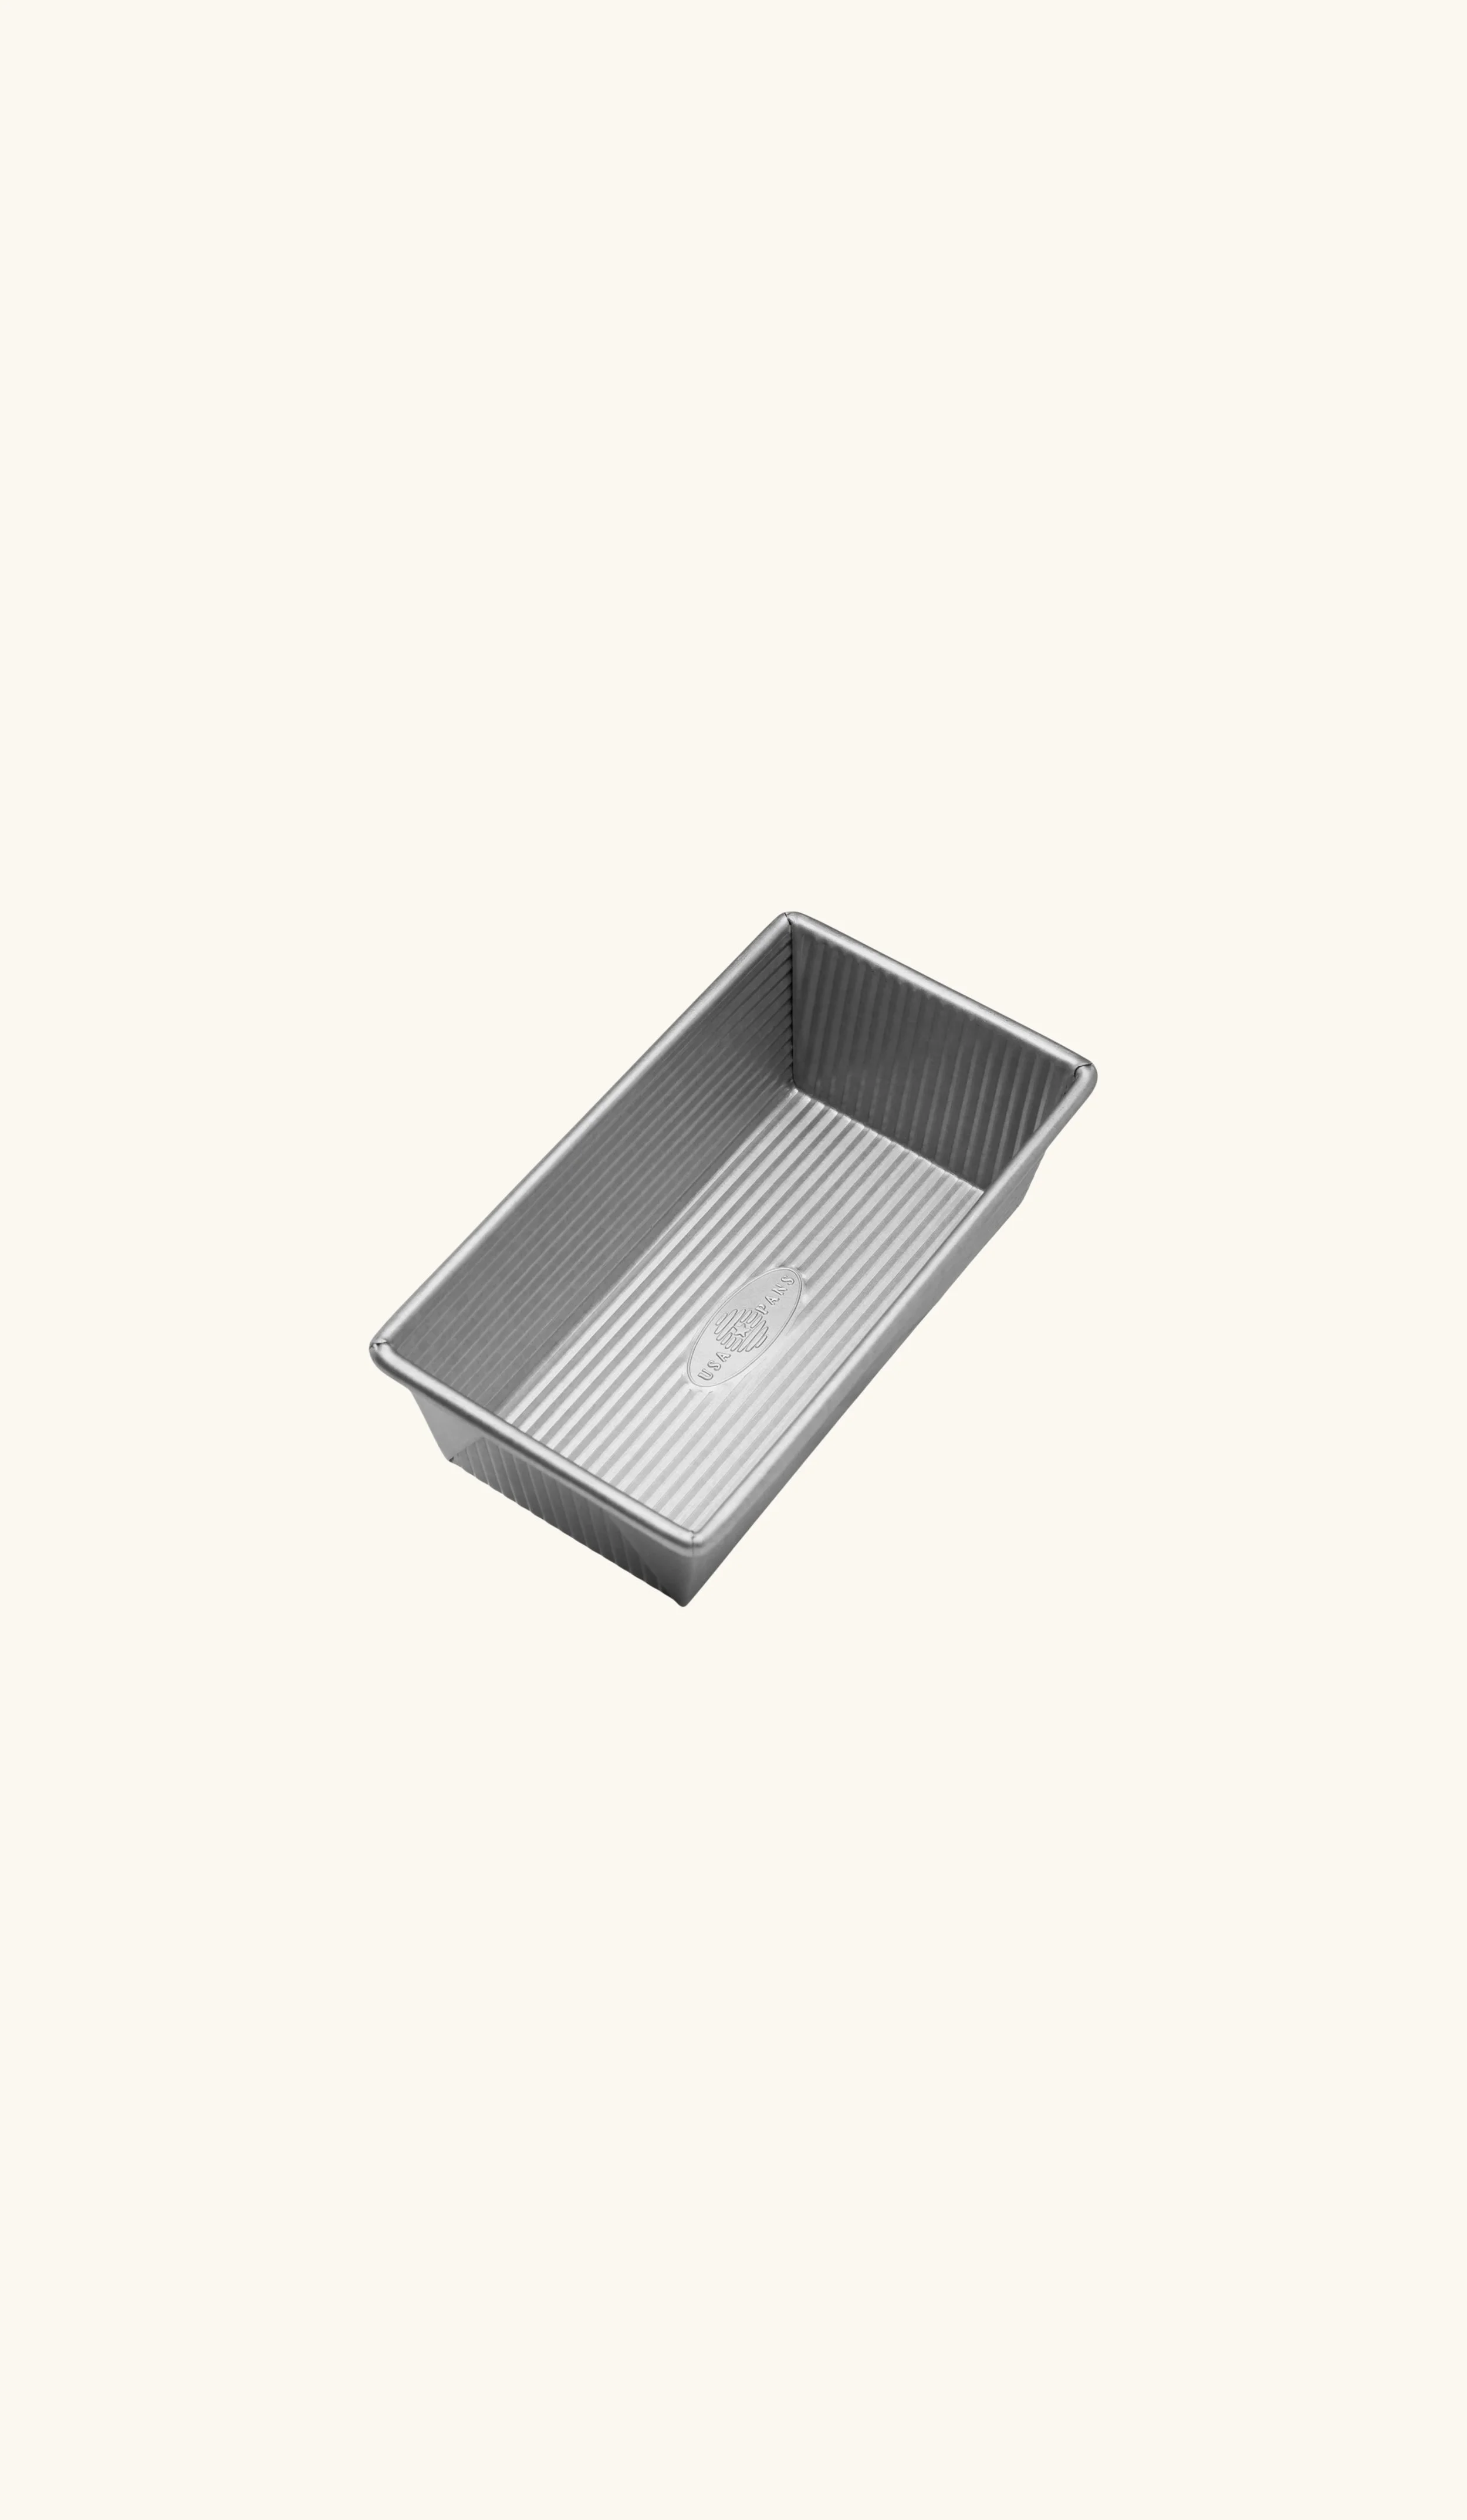
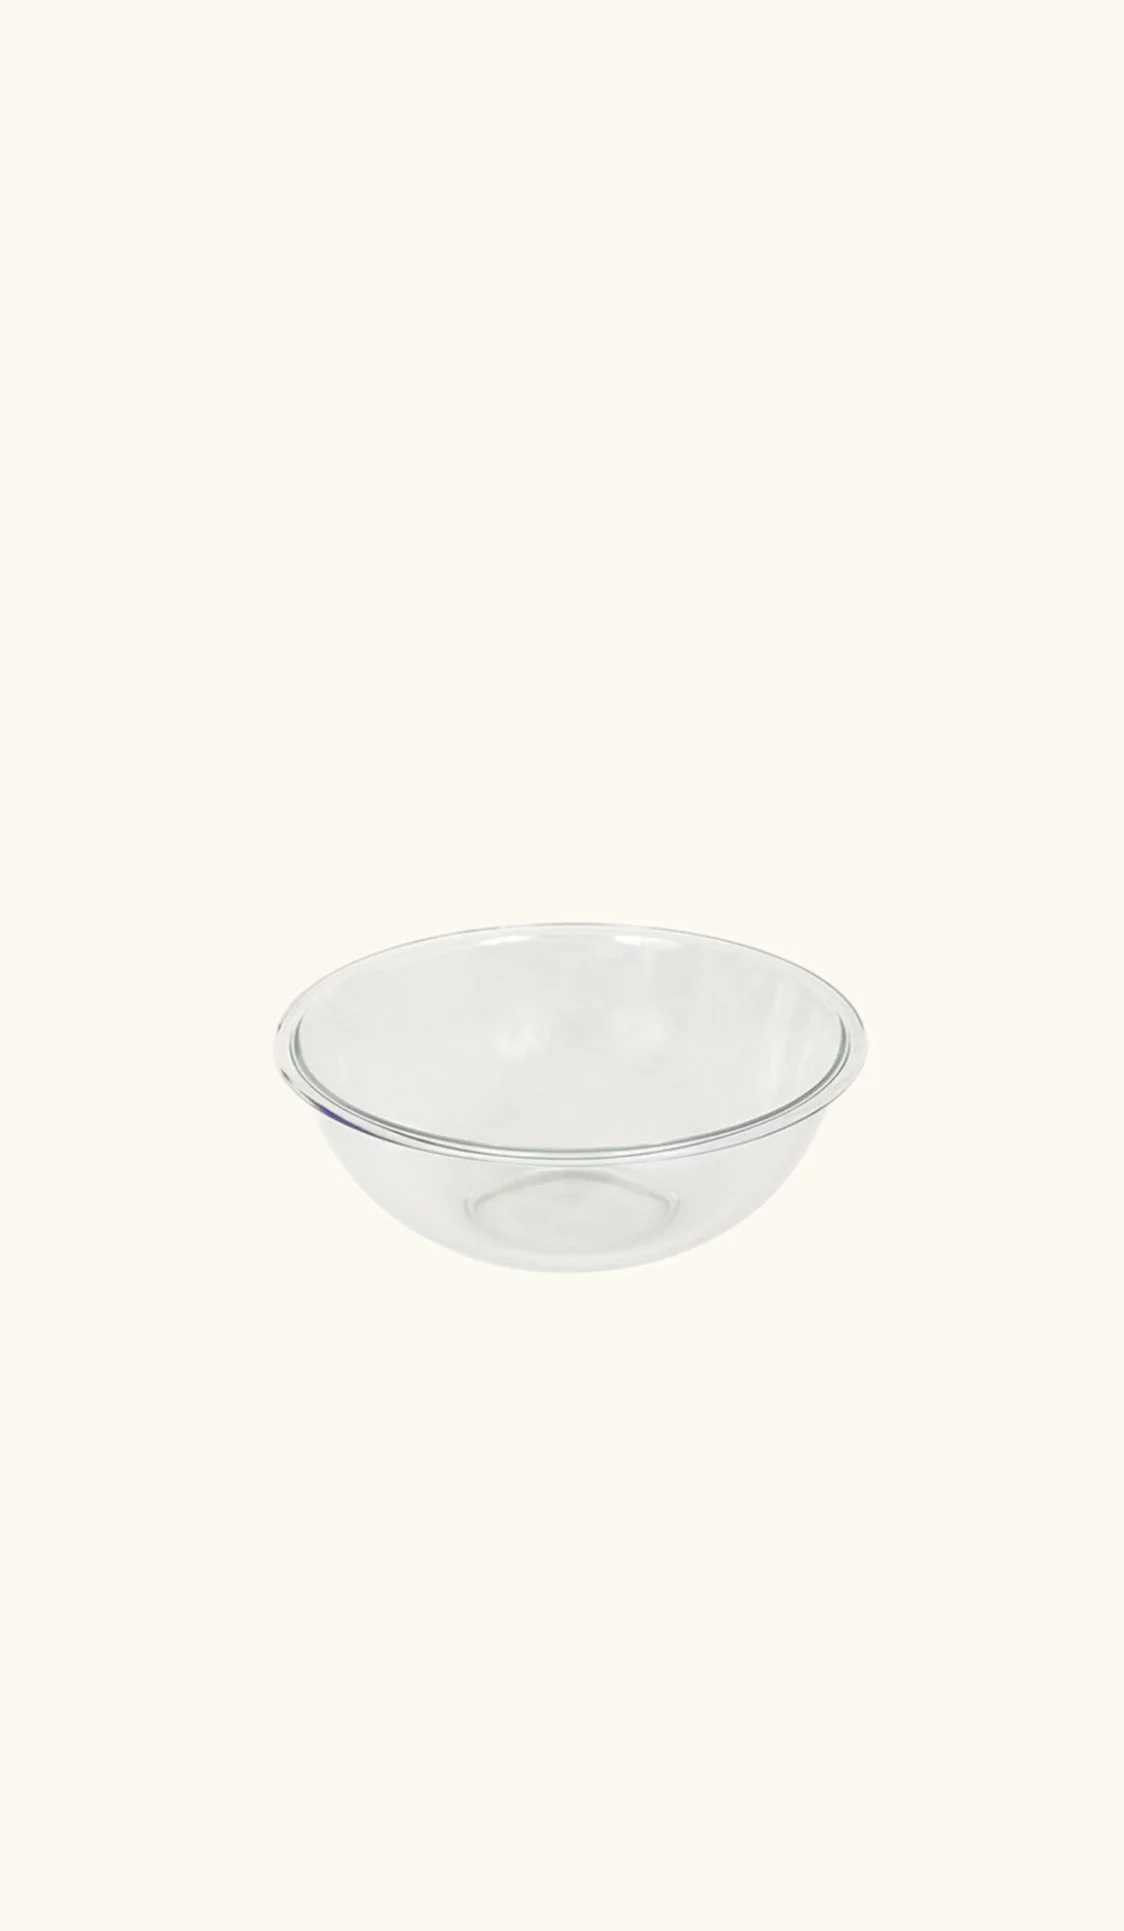
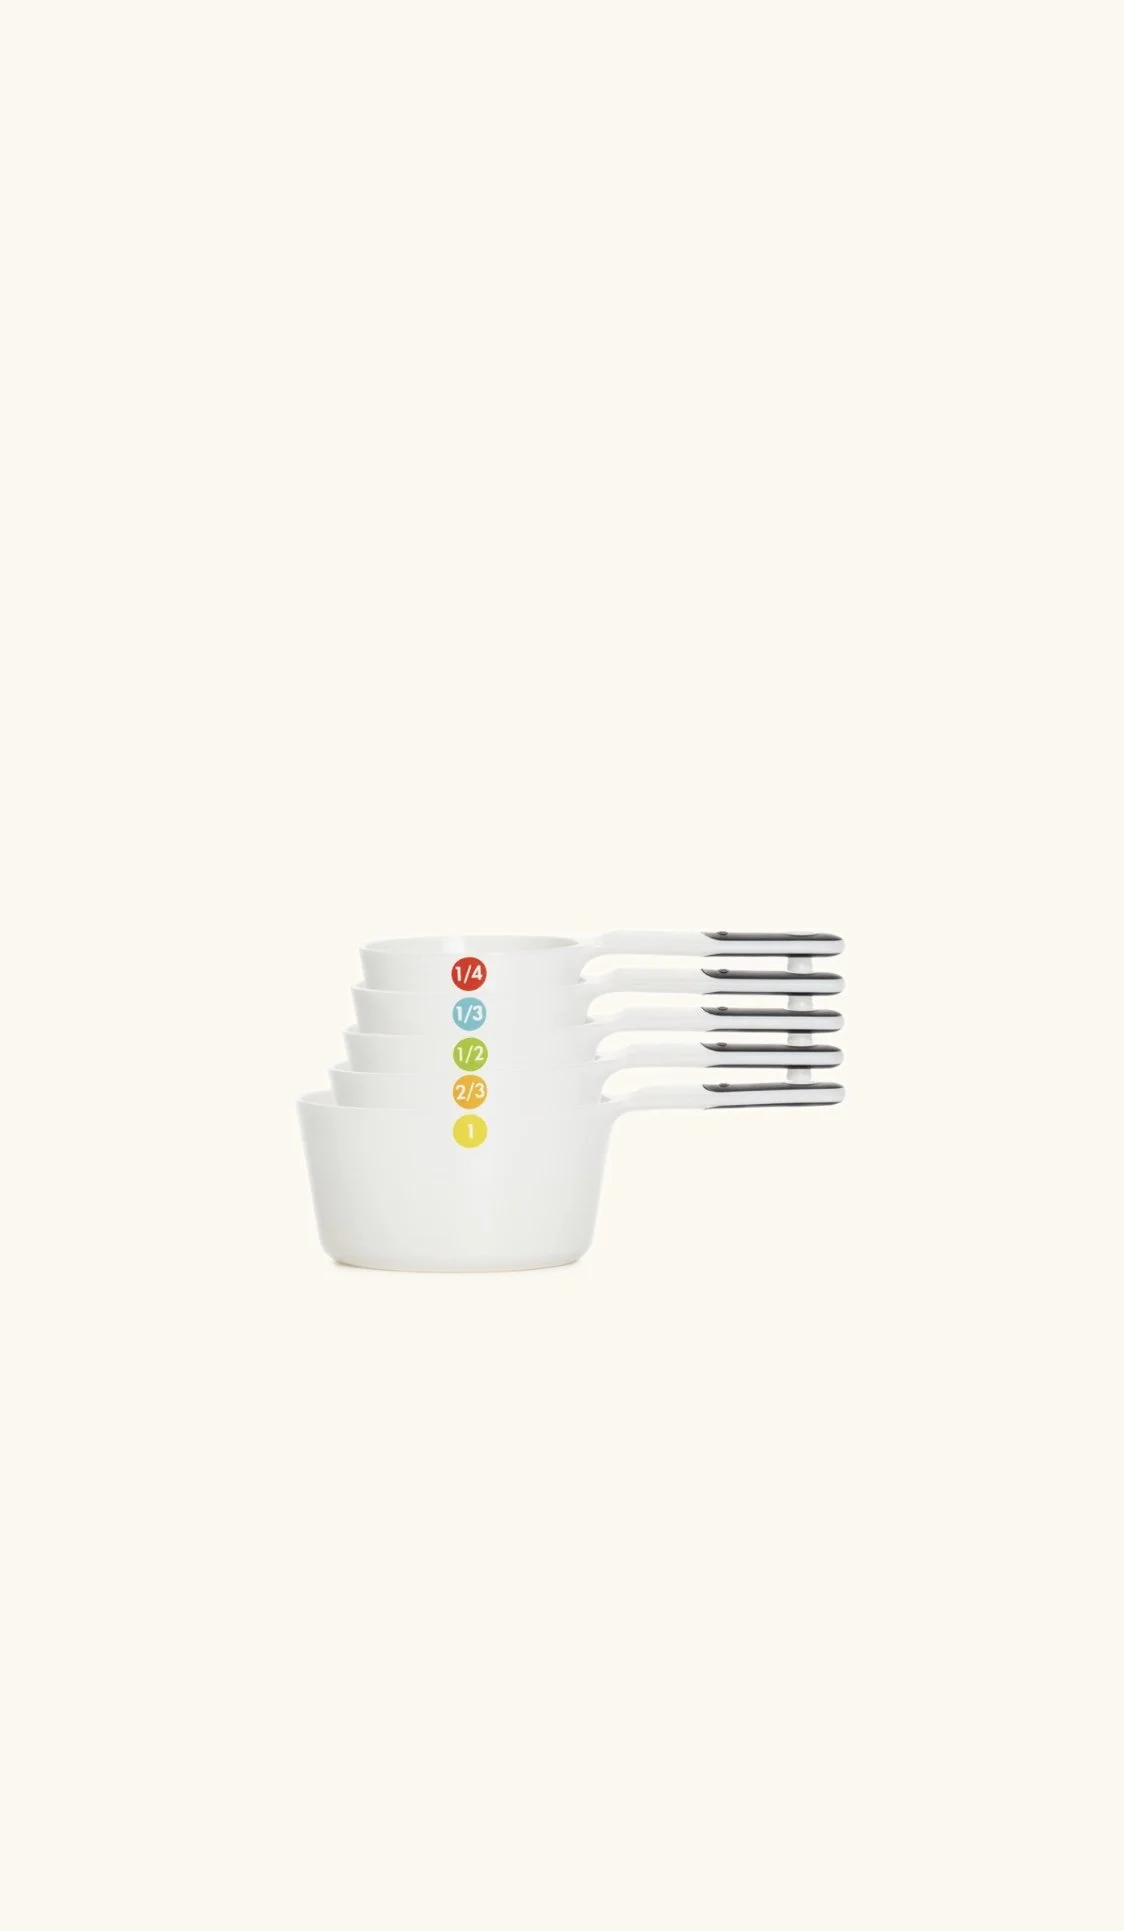
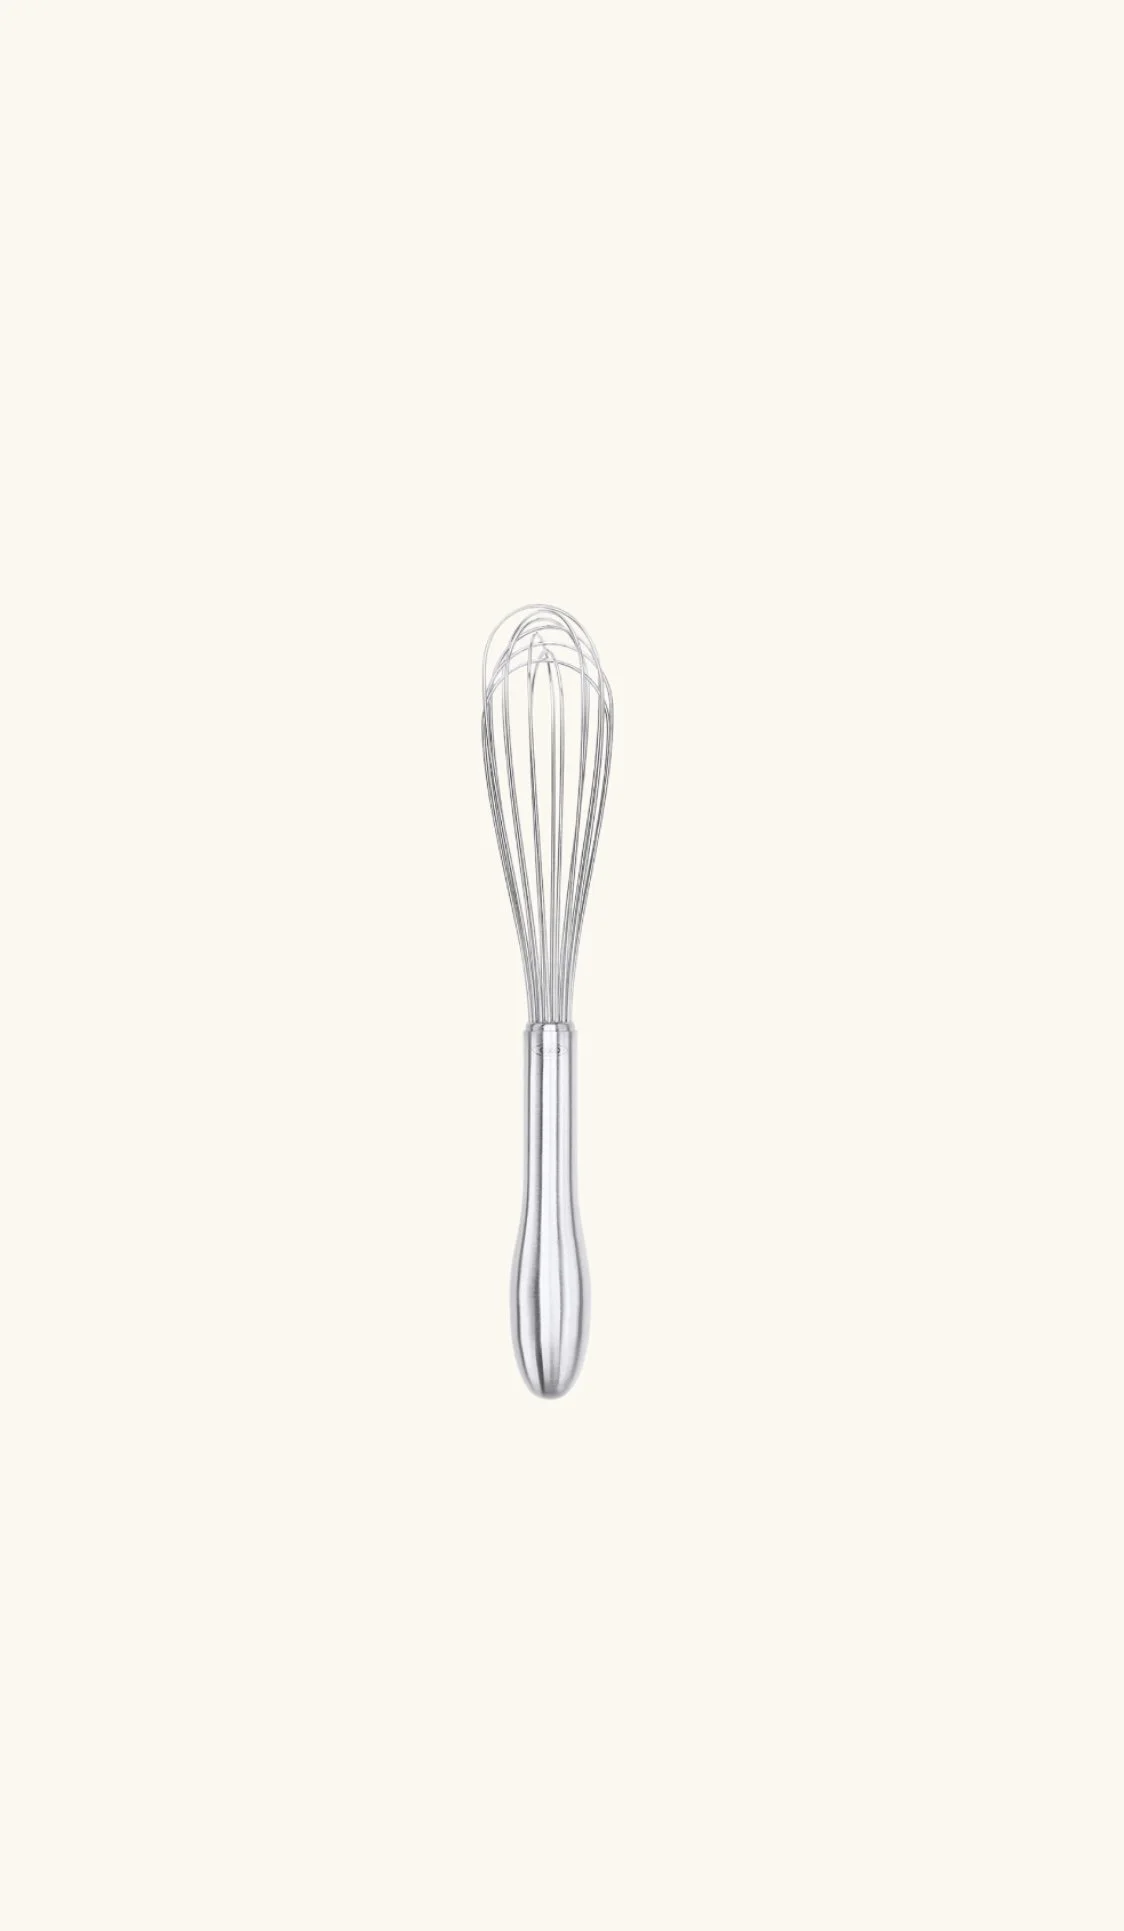
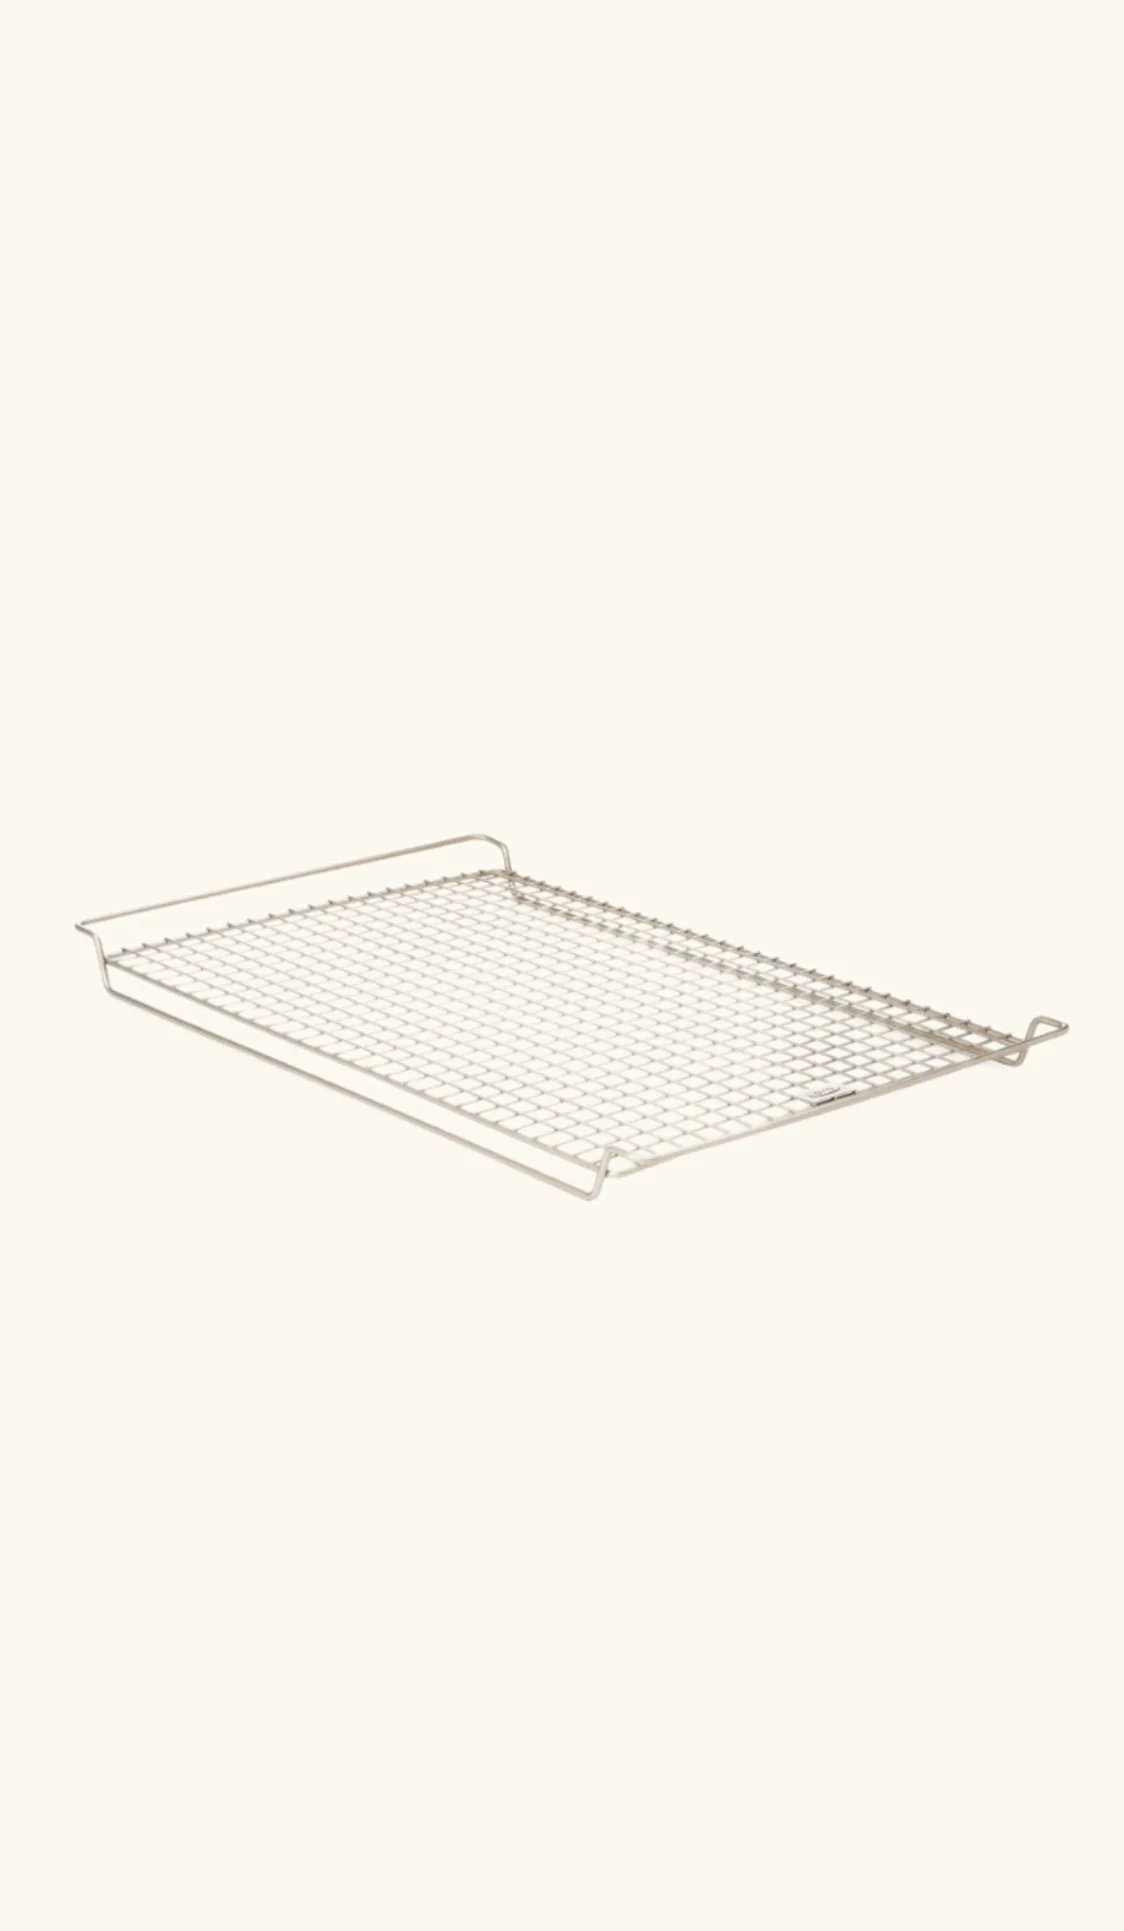
Essentials you’ll need:
view:LISTENIngredients

Cake:
1¼ cup gluten-free flour (no xanthan gum) [BUY]
½ cup almond flour [BUY]
3 Tbsp milk powder [BUY]
¼ cup potato starch [BUY]
1 tsp baking powder
½ tsp baking soda
¾ tsp fine sea salt
½ cup granulated sugar
¼ cup light brown sugar
½ cup corn oil, or neutral oil
2 extra-large eggs
½ cup whole milk plain yogurt
3 tsp vanilla extract
¼ cup crushed pineapple
¼ tsp almond extract
Orange Vanilla Glaze:
1½ cups powdered sugar
1 Tbsp orange juice
1 Tbsp butter, melted
2 Tbsp whole milk
1 tsp vanilla extract
⅛ tsp fine sea salt
Recipe Steps

Step 1
Preheat the oven to 350°F. Generously butter a loaf pan or line it with parchment paper.
Step 2
In a large bowl, whisk together the gluten-free flour, almond flour, potato starch, milk powder, baking powder, baking soda, and salt.
Step 3
In a separate bowl, add the eggs, granulated sugar, brown sugar, oil, yogurt, vanilla extract, and almond extract. Whisk everything together until smooth.
Step 4
Add the dry ingredients into the wet mixture. Stir until fully combined and smooth.
Step 5
Fold in the crushed pineapple until evenly incorporated.
Step 6
Pour the batter into the prepared loaf pan and smooth the top.
Step 7
Bake for 40–50 minutes, loosely tenting the loaf with foil after 30 minutes of baking. Check for doneness by inserting a cake tester or toothpick into the center. If it comes out clean or with just a few moist crumbs attached, the cake is ready. If needed, continue baking for a few more minutes until fully baked.
Step 8
Remove from the oven and allow the cake to cool in the pan for about 30 minutes.
Step 9
Transfer to a cooling rack or board and allow the cake to cool completely (about 1–1½ hours) before adding the glaze.
Orange Vanilla Glaze
In a small bowl, whisk together the powdered sugar, orange juice, melted butter, vanilla extract, salt, and milk until smooth and thick. Pour the glaze over the completely cooled cake, gently spreading it toward the edges with the back of a spoon or an offset spatula, allowing some of it to naturally drip down the sides. Let the glaze set for 20–30 minutes before slicing and serving.
Storage:
Store the cake in an airtight container at room temperature for up to 2 days. For longer storage, refrigerate for up to 4 days. Before serving, let the cake sit at room temperature for 20–30 minutes to allow the crumb and glaze to soften.
Note: This cake is best enjoyed at room temperature. Refrigerating it may reduce its freshness and slightly affect the texture.
More From Brimly.
by Brimly kitchen
by Brimly kitchen
by Brimly kitchen
by Brimly kitchen