Brimly’s Gluten-Free Golden Waffles
BY Brimly.June 7, 2026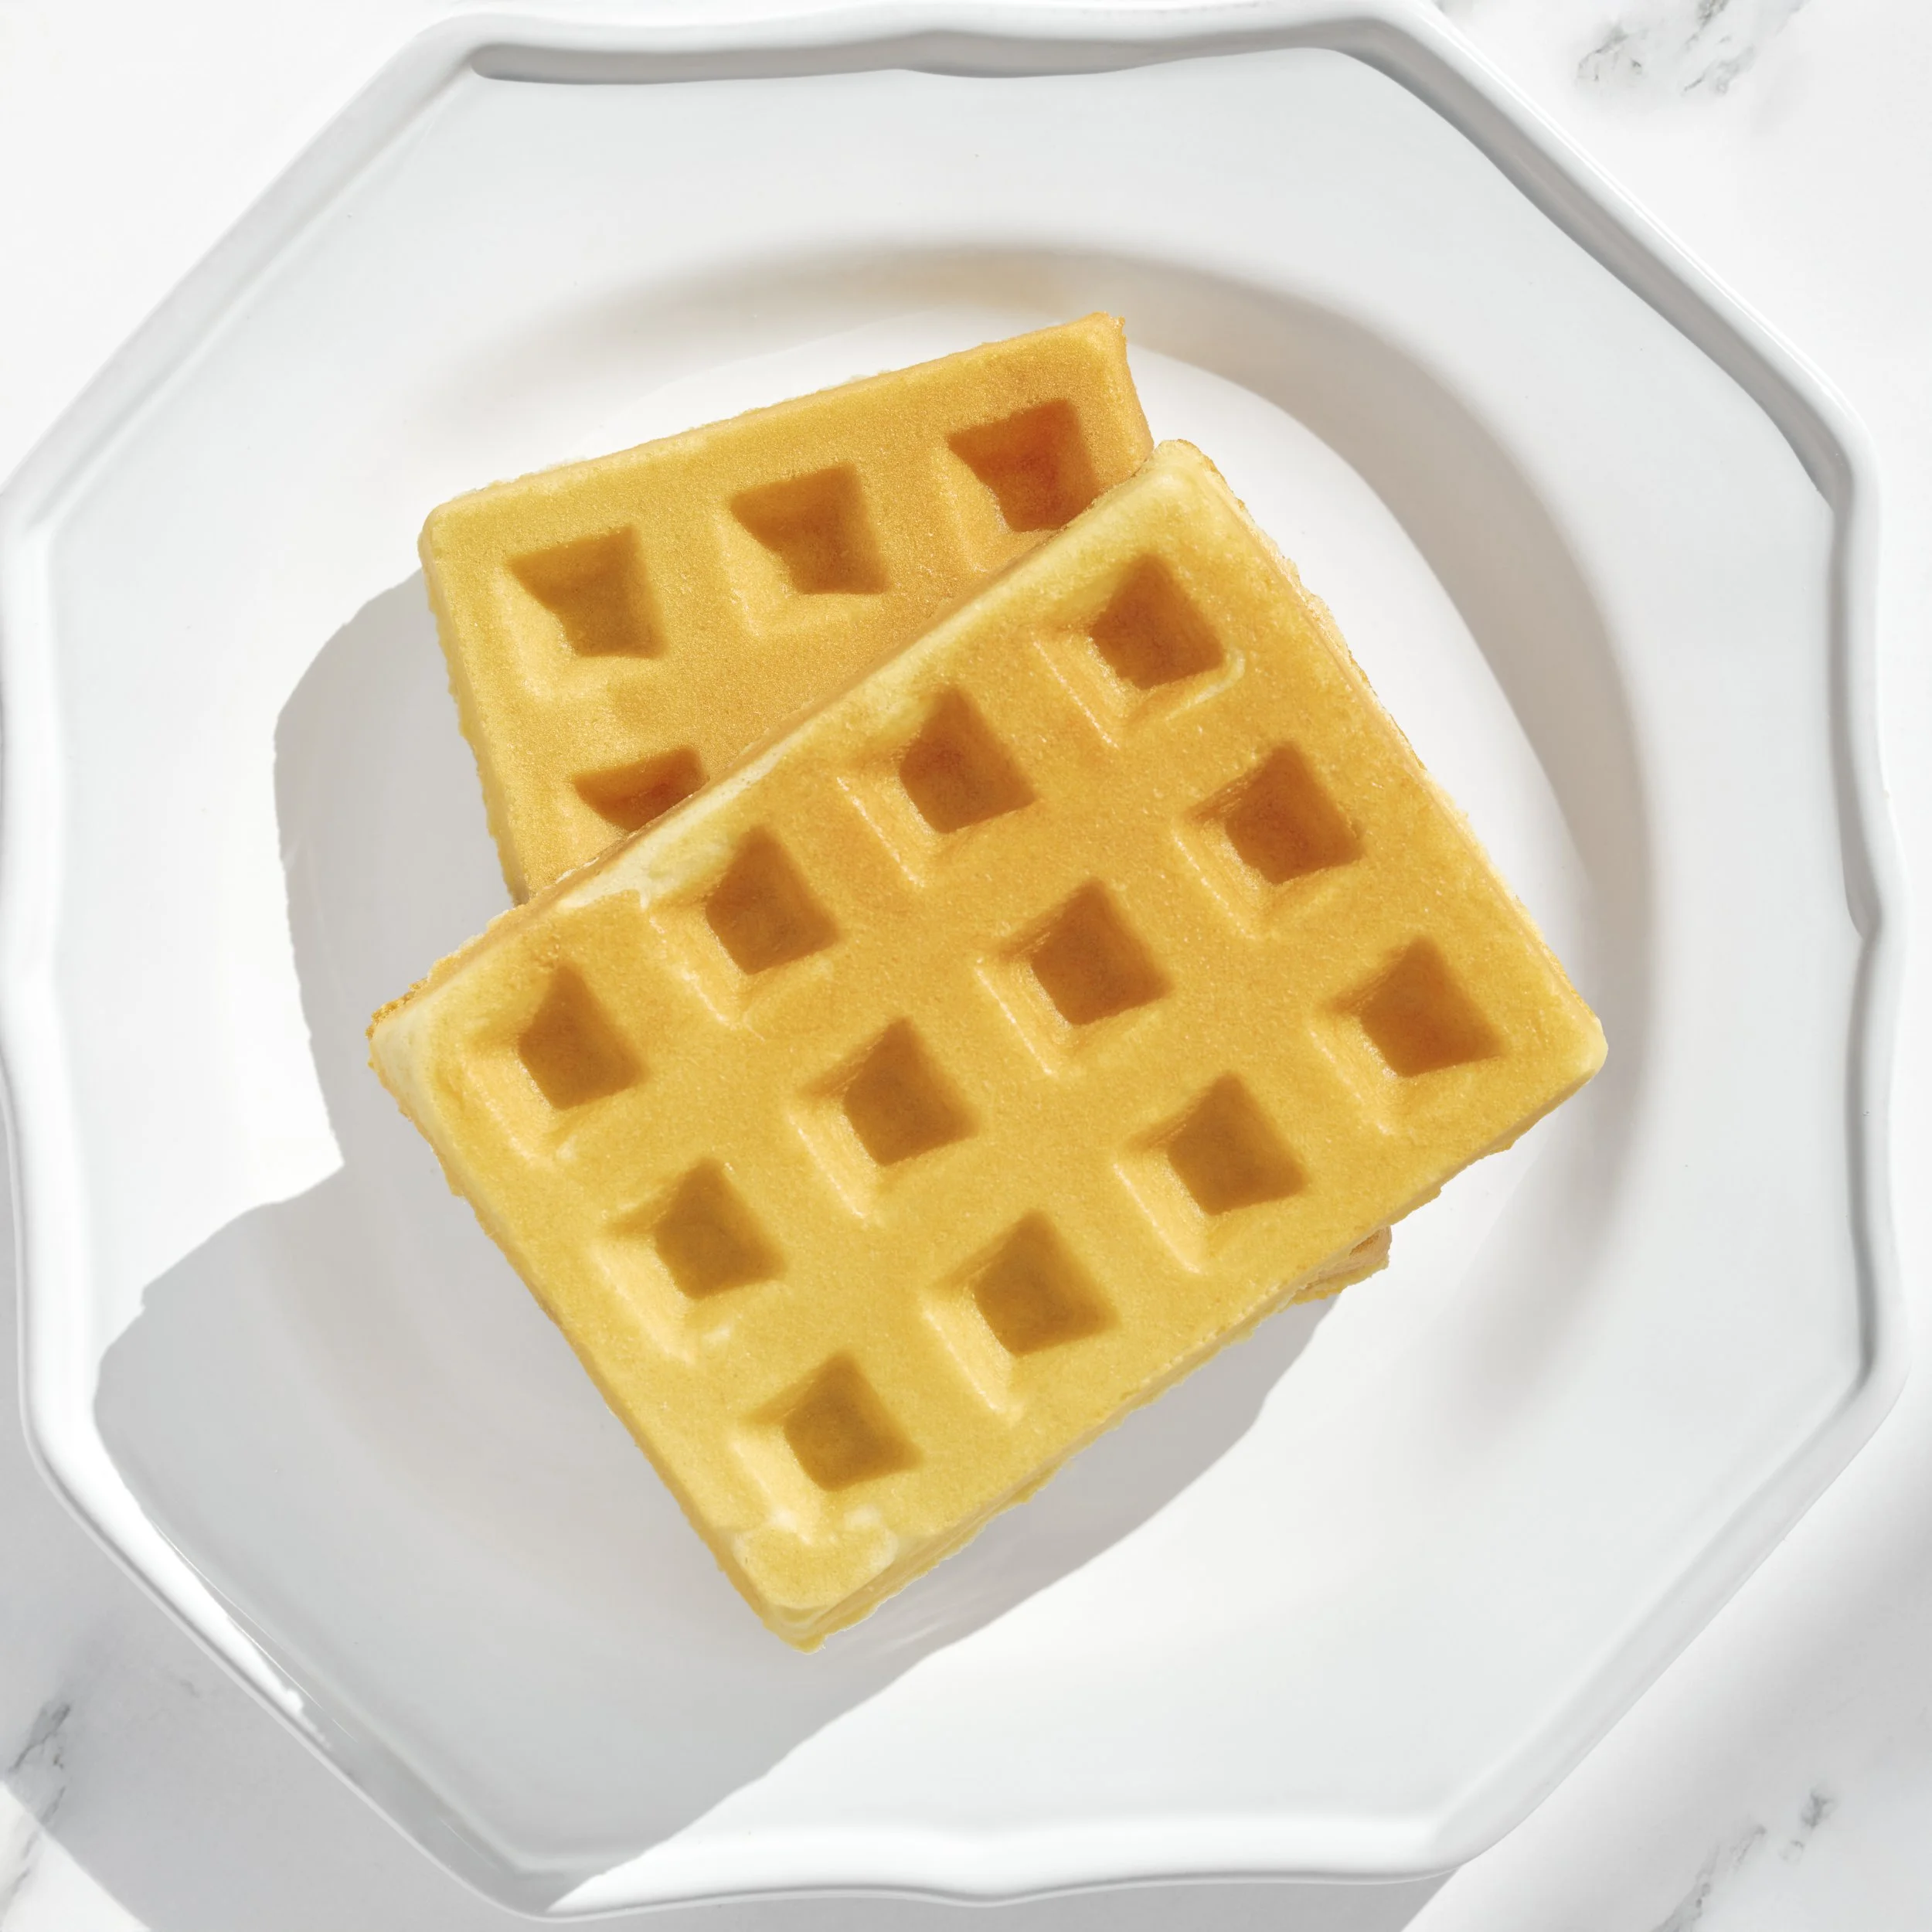
Photo By Editors @ the Brimly Test Kitchen


Mid TaskPREP: 20 minGluten-freesweet Treat Now, Why This Recipe and What Makes It Special?
This recipe is such a delight. After we developed our gluten-free stovetop pancakes, I already knew we had to share the waffle version because honestly, waffles are always a welcomed option. Pancakes and waffles are one of those breakfast foods that people never really get tired of, so it only felt right for this recipe to come right behind the pancake recipe we shared last month.
I’m really excited about this one because it’s gluten-free, gum-free, and soy-free, while still being incredibly easy to make. These waffles come together with very little effort, bake beautifully in the waffle maker, and come out looking so good every single time. I’ve made them over and over again and they have genuinely come through for me without fail.
What makes this recipe especially special to me is how simple it is. There are no gums, no strange binders, and no complicated ingredients, yet the waffles still hold together beautifully. They stay soft on the inside, crisp up nicely on the outside if you leave them in the waffle maker a little longer, and they don’t fall apart when you pick them up. That was something I really wanted out of this recipe.
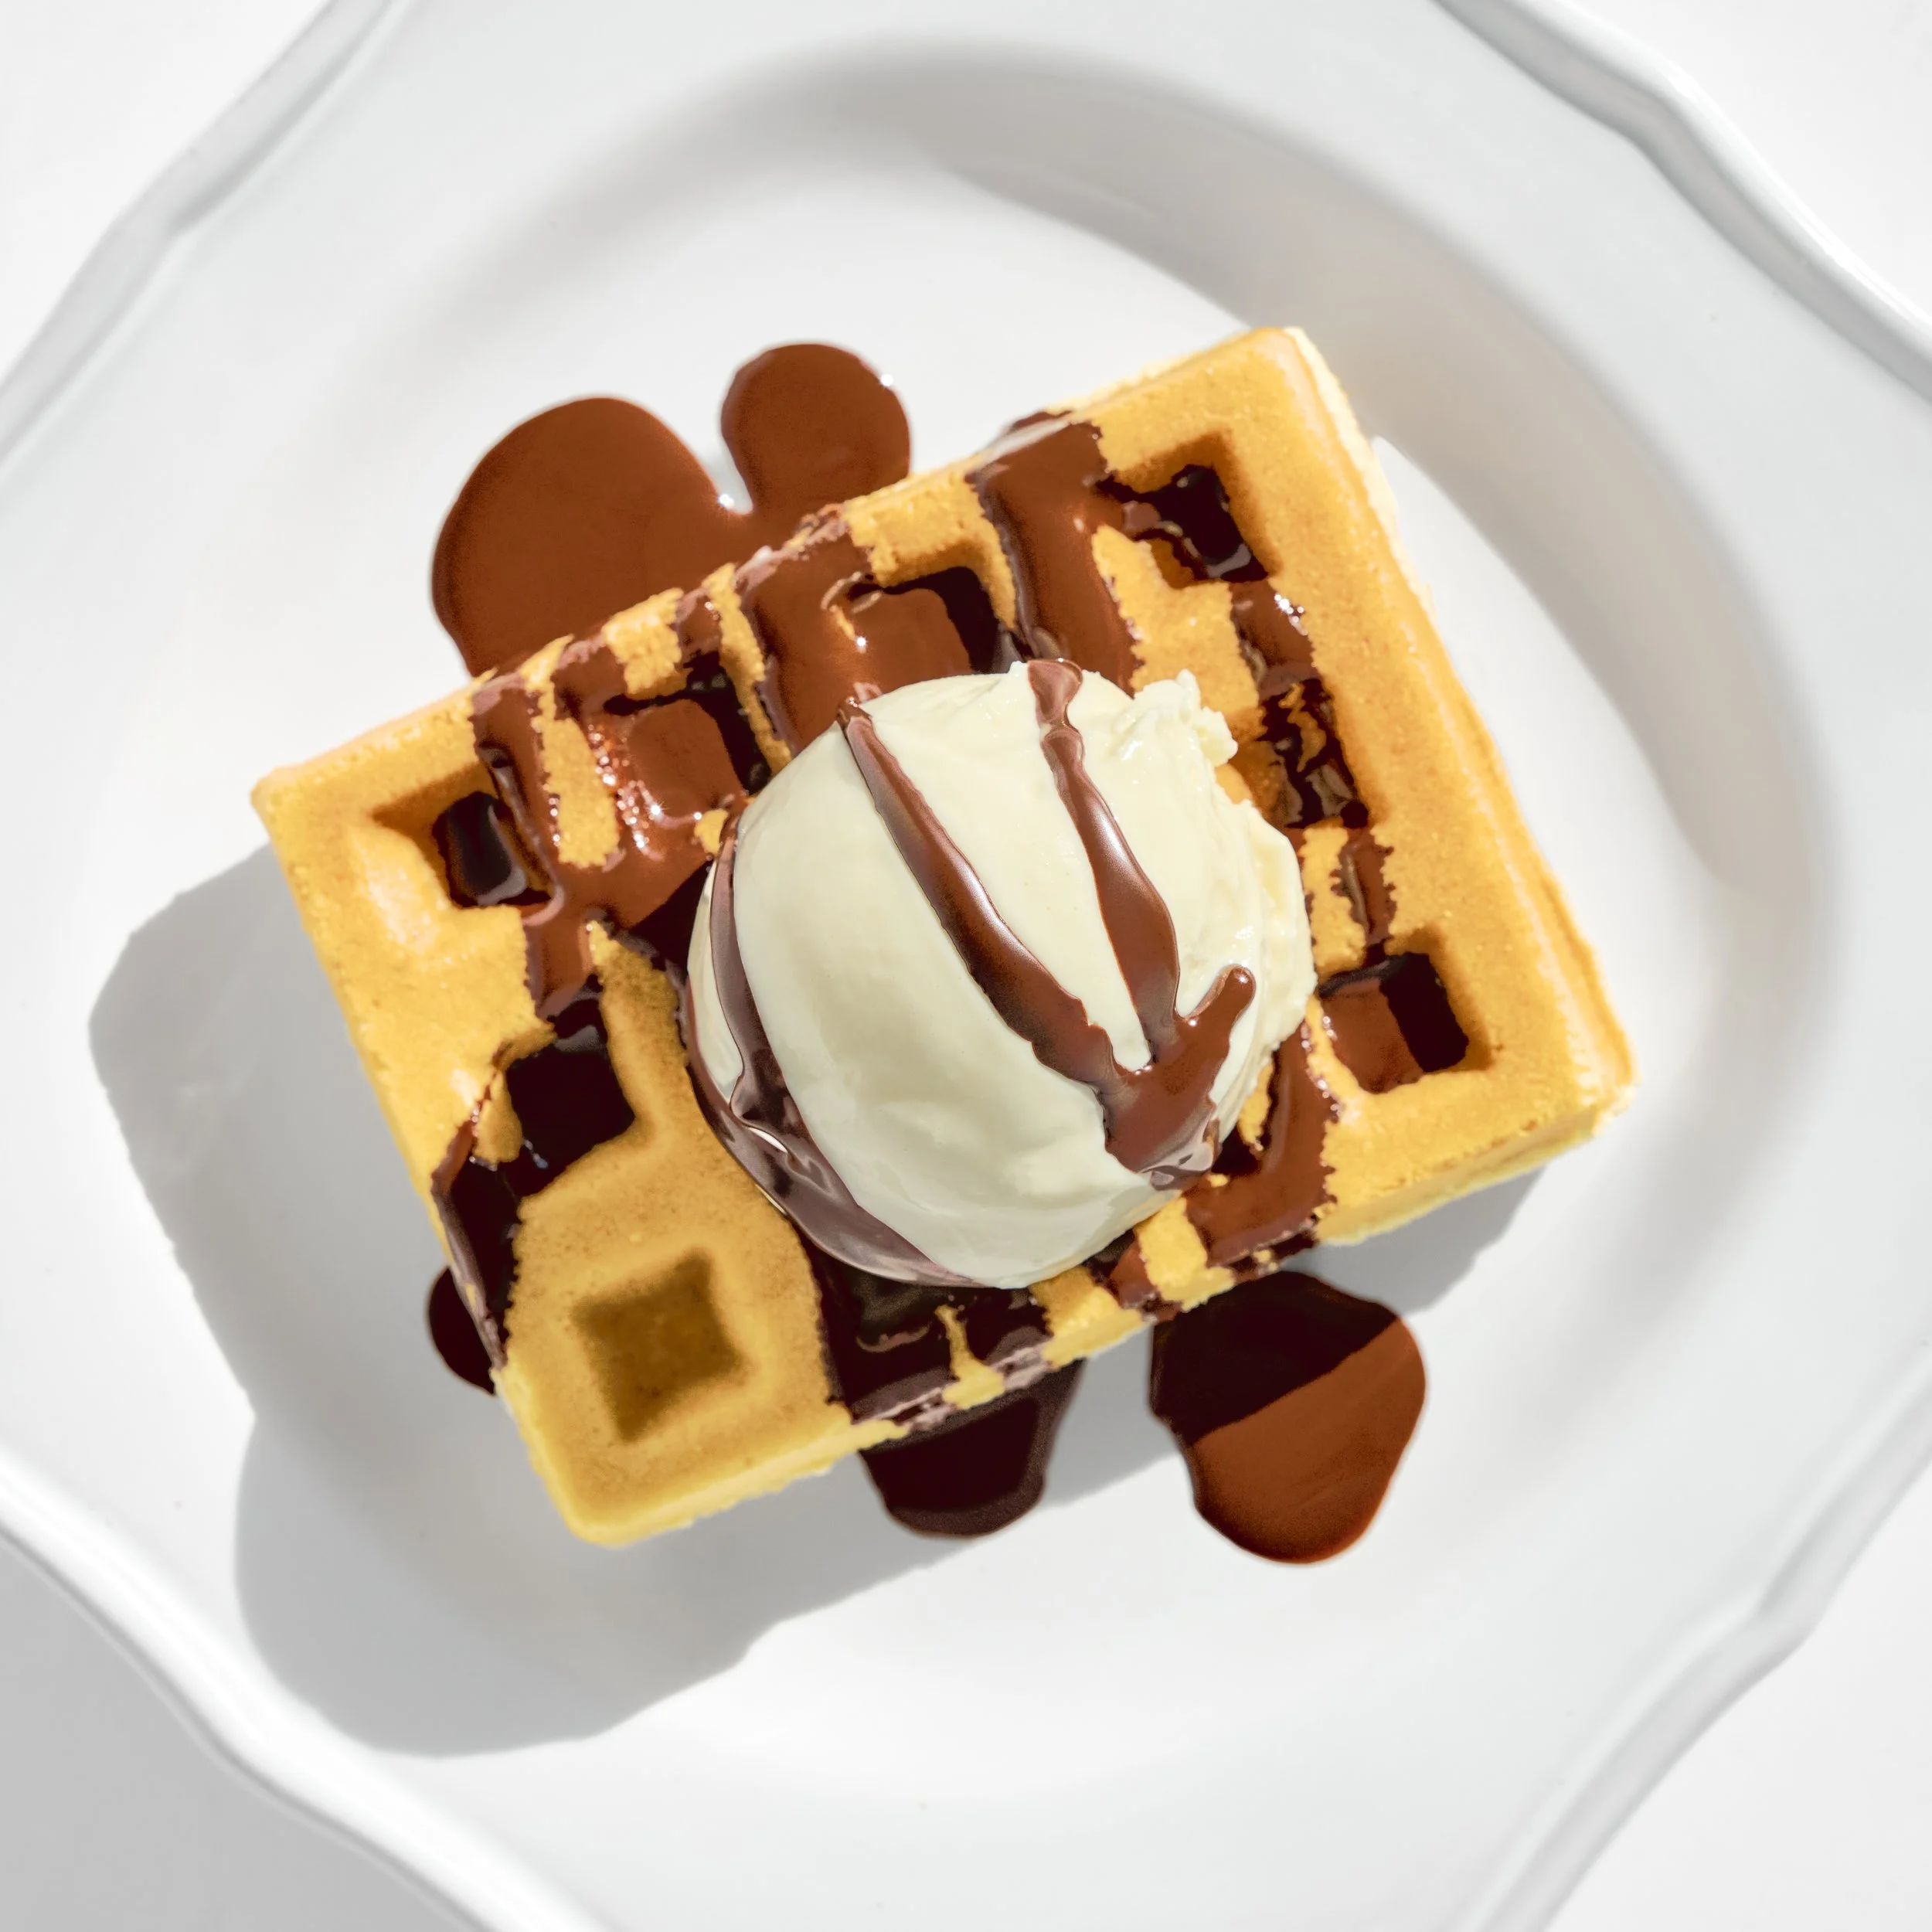
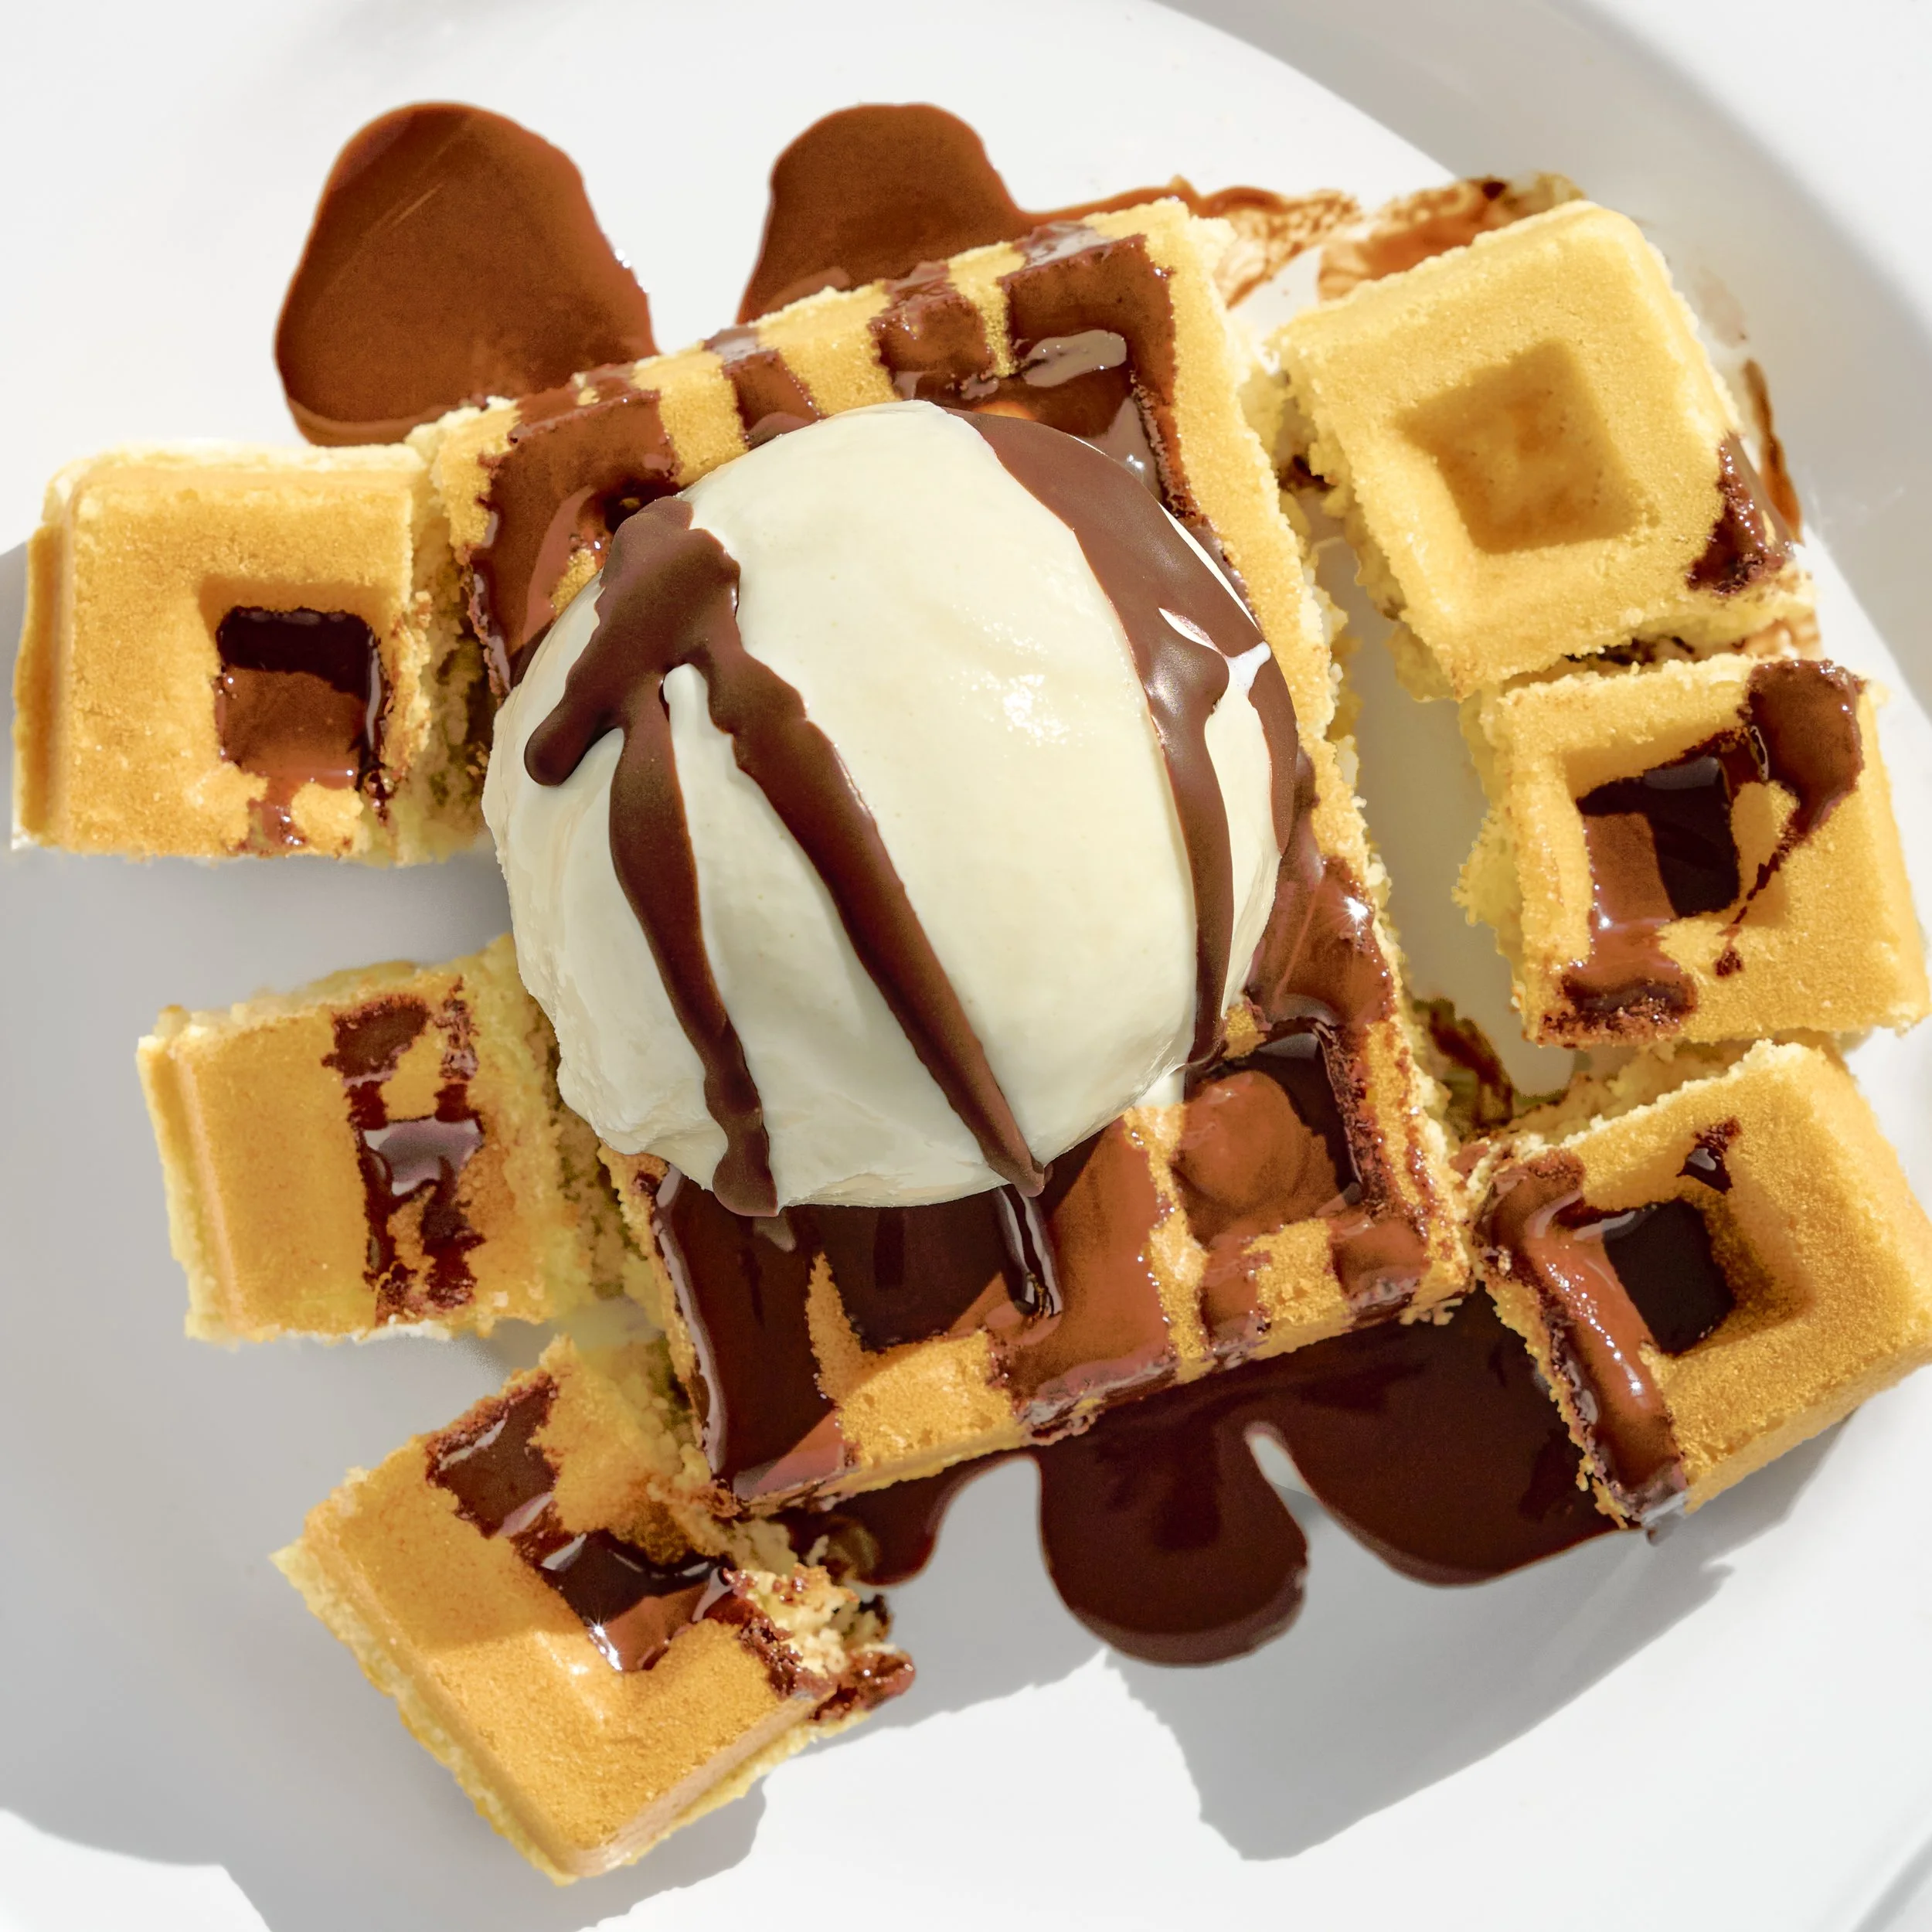
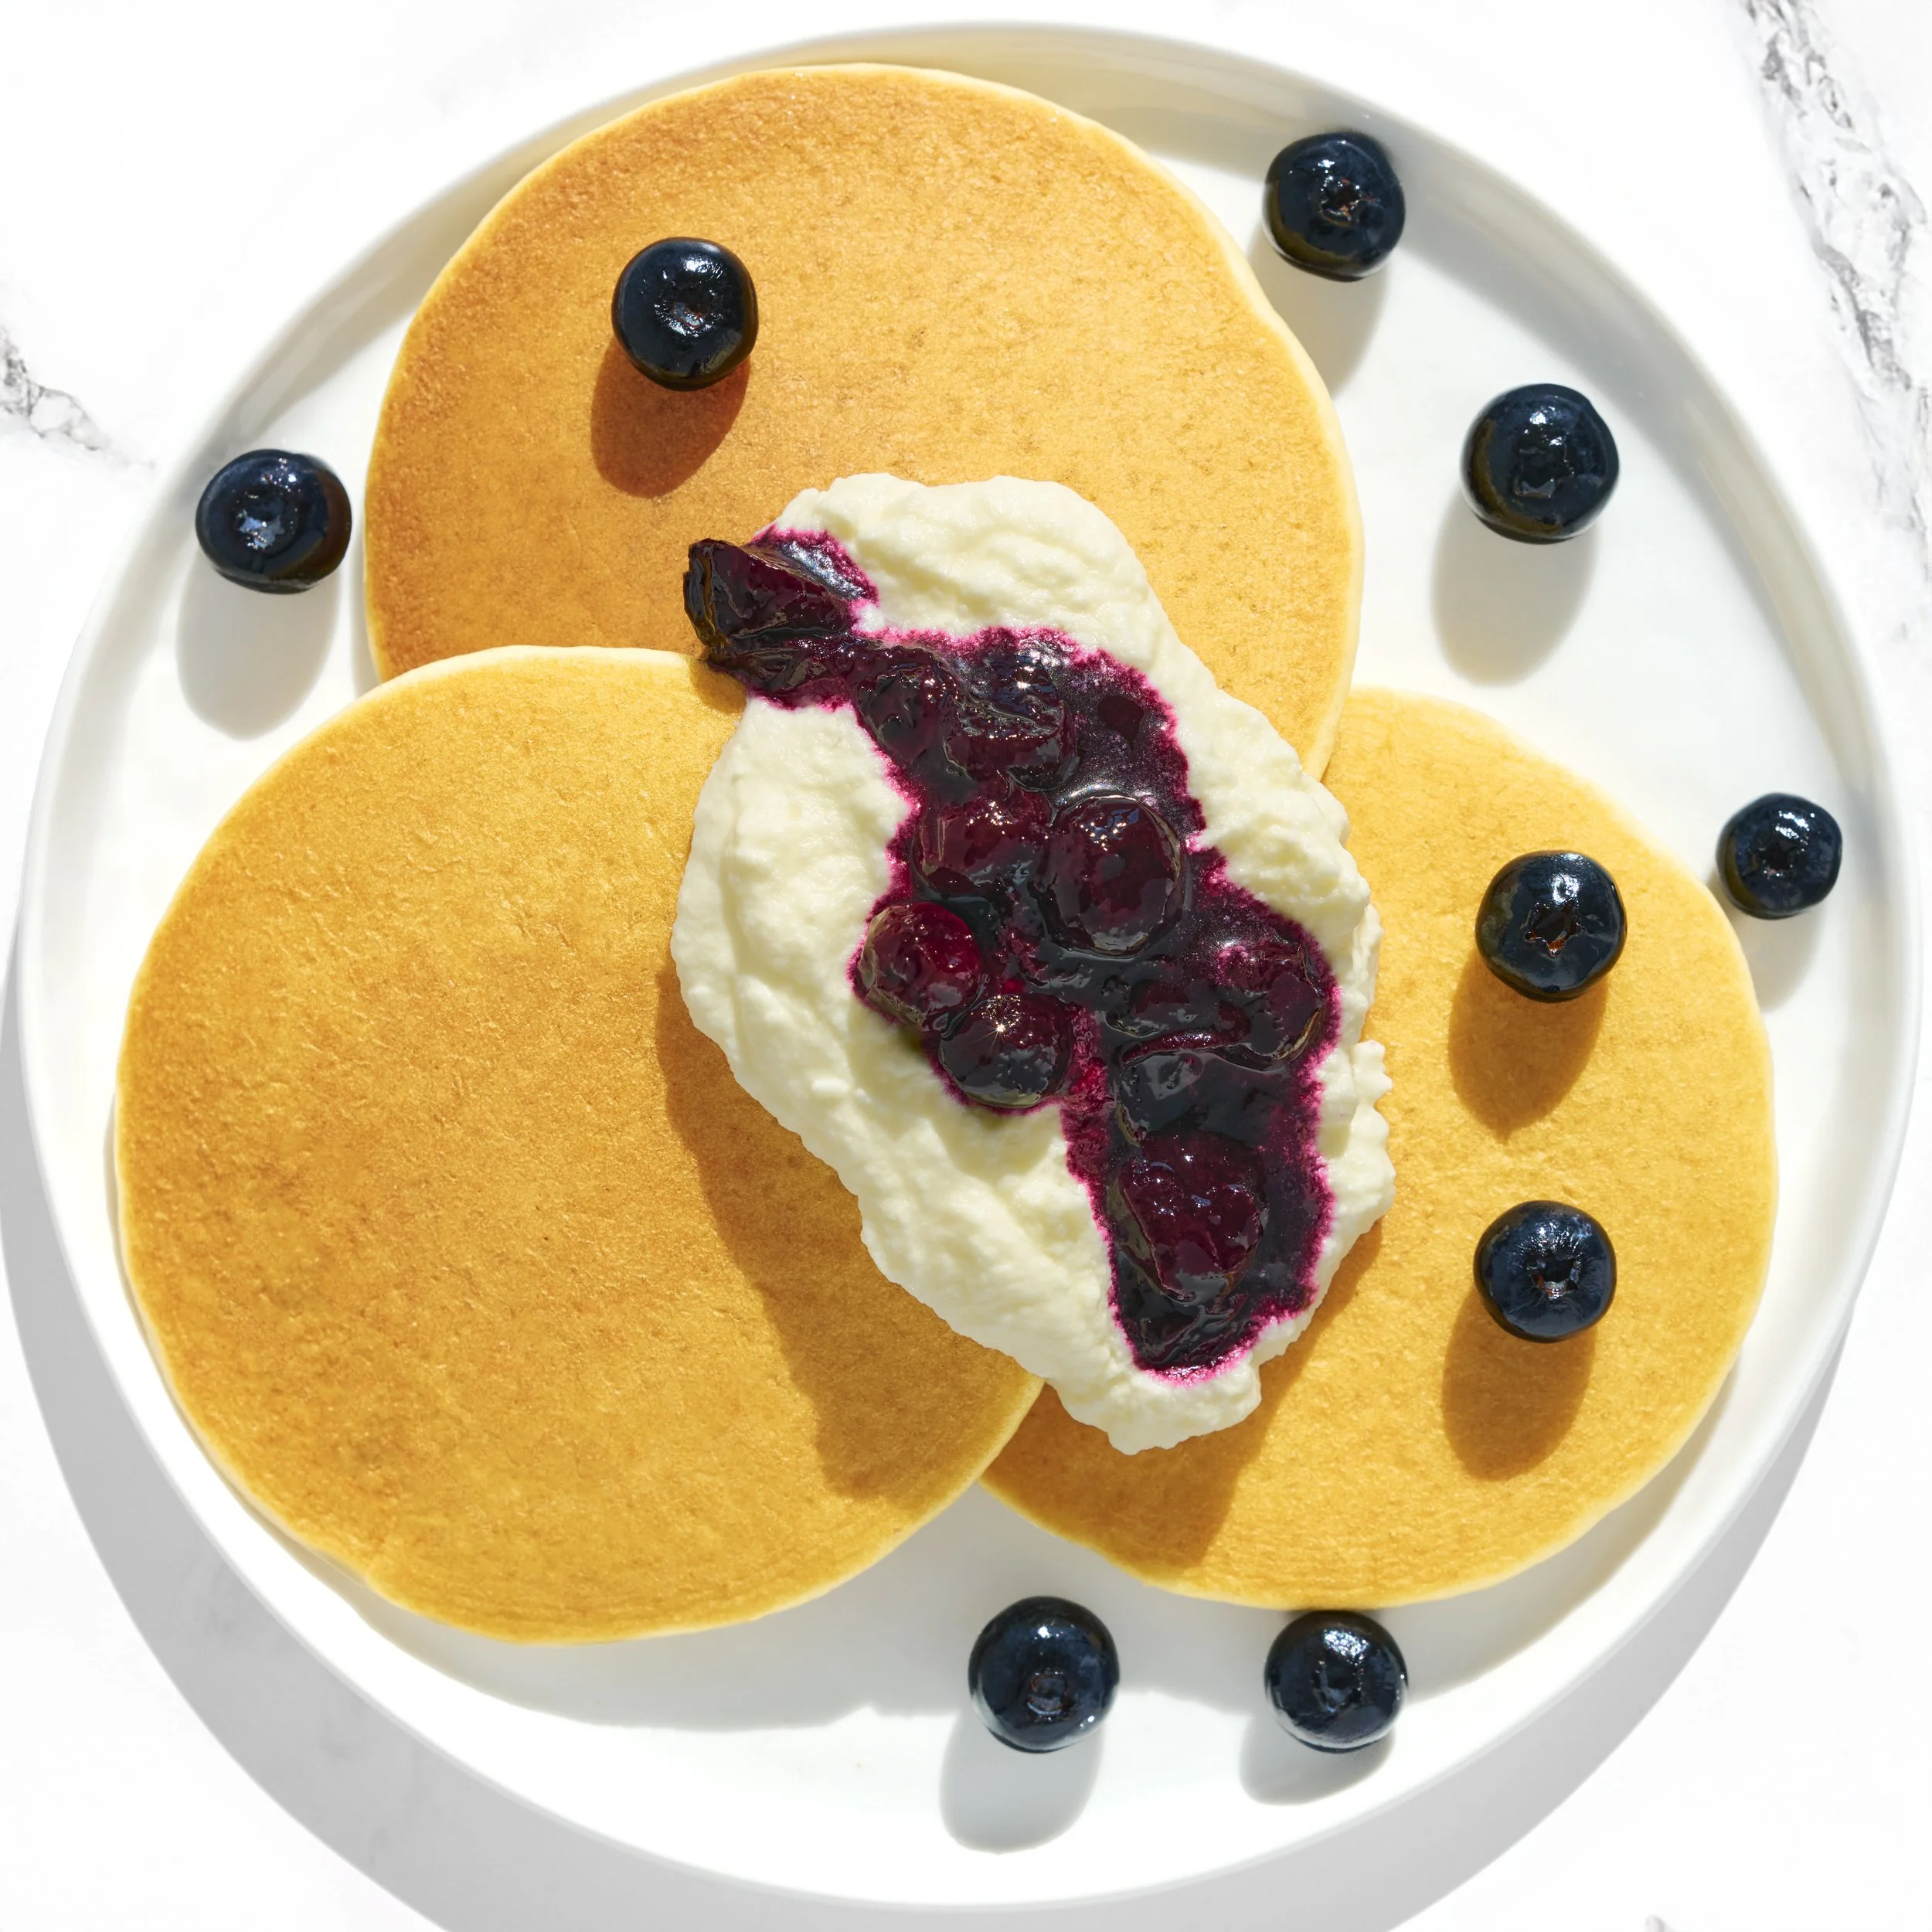
I also love how flexible these waffles are. You can go the classic breakfast route with eggs and bacon on the side, or you can completely turn them into dessert. Since June is our ice cream month theme here at Brimly, we’ve honestly been loving these with a scoop of ice cream on top and a drizzle of chocolate running over everything. Oh my goodness. So good. So delicious.
That being said, these also work perfectly for savory options like chicken and waffles. They really are one of those recipes that can go in so many directions depending on what you’re craving.
Another thing I appreciate about this recipe is how quickly it comes together. If you already have our favorite gluten-free flour blend on hand, plus some almond flour, yogurt, milk, egg, oil, and the usual baking basics, you can honestly have waffles ready in around 30 minutes. It’s such a fun recipe, and it’s a pretty dependable breakfast you can count on every single time.

Lessons Learned
One of the biggest lessons I learned with this recipe is that you really need to whisk your eggs well. That is very important. A lot of the time when I make this recipe, I’m honestly in a hurry and throwing everything into one bowl instead of separating wet ingredients and dry ingredients into different bowls. So if you end up doing the same thing, just make sure you really take the time to mix everything thoroughly.
Thankfully, because this is a gluten-free recipe, you don’t have to worry about gluten forming from overmixing, which honestly makes things a lot easier here. I personally love using my electric hand mixer because it combines everything really quickly and smoothly. I usually mix on medium speed for about a minute or so until the batter looks fully combined. If you’re using a hand whisk, that works perfectly fine too. Just make sure you whisk long enough so the eggs are fully incorporated into the batter because that really affects how evenly the waffles cook.
Another lesson I learned is that you truly have to trust the process and let the batter rest. Please do not skip the 5 to 10 minute rest time because it genuinely makes a huge difference. That short resting period helps hydrate the dry ingredients, slightly thickens the batter, and gives the baking powder time to activate properly. All of that helps create waffles that are fluffier, softer, and overall much more enjoyable in texture.
Another thing I always recommend is shaking your baking powder container before measuring from it. I know it sounds like such a tiny detail, but it actually matters. Baking powder settles over time, so giving the container a quick shake helps redistribute everything properly before scooping. That little trick really can affect how well your waffles rise.
One final thing I learned is that these waffles can become slightly firmer once they cool completely, and honestly, that’s completely normal. The good news is they warm back up beautifully.
You can pop them into the microwave for a few seconds or warm them in the oven for a few minutes, and they come right back to life. Once reheated, they taste almost exactly like they did fresh out of the waffle maker.
How to Make It Your Own
There are definitely several ways you can make this waffle recipe your own, although personally, I wouldn’t recommend changing the base batter too much because this recipe has been very well tested to make sure it works consistently every single time.
That being said, there’s still a lot of room to have fun with it.
One thing I think could be really delicious is adding a little bit of cacao nibs into the batter. I actually haven’t personally tried it yet, but I think the little bits of chocolate would work really nicely without affecting the structure of the waffles too much.
Outside of the batter itself, the toppings are where you can really customize things however you like. You can go fully sweet with whipped cream, fruit, chocolate drizzle, or ice cream, or you can go savory with eggs, bacon, or chicken and waffles.
You could even turn these into ice cream sandwiches because these waffles honestly hold together really well. They stay soft, but they’re sturdy enough that they don’t completely fall apart on you.
Honestly, these waffles are such a blank canvas. You can keep them simple or fully dress them up depending on your mood, and either way they work beautifully.
Pro Tip: Give the batter at least 5 minutes minimum before cooking because that short resting period really changes the final texture of the waffles. It gives the dry ingredients time to hydrate properly and allows the baking powder to activate before the batter hits the waffle maker. That extra rest time helps create waffles that are fluffier, softer, and overall much more enjoyable. It may seem like a small step, but it honestly makes a very noticeable difference in the final result.

Summary Notes:
These waffles have honestly become one of our favorite breakfast recipes to make lately. They are gluten-free, gum-free, and soy-free, they come together quickly with simple pantry ingredients, and they consistently deliver beautiful waffles that are soft on the inside, crisp on the outside, and sturdy enough to hold just about any topping you can think of.
You can enjoy them sweet, savory, as dessert, or even with a scoop of ice cream like we did here. We love this recipe so much, and we truly cannot wait for you to try it for yourself.
Tried it? Let us know how it went in the comments below.
At Brimly, we take pride in presenting you with the finest products that our editors independently handpicked. In the spirit of transparency, we want you to know that we may earn an affiliate commission when you purchase something through the retail links below.
Essentials you’ll need:


view:LISTENIngredients
Recipe Steps
Step 1
Preheat your waffle maker according to the manufacturer’s instructions.
Step 2
In a large bowl, whisk together the gluten-free flour, almond flour, baking soda, baking powder, salt, and sugar until fully combined.
Step 3
In a separate bowl, whisk together the yogurt, milk, egg, melted butter, and vanilla extract until smooth and fully combined.
Step 4
Pour the wet ingredients into the dry ingredients and gently whisk until a smooth batter forms. Do not overmix.
Step 5
Allow the batter to rest for 5–10 minutes.
Note: This step helps hydrate the flour mixture and gives the baking powder time to activate.
Step 6
Lightly grease your waffle maker if needed, then scoop the batter into the center of the waffle iron. Spread slightly if necessary.
Step 7
Cook the waffles until golden and lightly crisp on the outside. Cooking time will vary depending on your waffle maker.
Step 8
Carefully remove the waffles and transfer them to a cooling rack for a minute or two before serving. Repeat the process with the remaining batter, then serve and enjoy.
Storage:
Store leftover waffles in an airtight container in the refrigerator for up to 3 days. To reheat, place the waffles in a toaster or in the oven at 350°F until warmed through and lightly crisp again. You can also microwave them for a few seconds to warm them up.
More From Brimly.
by Brimly kitchen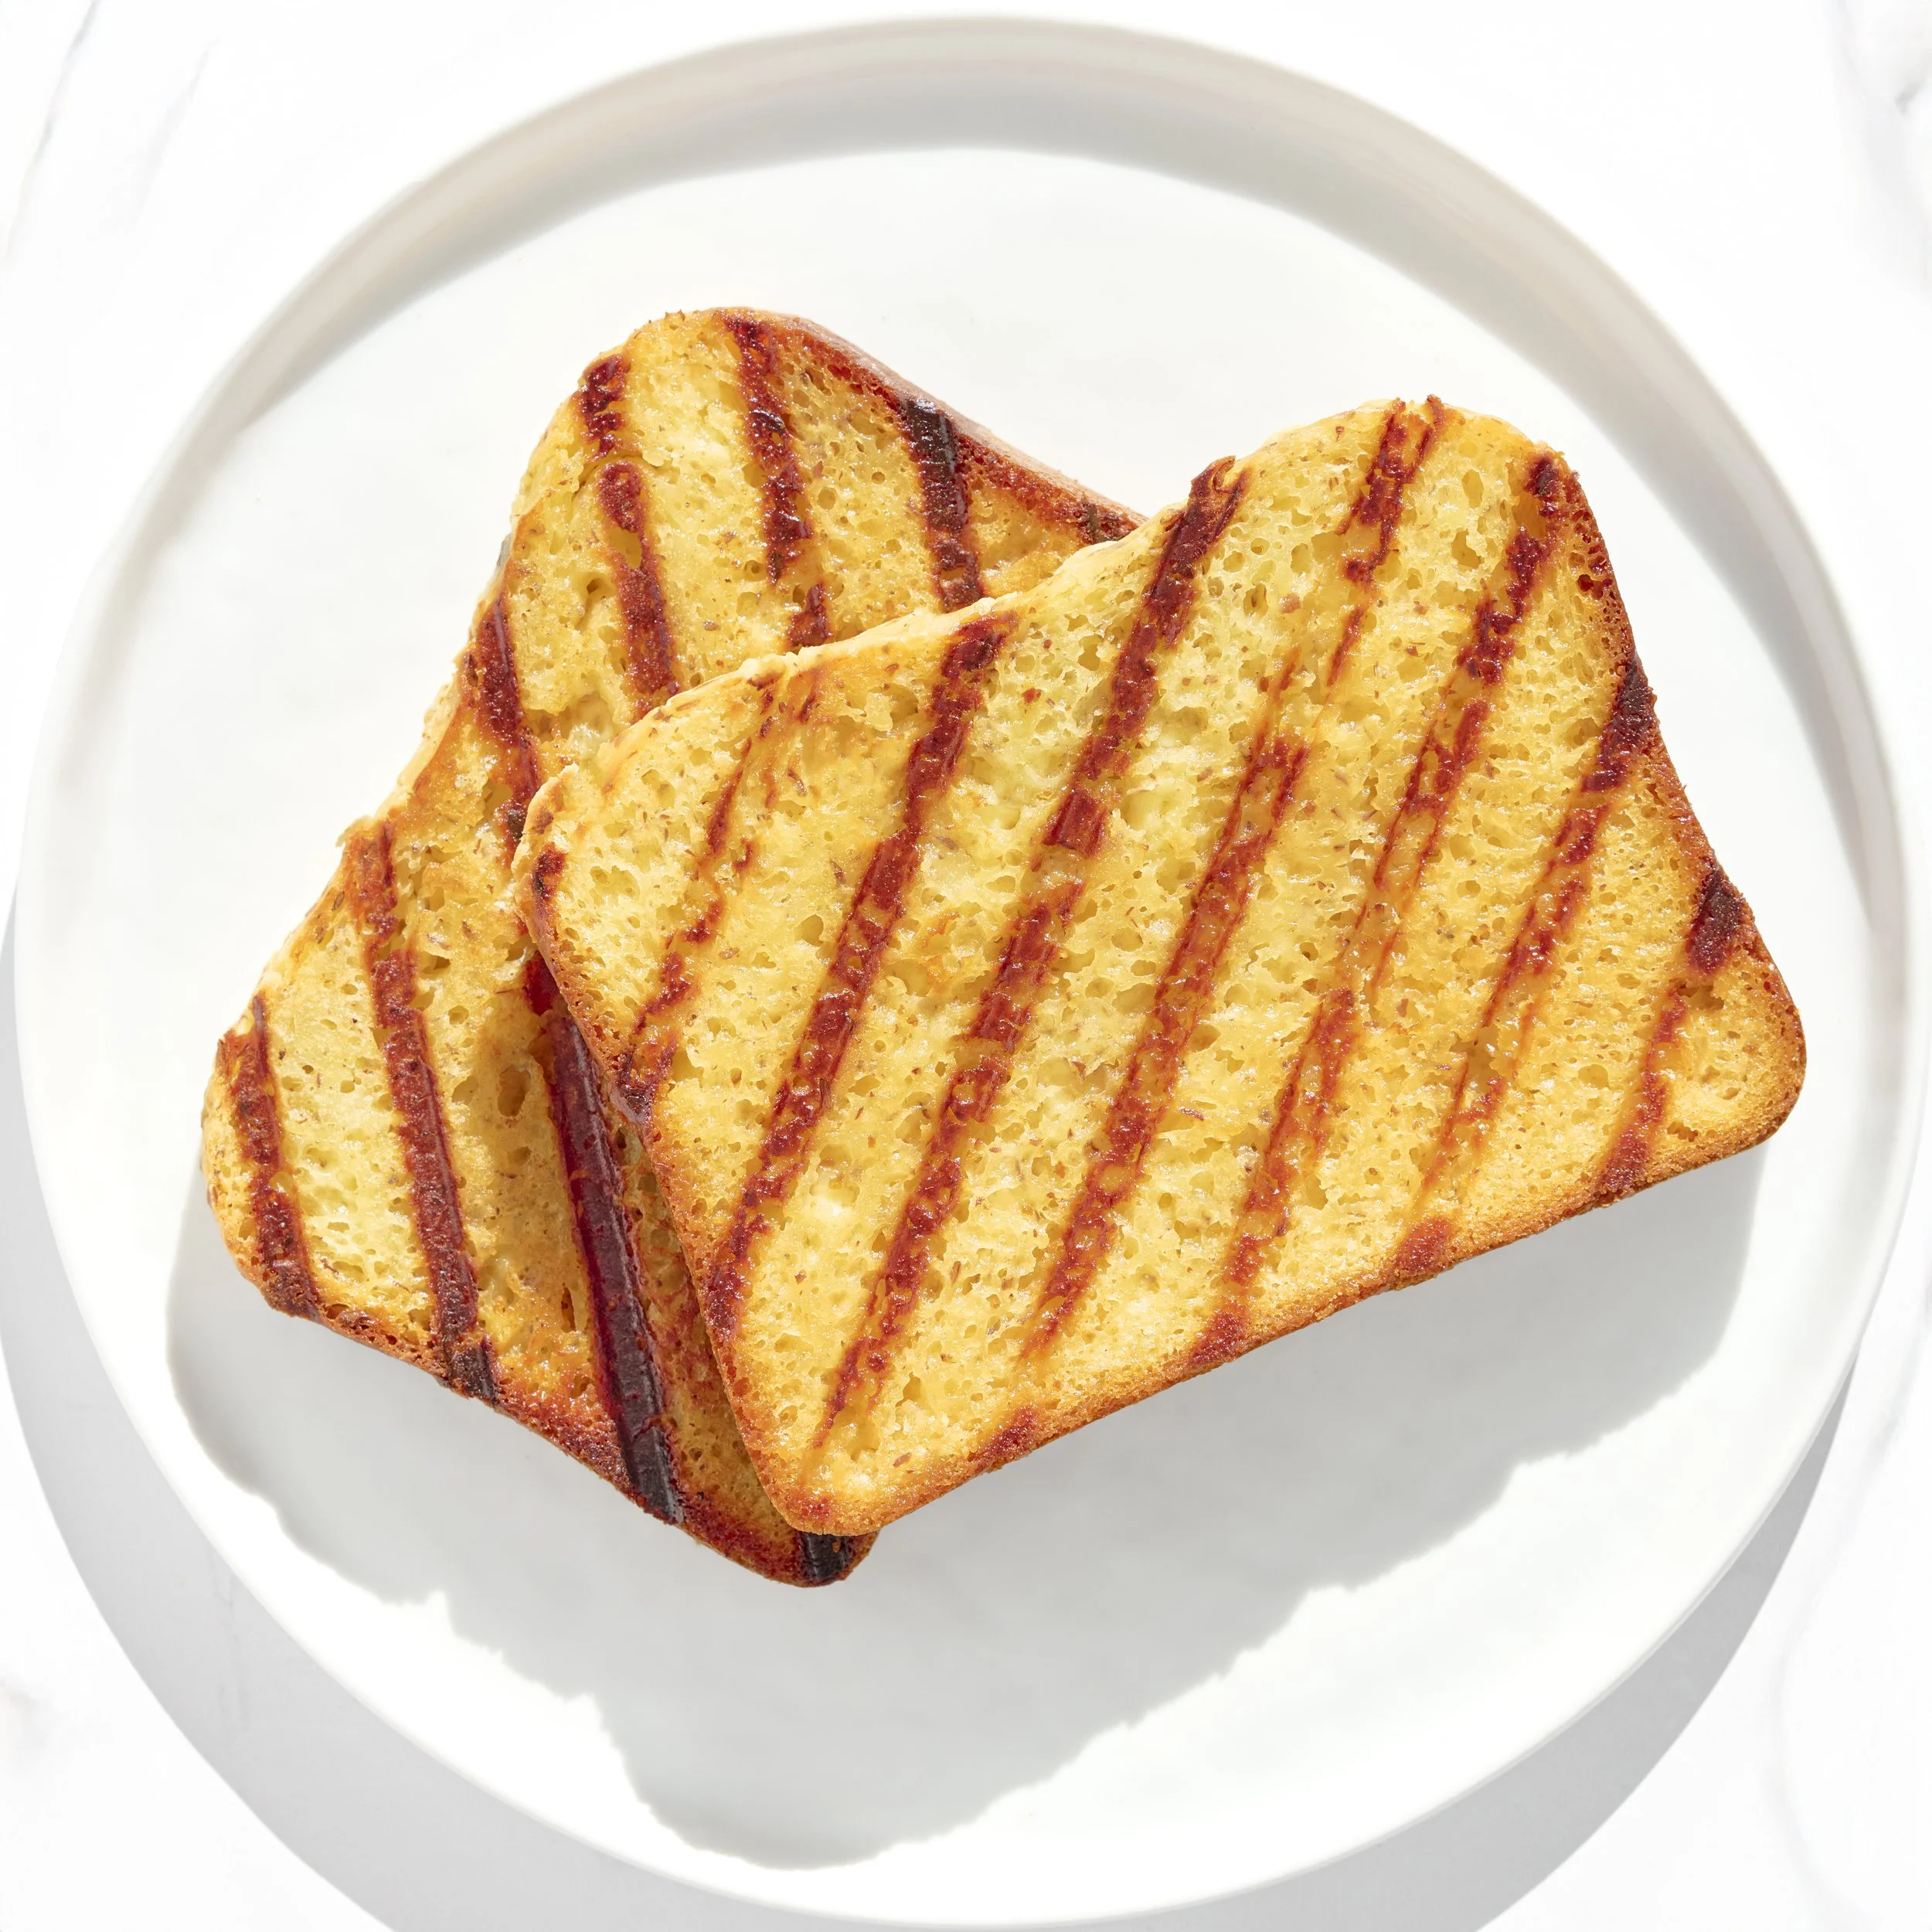
by Brimly kitchen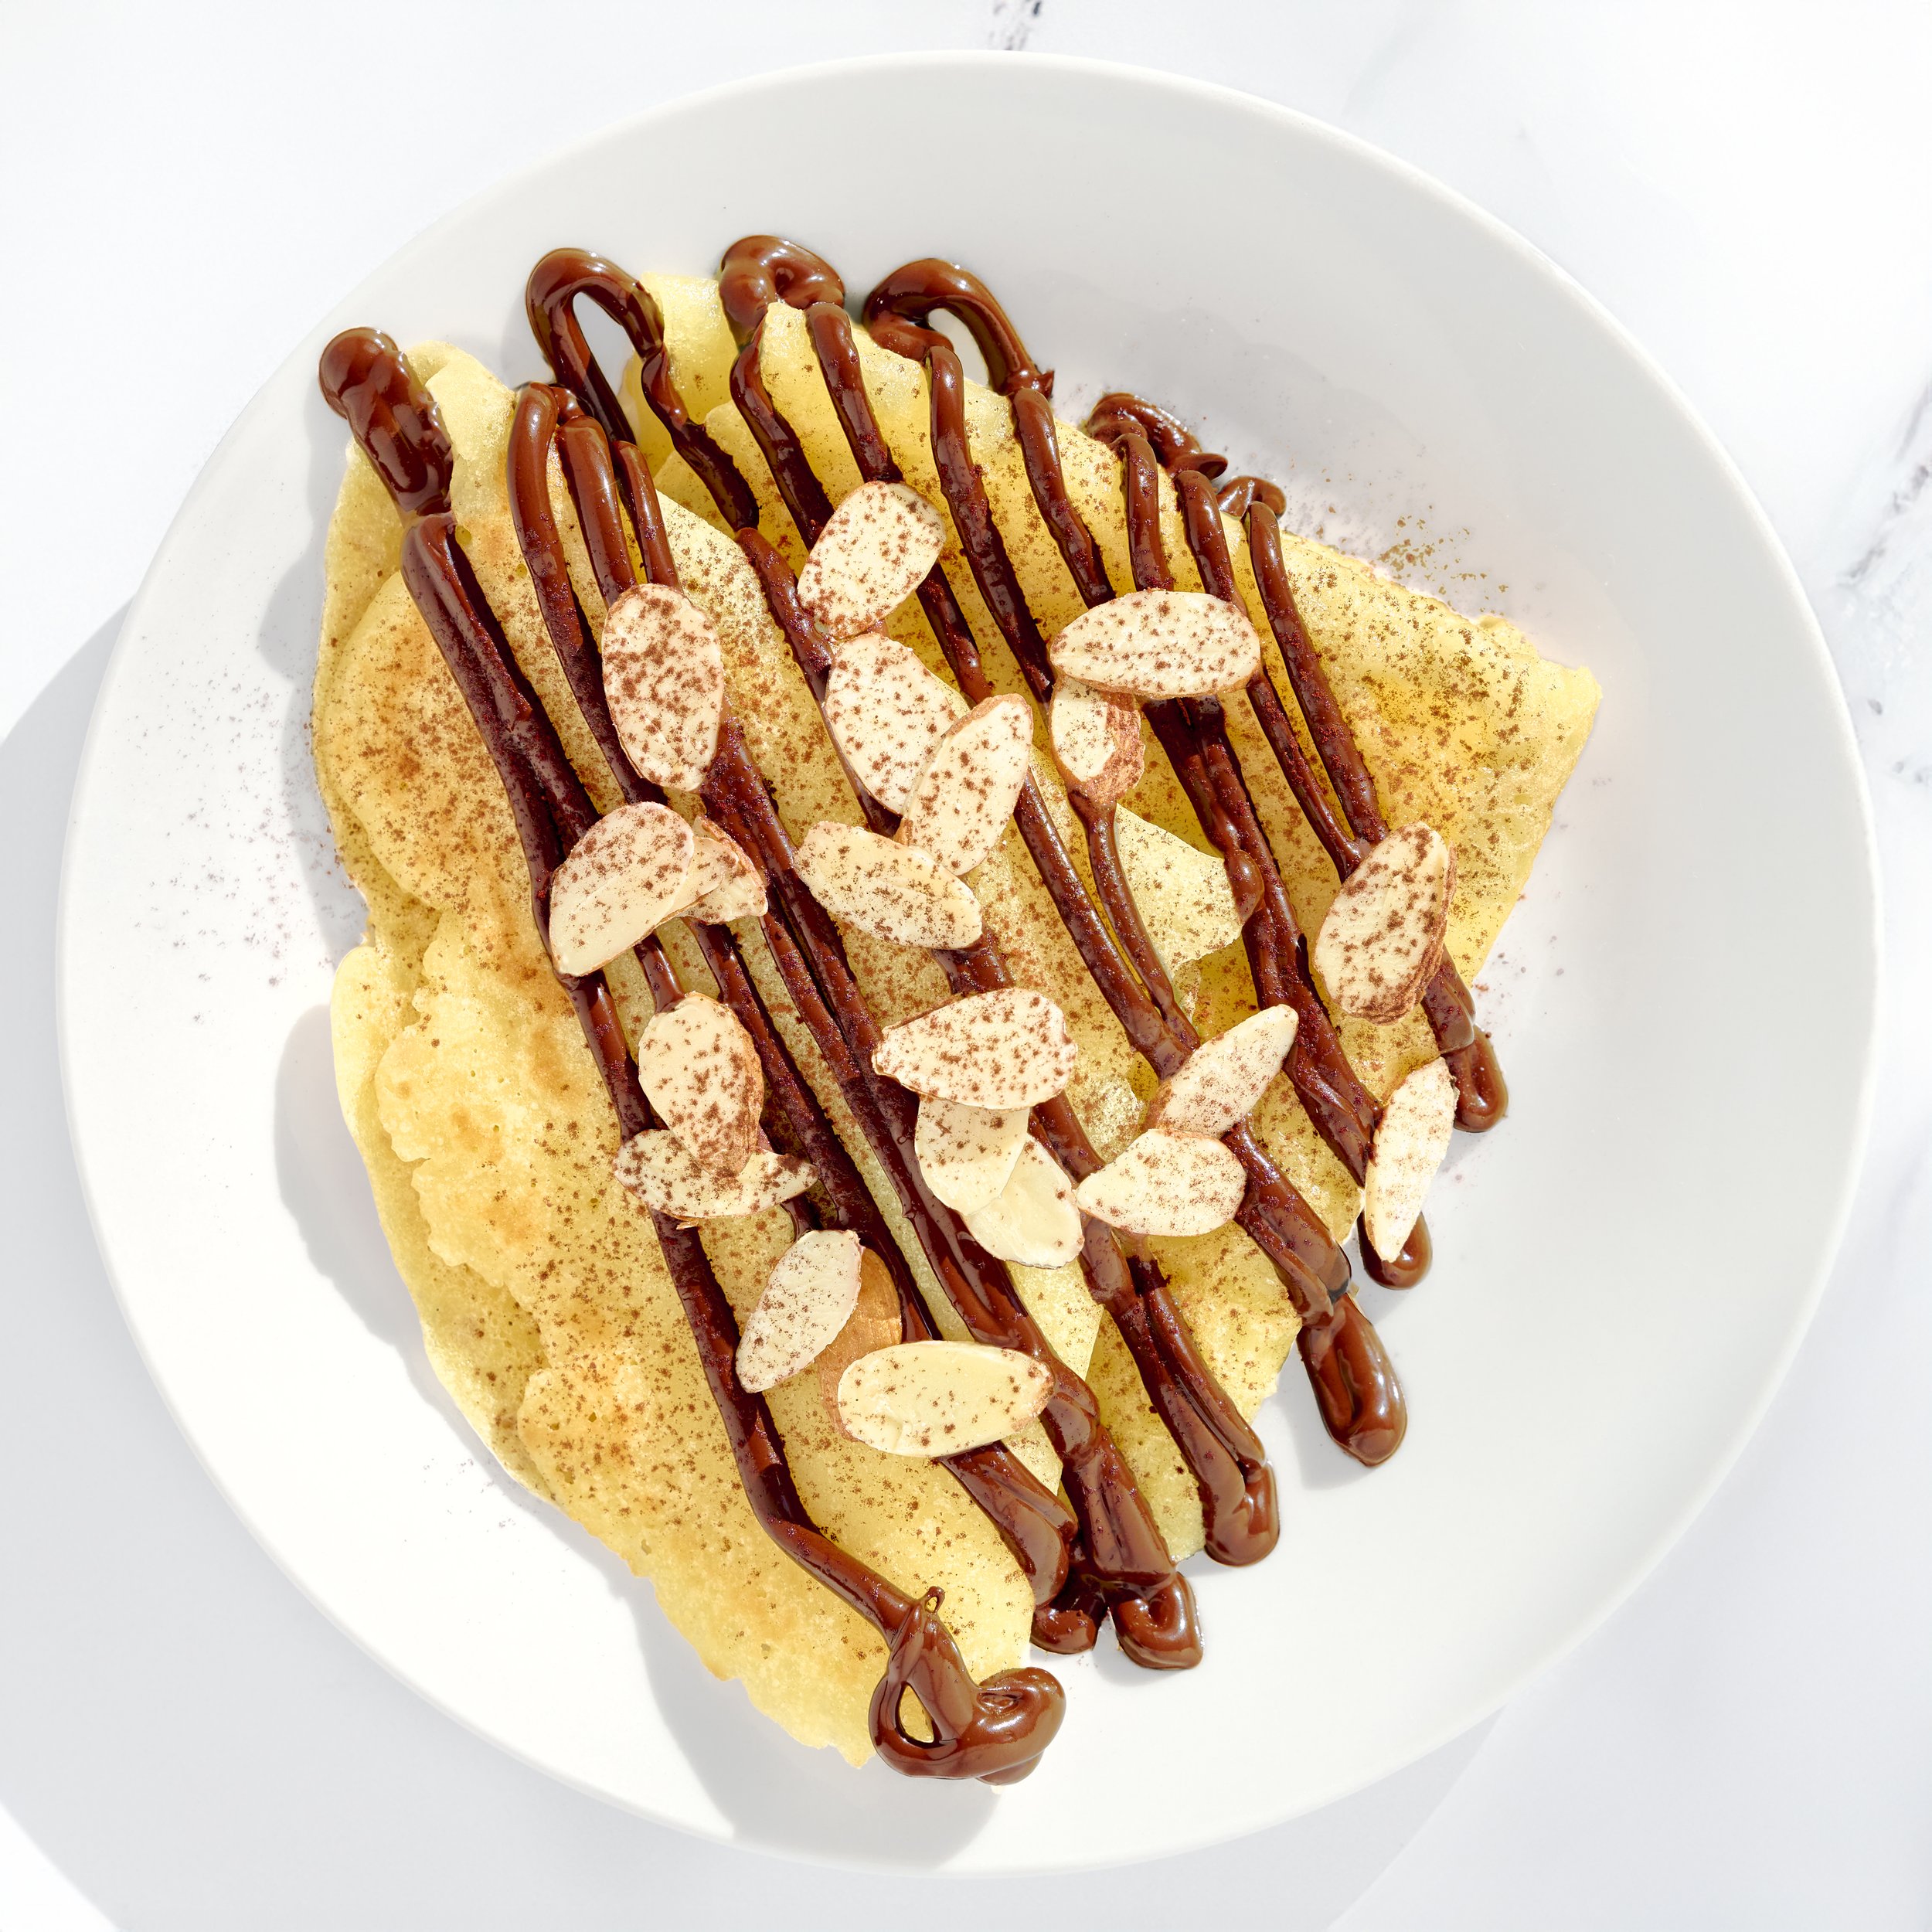
by Brimly kitchen
by Brimly kitchen