Gluten-Free Chocolate Biscotti
BY Brimly.July 5, 2026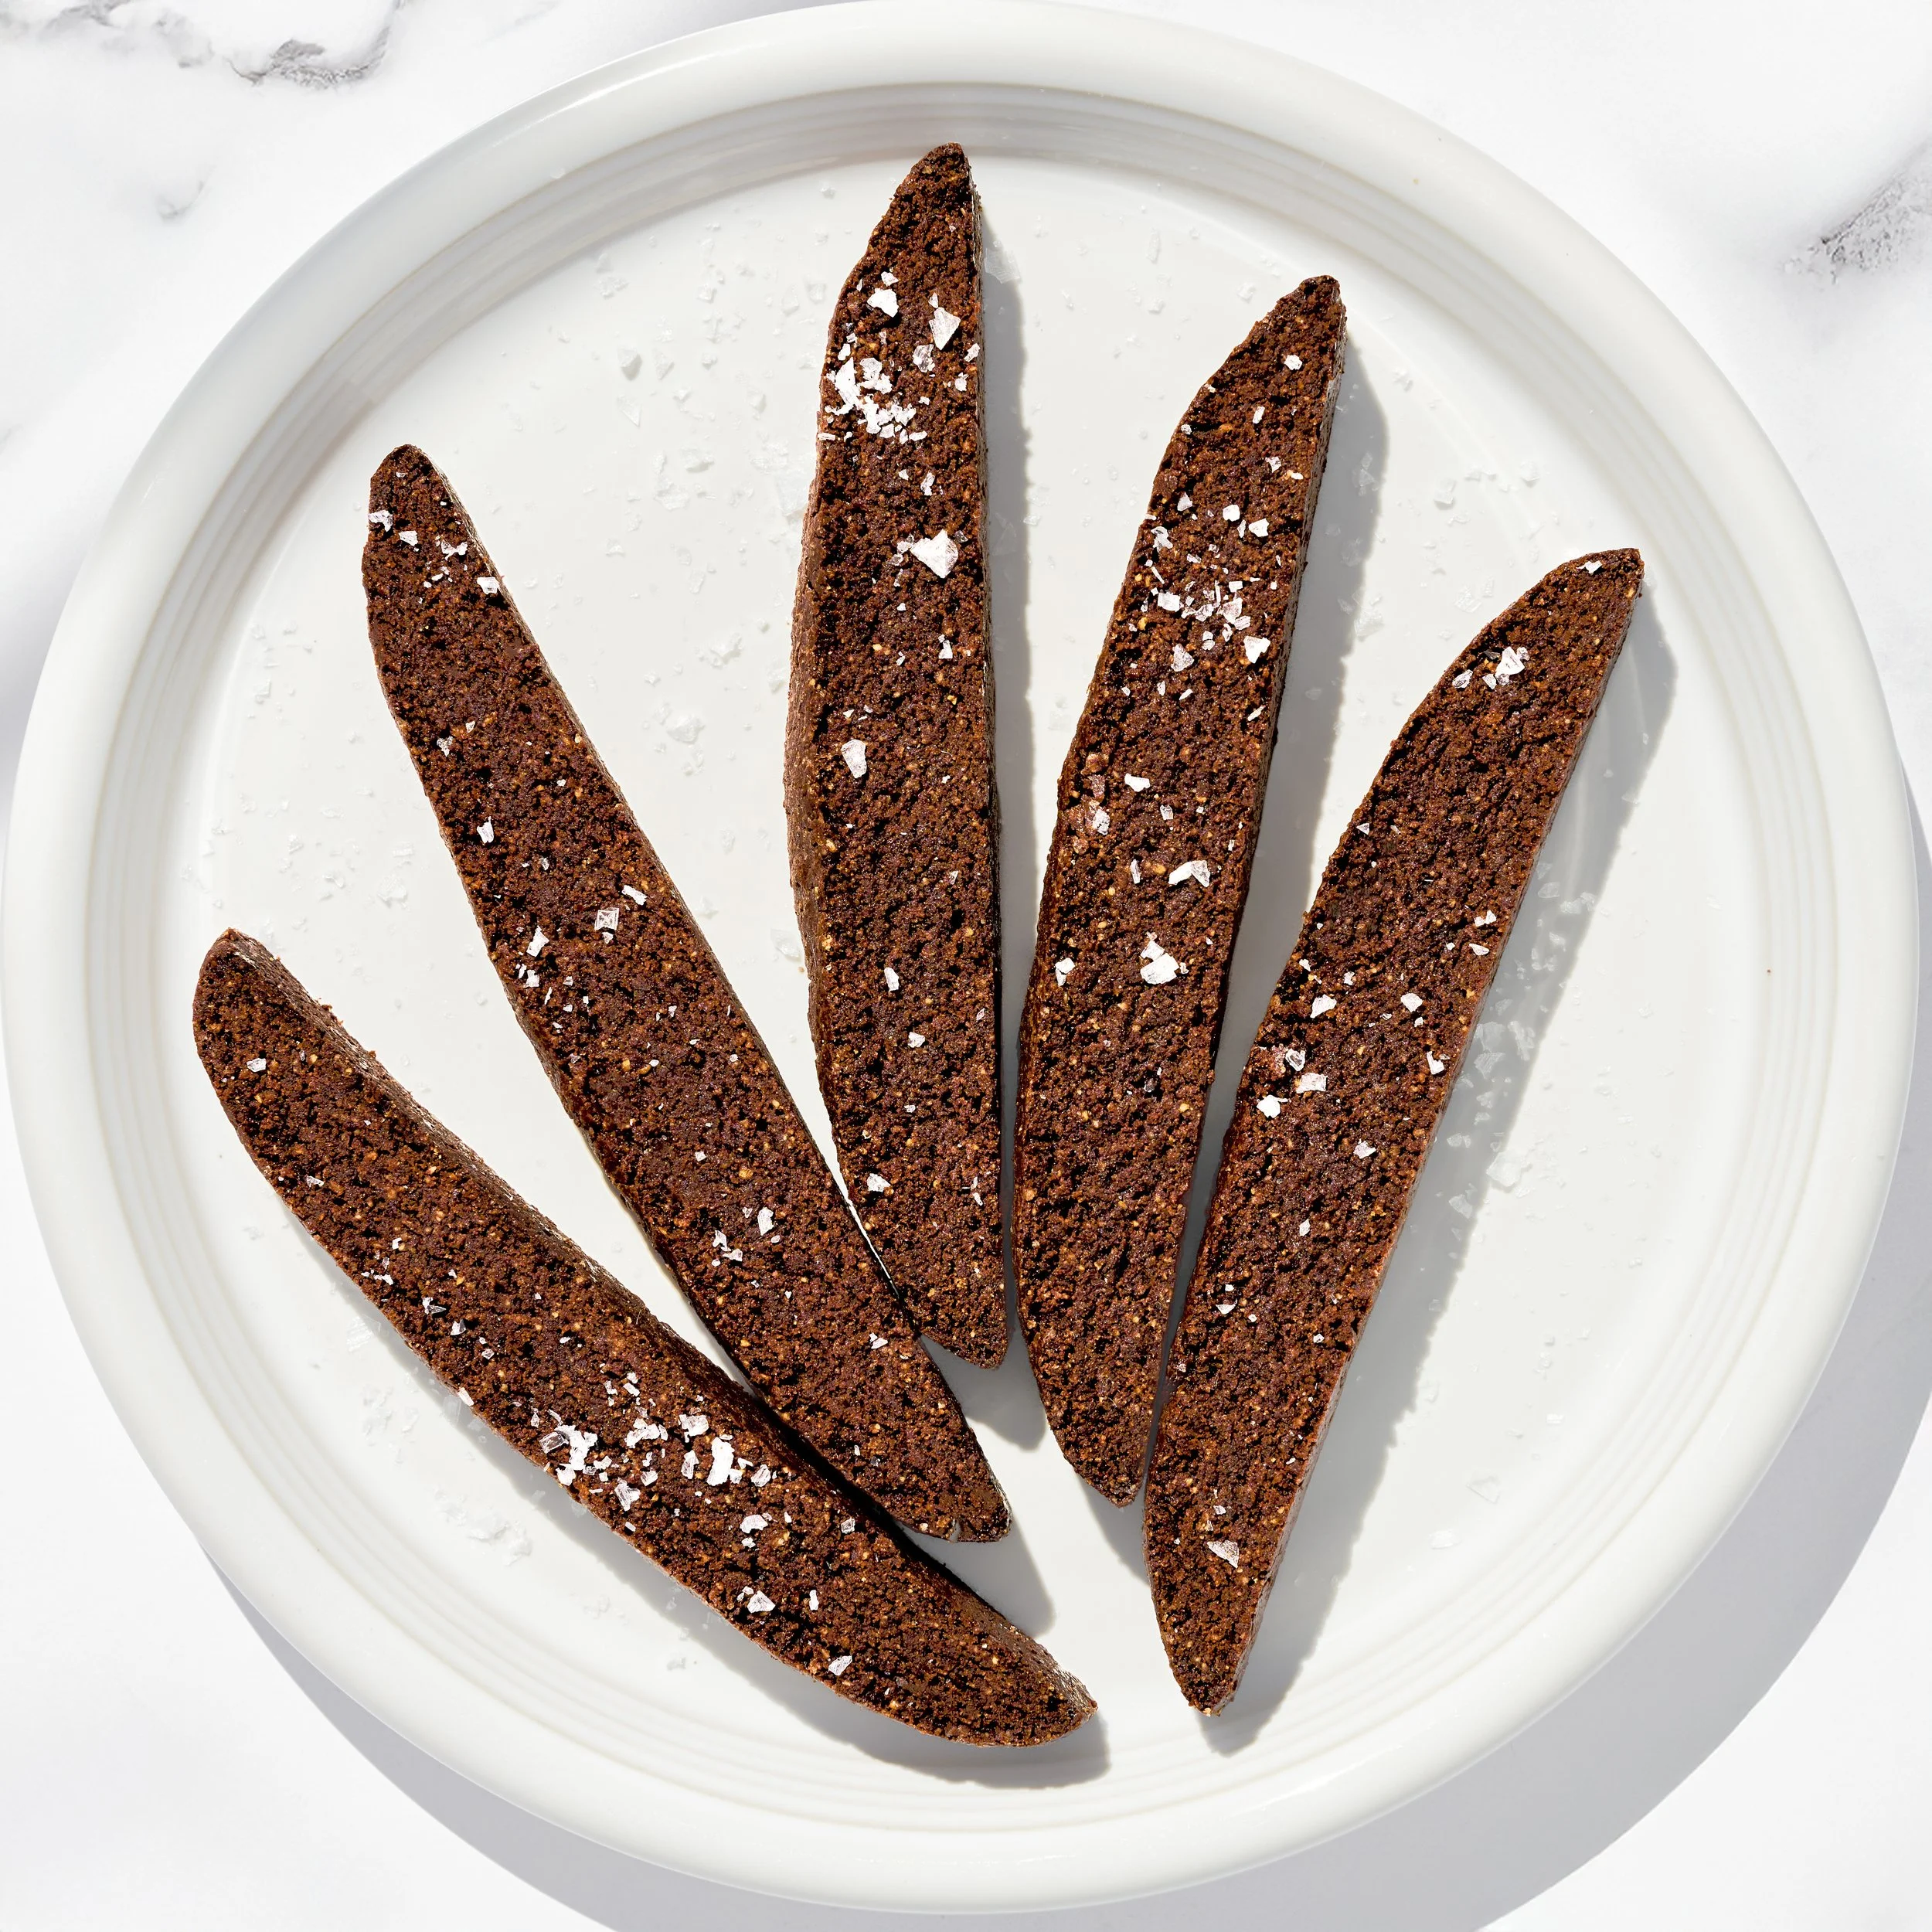
Photo By Editors @ the Brimly Test Kitchen


Mid TaskPREP: 25 minGluten-freesweet Treat Now, Why This Recipe and What Makes It Special?
This month's theme is Christmas in July, and when I started thinking about the recipes I wanted to make, cookies immediately came to mind. There is just something about a good biscotti that feels like winter. Maybe it's the fact that they're traditionally served alongside coffee, tea, or hot chocolate, or maybe it's because they remind me of cozy mornings and holiday gatherings. Whatever the reason, this Chocolate Biscotti felt like the perfect fit.
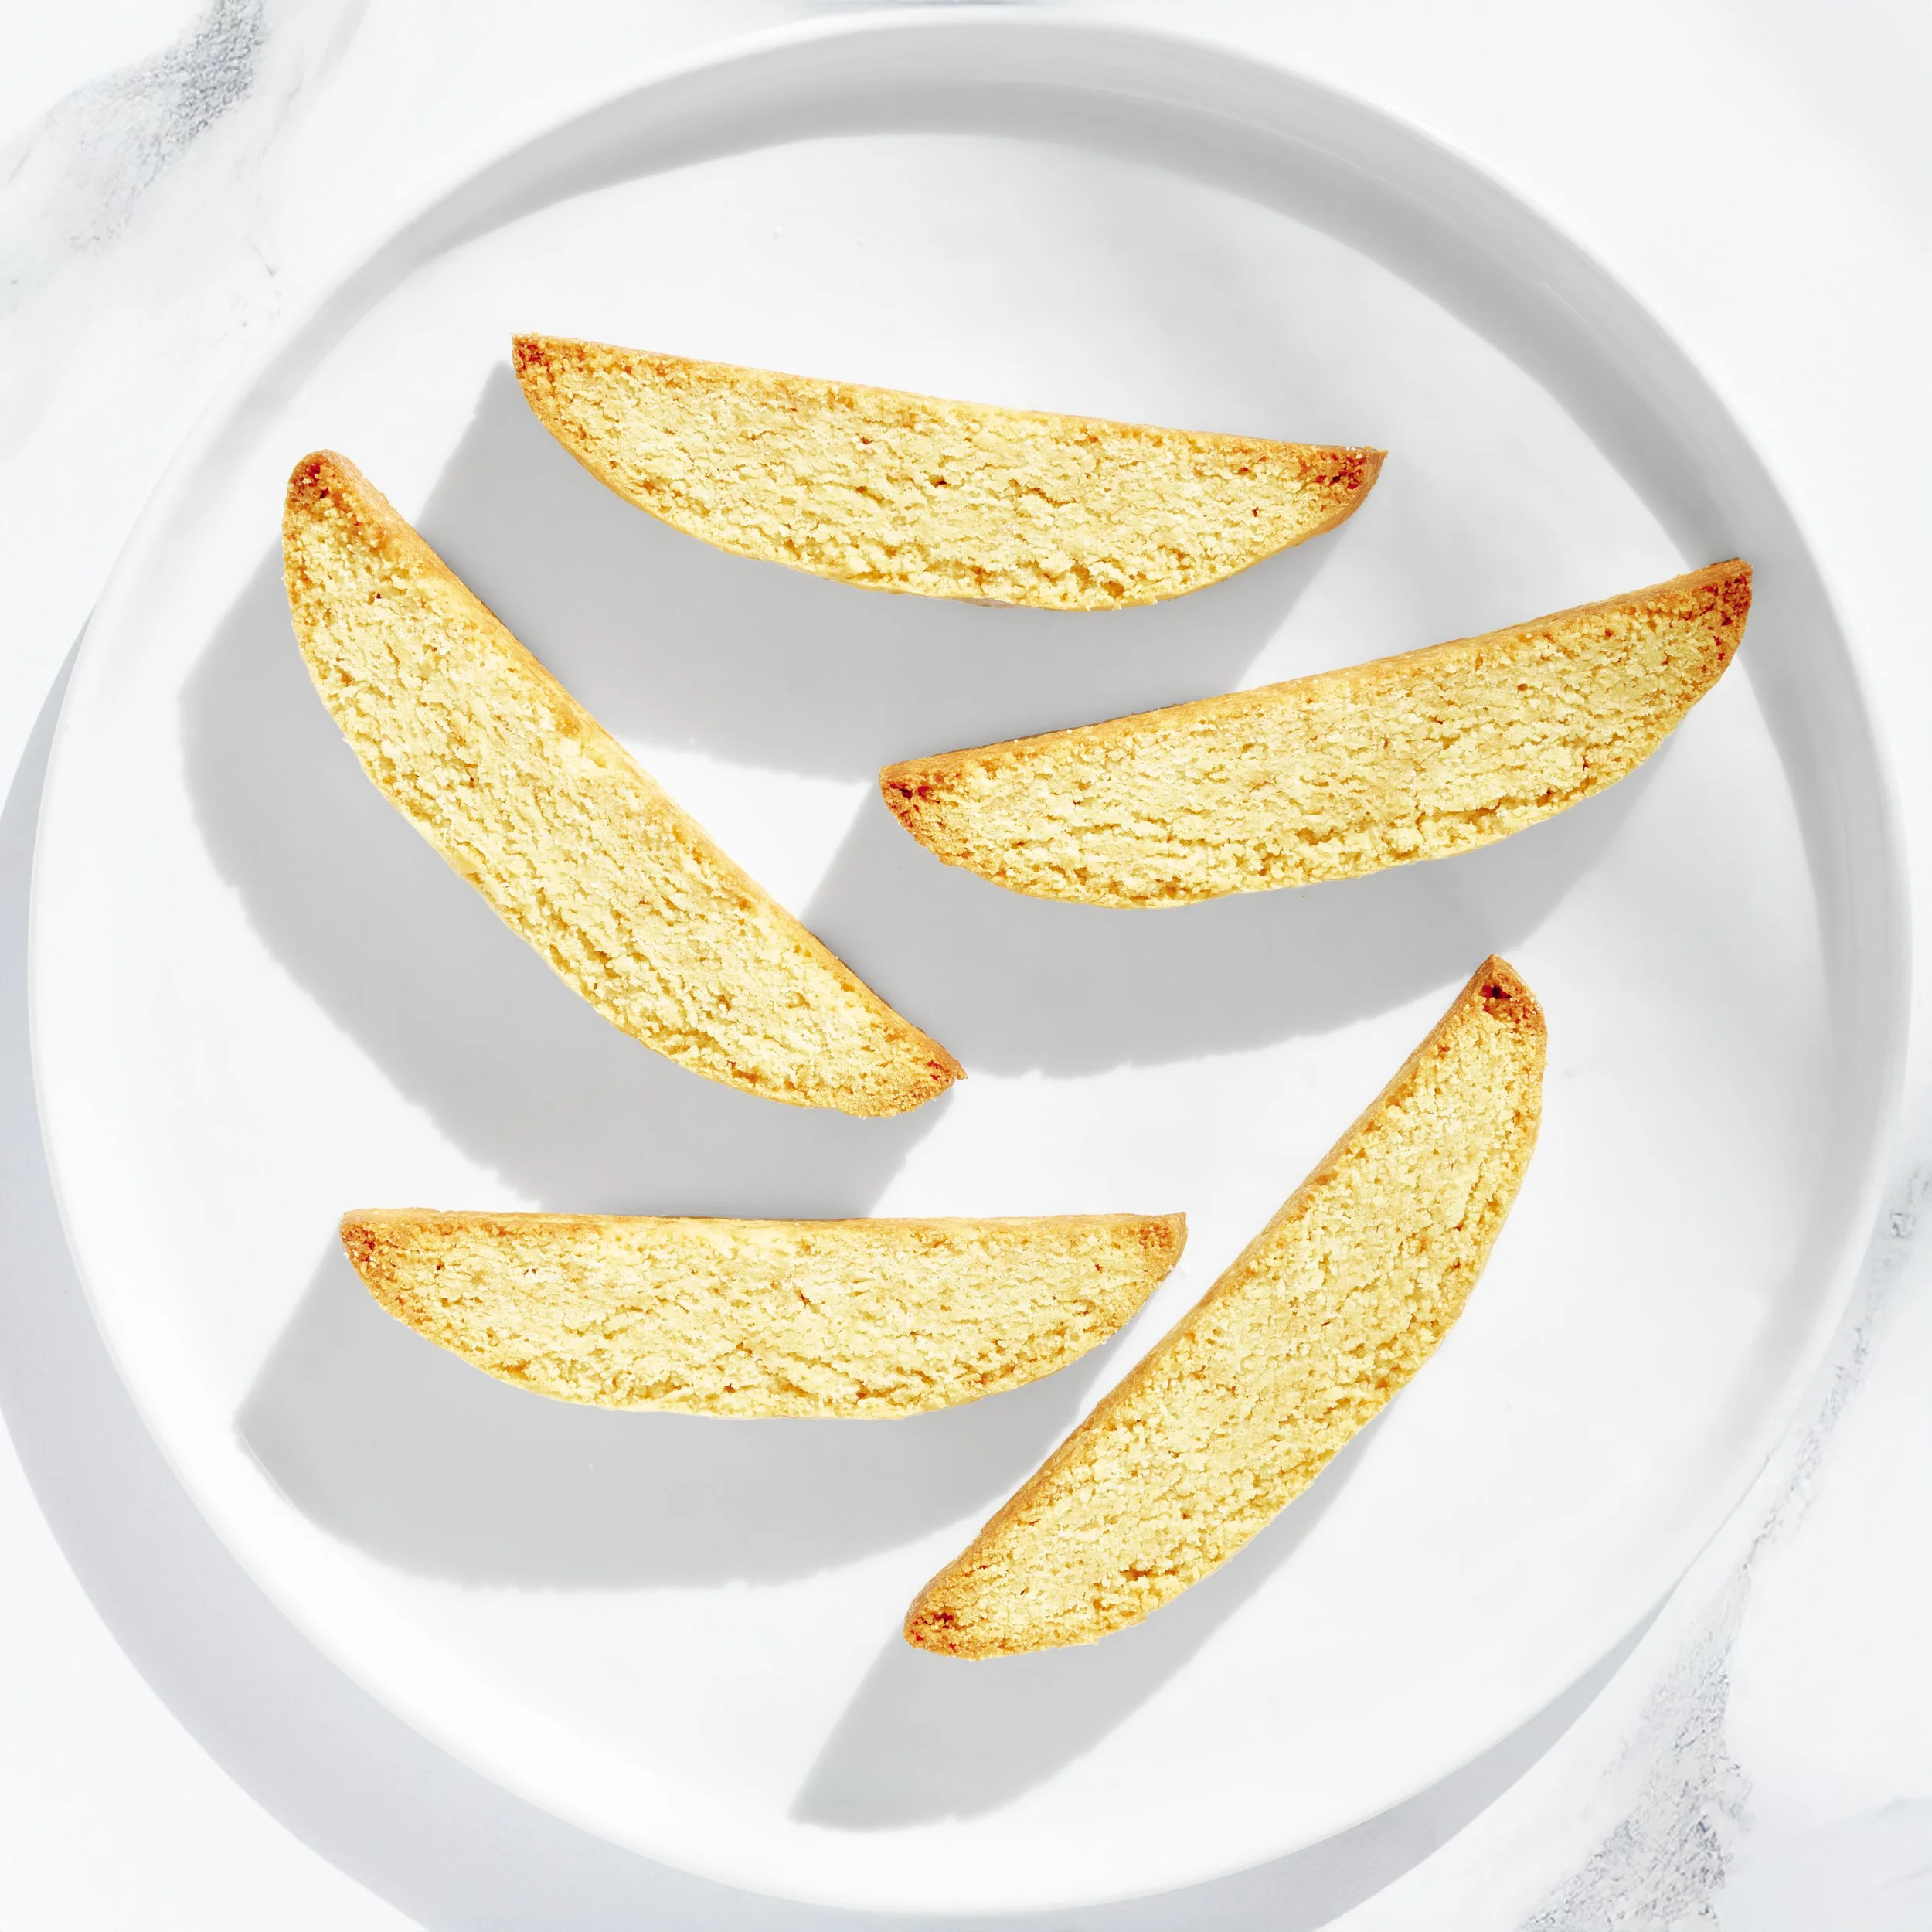
What I love most about this recipe is how simple it is. There are no complicated techniques, no special equipment, and no long list of ingredients. If you've made our Maple Biscotti before, you'll feel right at home here. The process is nearly identical, but the addition of cocoa powder transforms the entire experience. The result is a biscotti with a rich chocolate flavor, a really good crunch, and a texture that feels right at home alongside your favorite warm drink.
I also appreciate recipes like this because they remind me that sometimes the smallest changes can create something completely new. A few adjustments to an existing recipe turned into a completely different biscotti, one that feels especially appropriate for the holiday season. It's simple, approachable, and a tasty recipe I find myself wanting to make again. And, of course, these biscotti are completely gluten-free, gum-free, and soy-free.

Lessons Learned
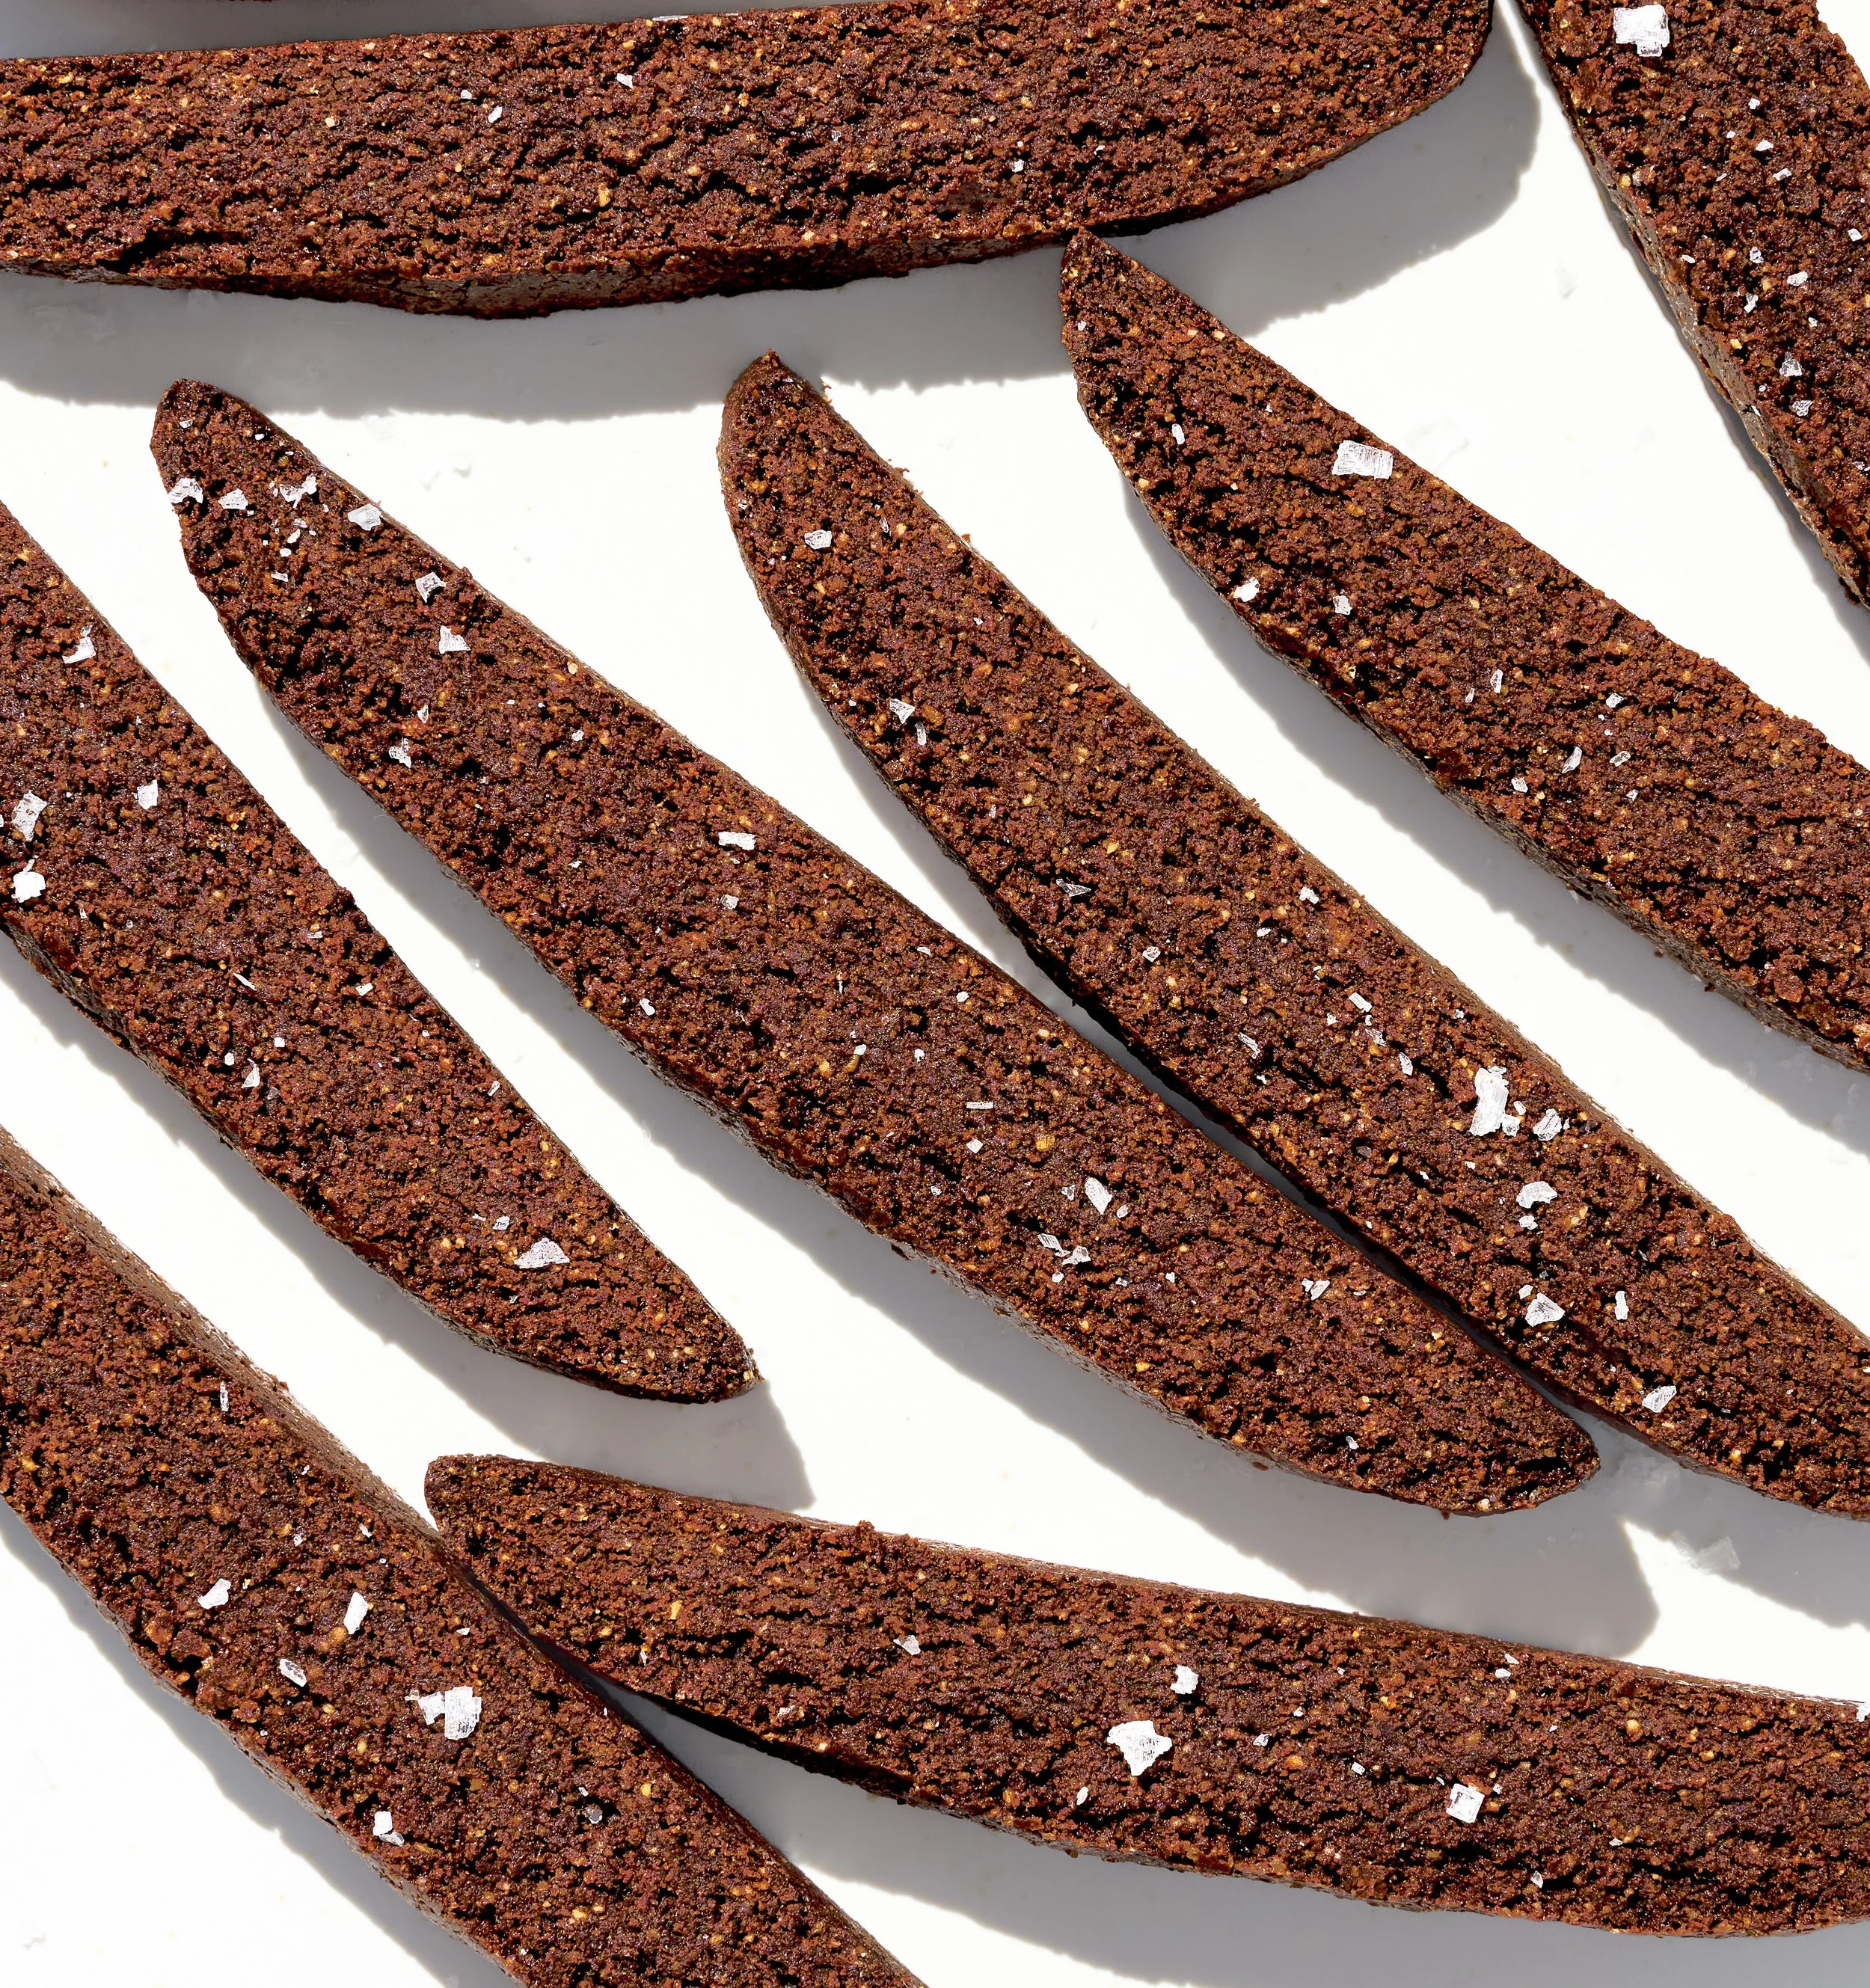
The biggest lesson I learned while making this recipe is that biscotti can go from perfectly crisp to slightly overdone faster than you might expect. During testing, I found that sticking closely to the baking times produced the best results. After the initial bake and the second bake, the biscotti had the perfect amount of crunch without becoming overly toasted.
Another thing worth noting is that the biscotti will still be fairly soft when they come out of the oven after the first bake. That's completely normal. Be gentle when slicing and transferring them back to the baking sheet, as they can crack if handled too aggressively. A sharp knife and a little patience go a long way here.
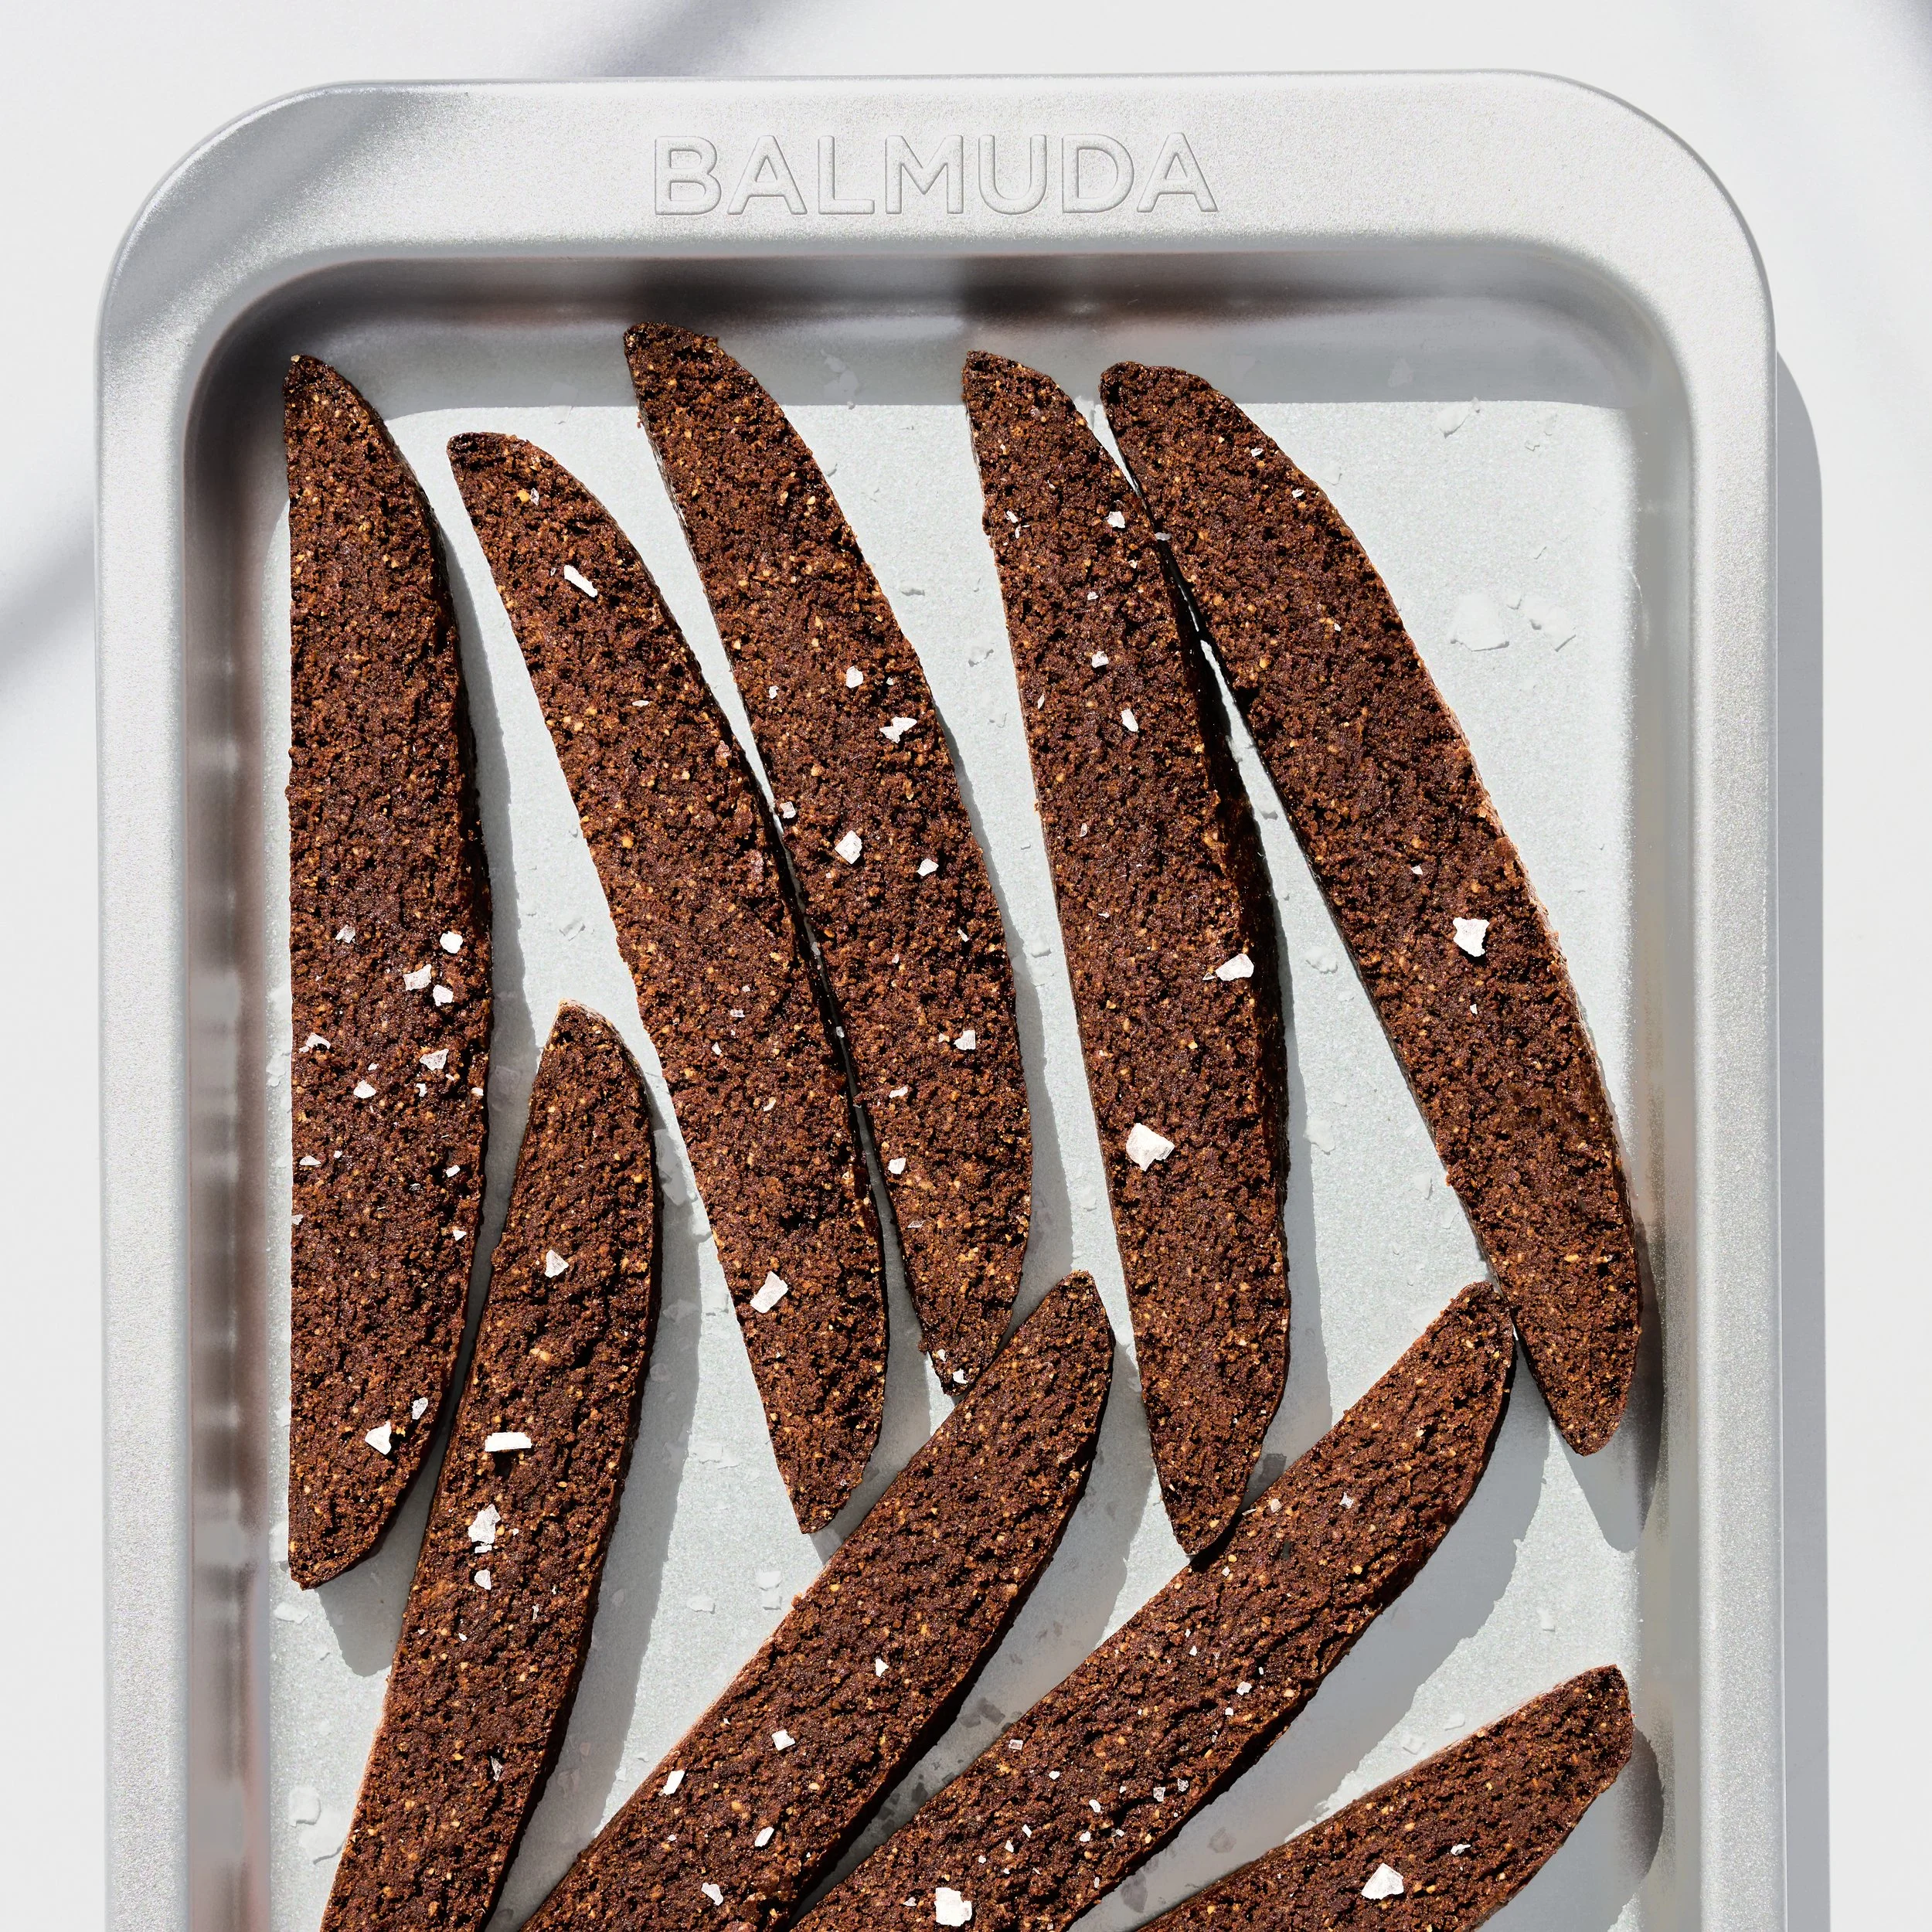
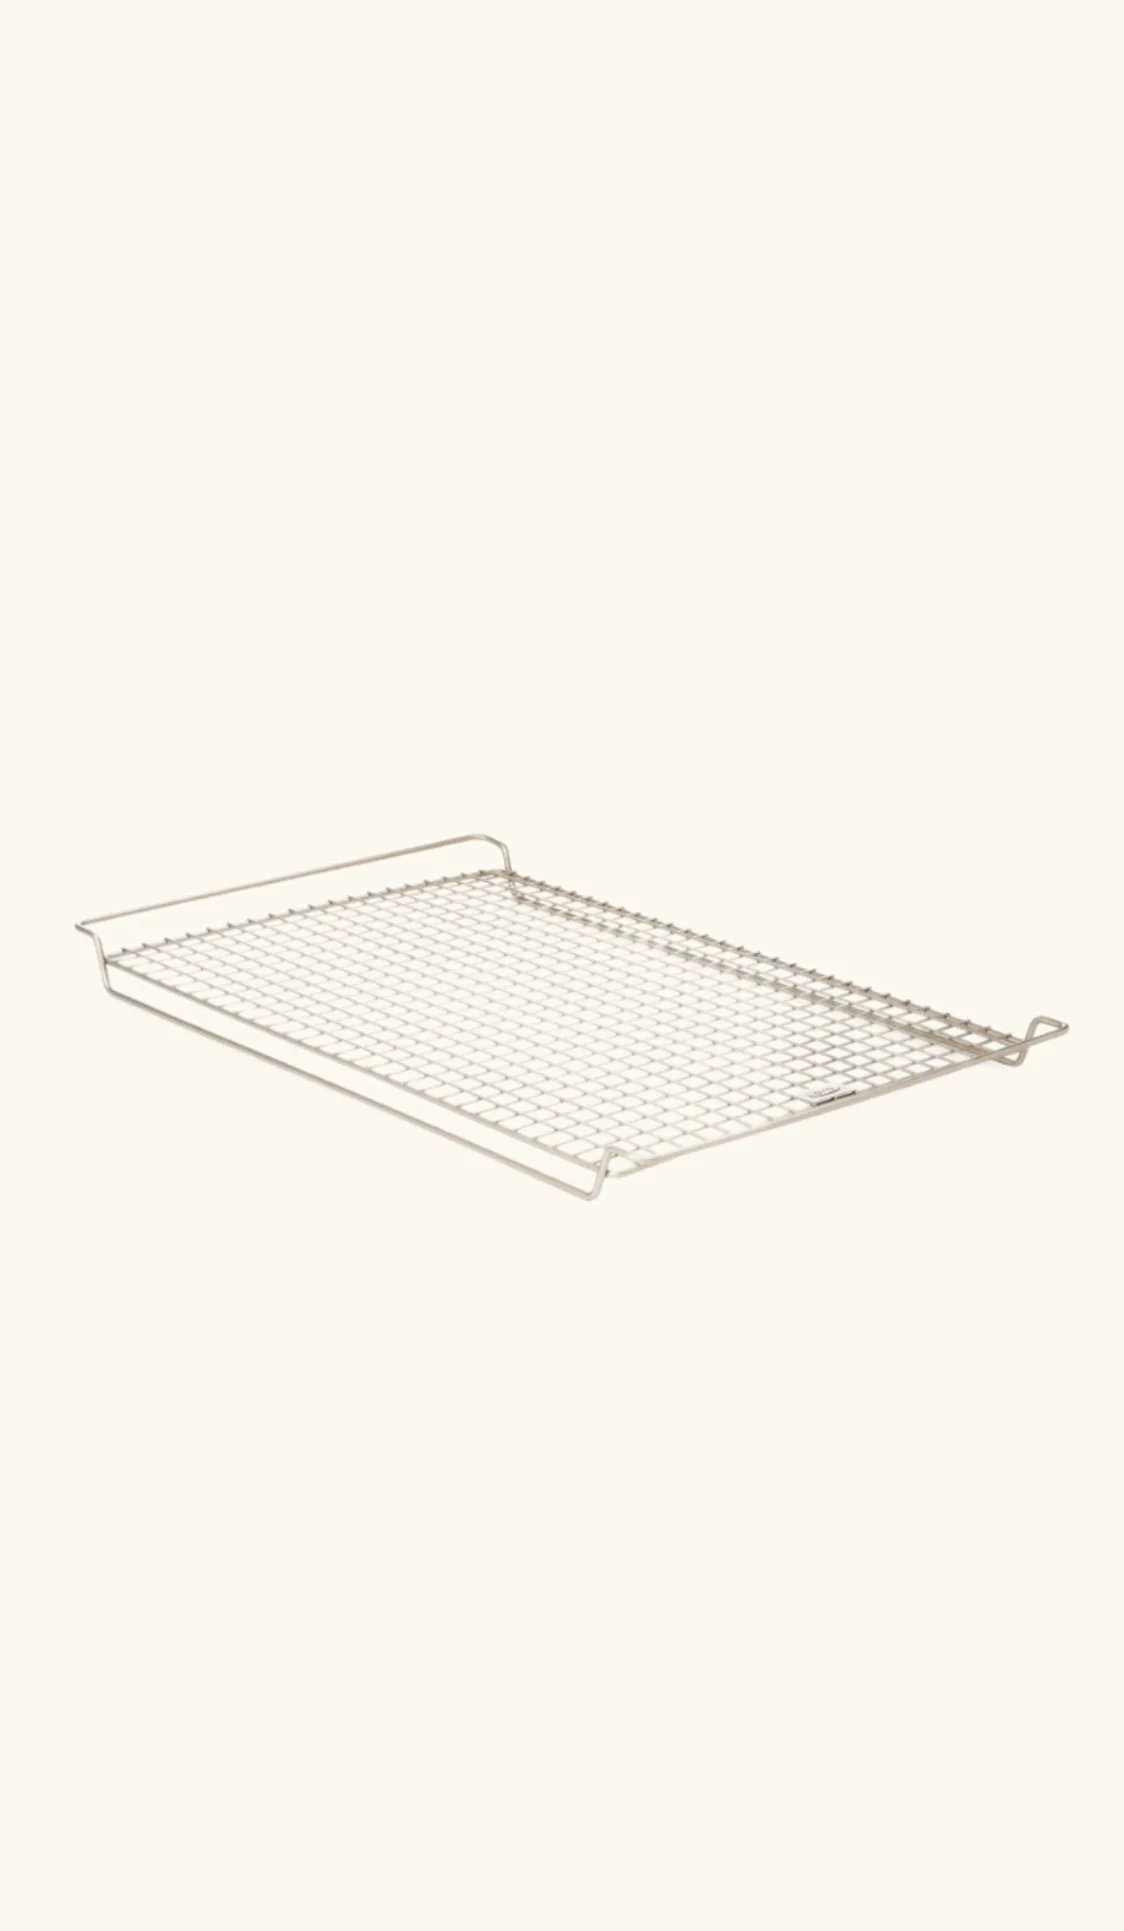
I also found that loosely tenting the tray with foil toward the end of the second bake helps prevent the cocoa from developing a darker, more bitter flavor. It's a small step, but one that makes a noticeable difference. Finally, once the biscotti are finished baking, transferring them to a cooling rack as soon as possible helps preserve that wonderful crunch by preventing excess steam from forming underneath.
How to Make It Your Own
One of the things I enjoy most about biscotti is how easy they are to customize. These are delicious exactly as written, but there are plenty of ways to make them your own. If you'd like a little extra indulgence, try dipping one end of each biscotti in melted chocolate after they've cooled. Dark chocolate works beautifully, but white chocolate creates a lovely contrast and adds a festive touch.
You could also drizzle chocolate over the tops or even add a sprinkle of flaky sea salt, which is what I chose to do. The salt complements the chocolate perfectly and adds just a little something extra. You can also mix in a handful of finely chopped chocolate into the dough, though I personally enjoy the simplicity of the plain chocolate version.
For those who prefer an even crunchier biscotti (like we do), you can flip them over after the second bake, loosely tent them with foil, and return them to the oven for about five additional minutes. That little bit of extra time can create a super crisp biscotti that stays crunchy for days.
Pro Tip: For the best texture, do not overbake. These biscotti will continue to crisp as they cool, so sticking to the recommended bake times will give you a crunchy biscotti without an overly toasted flavor.
Summary Notes:
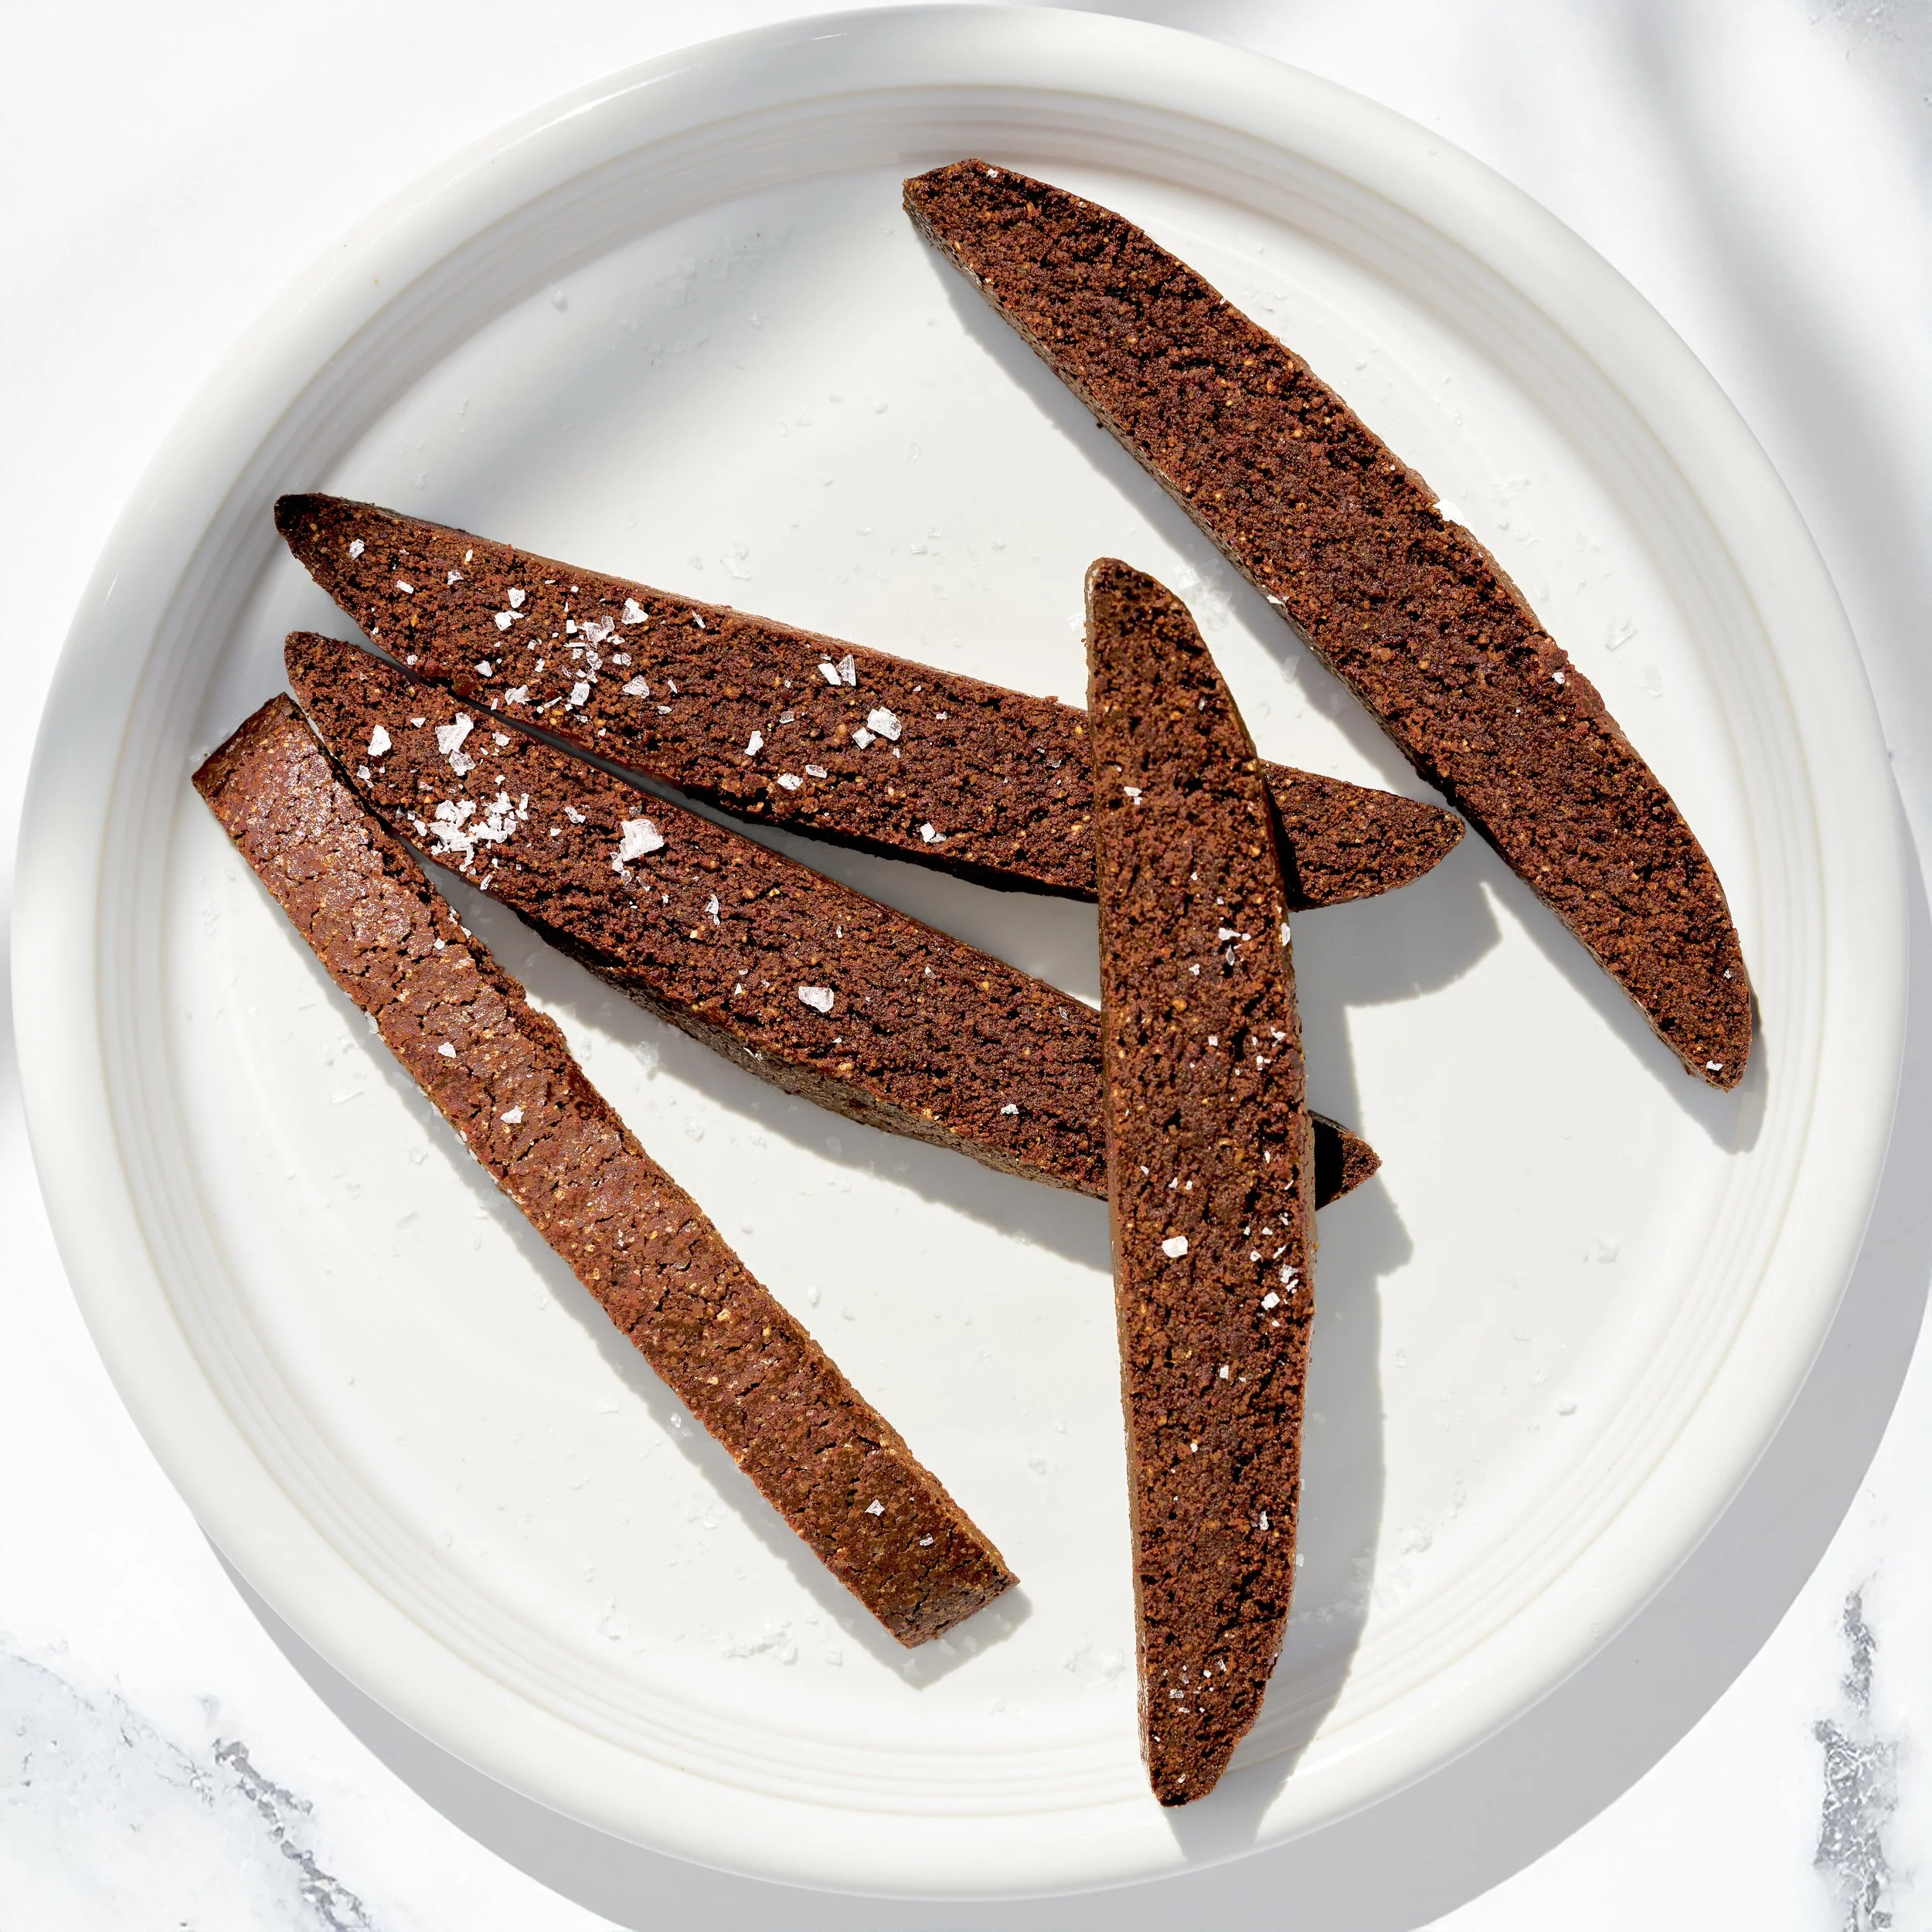
This Gluten-free Chocolate Biscotti is a simple, comforting recipe that feels perfectly at home during our Christmas in July celebration. It's rich and filled with a beautiful chocolate flavor that go really well with coffee, tea, or hot chocolate. It is so important to avoid overbaking, handle the slices gently after the first bake, and allow them to cool completely on a rack before storing.
Store the biscotti in an airtight container to maintain their crisp texture, and don't be surprised if they disappear sooner than expected. They're so crunchy and flavorful, I can’t wait to hear how yours turned out!
Tried it? Let us know how it went in the comments below.
At Brimly, we take pride in presenting you with the finest products that our editors independently handpicked. In the spirit of transparency, we want you to know that we may earn an affiliate commission when you purchase something through the retail links below.
view:LISTEN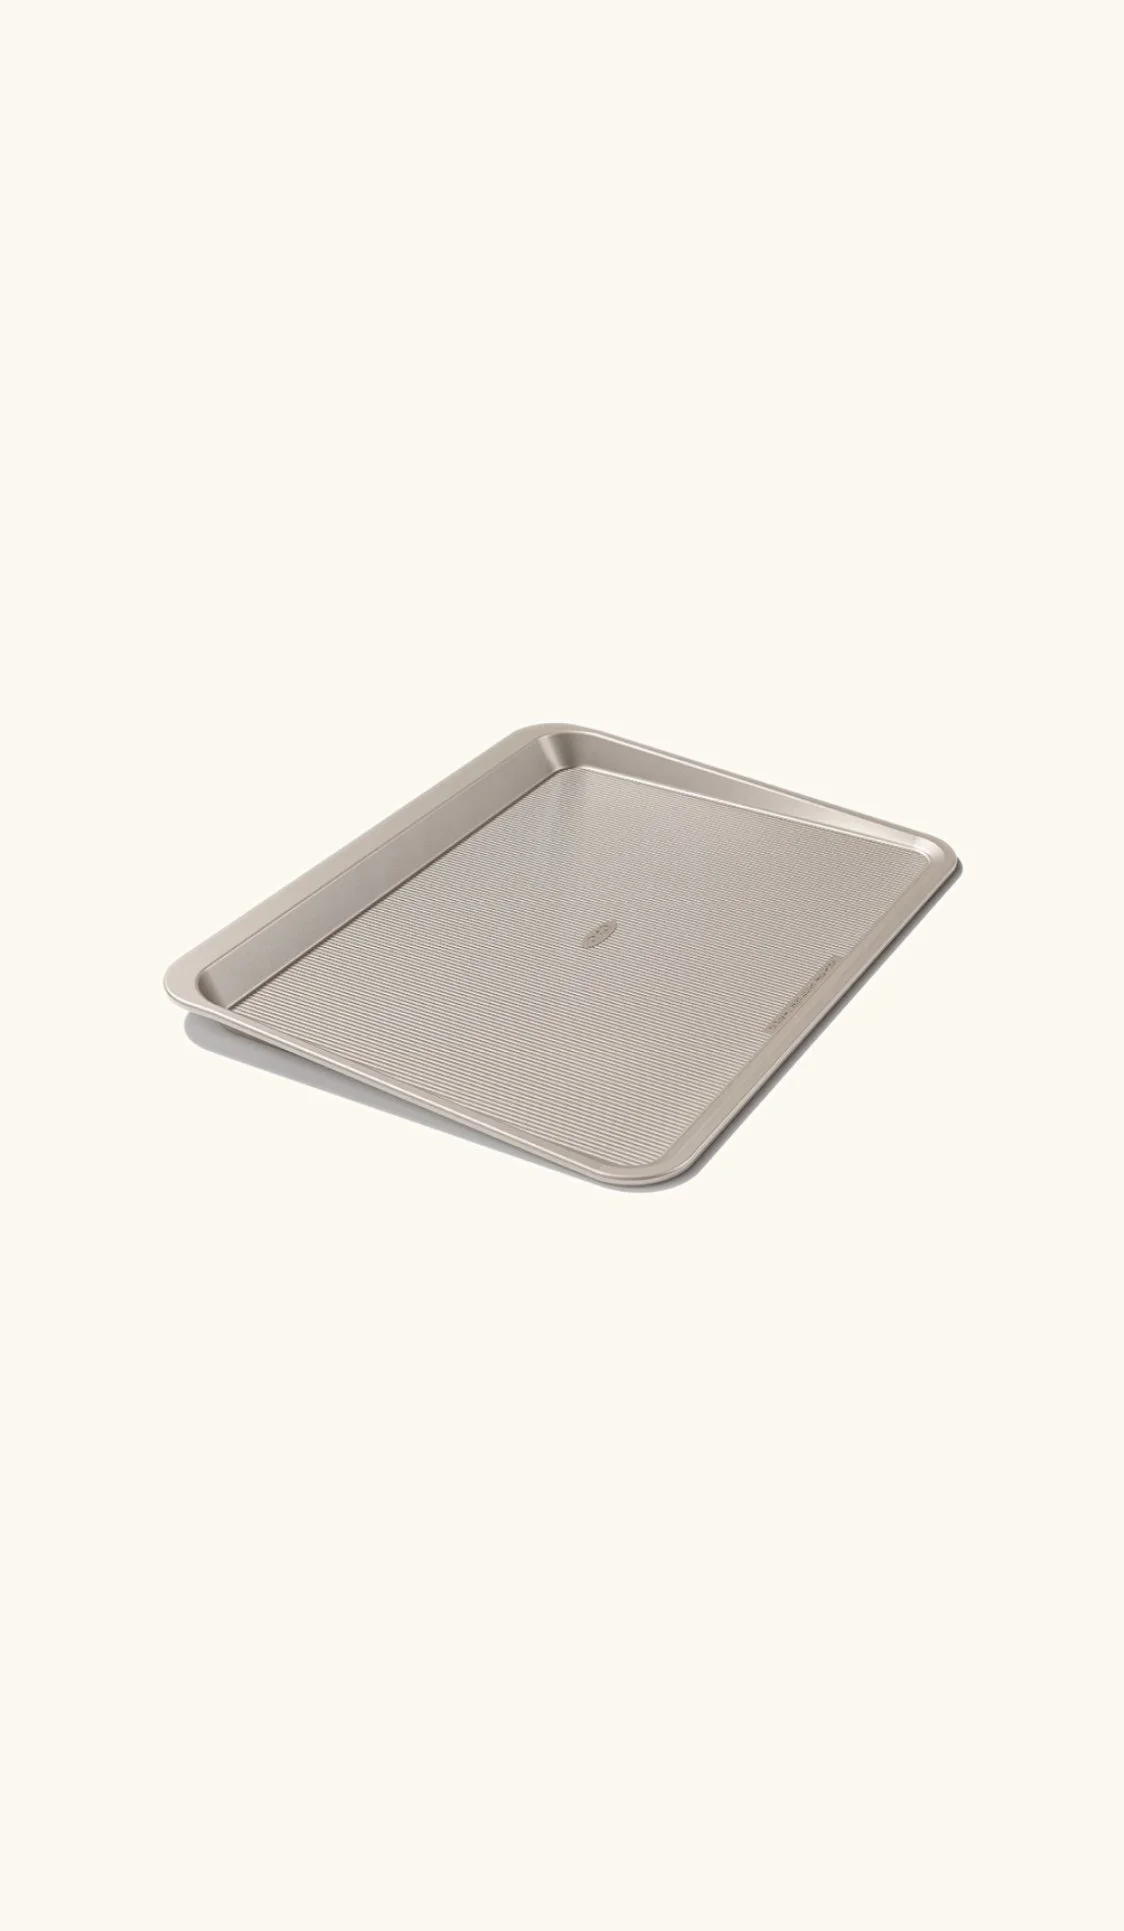
Ingredients

Recipe Steps

Step 1
Preheat your oven to 350°F. Line a baking sheet with parchment paper.
Step 2
In a large bowl, combine the gluten-free flour, almond flour, milk powder, cocoa powder, brown sugar, granulated sugar and salt. Whisk until evenly incorporated.
Step 3
Add the shortening, egg, vanilla extract, maple syrup, and whole milk directly into the bowl with the dry ingredients.
Step 4
Using an electric hand mixer, mix until the dough begins to come together. Once partially combined, switch to your hands and gently knead until a cohesive dough ball forms.
Step 5
Transfer the dough to the prepared baking sheet. Shape it into a log measuring approximately 9 inches long by 4 inches wide, about 1–2 inches high. Smooth the surface lightly.
Step 6
Bake at 350°F for 20 minutes. Remove from the oven and allow the log to cool on the baking sheet for about 15 minutes.
Step 7
Using a sharp knife, slice the log into 1-inch thick slices. Place each slice cut-side down on the baking sheet.
Step 8
Return to the oven and bake for an additional 15 minutes at 350°F, until crisp. Around the 10-minute mark, loosely tent the tray with foil so the biscotti do not over-brown.
Note: If desired, the biscotti can be flipped and baked for an additional 3–5 minutes for a more crispy finish.
Step 9
Remove from the oven and transfer to a cooling rack. Allow to cool completely before serving or storing. The biscotti will continue to crisp as they cool.
Storage:
Store in an airtight container at room temperature for up to 1 week for the best texture and flavor.
More From Brimly.
by Brimly kitchen
by Brimly kitchen
by Brimly kitchen
by Brimly kitchen