Gluten-Free Slice and Bake Cookies
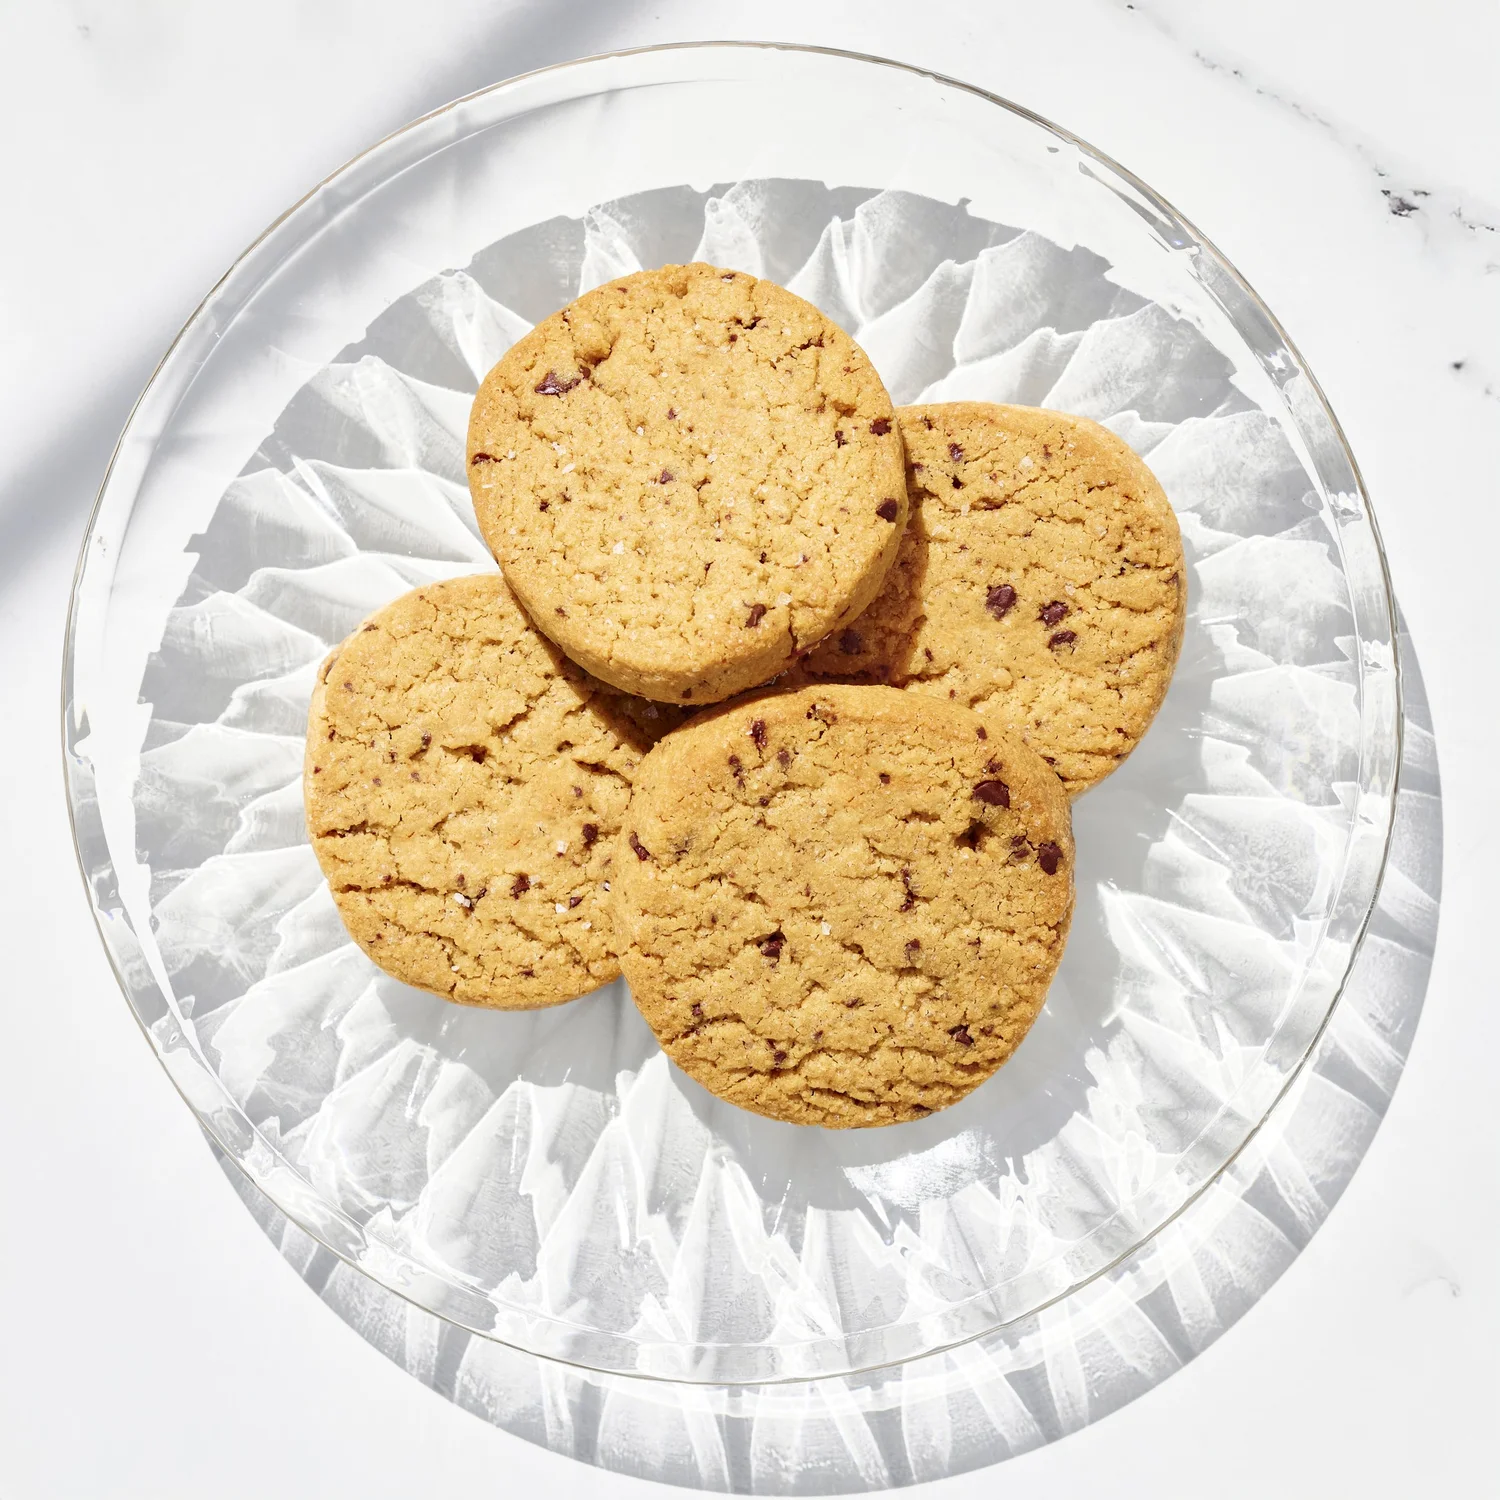
 Total Time1 hr 20 min
 Oven350°F
 DietGluten & Soy‑Free
 Serves12
Now, Why This Recipe and What Makes It Special?
When making these cookies, what I knew from the beginning was that I wanted a cookie with chocolate in it, but I didn't want the chocolate to be the first thing you noticed. I wanted little bits of chocolate flavor woven throughout the cookie rather than large chocolate chips. The cacao nibs ended up being the perfect solution. As they mix into the dough, they disperse throughout the cookie and create these tiny pockets of chocolate flavor that feel much more delicate than a traditional chocolate chip cookie.
The first time I tasted these cookies, I was immediately reminded of the Rich Tea biscuits I used to eat when I was younger. It wasn't an exact match, but there was something about the texture and flavor that brought me right back to those memories. I always love when food does that. I was also pleasantly surprised by what the shortening brought to the recipe. In gluten-free baking, shortening can be incredibly useful because it helps control spread and keeps cookies from flattening too much in the oven. But beyond that, it gave these cookies a flavor that reminded me of something you'd find in a bakery. The combination of the shortening, vanilla, honey, and milk powder creates a cookie that feels familiar and very balanced. They're not overly sweet, they're not overly salty, and every bite just feels right. Also, a bit of that nutty flavor comes through thanks to the almond flour. Welp, it seems to make an appearance in just about every recipe I develop these days.
What I love most is that these cookies are incredibly easy to eat. The cacao nibs don't melt all over your fingers, the cookies hold together beautifully after baking, and they have a great texture. They're gluten-free, gum-free, and soy-free, but more importantly, they taste like a really good cookie.
Lessons Learned
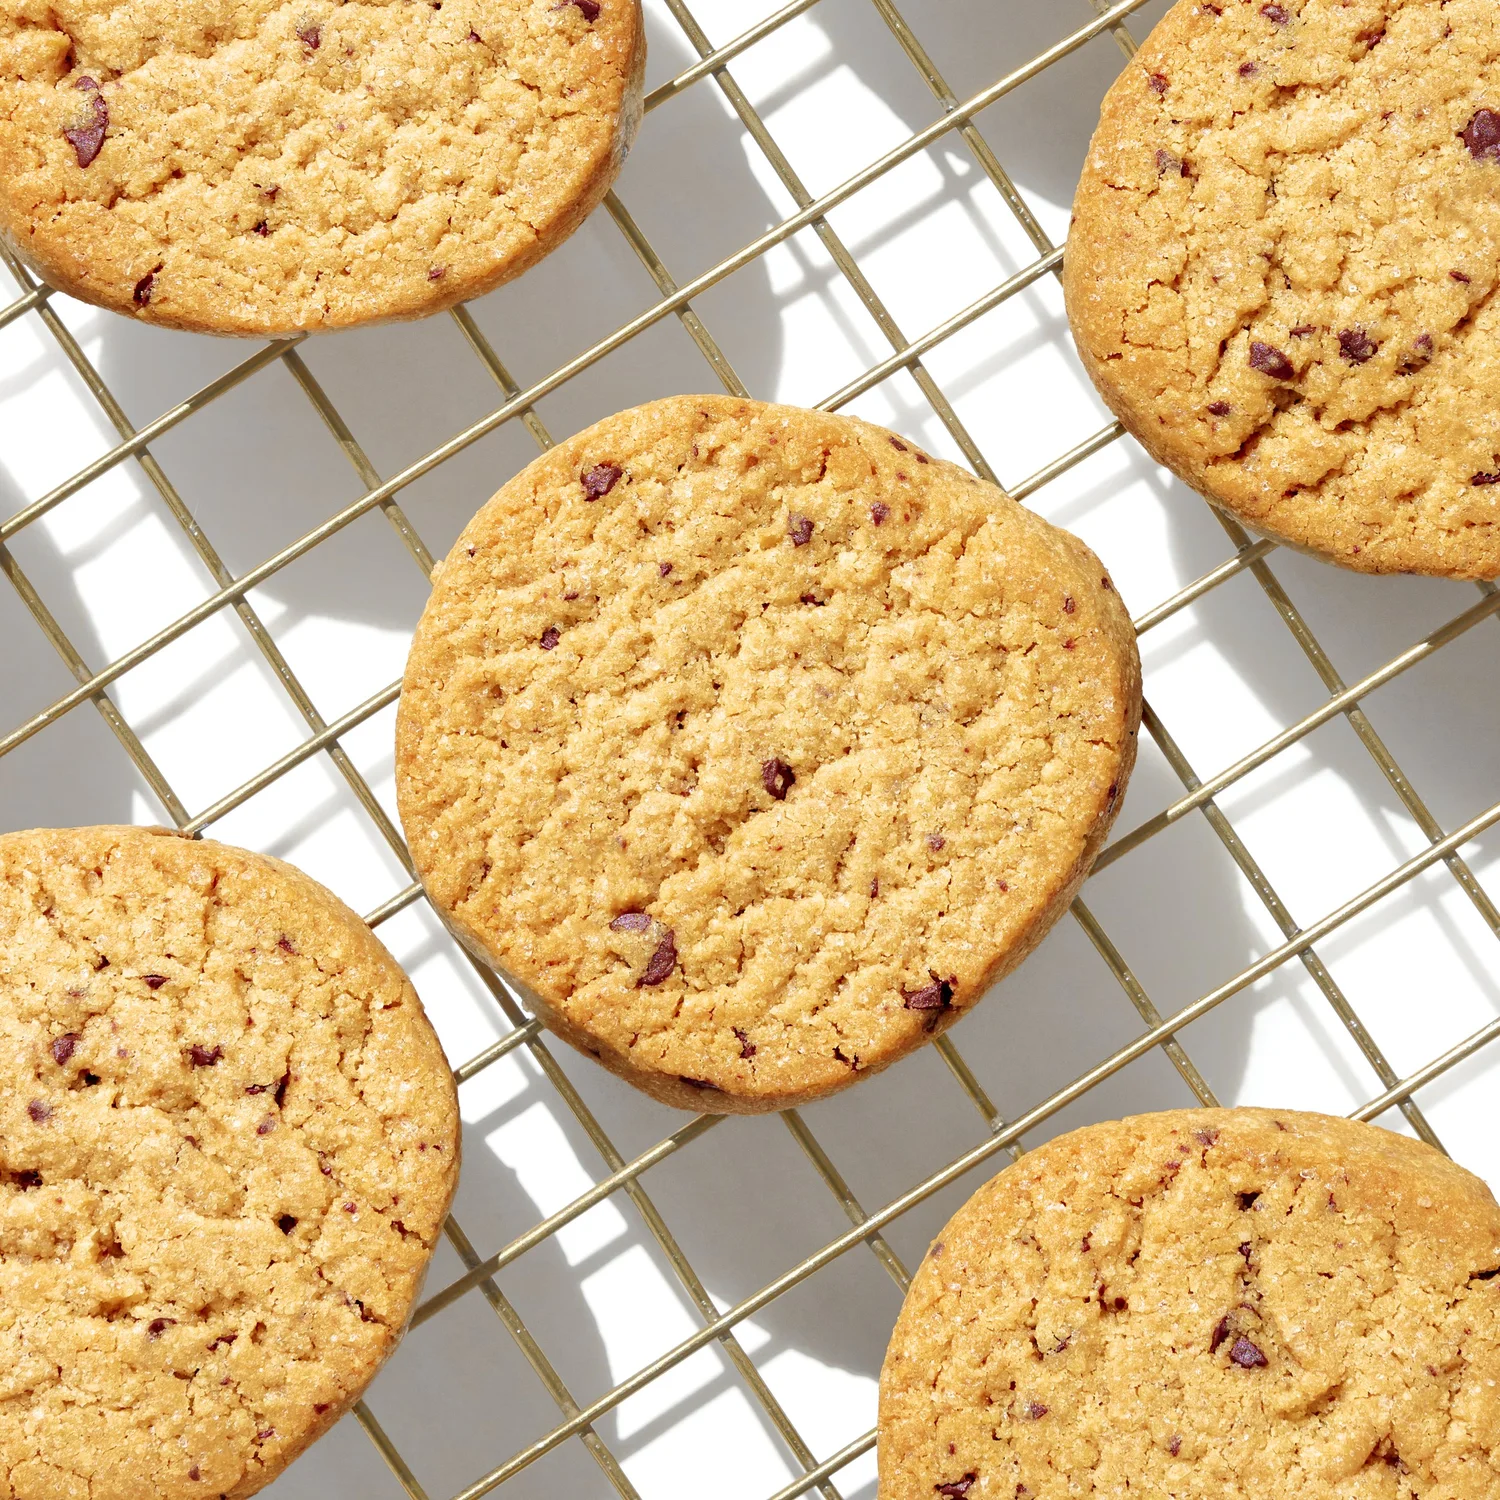
One of the biggest things I learned while making this recipe was just how forgiving the dough is. Even before chilling, it comes together really well and remains surprisingly easy to work with. It rolls into a log pretty quickly which is a plus.
I also noticed that chilling time makes a difference. During my first test, I chilled the dough for about thirty minutes. It had firmed up enough to slice, but it was still fairly soft in the center. The cookies baked beautifully, but I did have to spend a little extra time reshaping the rounds before transferring them to the baking sheet.
The second time around, I chilled the dough for closer to an hour. The slices held their shape much better and required very little adjustment. However, I also noticed that the cookies baked slightly differently. Because the dough was colder, they spread a little less and the edges became slightly more toasted during baking.
That experience taught me that neither approach is wrong. If your dough has been chilling for an extended period, don't be afraid to let it sit on the counter for a few minutes before slicing. A slightly warmer dough gives the cookies just enough movement in the oven to create what I think is the perfect amount of spread.
How to Make It Your Own
One of my favorite things about this recipe is how adaptable it is. The base dough is strong enough to support all sorts of additions and flavor variations.
If you enjoy a more pronounced chocolate flavor, you could leave the chocolate pieces slightly larger instead of blending them into smaller nibs. Just be mindful that the cookies may not slice quite as beautifully if you go that route.
If you're a fan of warm spices, a little cinnamon would fit beautifully alongside the honey and vanilla. You could even add finely chopped nuts for extra texture.
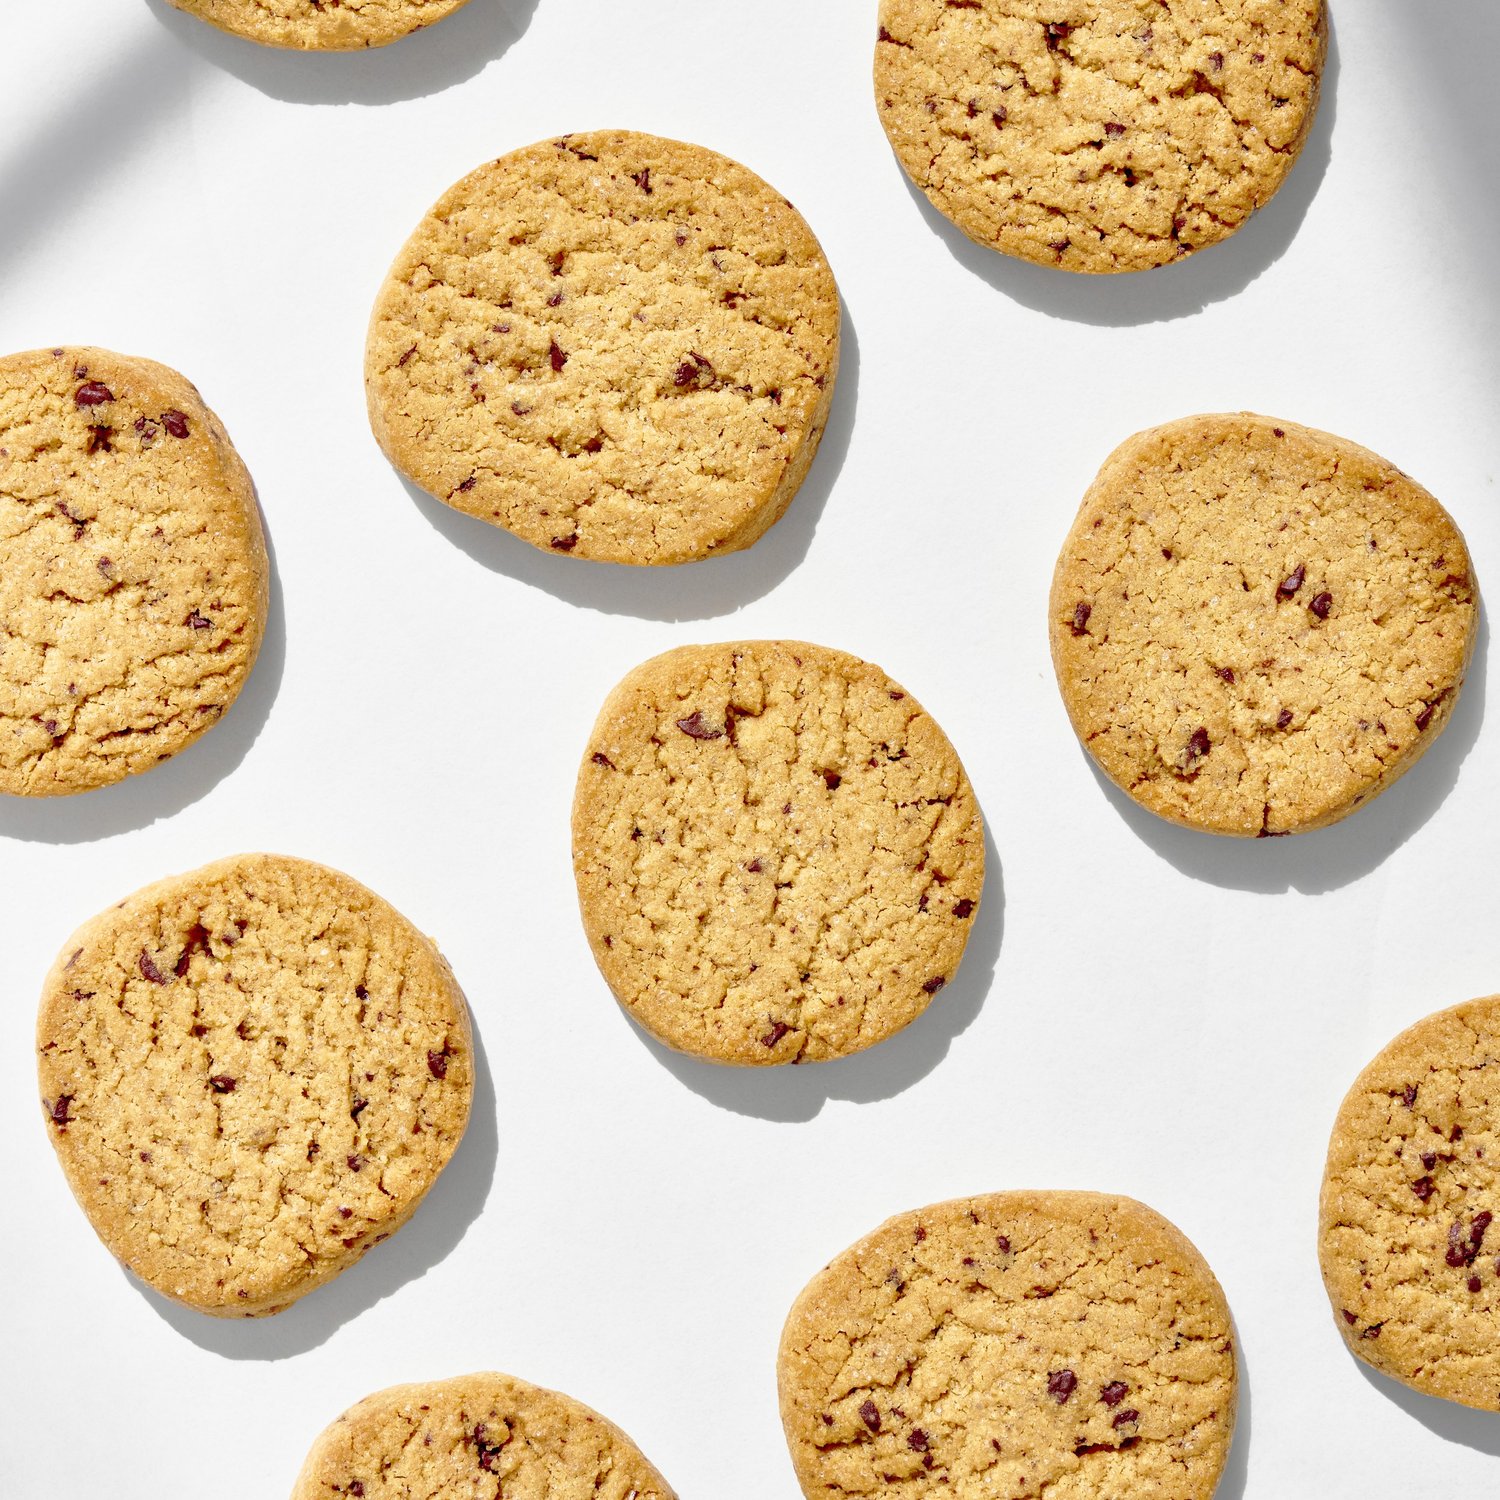
For me, though, the simplicity is part of the charm. The tiny bits of chocolate scattered throughout the dough are what make these cookies feel unique. They sit somewhere between a traditional shortbread cookie and a classic chocolate chip cookie, and I think that's exactly what makes them so special.
When you're mixing the cacao nibs into the dough, try not to overmix. The more you work the dough, the more the chocolate will continue breaking down and dispersing throughout the mixture. I prefer stopping as soon as everything is evenly distributed. That way, you still get those beautiful little flecks of chocolate throughout the dough.
Summary Notes
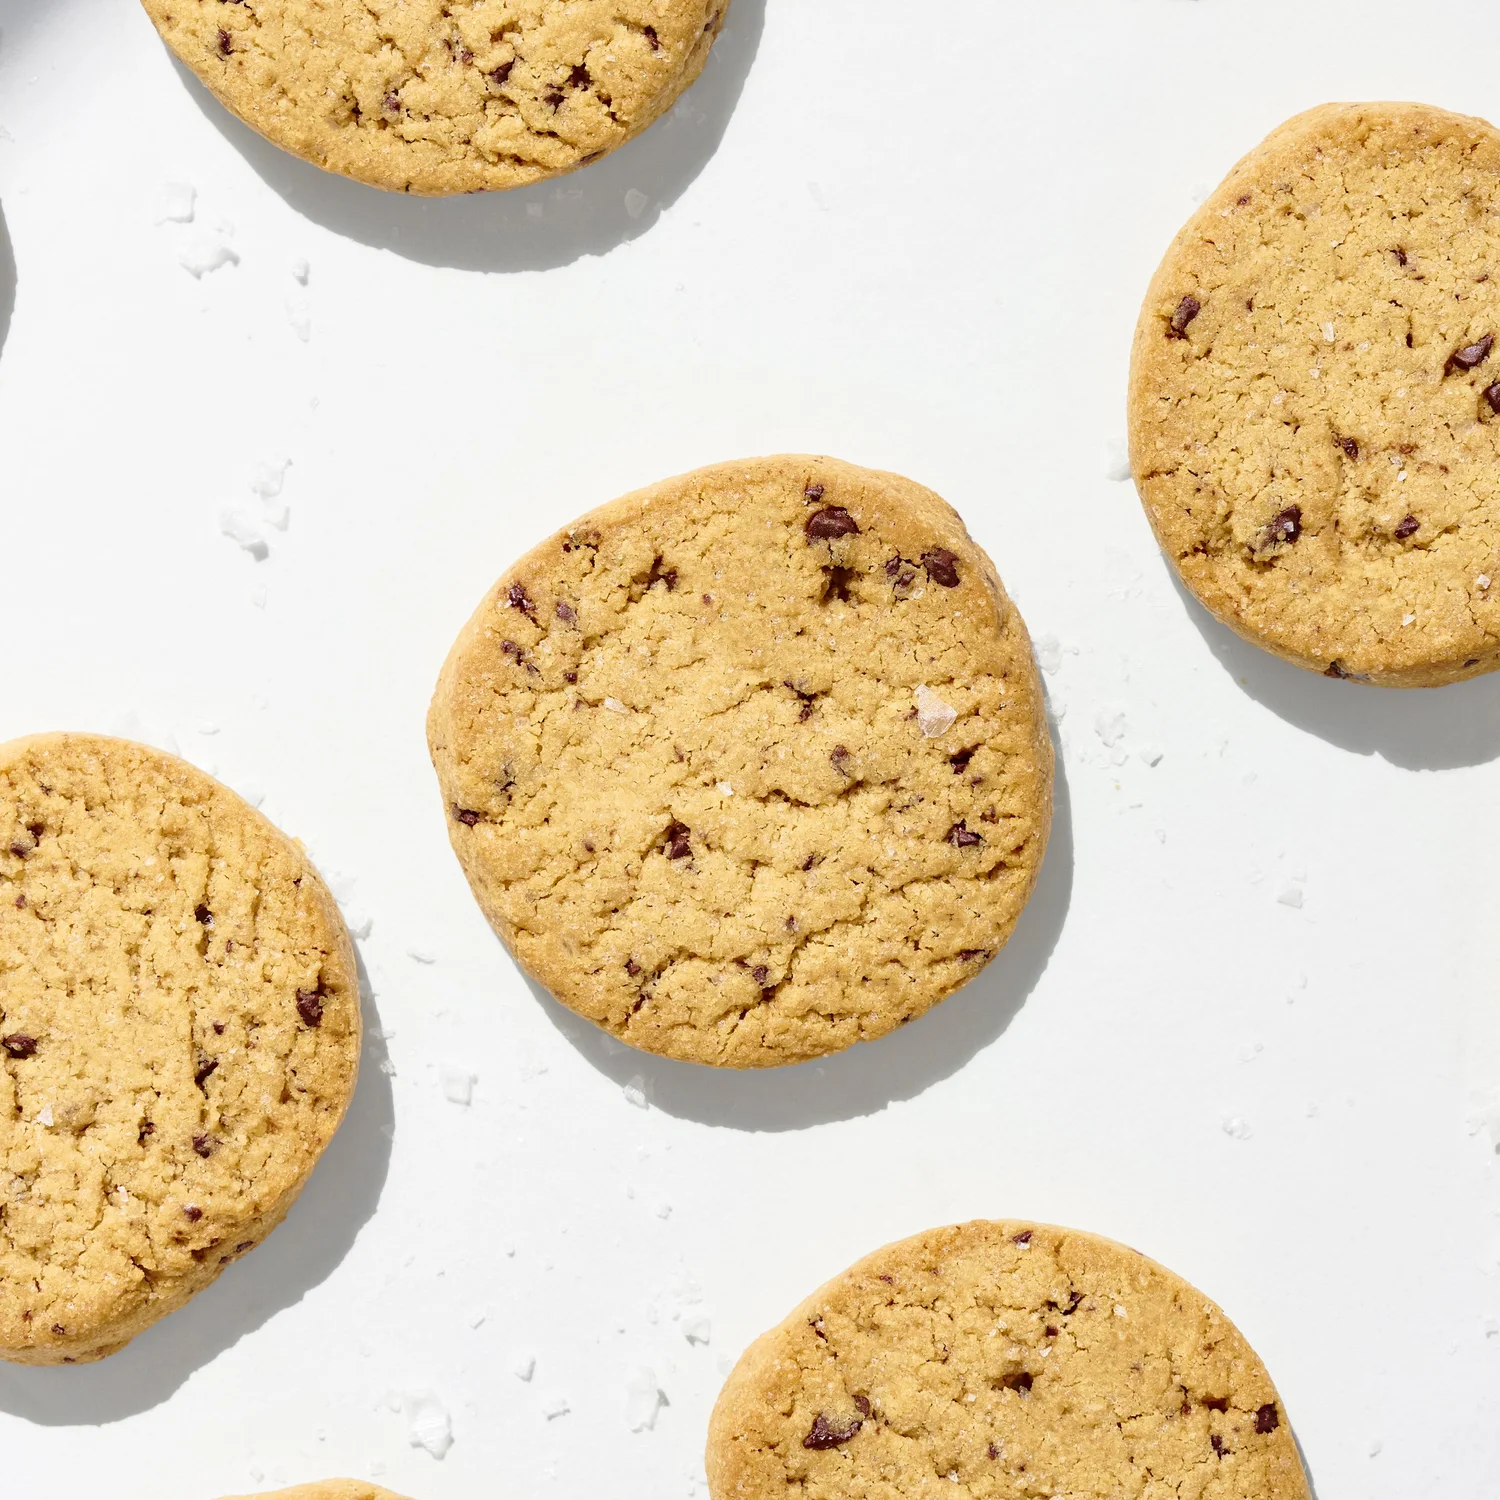
These Gluten-free Slice and Bake Cookies are yet another simple treat with a soft crunch that fit perfectly on the list for our Christmas in July celebration. These cookies ended up being one of those happy surprises that recipe development occasionally gives you. They're easy to shape, easy to bake, and pretty easy to share. If you're anything like me, you may just take one bite and find yourself thinking about a cookie you haven't had in years.
Tried it? Let us know how it went in the comments below.
At Brimly, we take pride in presenting you with the finest products that our editors independently handpicked. In the spirit of transparency, we want you to know that we may earn an affiliate commission when you purchase something through the retail links below.
Essentials You'll Need
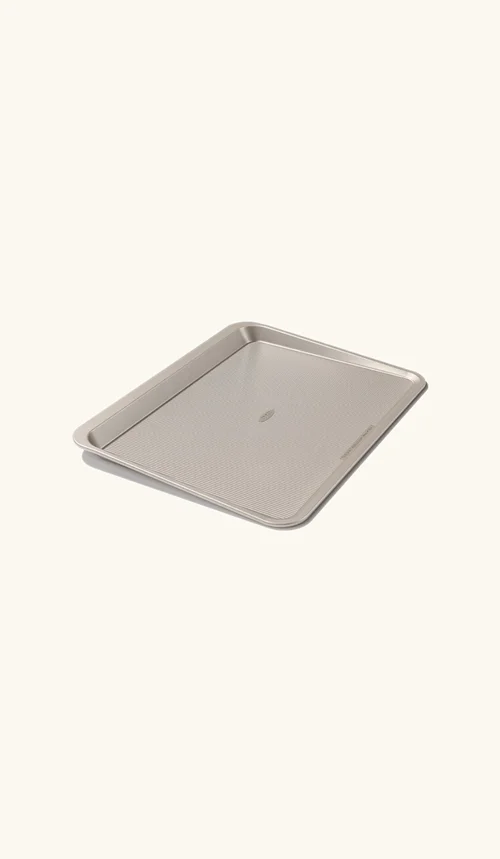 Cookie Sheet$25.95 at Amazon
 Mixing Bowl$19.98 at Amazon
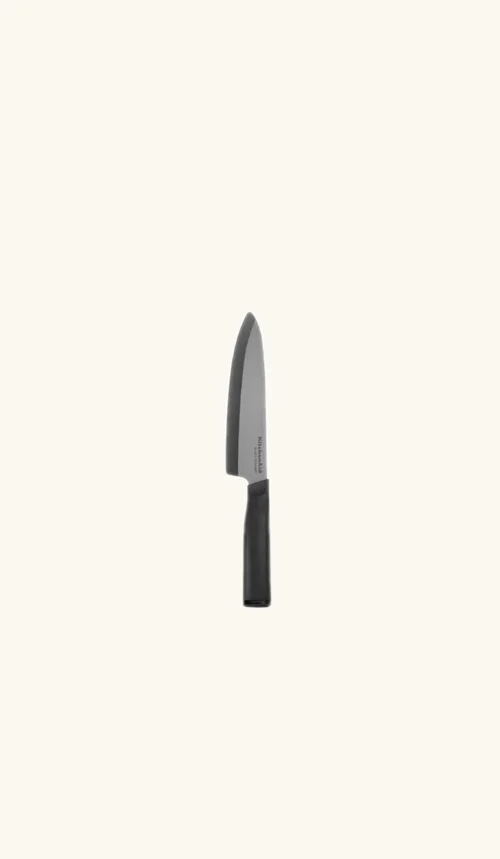 Chef Knife$17.99 at Amazon
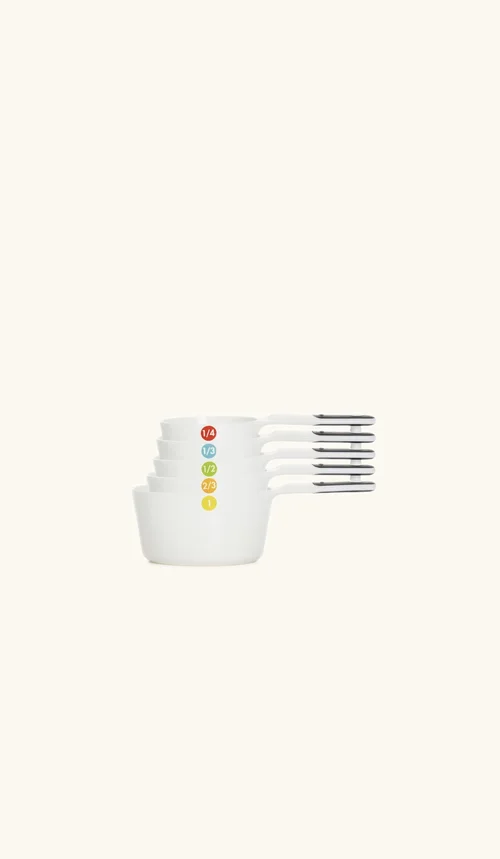 Measuring Cups$9.95 at Amazon
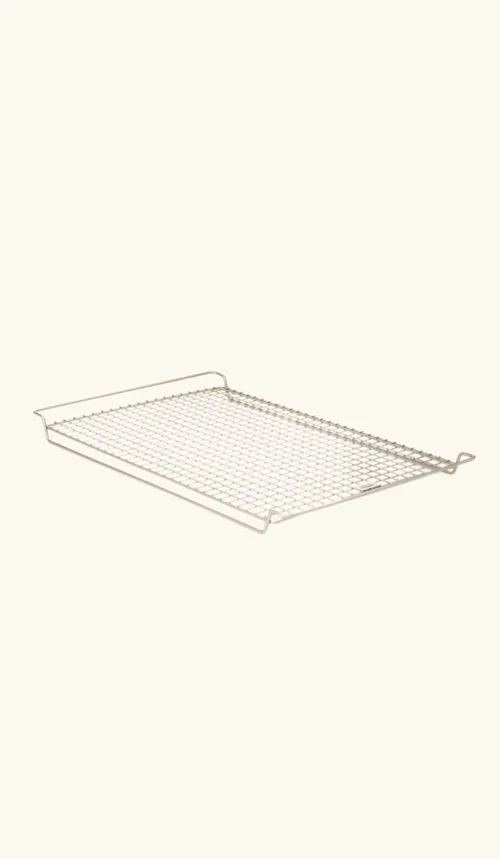 Cooling Rack$16.95 at Amazon
Gluten-Free Slice and Bake Cookies
Easy gluten-free slice and bake cookies with tiny flecks of chocolate, honey and vanilla, rolled into a log and chilled before baking. Gum-free and soy-free.
- Prep Time
- 1 hr
- Bake Time
- 20 mins
- Total Time
- 1 hr 20 mins
- Servings
- 12
- Author
- Stephnie Grace|Brimly
Ingredients
Making a double batch? Shape two logs. You'll get about 48 cookies, so bake in batches. Amounts in the steps are doubled and highlighted too. Pan size and times stay as written.
Making a half batch? Shape one shorter log. You'll get about 12 cookies, and the bake time stays the same. Amounts in the steps are halved and highlighted too. Pan size and times stay as written.
Recipe Steps
Preheat your oven to 350°F (175°C). Line a baking sheet with parchment paper and set aside.
In a large mixing bowl, whisk together the gluten-free flour, almond flour, milk powder, salt, dark brown sugar, and granulated sugar until evenly combined.
Add the shortening to the dry ingredients. Using a hand mixer, pastry cutter, fingertips, or a fork, work the shortening into the flour mixture until it resembles coarse, sandy crumbs.
Stir in the cacao nibs and mix until they are evenly distributed throughout the crumb mixture. Do not overmix.
Note: Finding certified gluten-free, soy-free cacao nibs can be a bit challenging, so for this recipe simply blitz chocolate chips in a dry blender until they resemble finely chopped cacao nibs.
Add the eggs, vanilla extract, and honey. Mix until a dough begins to form. Continue mixing or kneading gently with your hands until the dough comes together into a smooth ball. Also, do not overmix.
Transfer the dough to a sheet of parchment paper and shape it into a log approximately 2 to 2½ inches in diameter. Wrap the dough and refrigerate for 45 minutes to 1 hour, or until firm.
Once chilled, remove the dough from the refrigerator and slice into rounds approximately ½ inch thick.
If needed, gently reshape each slice with your hands to maintain a round shape. Place the cookies onto the prepared baking sheet, leaving a little space (at least 2 inches) between each cookie.
Note: Depending on how thick you slice the dough, this recipe will yield about 24 cookies. For best results, aim for slices approximately ¼ to ½ inch thick.
Bake for 15–20 minutes. For a softer cookie, bake closer to 15 minutes. For a firmer cookie bake for the full 20 minutes.
Remove from the oven and immediately transfer the cookies to a wire rack. Allow them to cool completely before serving. Finish with a light sprinkle of flaky sea salt.
Storage: Store the cookies in an airtight container at room temperature for up to 5 days.
More From Brimly