Gluten-Free Vanilla Waffle Cones
BY Brimly.June 21, 2026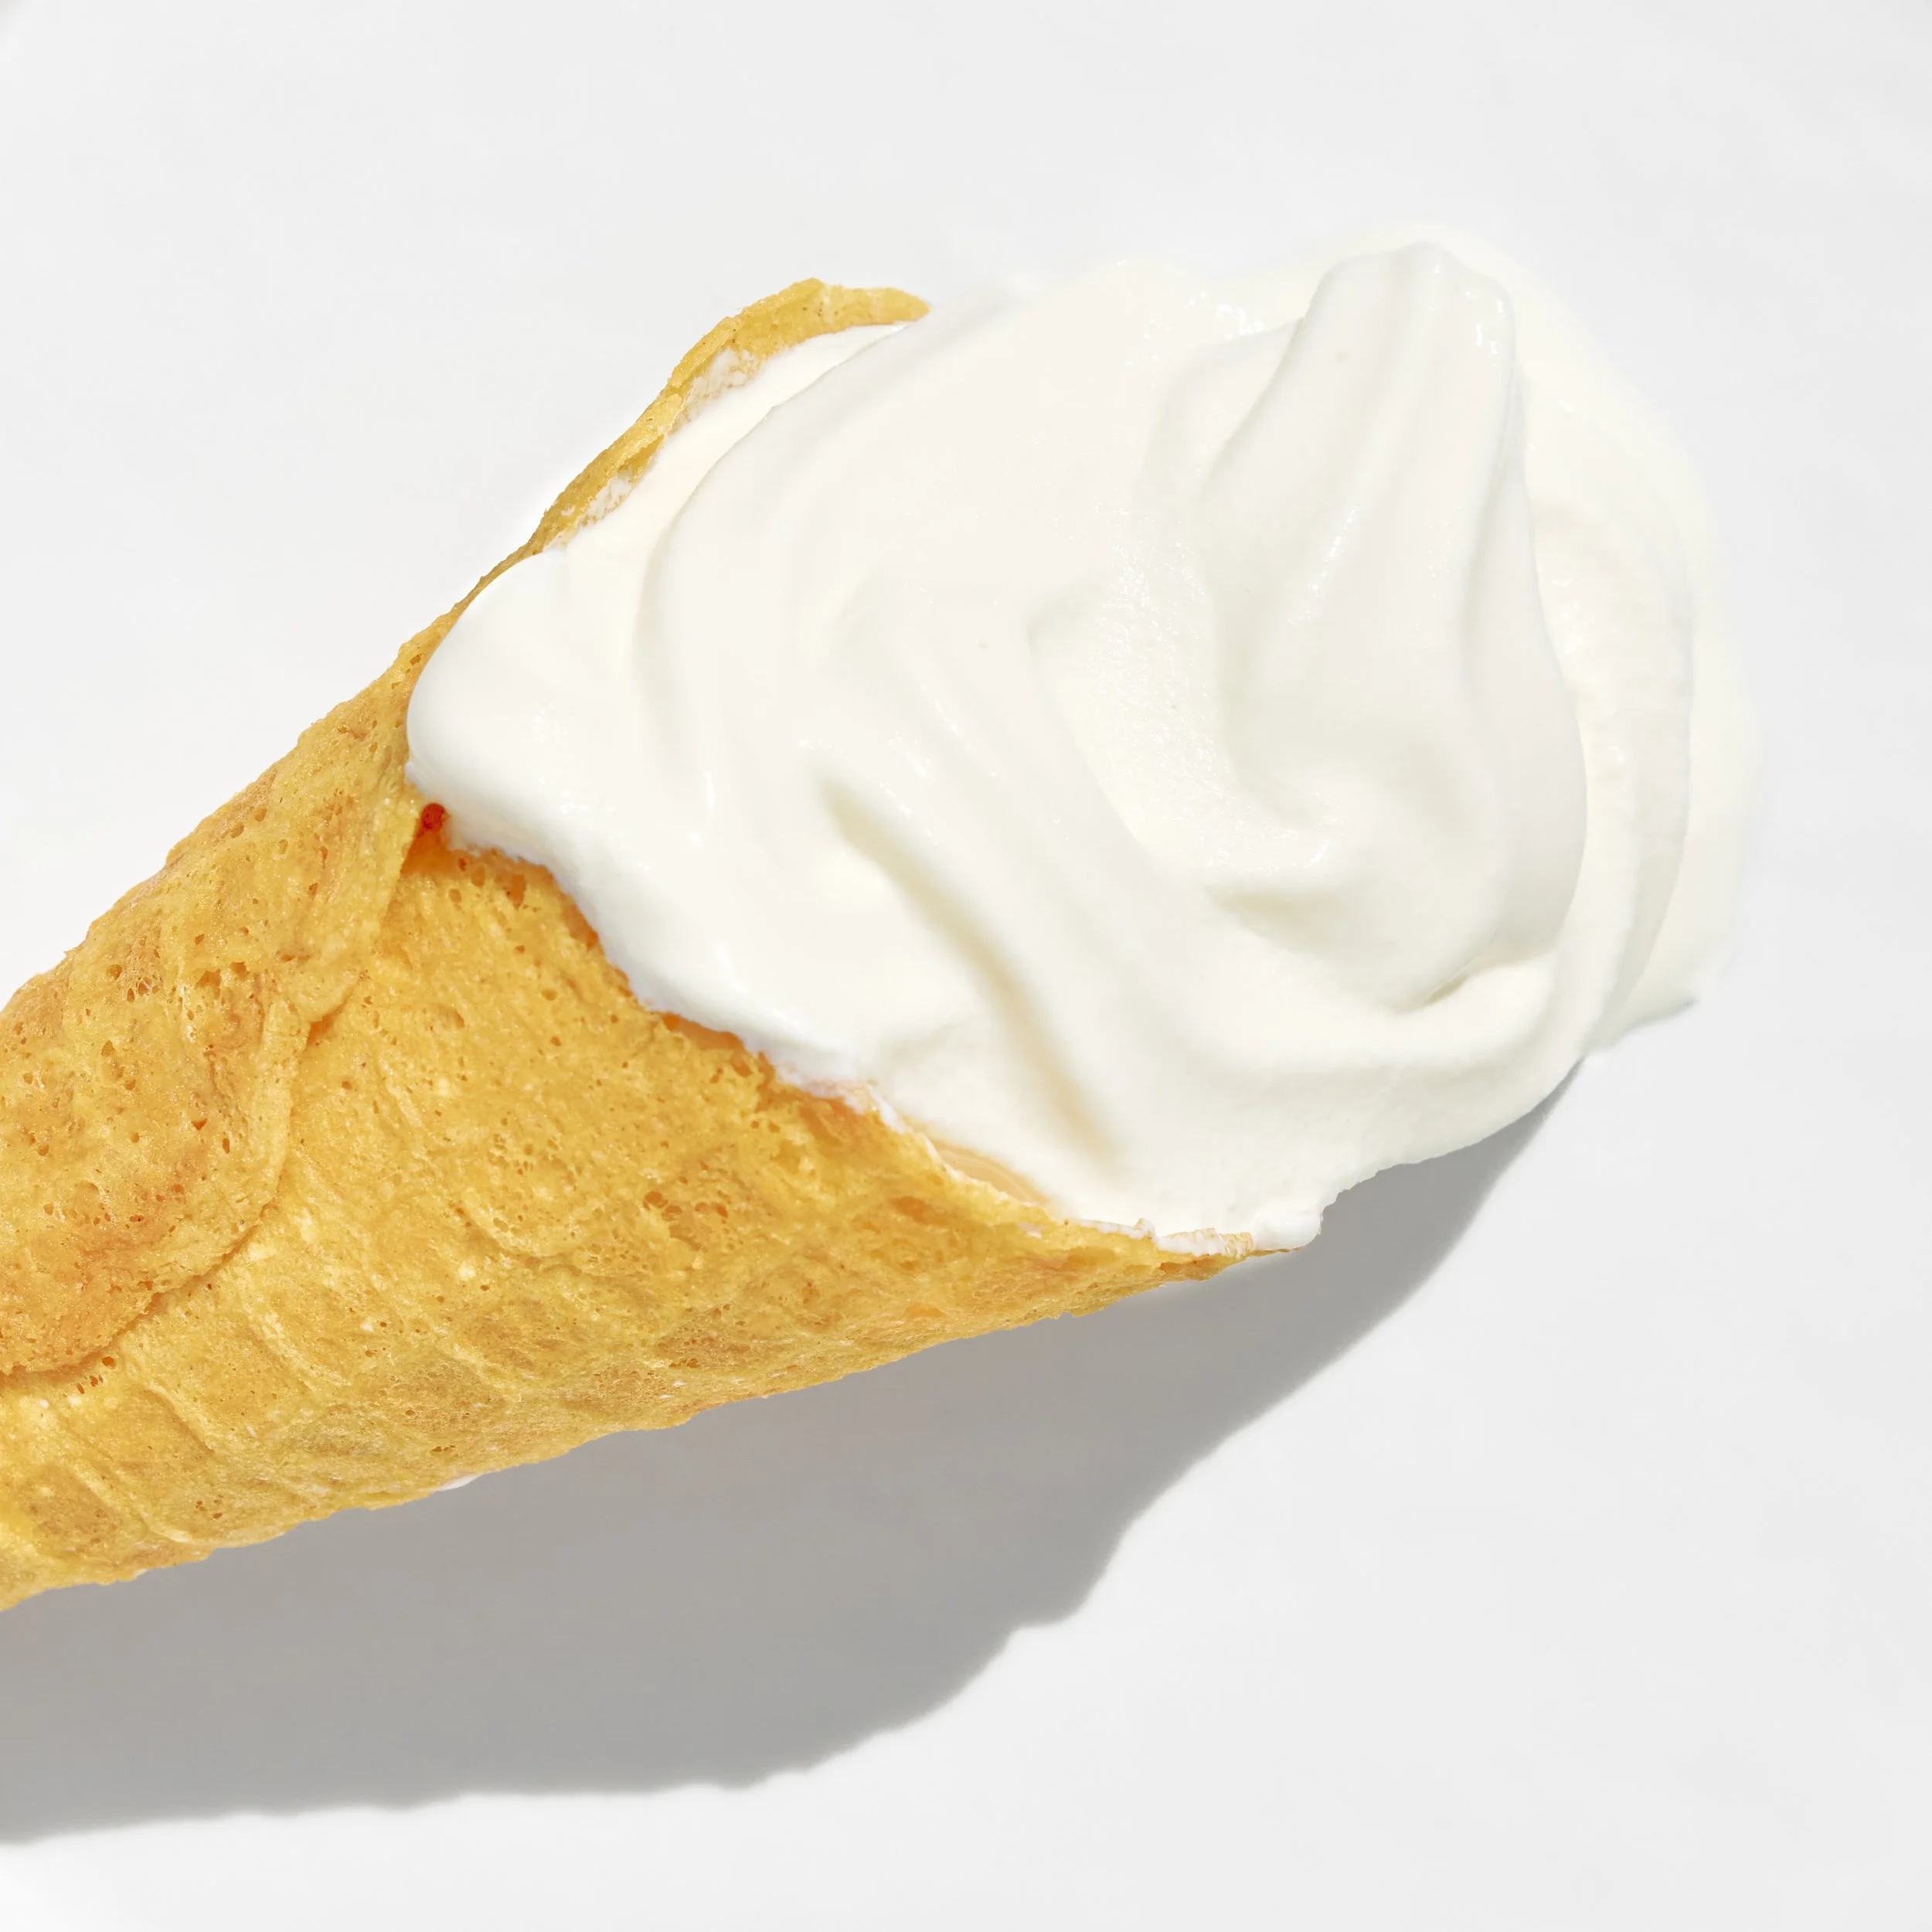
Photo By Editors @ the Brimly Test Kitchen


Mid TaskPREP: 10 minGluten-freesweet Treat Now, Why This Recipe and What Makes It Special?
This recipe feels like a pretty big win. For months, I kept putting off making homemade waffle cones because I was convinced they wouldn't work. I worried they would crack when I rolled them, I worried they wouldn't stay crisp, and if I'm being completely honest, I worried that making a gluten-free, gum-free, and soy-free version would be more difficult than it needed to be. Eventually, I decided to stop thinking about it and just make the recipe.
I'm so glad I did.
These waffle cones turned out even better than I had hoped. They're crisp, crunchy, easy to shape, and honestly behave just like a traditional waffle cone. While they're warm, they're flexible enough to roll into cones or shape into bowls, and once they cool, they firm up beautifully. Even after sitting out for over an hour, they stayed wonderfully crisp, and after storing them in an airtight bag, they were still just as crunchy as when I first made them.
What makes this recipe especially special to me is how simple it is. There are no gums, no complicated binders, and no specialty ingredients required. Just a handful of pantry staples mixed together to create something that feels a little magical. That's always the goal for us at Brimly. We want recipes that feel approachable and enjoyable to make without needing a long list of ingredients you've never heard of.
I also love how quickly these come together. Once the batter is mixed, each cone only takes a couple of minutes to cook. Before long you'll have a whole batch ready to fill with ice cream, frozen yogurt, soft serve, or whatever frozen treat makes you happiest. They feel like something you'd get from an ice cream shop, except you made them yourself right at home.
Perhaps the thing that surprised me most was how dependable they were. The batter mixed together easily, the cones rolled without breaking, and they held their shape beautifully. Sometimes the recipes we worry about the most end up being the easiest ones all along.


Lessons Learned
One of the biggest lessons I learned with this recipe is that you need to have everything ready before you start cooking. Once the waffle comes off the machine, you'll have a short window of time to shape it before it begins to firm up. Having your cone roller, bowl molds, cooling rack, or cone holder nearby makes the entire process much smoother.
Another thing I learned is that the batter is supposed to be very runny. When I first mixed it together, I questioned whether I had done something wrong because it was much thinner than most batters I work with. Thankfully, that's exactly what you want. That thinner consistency helps the batter spread evenly and creates the delicate texture that makes these cones so crisp.
I also quickly discovered that these waffles get very hot when they come off the machine. A paper towel worked really well for me when rolling the cones, but food-safe gloves would be another great option. Just be careful when shaping them because they are flexible while warm, but they can also burn your fingers if you're not paying attention.
One final lesson I learned is that storing them is surprisingly easy. Once completely cooled, I placed mine into an airtight bag and they stayed crisp and crunchy. That was honestly one of my favorite discoveries because it means you can make them ahead of time and have them ready whenever an ice cream craving strikes.
How to Make It Your Own
Personally, I wouldn't change the base recipe very much because it worked so beautifully as written. That being said, there are countless ways to make these waffle cones your own once they're finished.
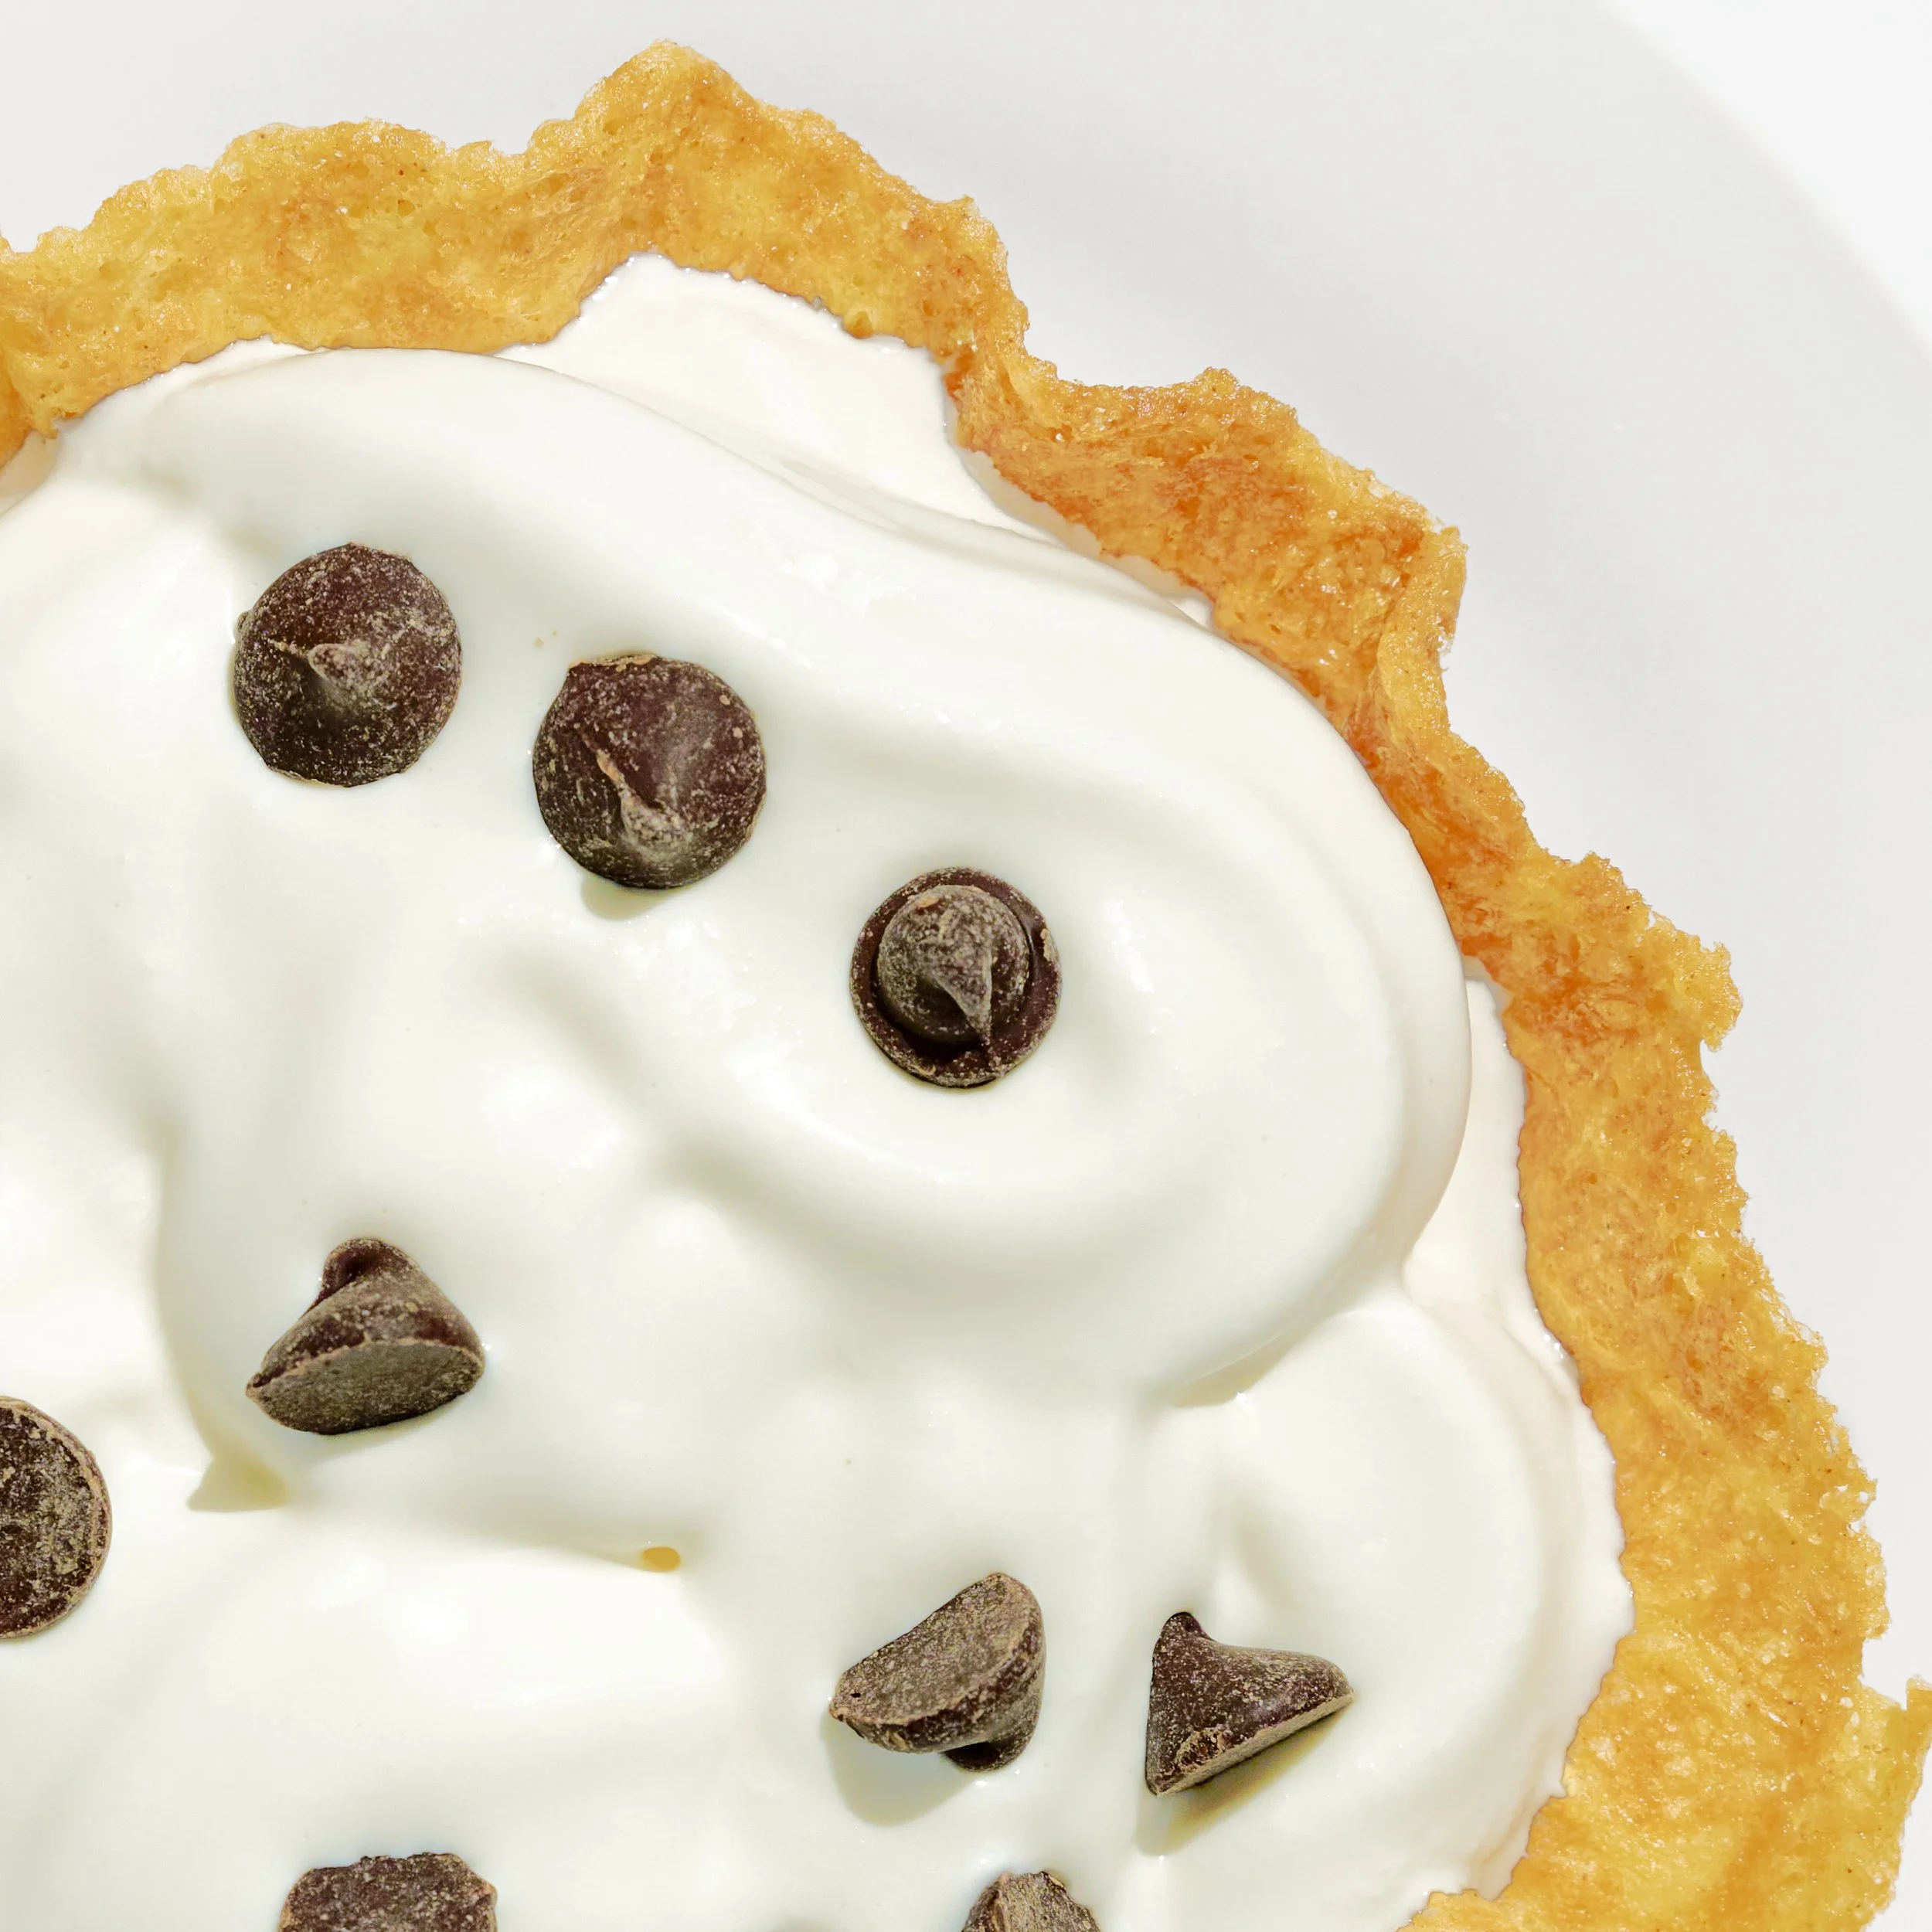
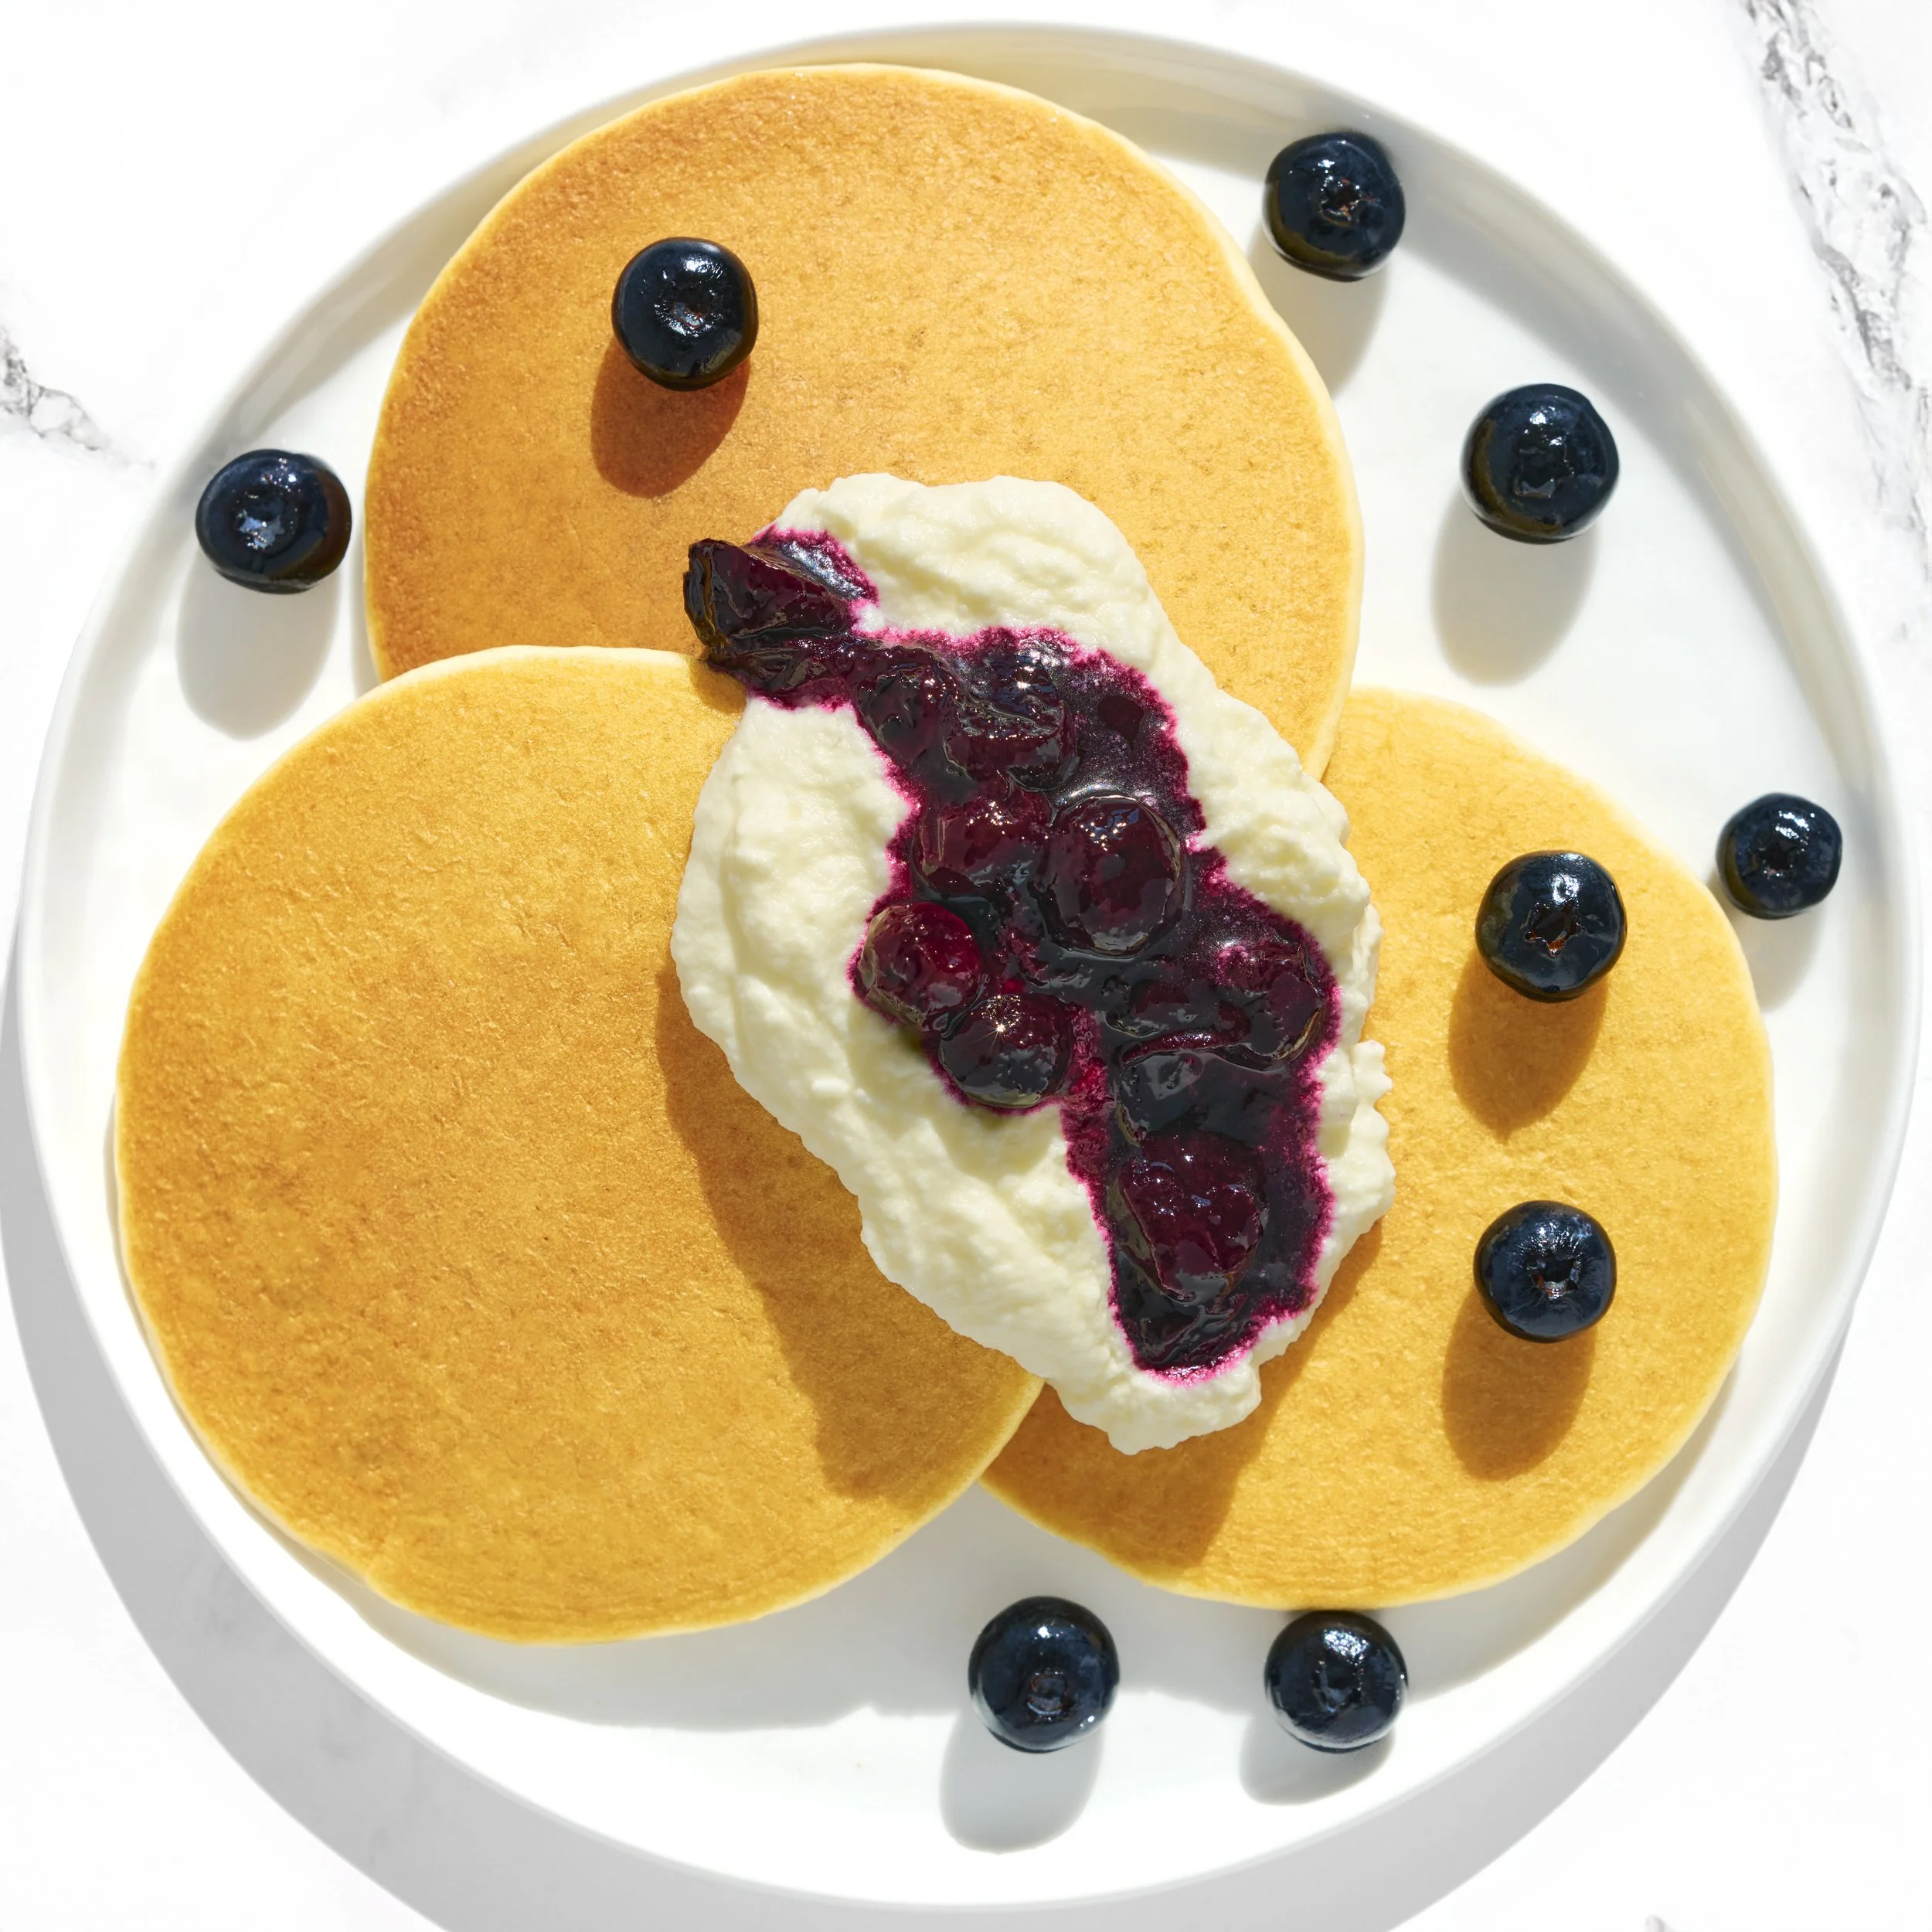
My favorite way to enjoy them is with a scoop of vanilla ice cream and a handful of colorful sprinkles, but they work wonderfully with chocolate ice cream, strawberry ice cream, frozen yogurt, soft serve, or even dairy-free alternatives. If you're feeling a little extra, drizzle everything with chocolate sauce, caramel sauce, or top it with fresh fruit.
You can also use this batter to create waffle bowls instead of cones. I made several during testing and loved how they turned out. They're perfect for building ice cream sundaes, layering fruit and whipped cream, or serving your favorite frozen desserts in something that's completely edible.
Pro Tip: Have your shaping tools ready before the waffle comes off the machine. Once it starts cooling, it begins to firm up quickly, so being prepared makes all the difference.

Summary Notes:
These waffle cones are gluten-free, gum-free, and soy-free, made with simple pantry ingredients, easy to shape while warm, and wonderfully crisp once cooled. The recipe makes approximately 10 waffle cones, can also be used to create waffle bowls, stores beautifully in an airtight container, and most importantly, tastes every bit as good as the waffle cones I spent months worrying I wouldn't be able to make.
Tried it? Let us know how it went in the comments below.
At Brimly, we take pride in presenting you with the finest products that our editors independently handpicked. In the spirit of transparency, we want you to know that we may earn an affiliate commission when you purchase something through the retail links below.
Essentials you’ll need:


view:LISTENIngredients
Recipe Steps
Step 1
Preheat your waffle cone maker. Set the temperature control approximately halfway between MIN and MAX and allow the machine to fully preheat.
Step 2
In a small bowl, whisk together the gluten-free flour, potato starch, cinnamon, and salt. Set aside.
Step 3
In a medium bowl, combine the eggs, granulated sugar, and dark brown sugar. Using an electric hand mixer, beat on medium speed for about 1 minute, or until well combined.
Step 4
Add the melted butter, whole milk, and vanilla extract. Mix until fully incorporated.
Step 5
Add the dry ingredients to the wet ingredients and mix until a smooth batter forms. Allow the batter to rest for approximately 3–5 minutes.
Step 6
Spoon 2 tablespoons of batter into the center of the waffle cone maker. Close the lid and cook for 2 minutes.
Step 7
Using a silicone spatula, carefully remove the waffle from the machine while it is still warm and flexible.
Step 8
Immediately wrap the waffle around a cone roller and gently shape it into a cone. Hold it in place for about 30 seconds, or until it begins to firm up.
Step 9
Transfer the cone to a cone holder or cooling rack and allow it to cool completely.
Step 10
Repeat with the remaining batter.
Storage:
Store cooled waffle cones or bowls in an airtight container or sealed bag at room temperature. The cones remain crisp and crunchy when properly stored.
More From Brimly.
by Brimly kitchen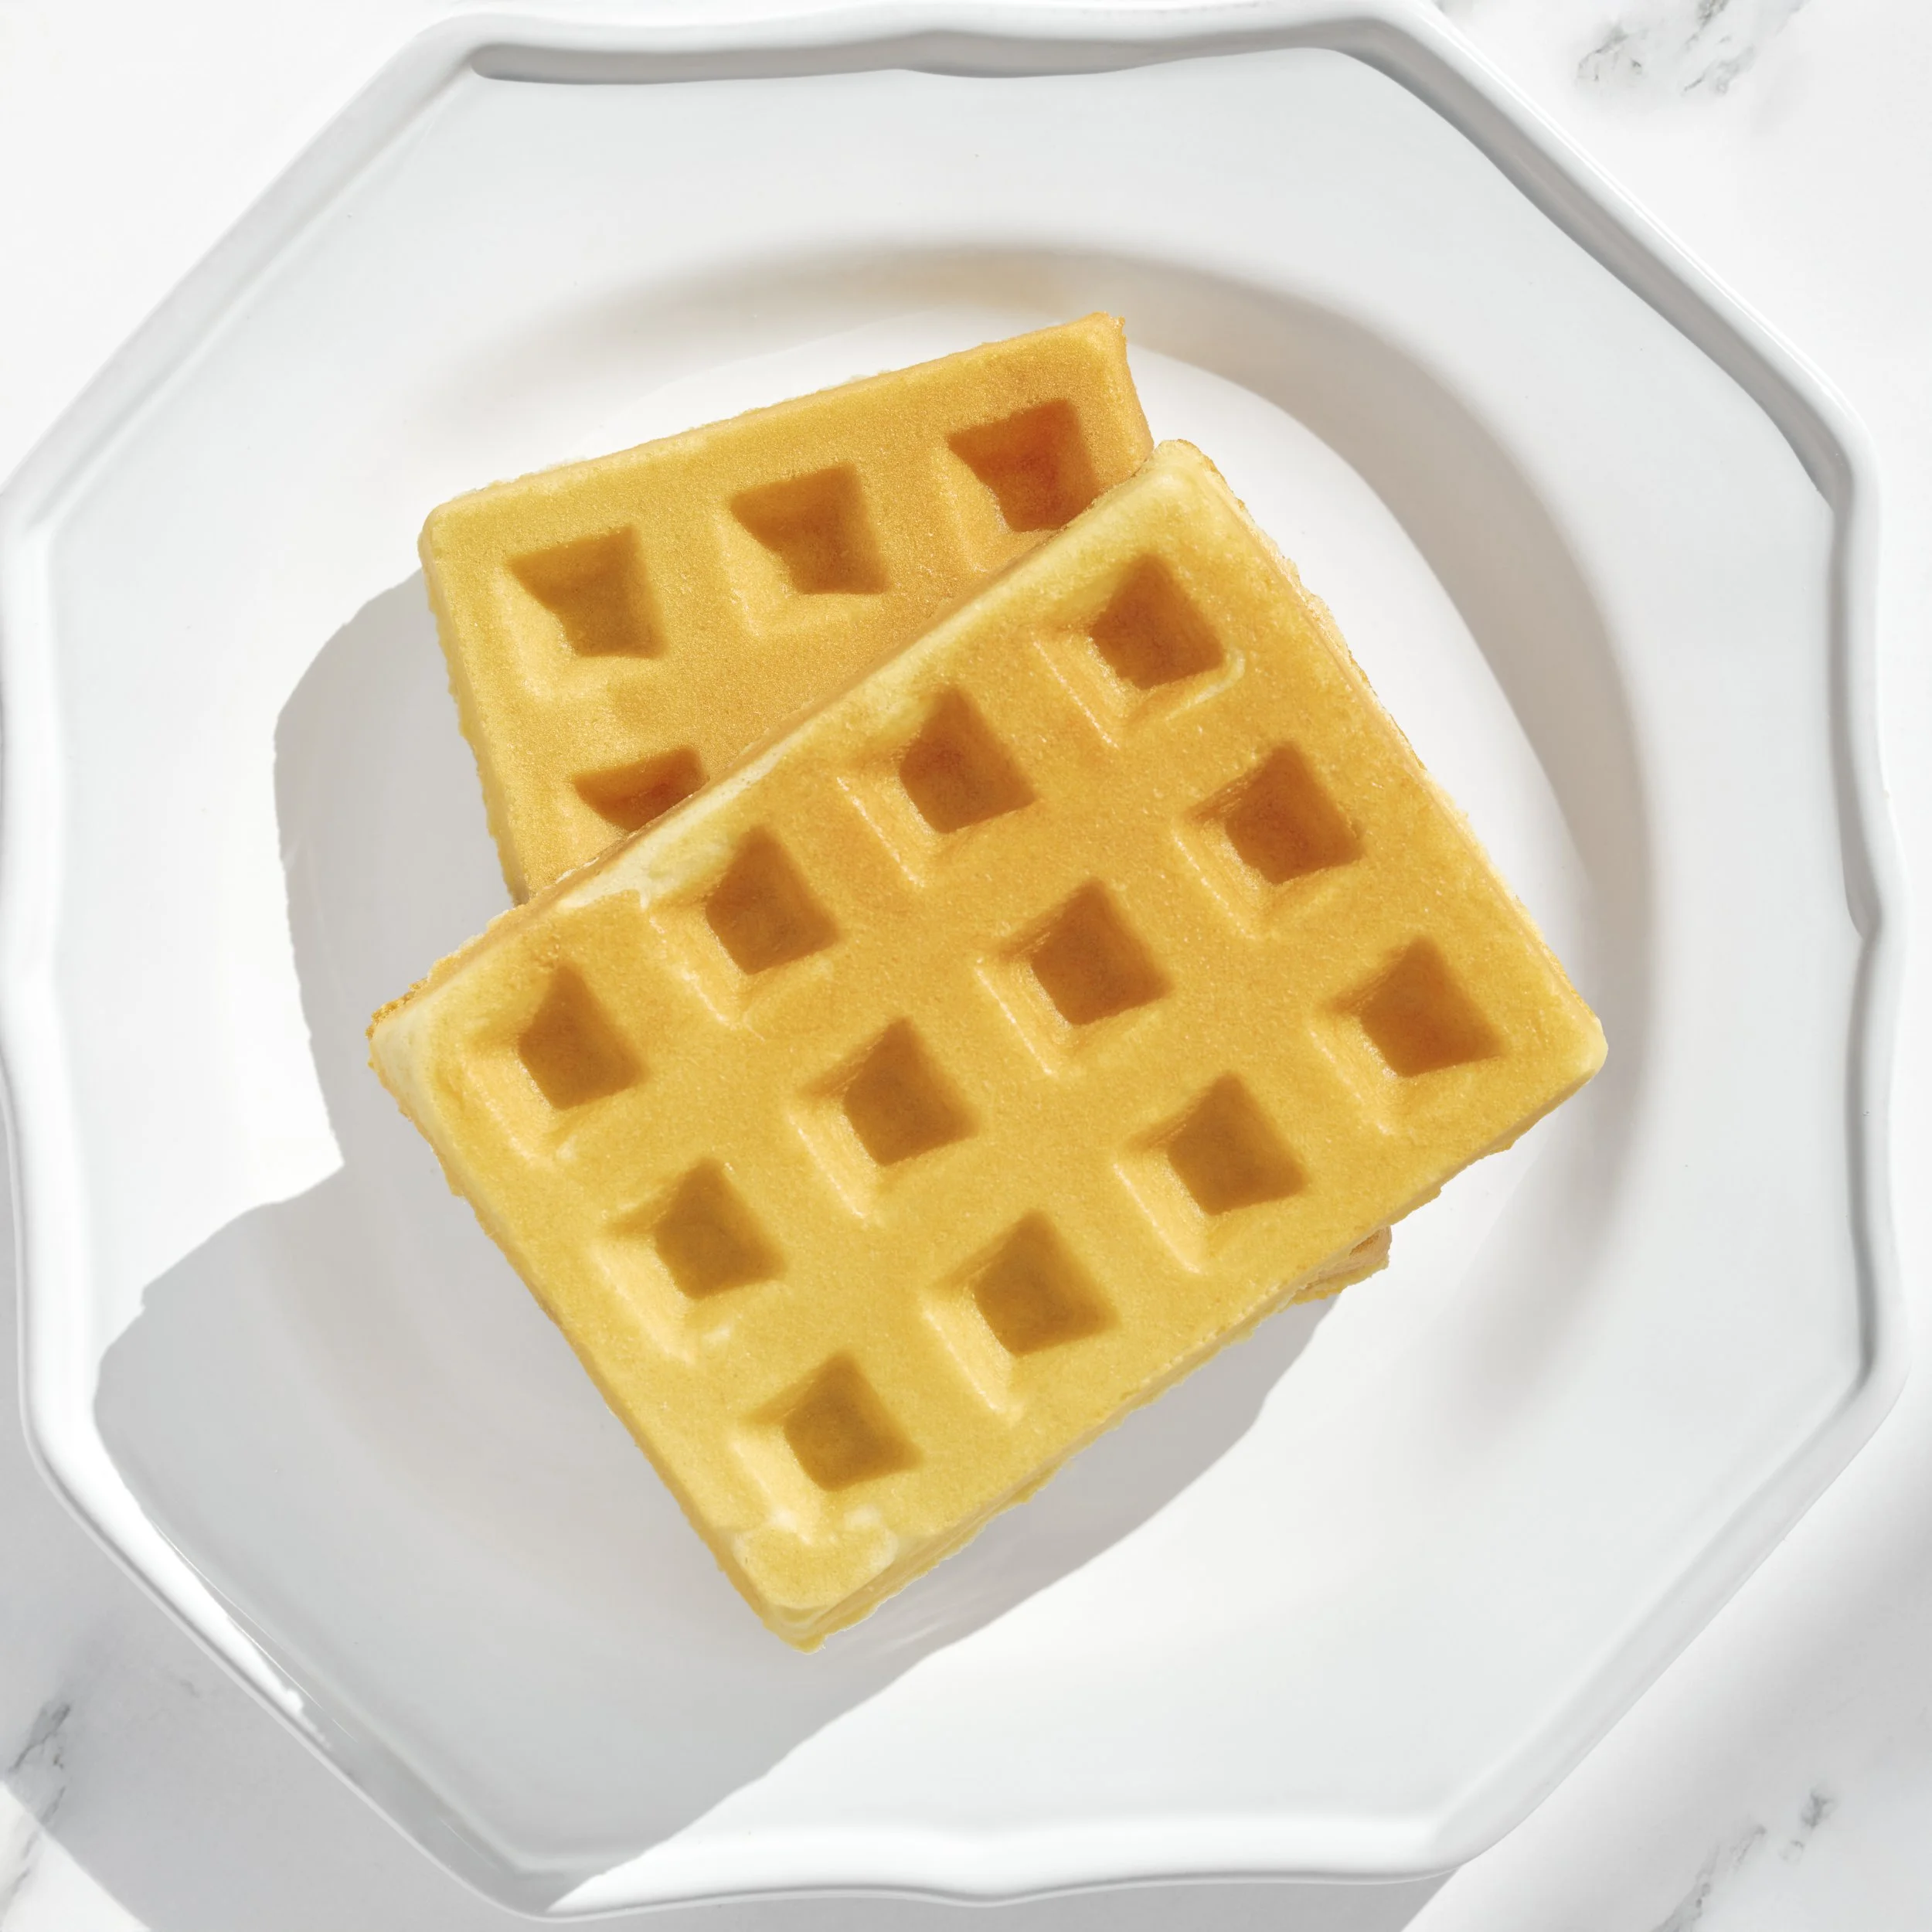
by Brimly kitchen
by Brimly kitchen
by Brimly kitchen