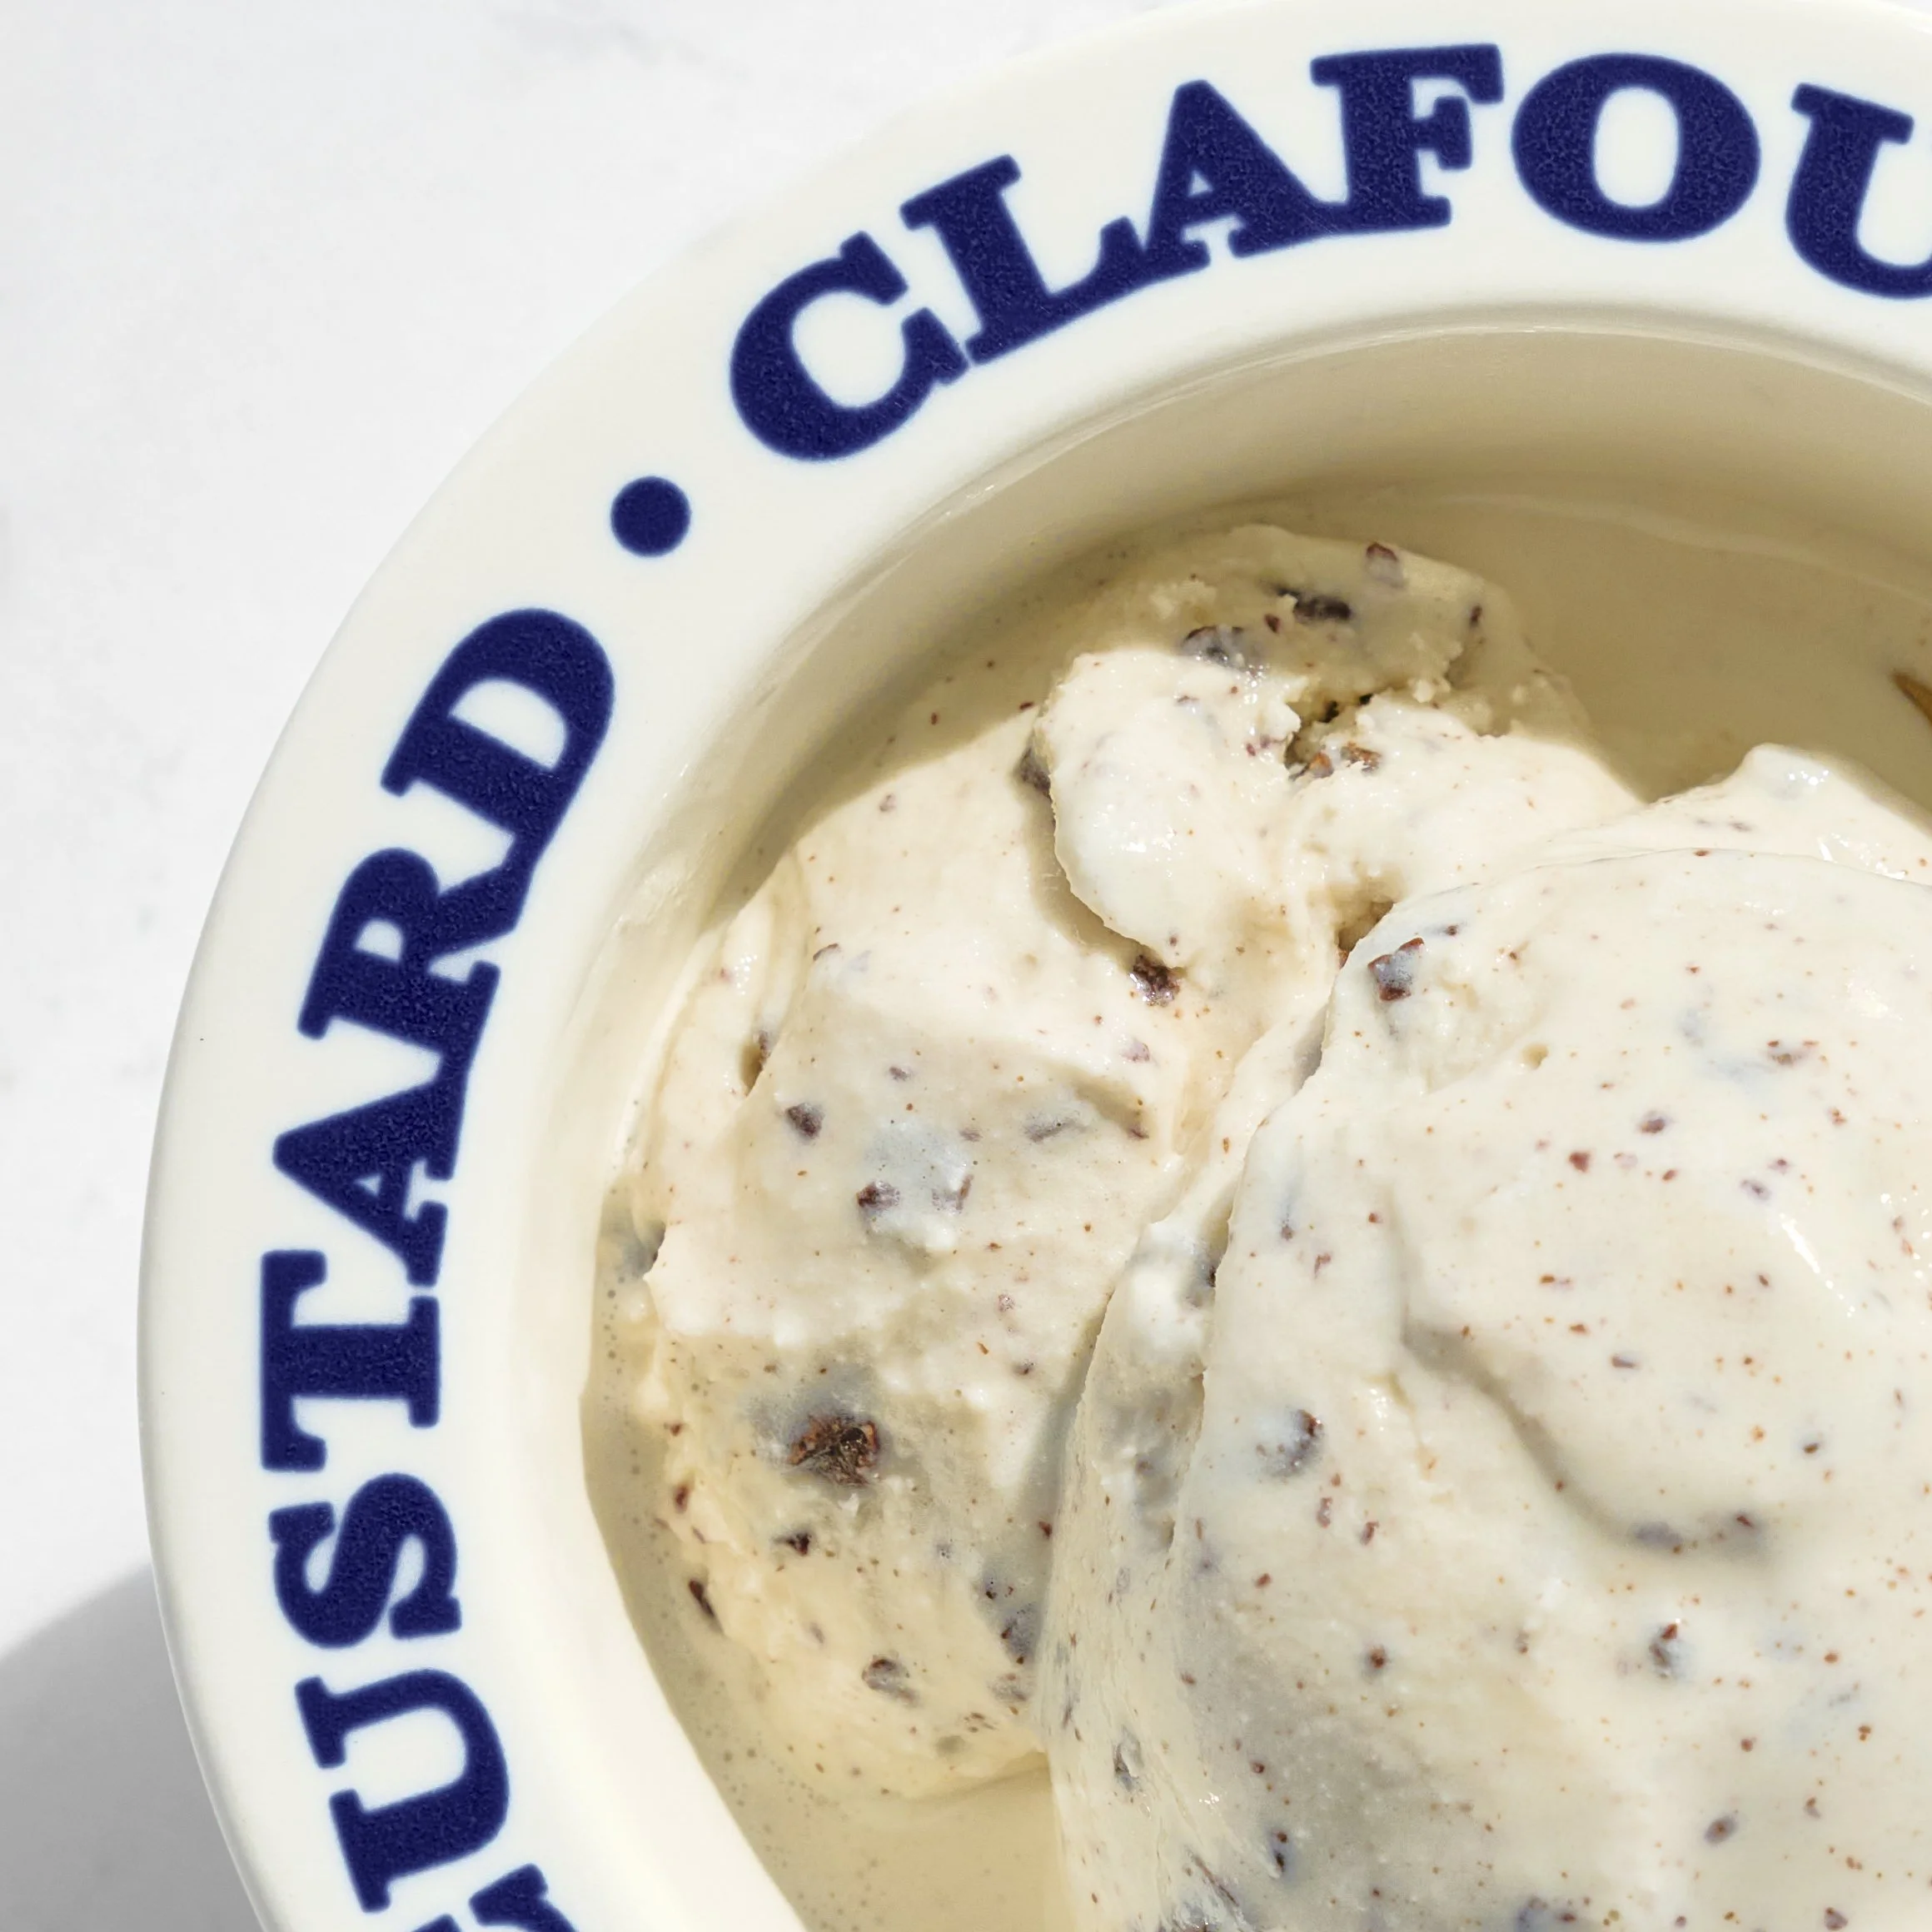
Vanilla Chocolate Chip Ice Cream
BY Brimly.June 14, 2026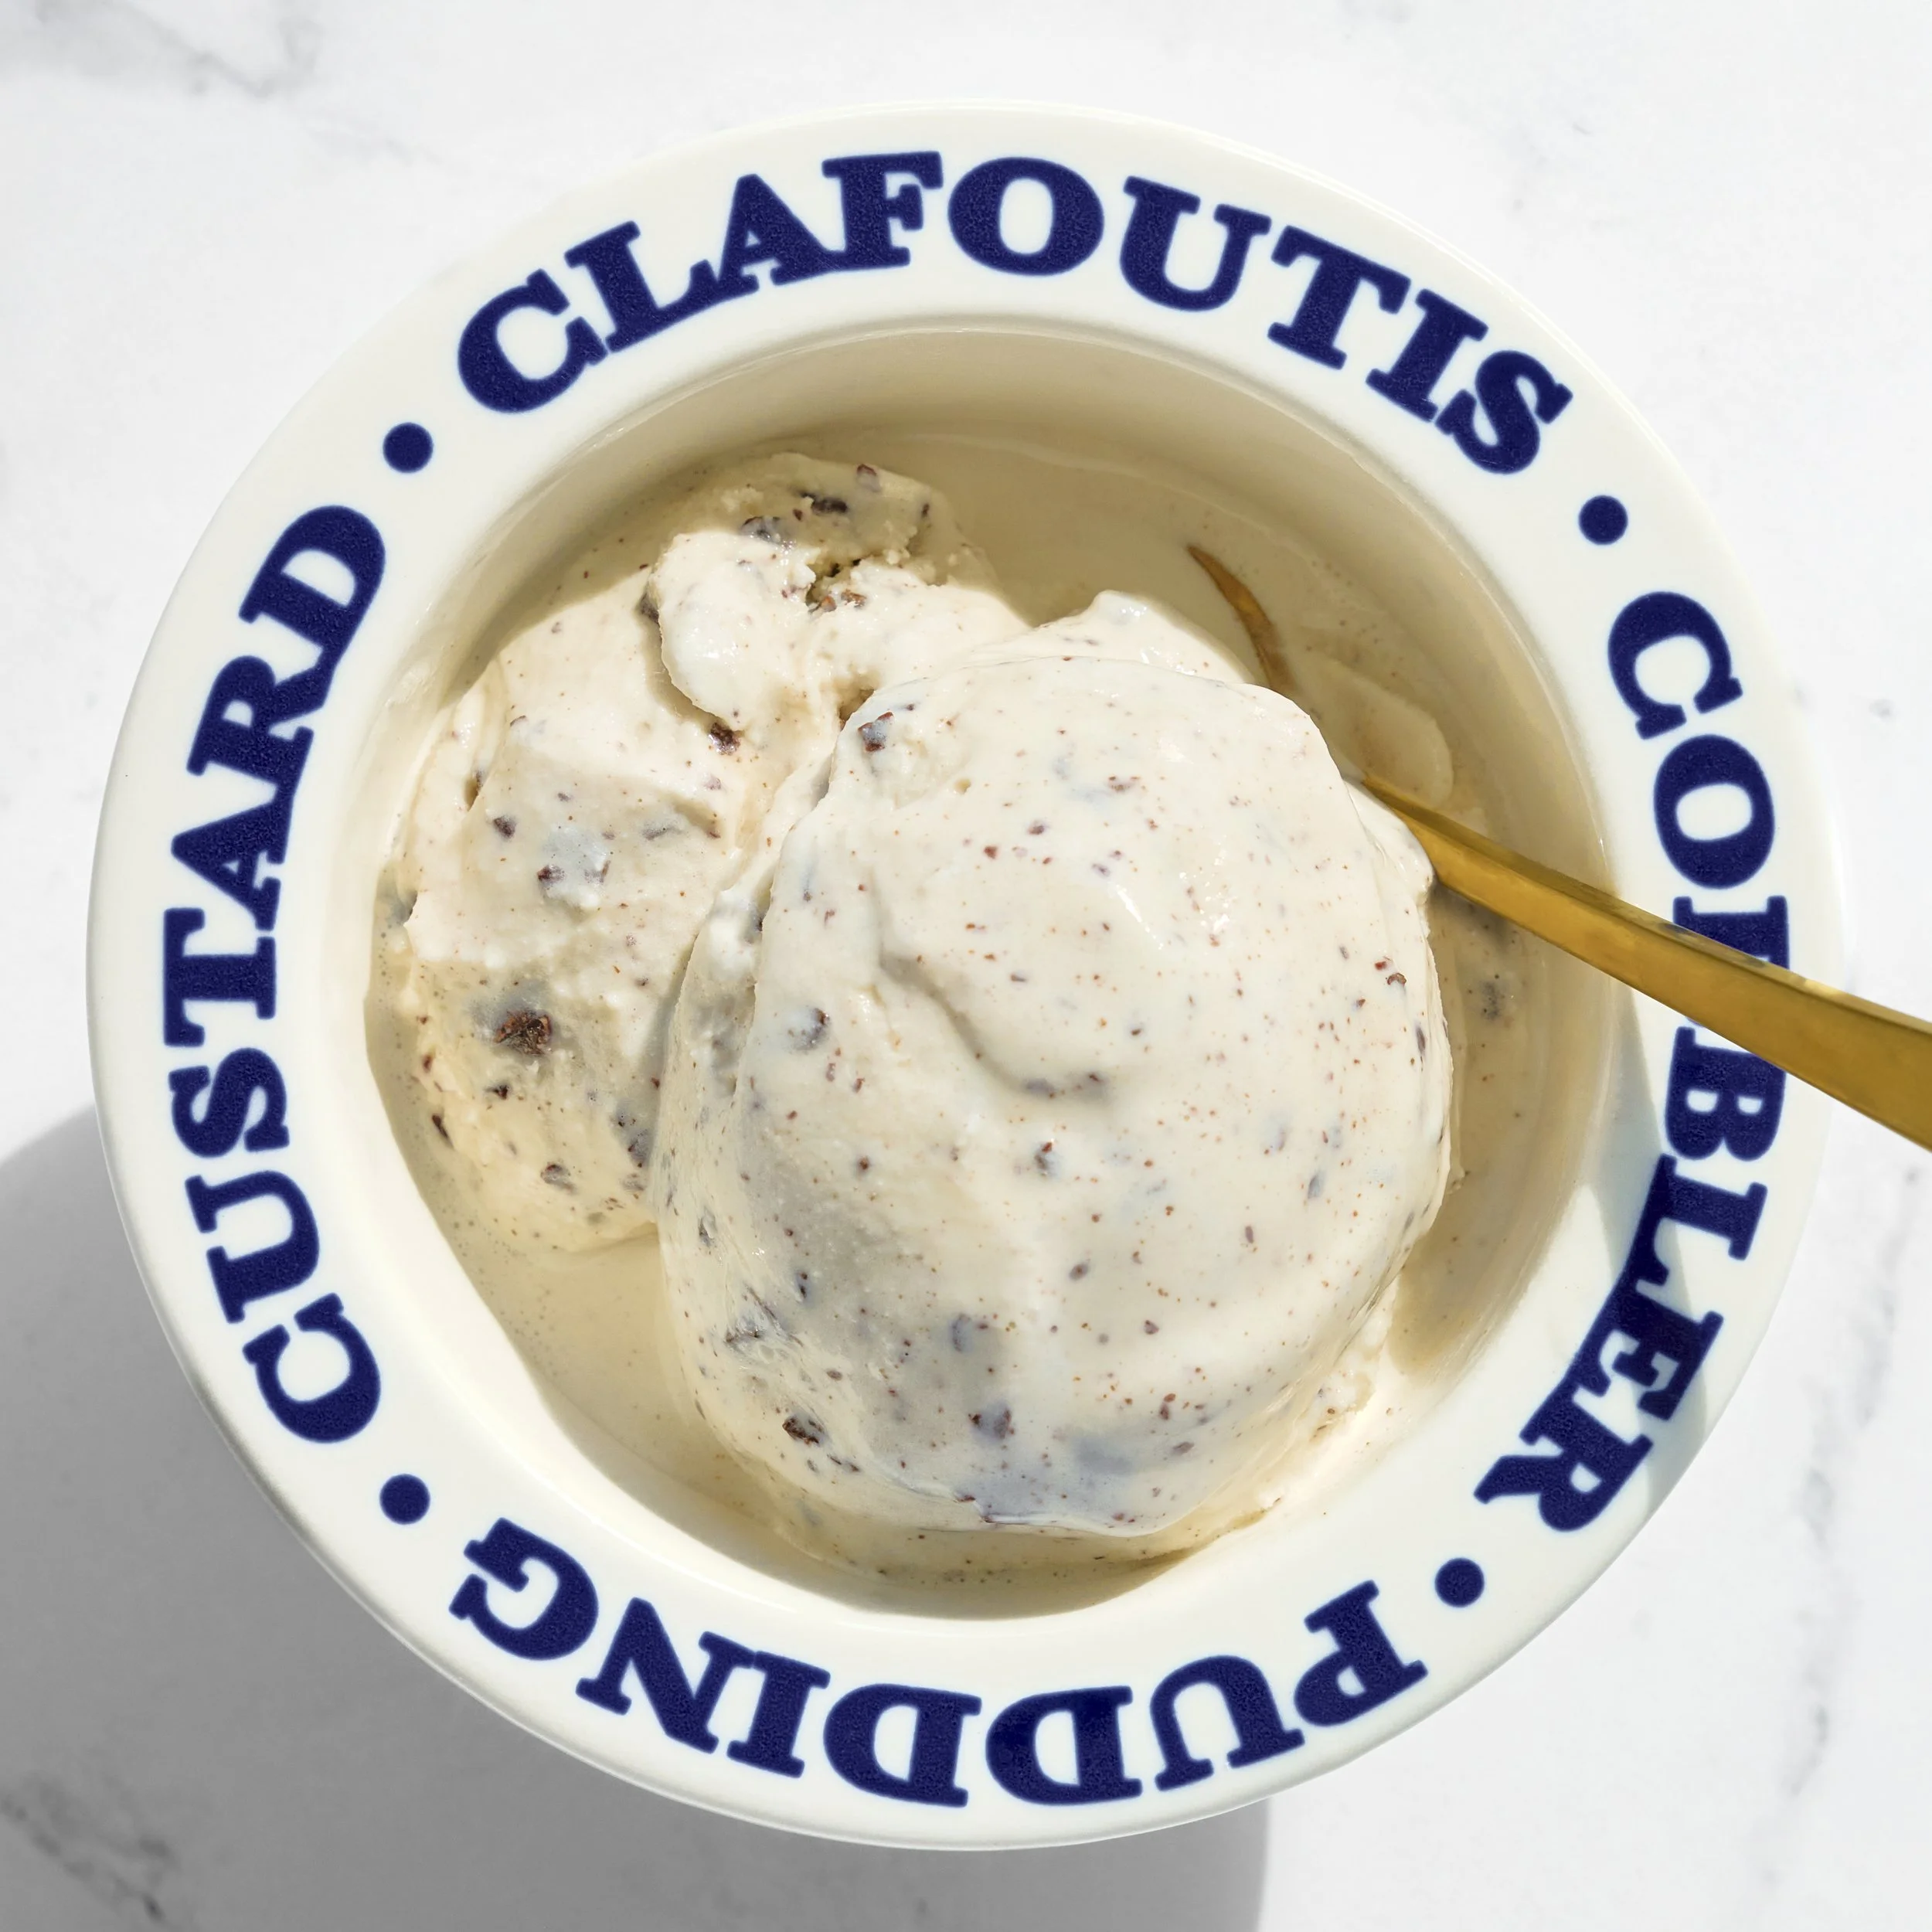
Photo By Editors @ the Brimly Test Kitchen


Mid TaskPREP: 10 minGluten-freesweet Treat Now, Why This Recipe and What Makes It Special?
I've always been a big fan of ice cream. Honestly, ever since I was a kid. And while my love for ice cream never really changed, the way I looked at the ingredient lists certainly did. As I became more mindful of gluten intolerance and started paying closer attention to the foods I was eating, I noticed that so many ice creams contained gums, stabilizers, and ingredients that I simply didn't feel comfortable with anymore. That realization eventually led me down the path of creating my own ice cream recipe. It took plenty of trial and error to get here, but this version is the one that finally stuck.
One other thing that deserves some credit here is the ice cream maker itself. I use the Breville Smart Scoop, and at this point, it's become the champion of champions when it comes to homemade ice cream. What I appreciate most is that it allows me to be a little impulsive. Many ice cream makers require you to freeze a bowl ahead of time or plan hours in advance. The Breville takes a different approach. When the craving for ice cream strikes, I can usually make a batch without having to think about it!
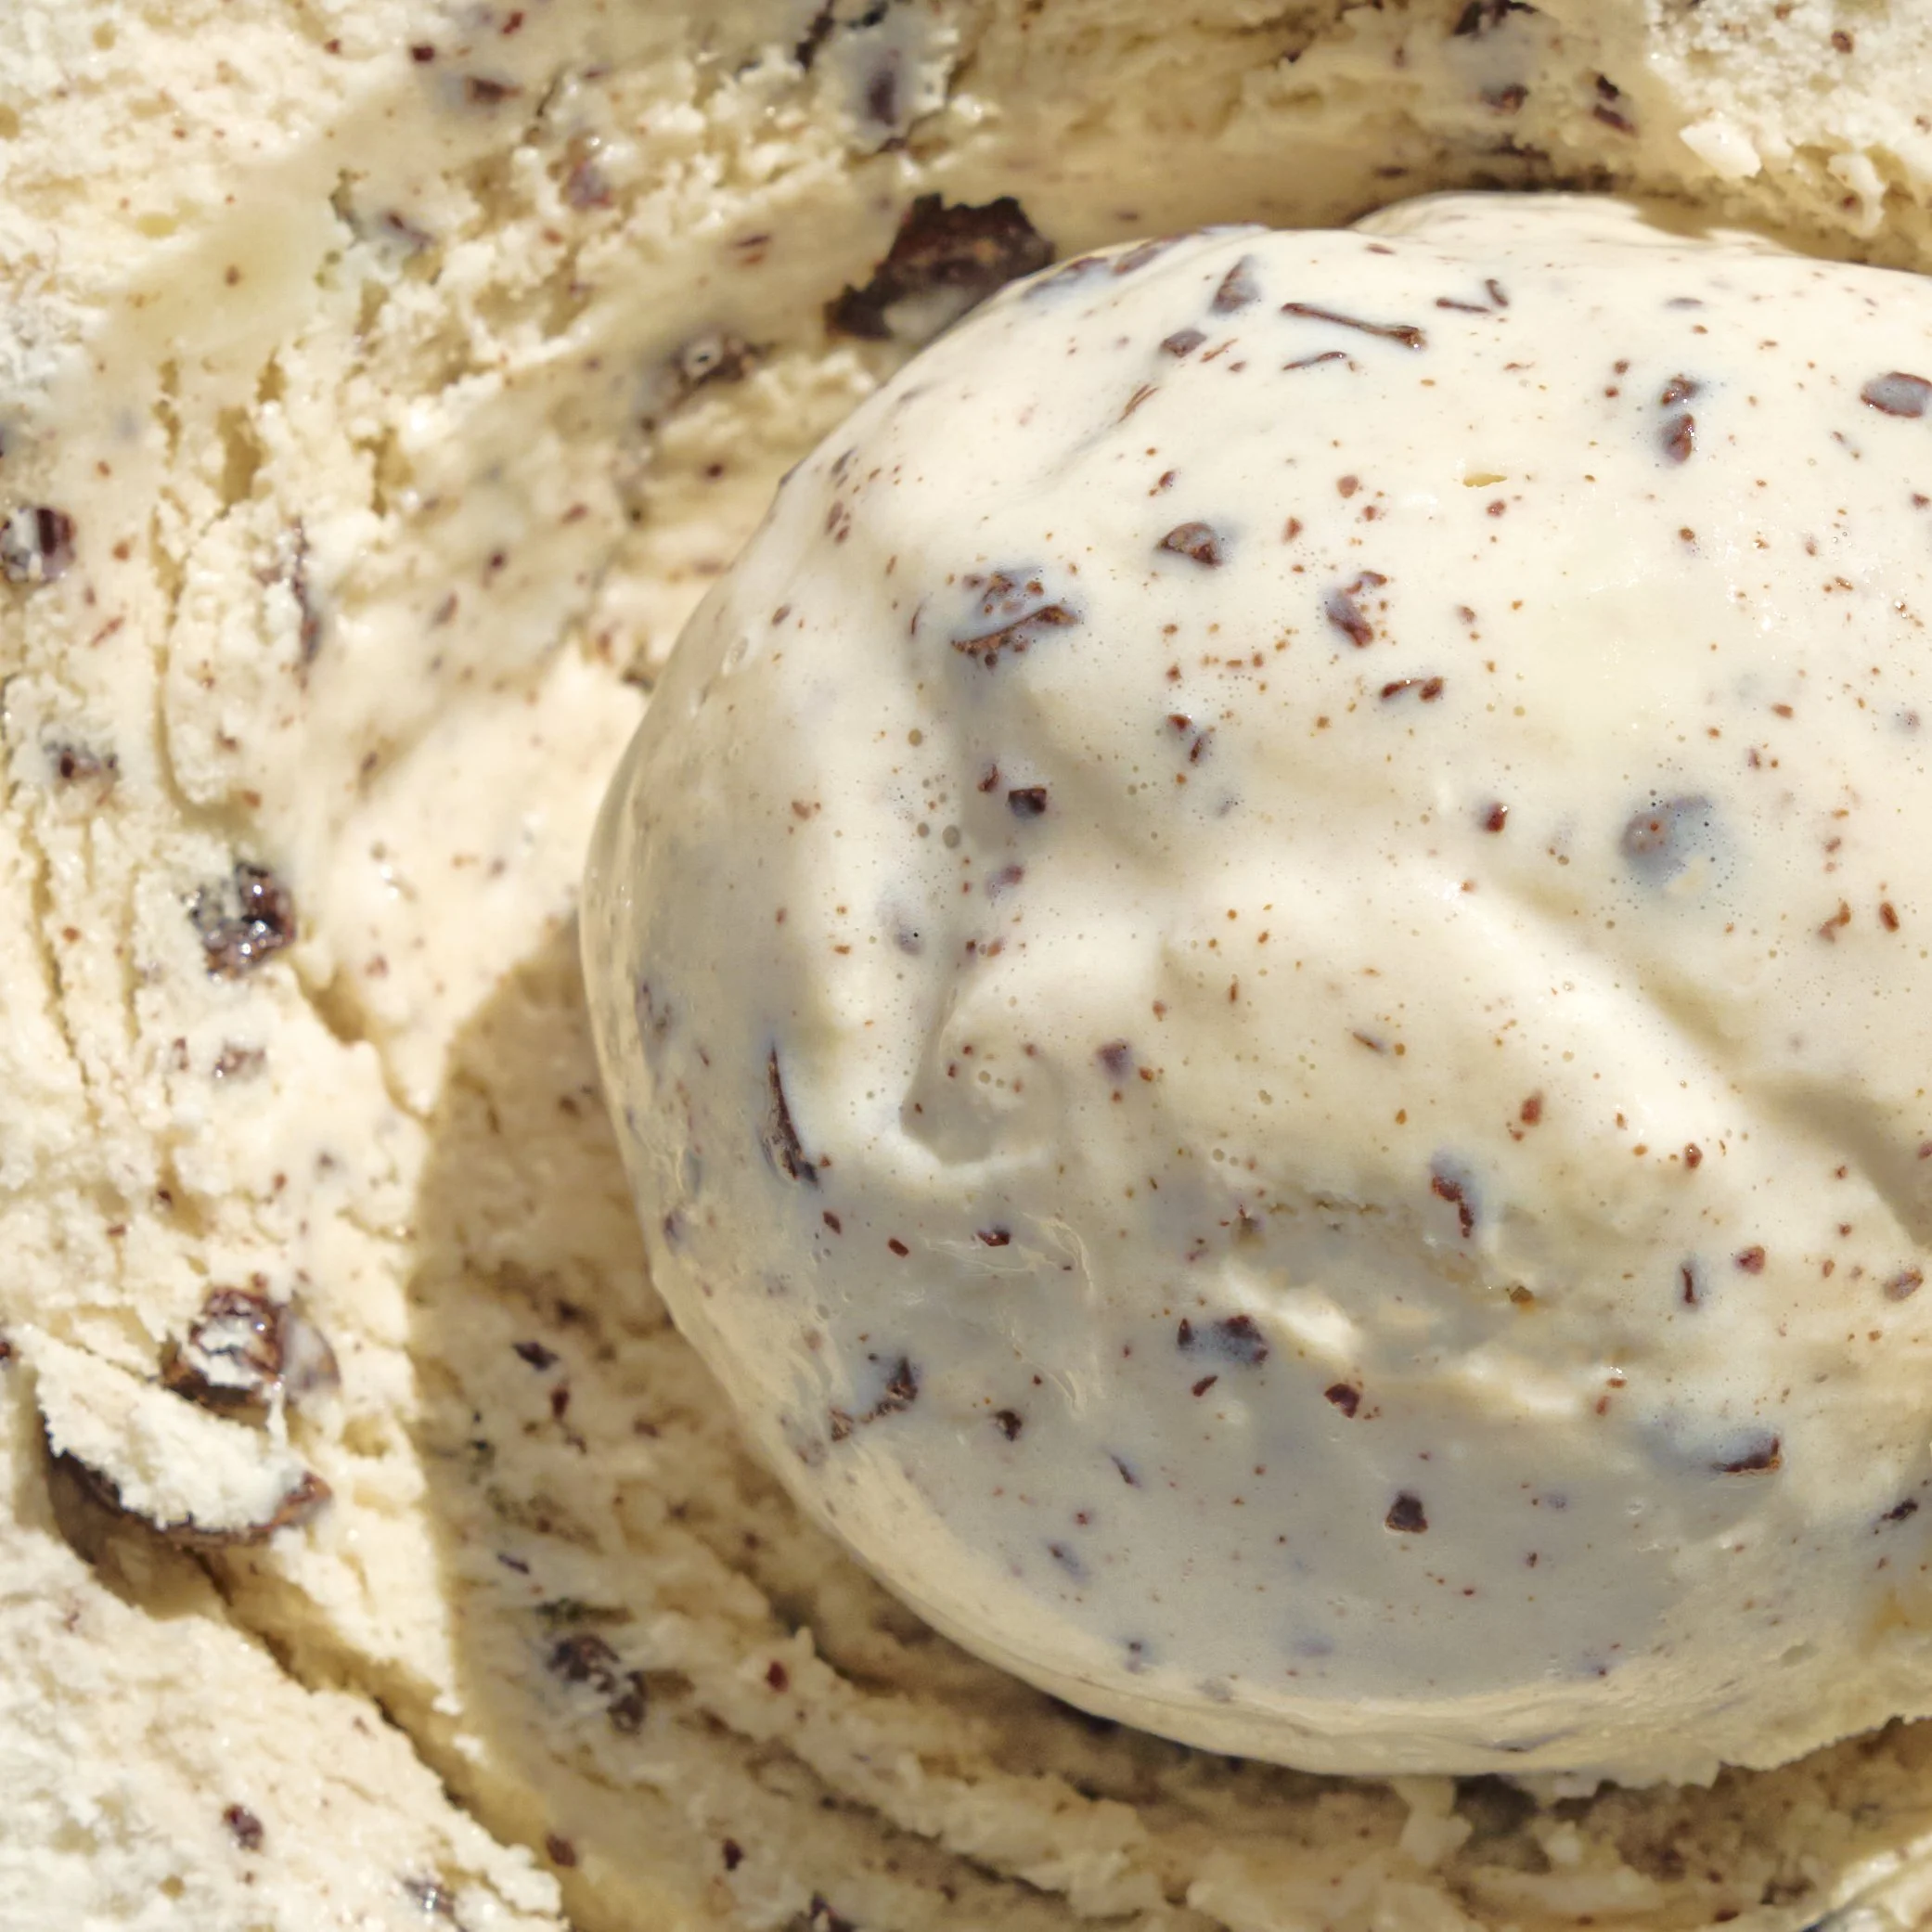
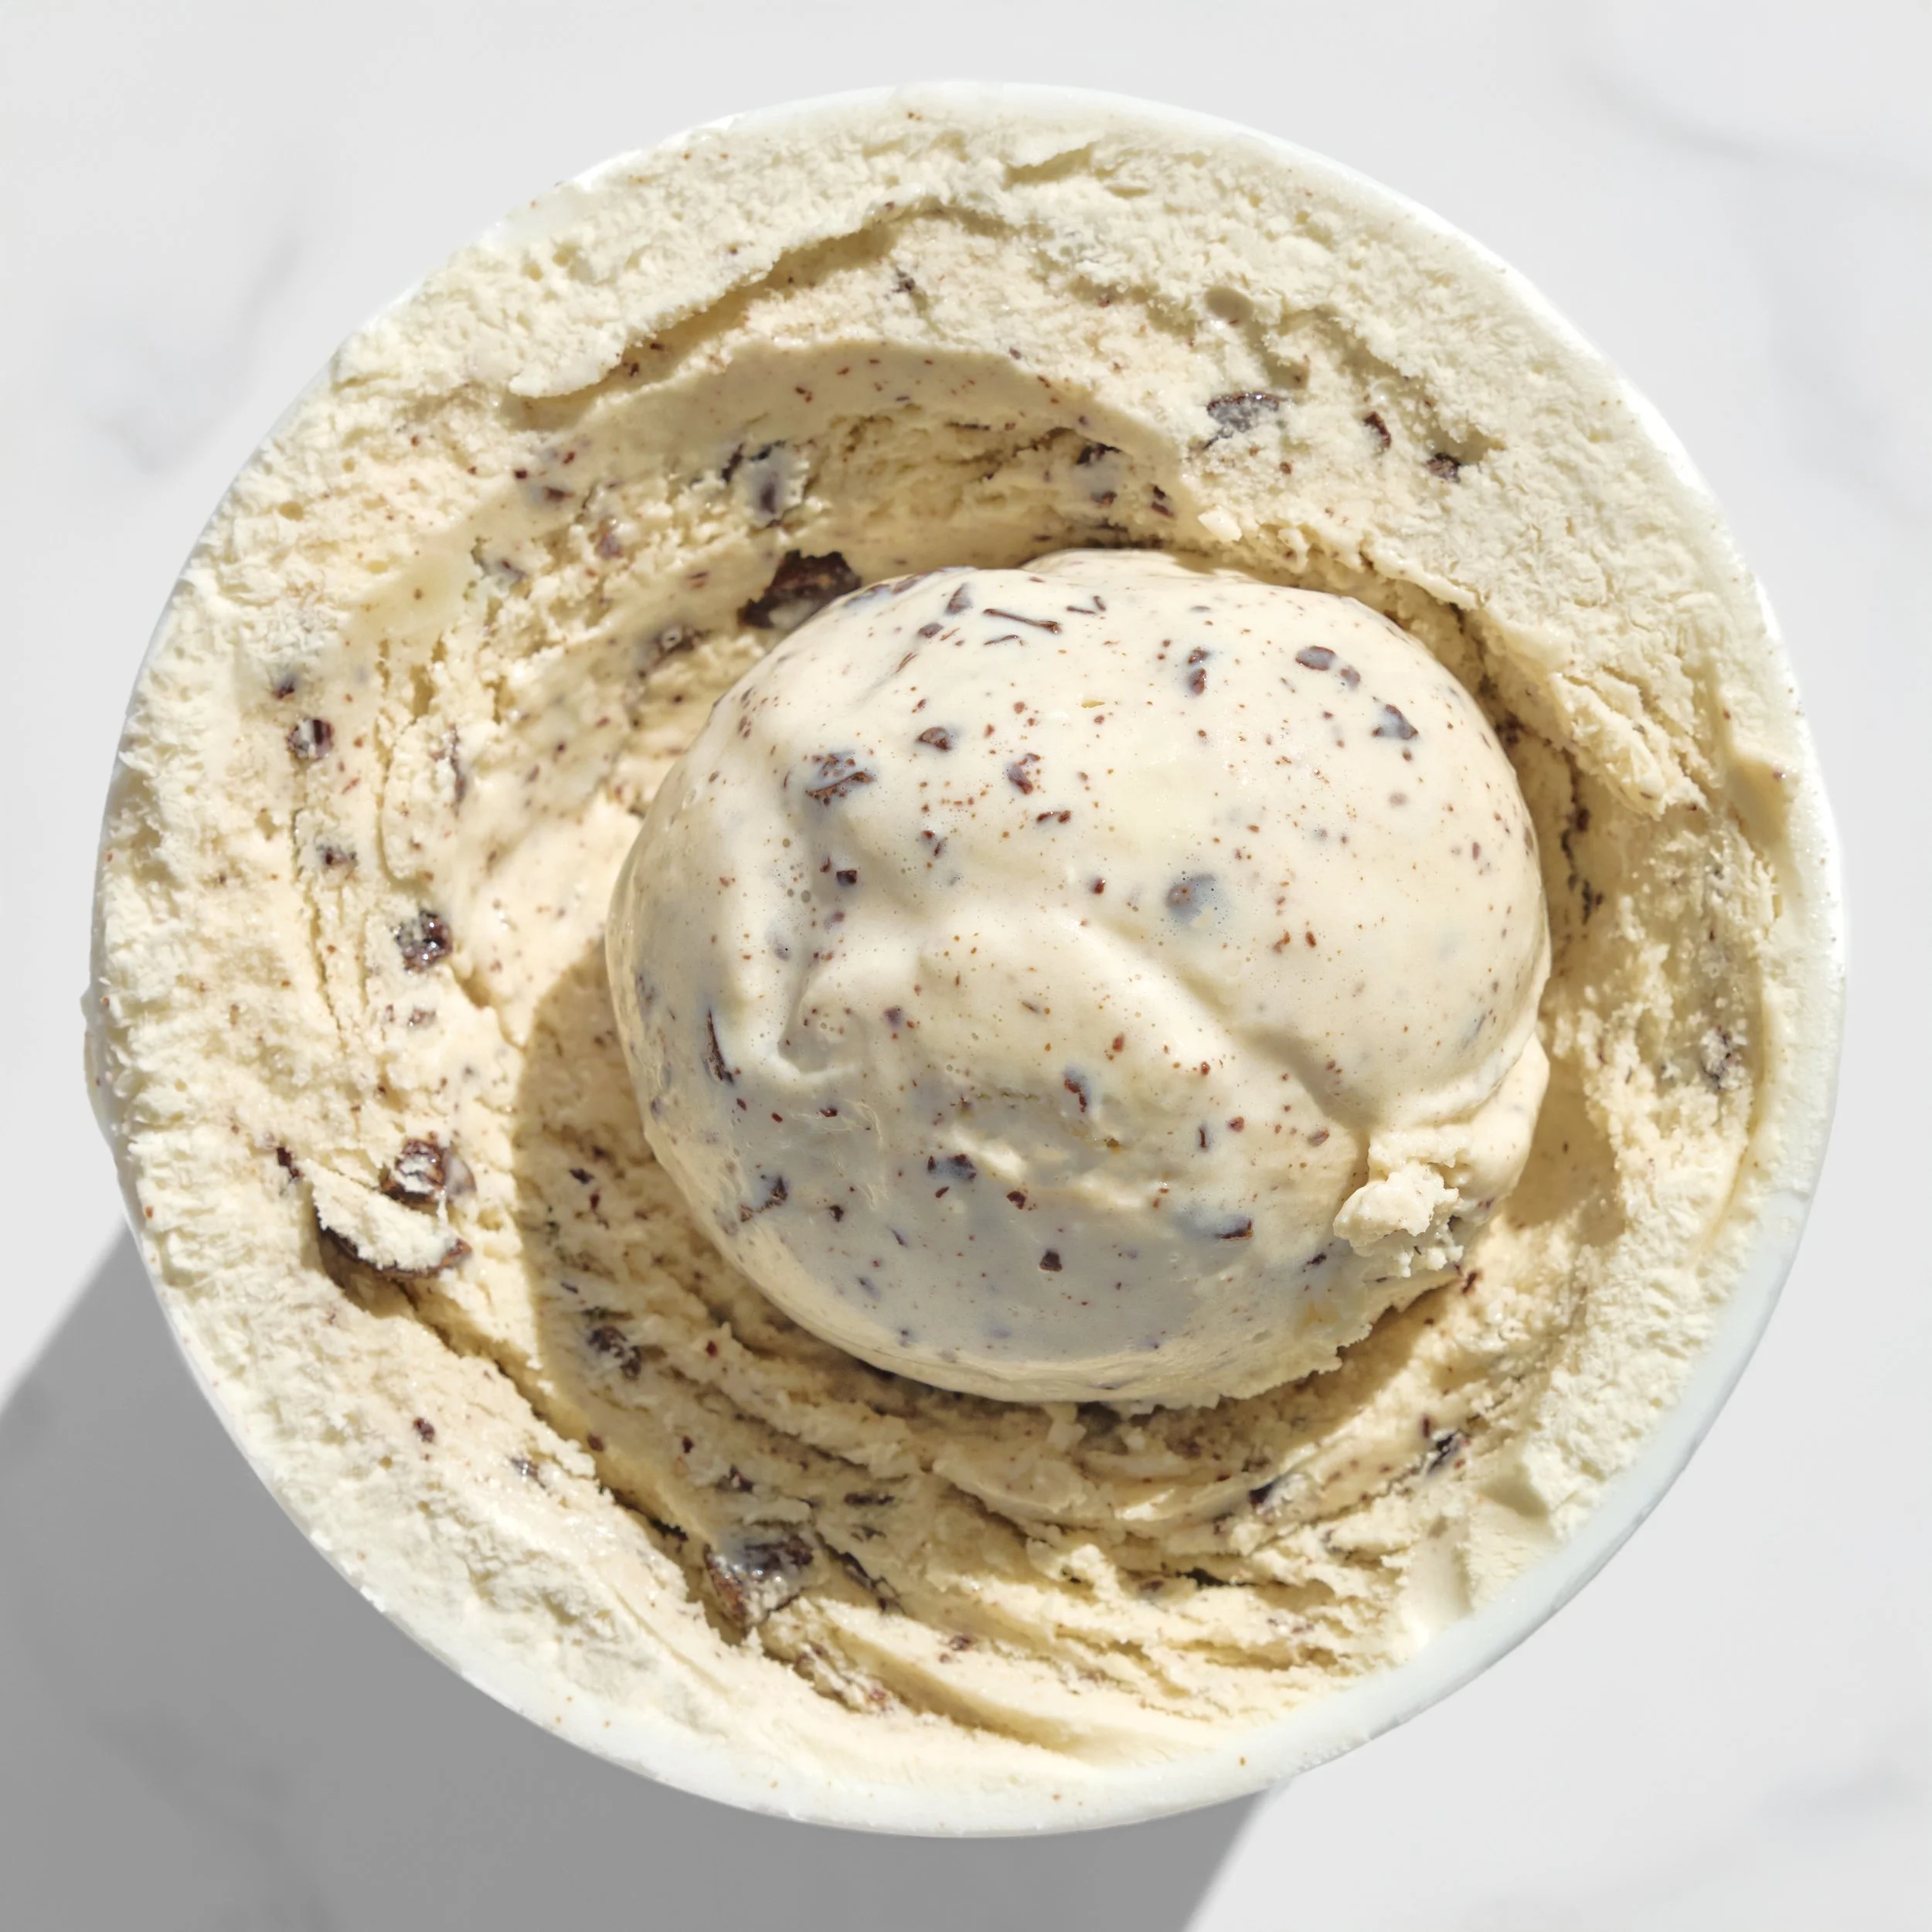
The finely chopped chocolate chips are another detail that completely changed this recipe for me. I like to pulse mine in a small food processor until they're finely chopped. Some of the chocolate naturally blends into the ice cream during churning, creating a subtle chocolatey flavor that reminds me a little of cookies and cream without actually changing the color of the ice cream. Then you still get those larger bits of chocolate scattered throughout, adding little bursts of crunch in every scoop. Honestly, it's gotten to the point where I find myself judging other ice creams against this one, and most of them don't quite measure up.

Lessons Learned
One of the biggest lessons I learned while developing this recipe was that more dairy doesn't always mean better ice cream. Early versions made with regular heavy cream ended up tasting heavier than I wanted and melted much faster than expected. They were rich, but not necessarily in a way that improved the overall experience. Switching to heavy cream powder made a surprisingly big difference. It created a more stable ice cream with a texture that feels smooth and scoopable straight from the freezer without leaving behind that overly fatty mouthfeel.
Another lesson was the importance of salt. It might seem like such a small ingredient, but I wouldn't skip it. When I tested the recipe without salt, the ice cream tasted noticeably flatter. Just a small amount helps bring the vanilla forward and adds a little extra depth that makes the entire recipe taste more complete.
Note: If you want to add a little extra flavor, sprinkle a bit of flaky sea salt on top once you've scooped the ice cream, and I guarantee you won't regret it.
How to Make It Your Own
One of my favorite things about this recipe is that it works as a blank canvas for all sorts of flavors and mix-ins.
You can add cocoa powder to create a chocolate version, blend in strawberries for a strawberry ice cream, or swap the vanilla extract for rum extract and add raisins for a rum raisin variation. A little coffee extract can transform it into a coffee ice cream, and if you keep the chocolate chips, you'll end up with a coffee chocolate chip version that's super delicious.
The base itself is incredibly versatile. It's perfectly delicious as written, but it's also the kind of recipe that invites experimentation. At the end of the day, this recipe gives you a solid, dependable vanilla ice cream base while still leaving plenty of room for creativity.
Pro Tip: For the best texture, finely chop your chocolate chips before adding them to the ice cream.
Summary Notes:
This ice cream is gluten-free, gum-free,soy-free, egg-free and made with simple ingredients you can feel good about serving. It delivers a rich vanilla flavor with chocolate throughout and requires no cooking, making it an approachable recipe for both beginners and experienced ice cream makers alike. The base is highly customizable, allowing you to experiment with different extracts, mix-ins, and flavor combinations.
Tried it? Let us know how it went in the comments below.
At Brimly, we take pride in presenting you with the finest products that our editors independently handpicked. In the spirit of transparency, we want you to know that we may earn an affiliate commission when you purchase something through the retail links below.
Essentials you’ll need:


view:LISTENIngredients
Recipe Steps
Step 1
In a large mixing bowl or pitcher, add the whole milk.
Step 2
Pour in the condensed milk, heavy cream powder, and salt.
Step 3
Add the vanilla extract and whisk everything together until evenly combined.
Note: If you notice small lumps from the heavy cream powder, don't worry. The churning process will help smooth everything out.
Step 4
Prepare your ice cream maker according to the manufacturer's instructions. If your machine has a pre-cool function, run it first. If your machine uses a freezer bowl, make sure the bowl has been fully frozen.
Step 5
Pour the ice cream mixture into the prepared ice cream maker and begin churning.
Step 6
When your ice cream maker reaches the mix-in stage, add the chopped chocolate chips.
Note: If your ice cream maker does not have a mix-in setting, simply stir the chocolate chips into the finished ice cream after churning.
Step 7
Transfer the ice cream to a freezer-safe container and smooth the top. This recipe makes 1qt.
Step 8
Freeze for at least 4 hours for a firmer texture. For the best texture and scoopability, freeze overnight. Serve and enjoy!
Storage:
Store the ice cream in an airtight container or freezer-safe container with a tight-fitting lid for up to 1 weeks. For the best texture and flavor, enjoy within the first 3 days.
If the ice cream becomes very firm after extended time in the freezer, allow it to sit at room temperature for 5–10 minutes before scooping.
More From Brimly.
by Brimly kitchen
by Brimly kitchen
by Brimly kitchen
by Brimly kitchen
$10.95 AT AMAZON